Auto Fan Control Module + 3.3V & I2C Breakout for Raspberry Pi
Price:
Sale price
£4
Stock:
Quantity:
 Skip to content
Login / Signup
Cart
Your cart is empty


Automatic fan control + 3.3V and I2C breakout for the Raspberry Pi!
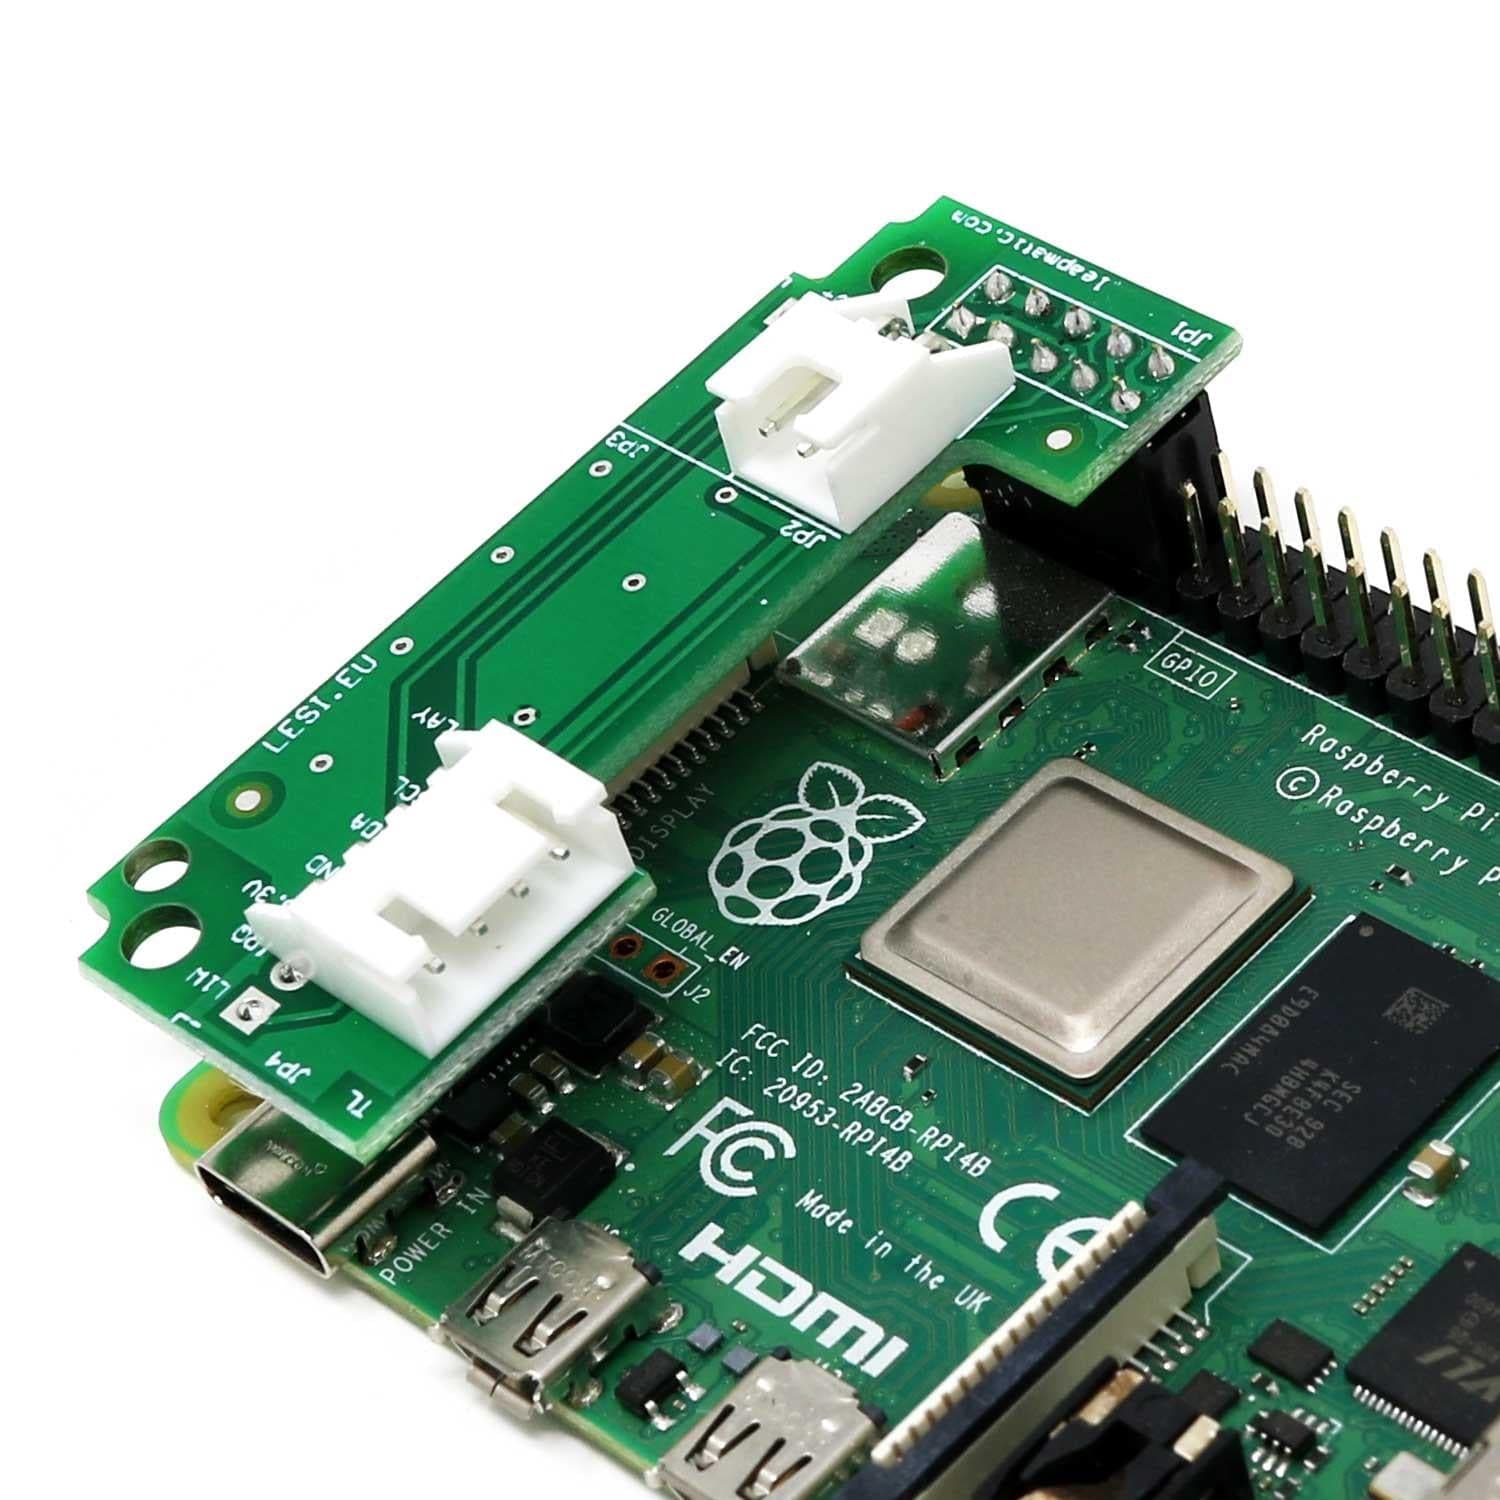
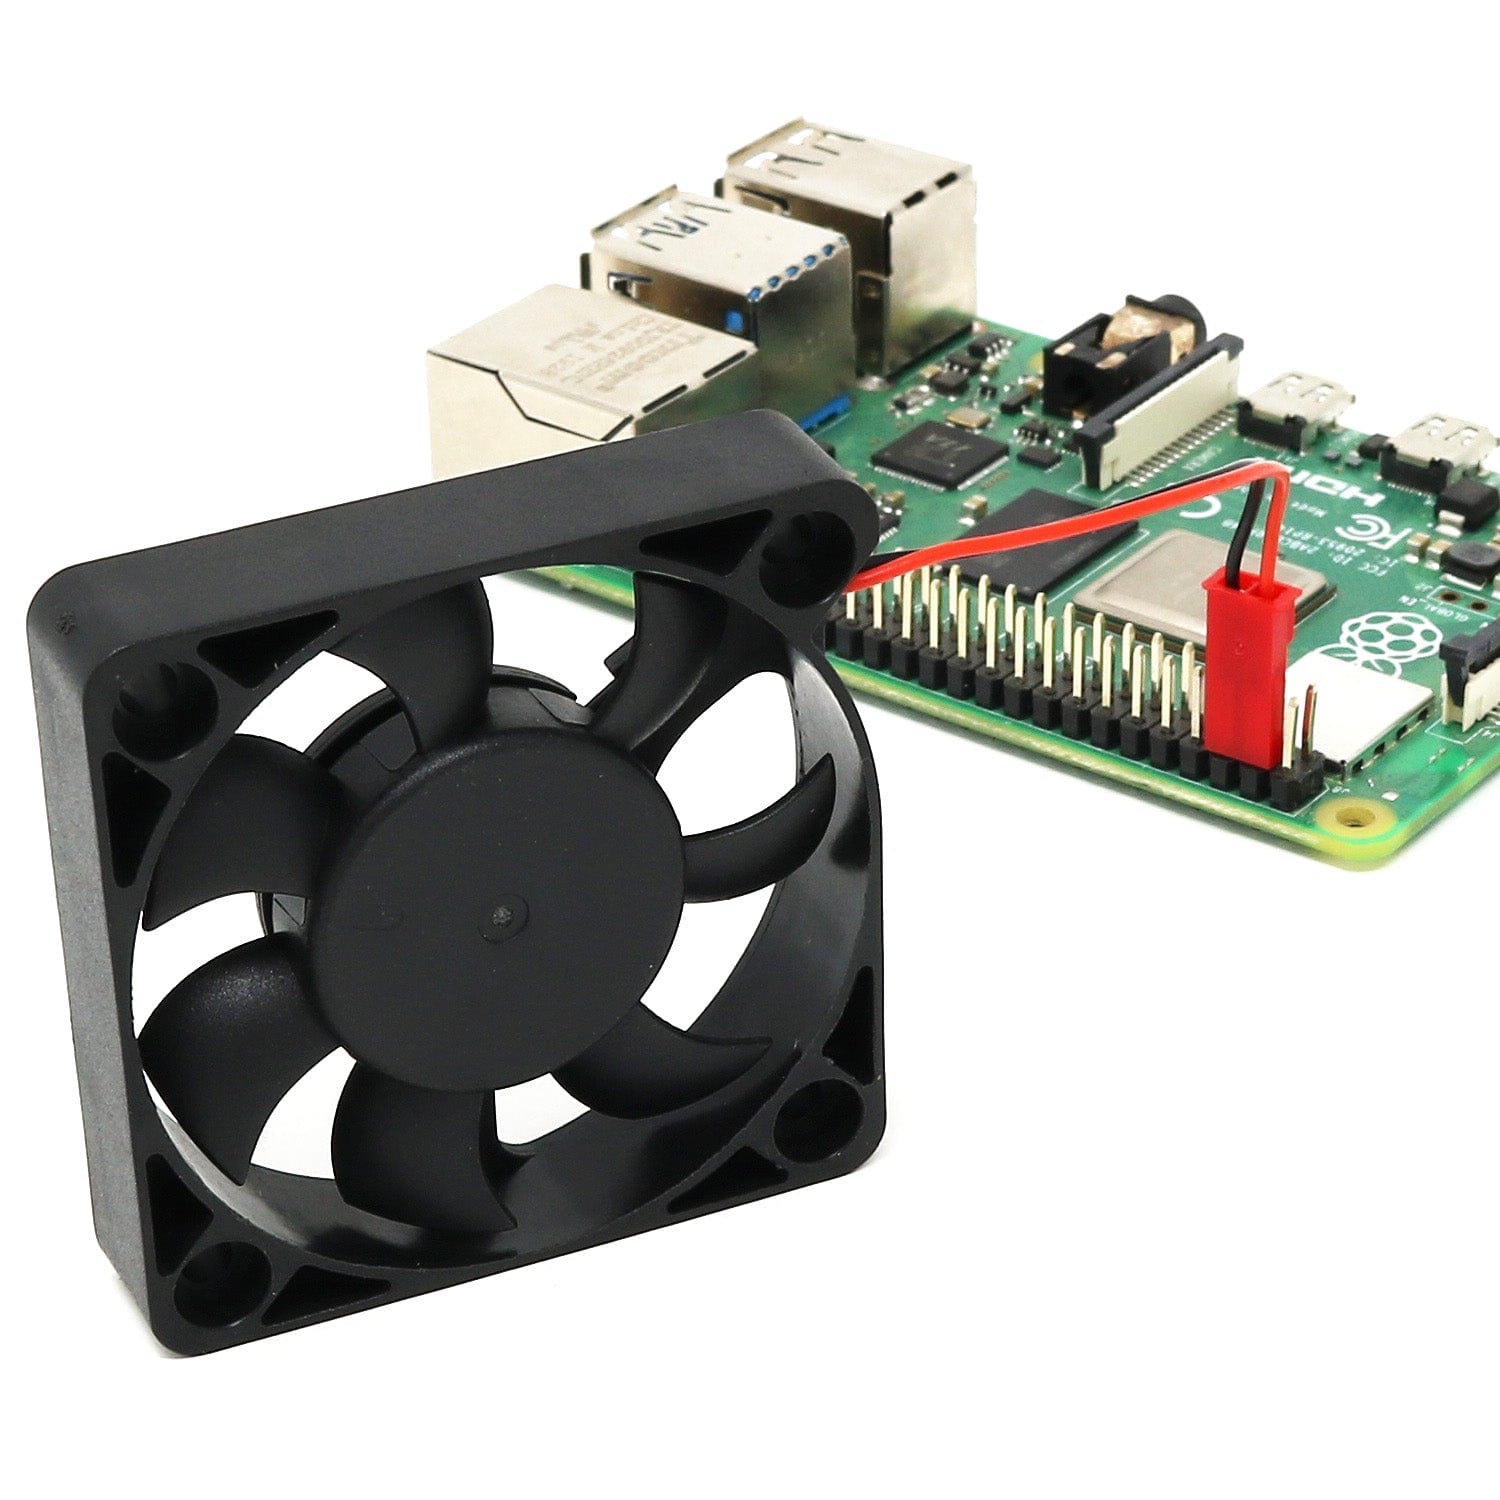
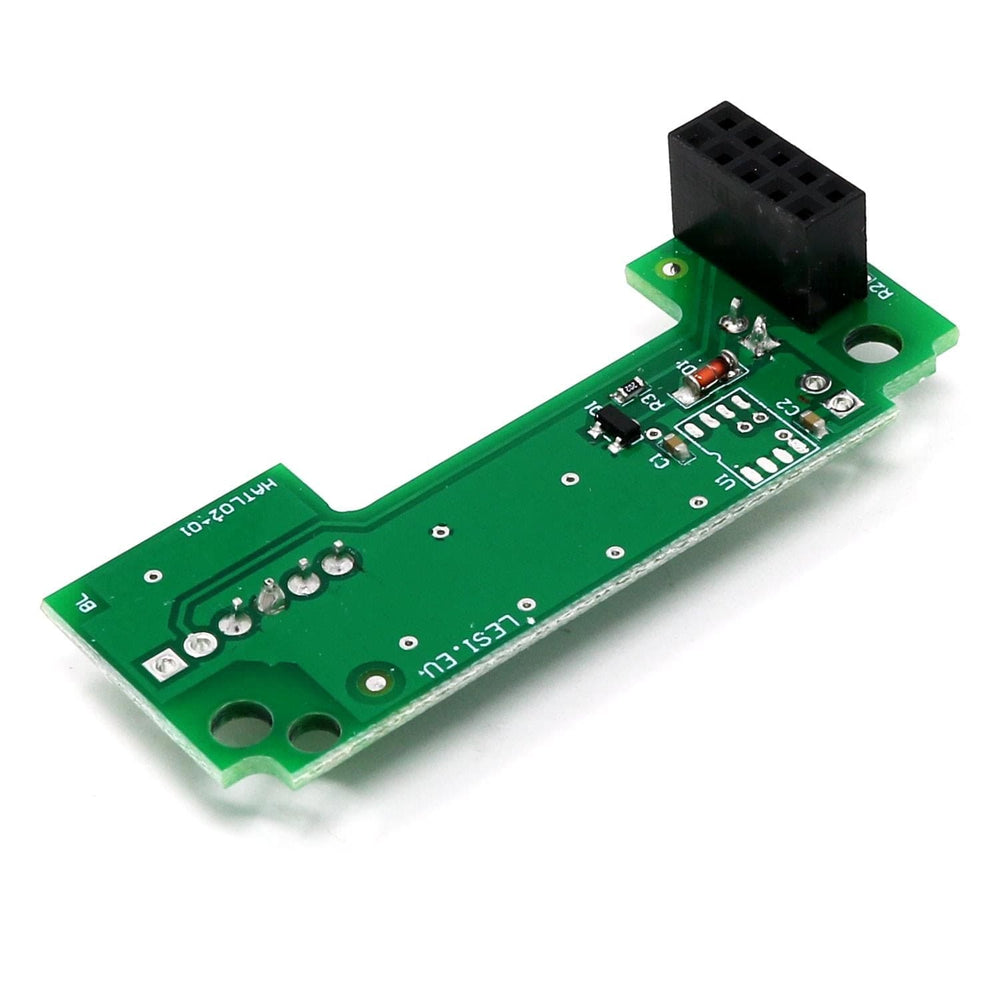
Do you want to extend the life of your fan, reduce its noise and control it automatically? This automatic fan control module allows you to determine the exact CPU temperature to automatically turn your fan on! Place the module on your Raspberry Pi's GPIO header (on pins 1-8), connect your fan to the connector on the top, then run the quick setup detailed below - no coding required!
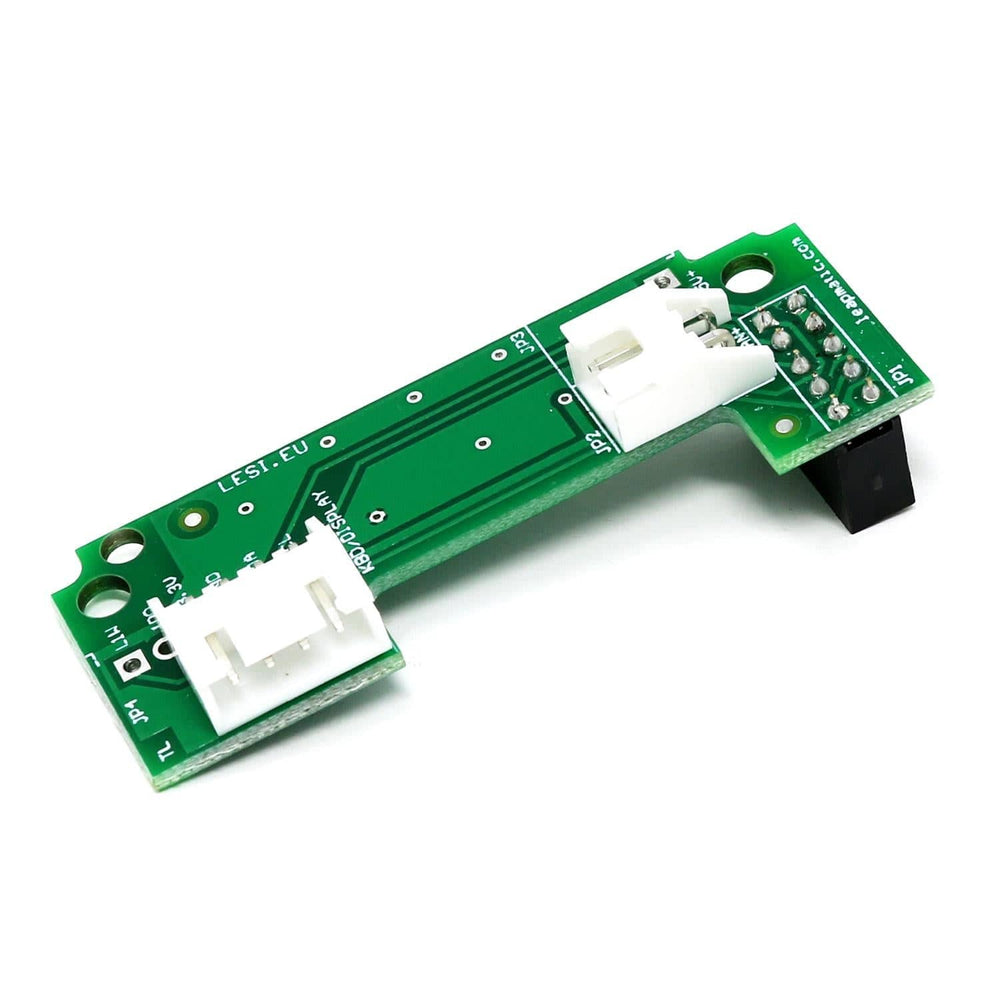
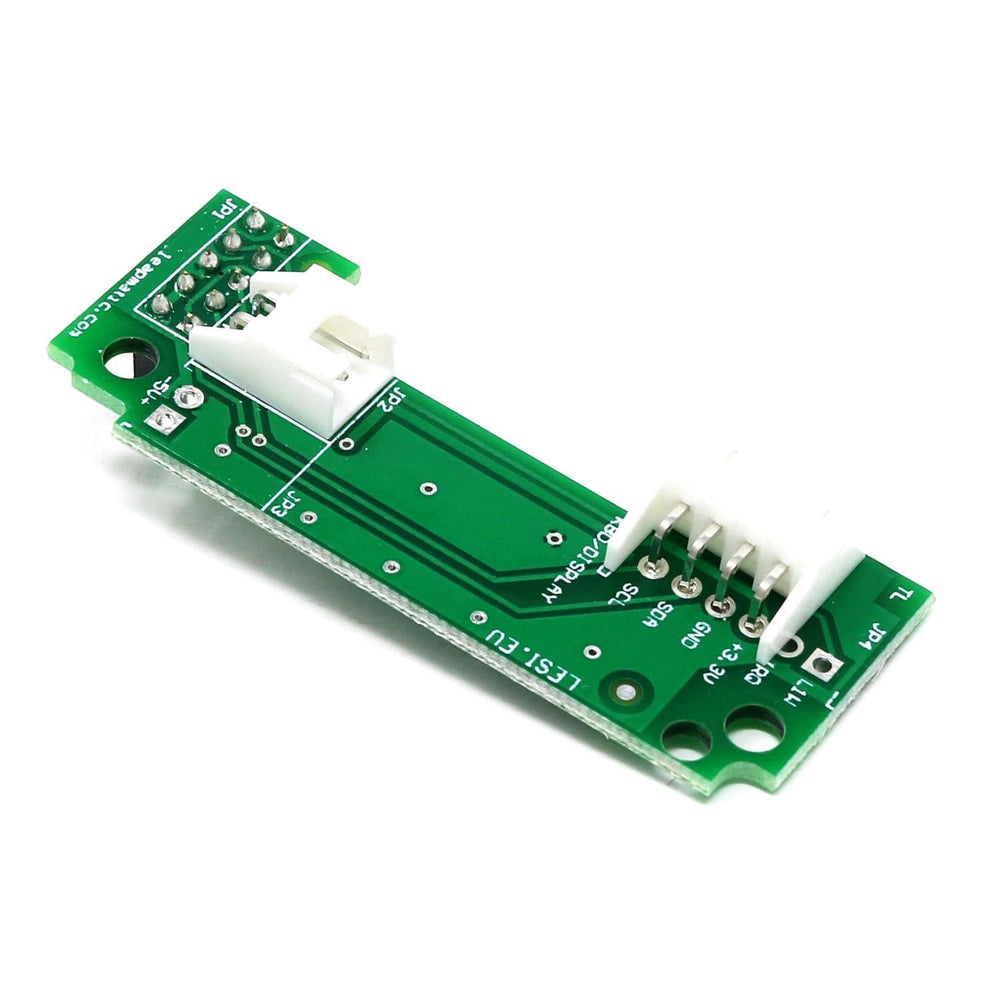
This control module consumes GPIO pins 1-8 (5V, I2C and GPIO14) but also breaks out the 3.3V and I2C lines for use with components such as displays and other modules. If you require access to the other consumed pins, check out the alternative versions below.
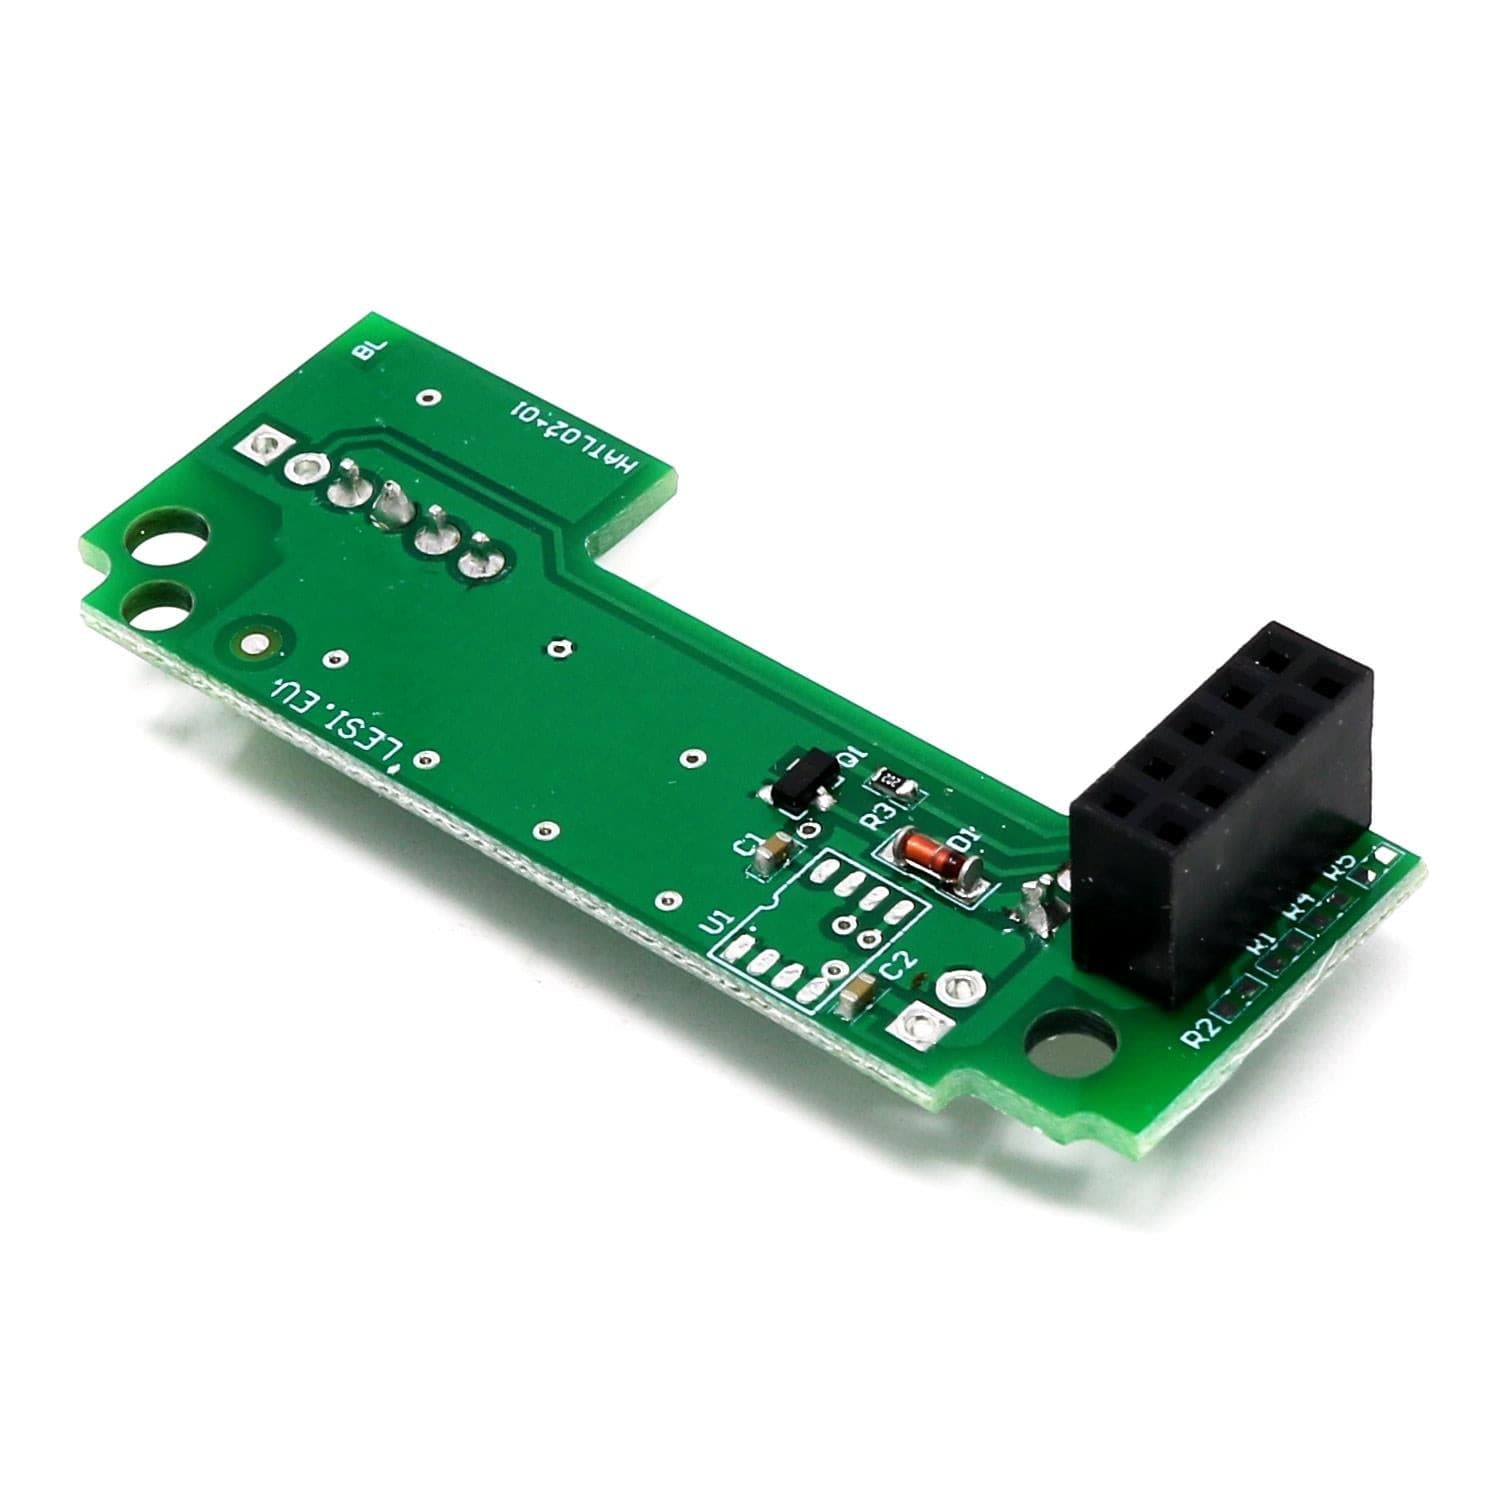
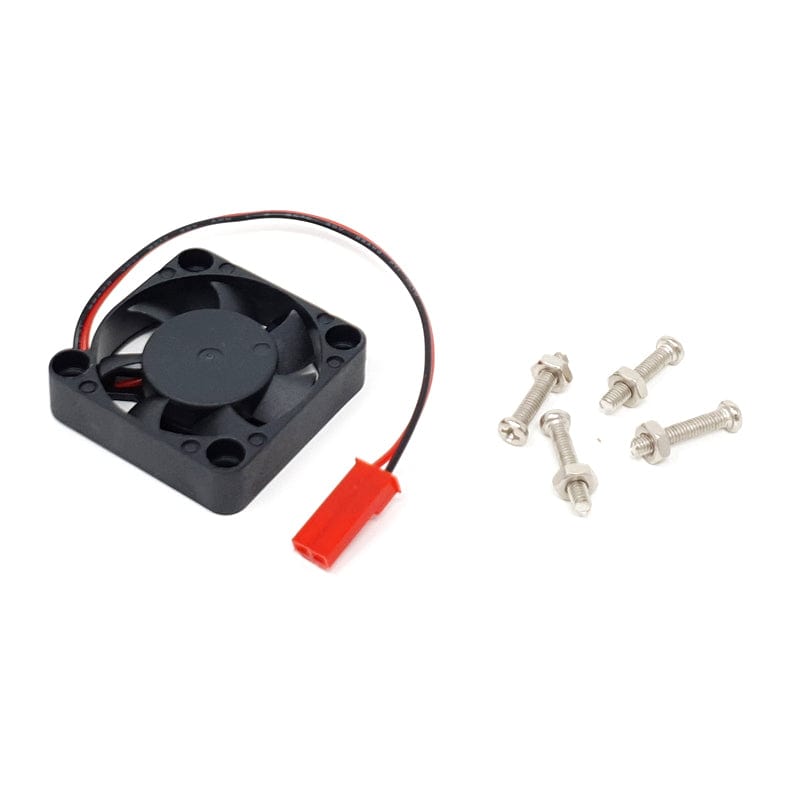
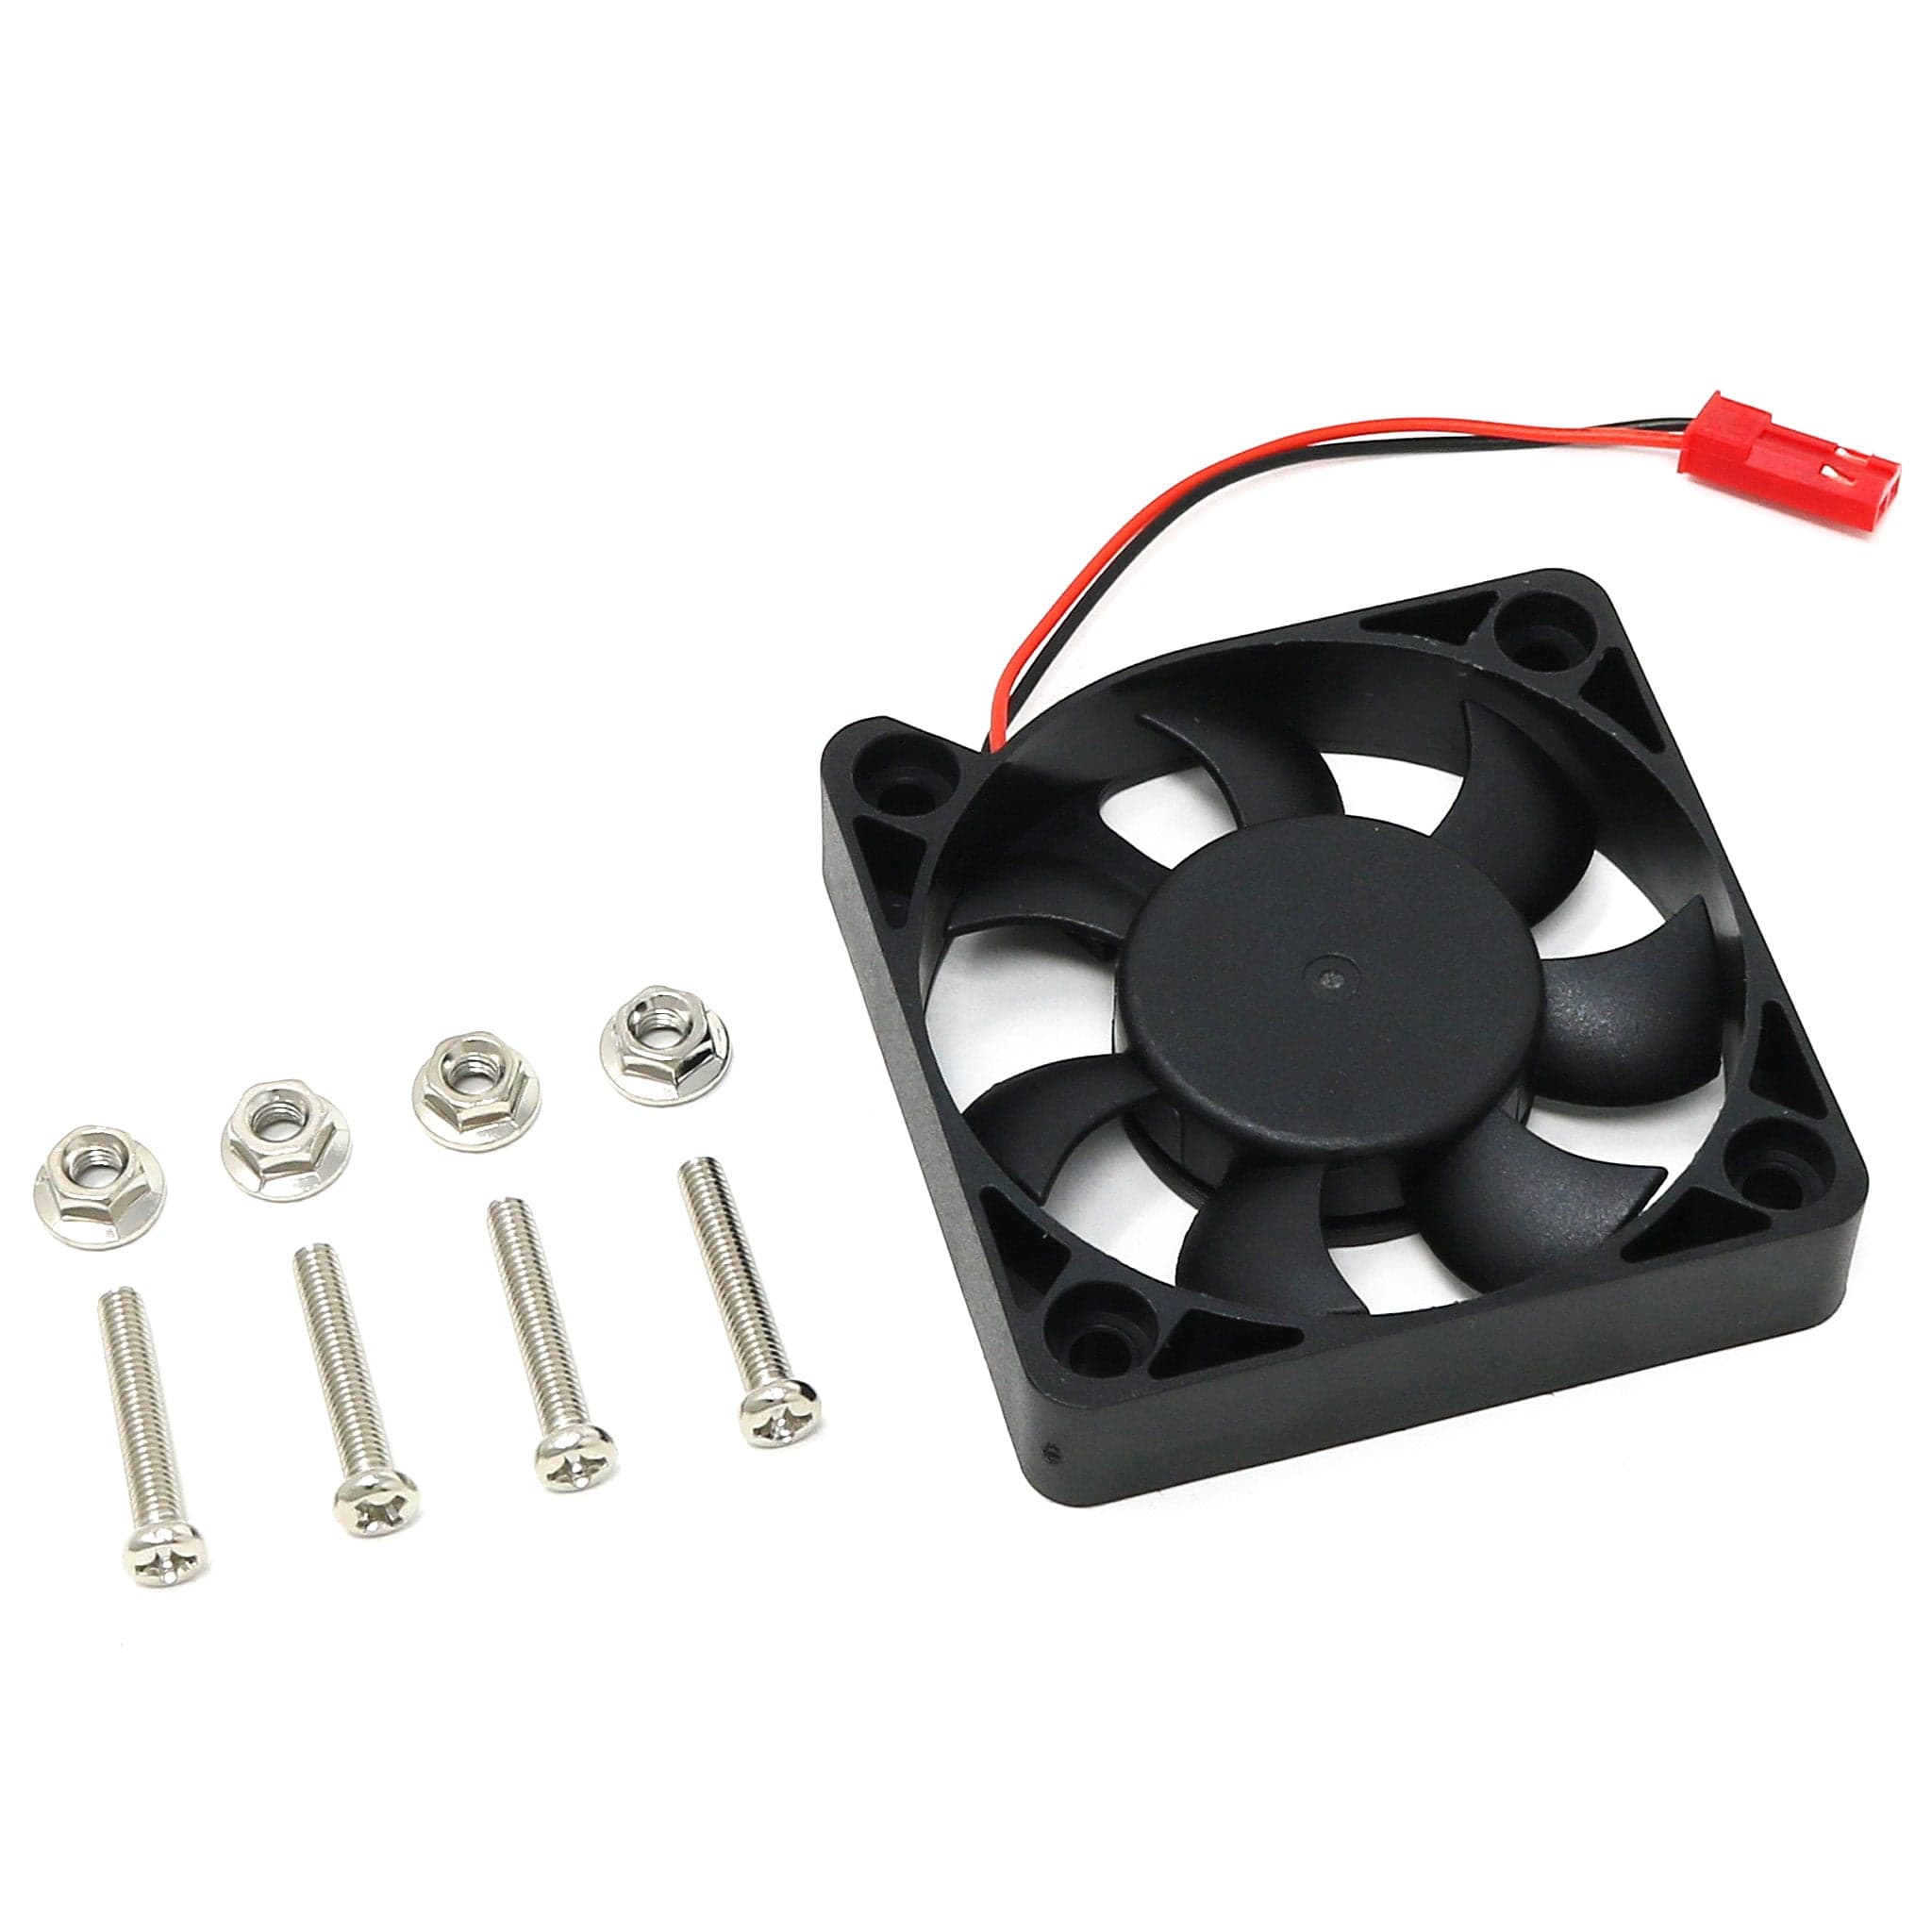
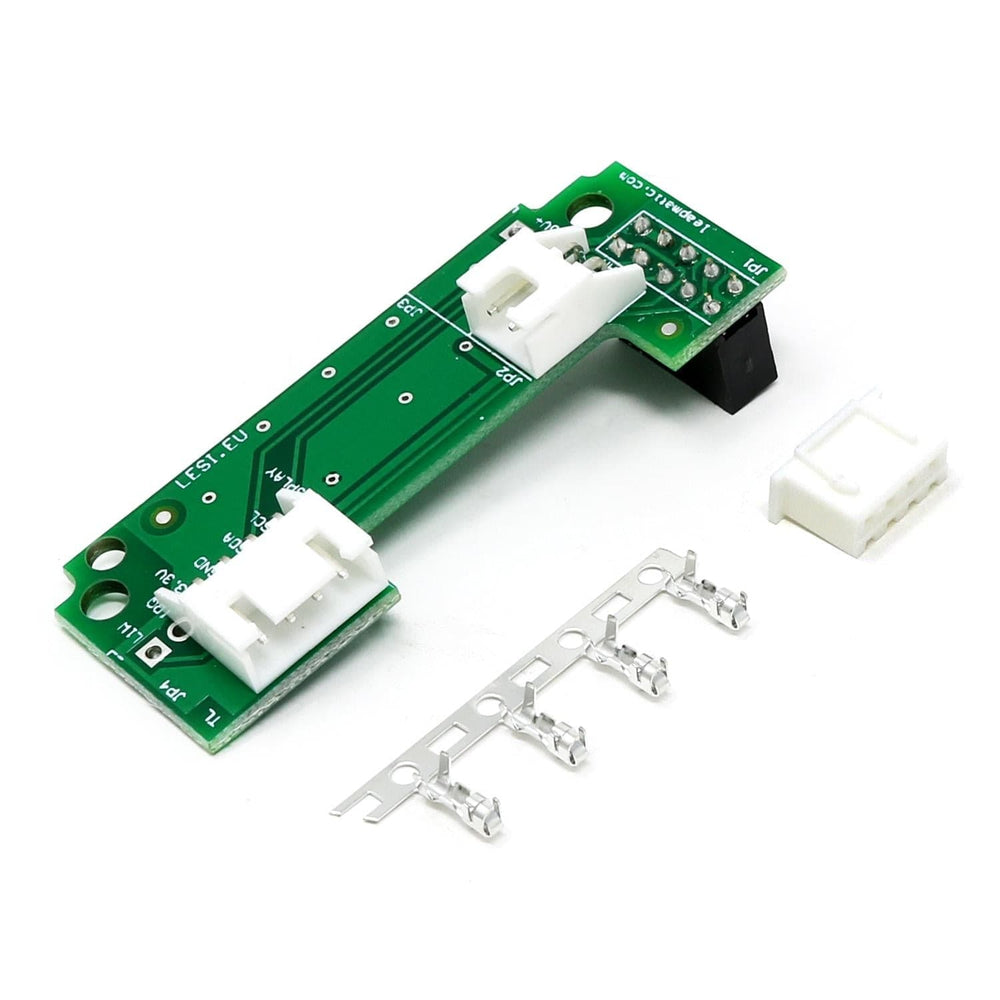
The fan connector accepts a 2.54mm female fan connector (jumper wires) or JST connection.
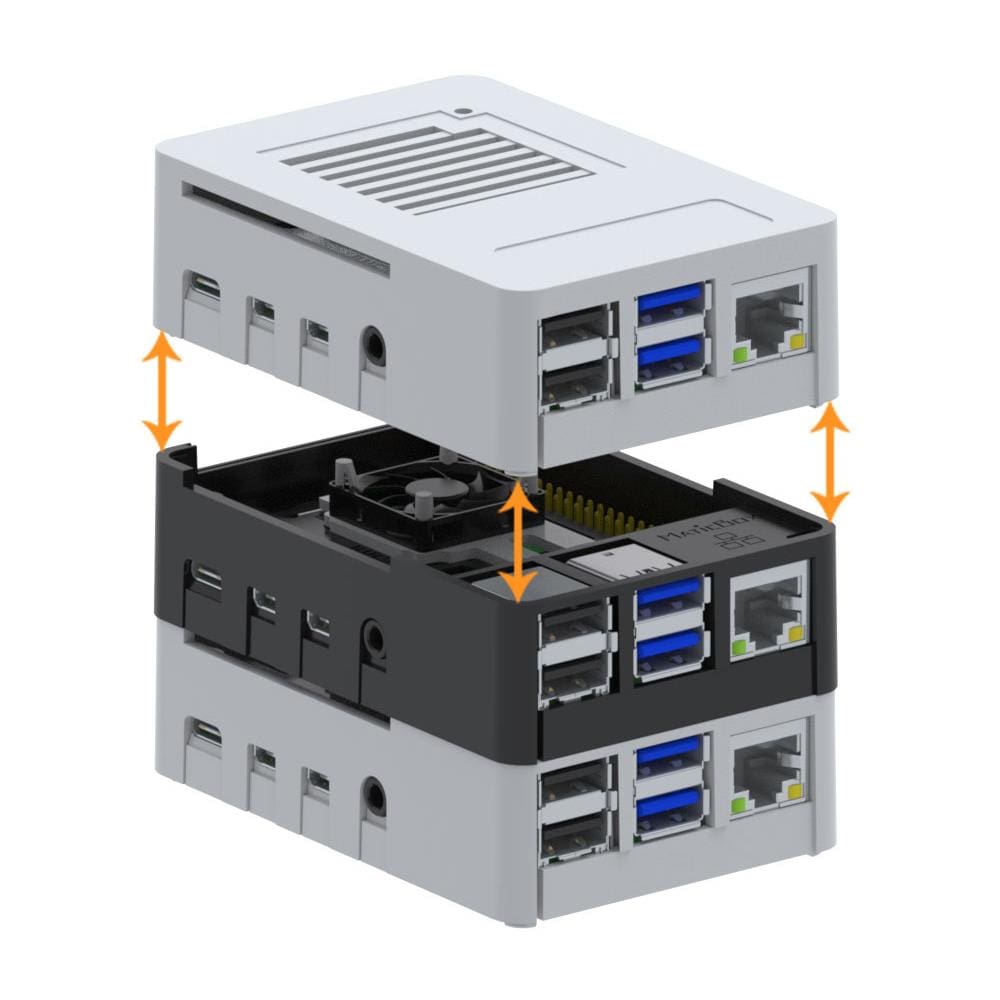
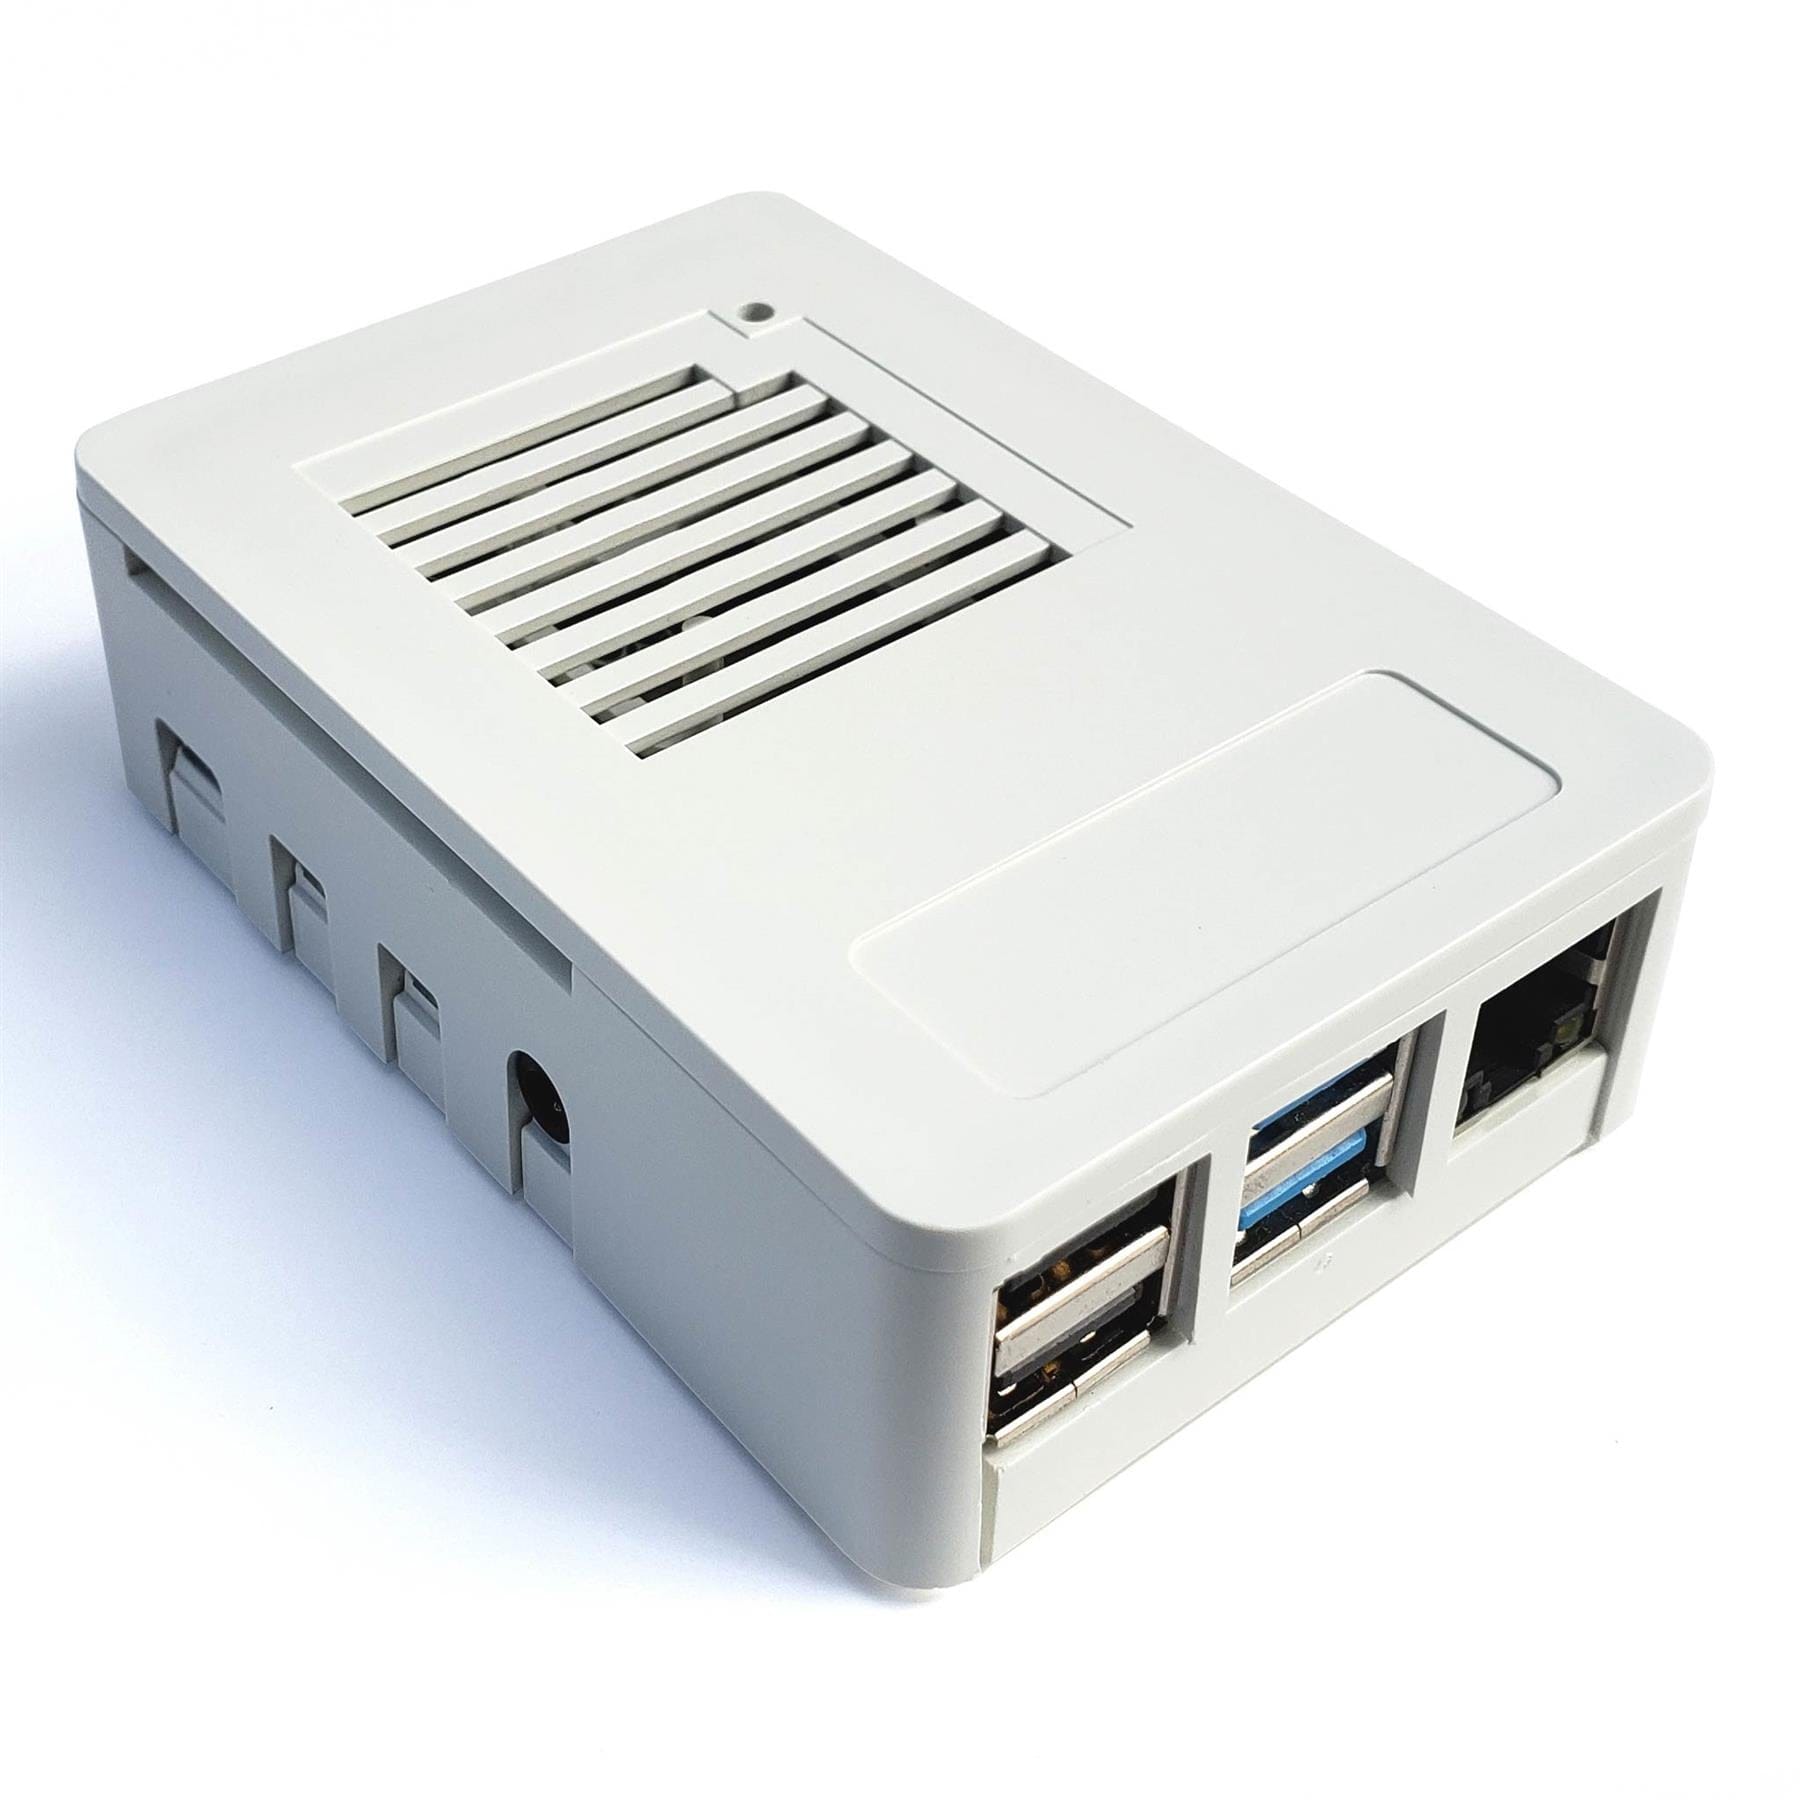
This module is compatible with the LeapMatic MaticBox case with the low-profile and Automation cover. The MaticBox can not be stacked when using this module.
This is the auto fan control module with an additional 3.3V and I2C breakout. We also offer versions of this control module:
Option 1 - via Raspberry Pi OS Desktop
From the Raspberry Desktop, select the main Raspberry Pi icon > Preferences > Raspberry Pi Configuration > Performance tab > Set Fan Enable. Select Fan GPIO 4 and the temperature at which you want the fan to turn on. Save with OK.
When the processor reaches the temperature you set, the fan will turn on. It will turn off when the processor temperature drops 10 degrees below the set temperature. (For example, if you set the 'on' temperature to 75 degrees, the fan will turn off when the processor reaches 65 degrees).
With these few easy steps, you now have automatic fan control!
Option 2 - via Terminal
Open a new terminal window and type the following command, followed by Enter:
sudo raspi-config
This will open a graphical menu where you need to choose Performance Options > Fan. It will then ask you if you want to enable fan temperature control - select “Yes” and then enter '4' for GPIO 4. Then set the desired threshold temperature for the fan to turn on.
Please ensure the module is fitted as per the image below:

Note: Raspberry Pi and fan not included!
Your payment information is processed securely. We do not store credit card details nor have access to your credit card information.