Tall Aluminium Heatsink & Fan for Raspberry Pi Compute Module 4 (CM4)
Price:
Sale price
£8.50
Stock:
Quantity:
Login / Signup
Cart
Your cart is empty


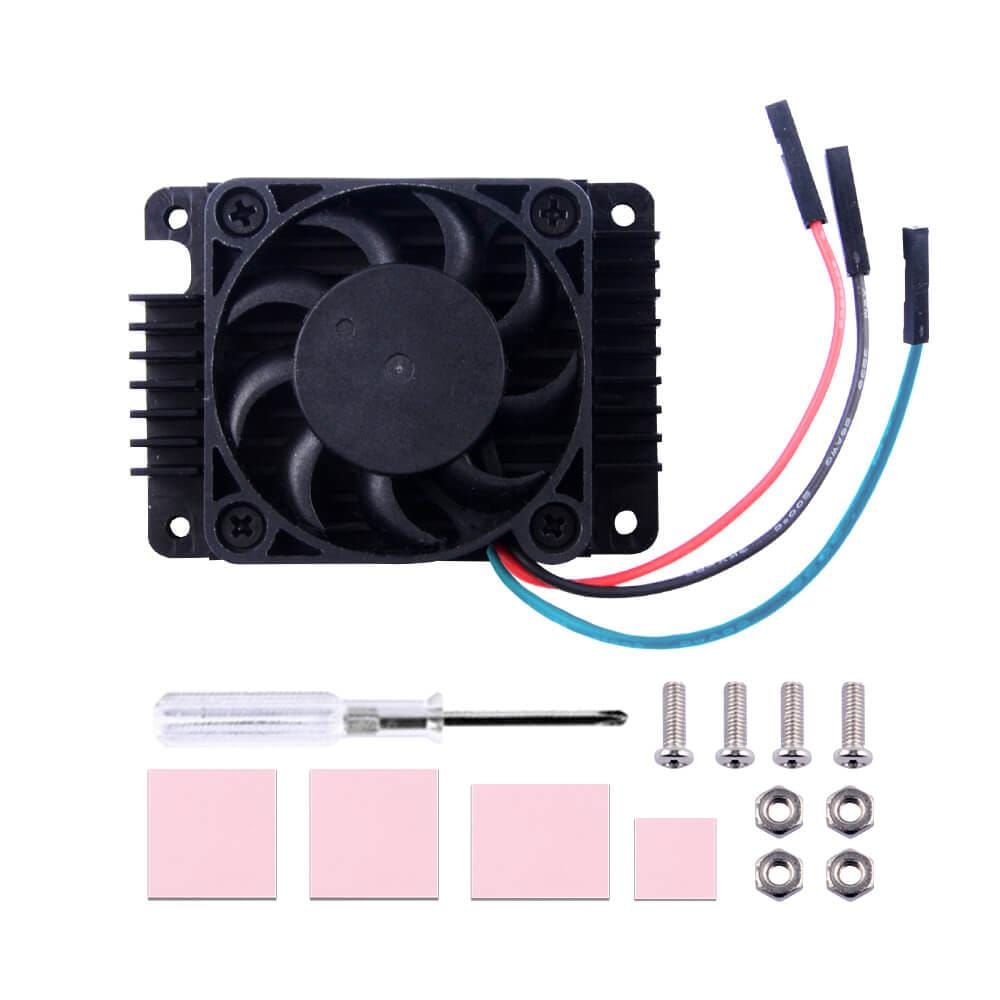


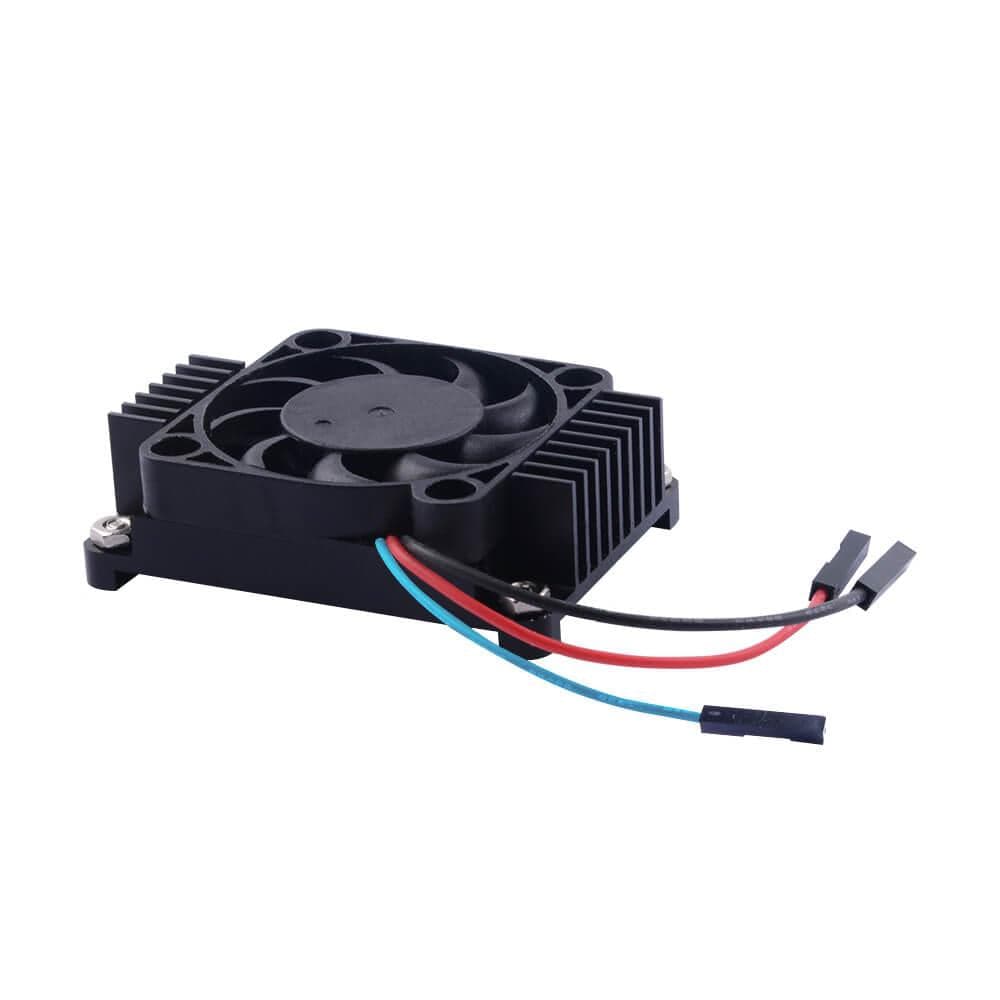
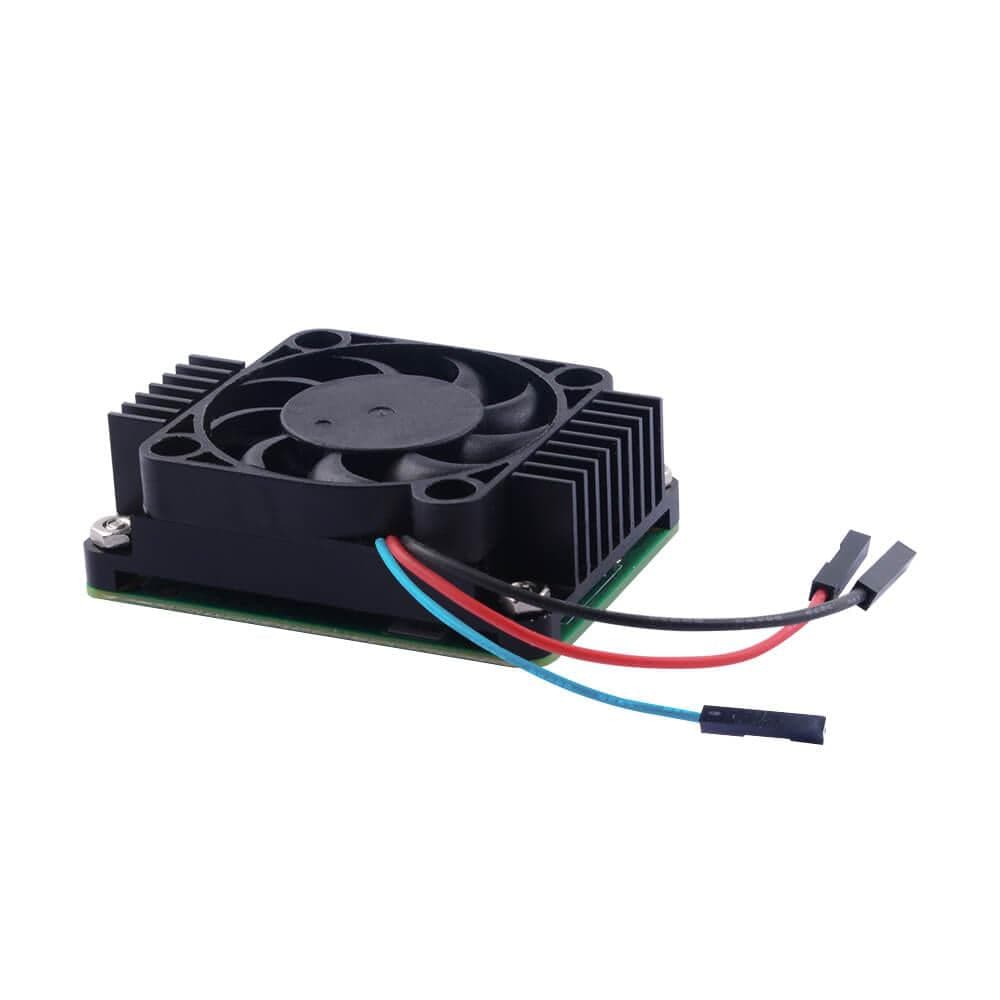
This tall heatsink + programmable fan combo for the Raspberry Pi Compute Module 4 is the ideal choice for those looking for the ultimate cooling aid for their CM4 whilst having control over fan noise via code.
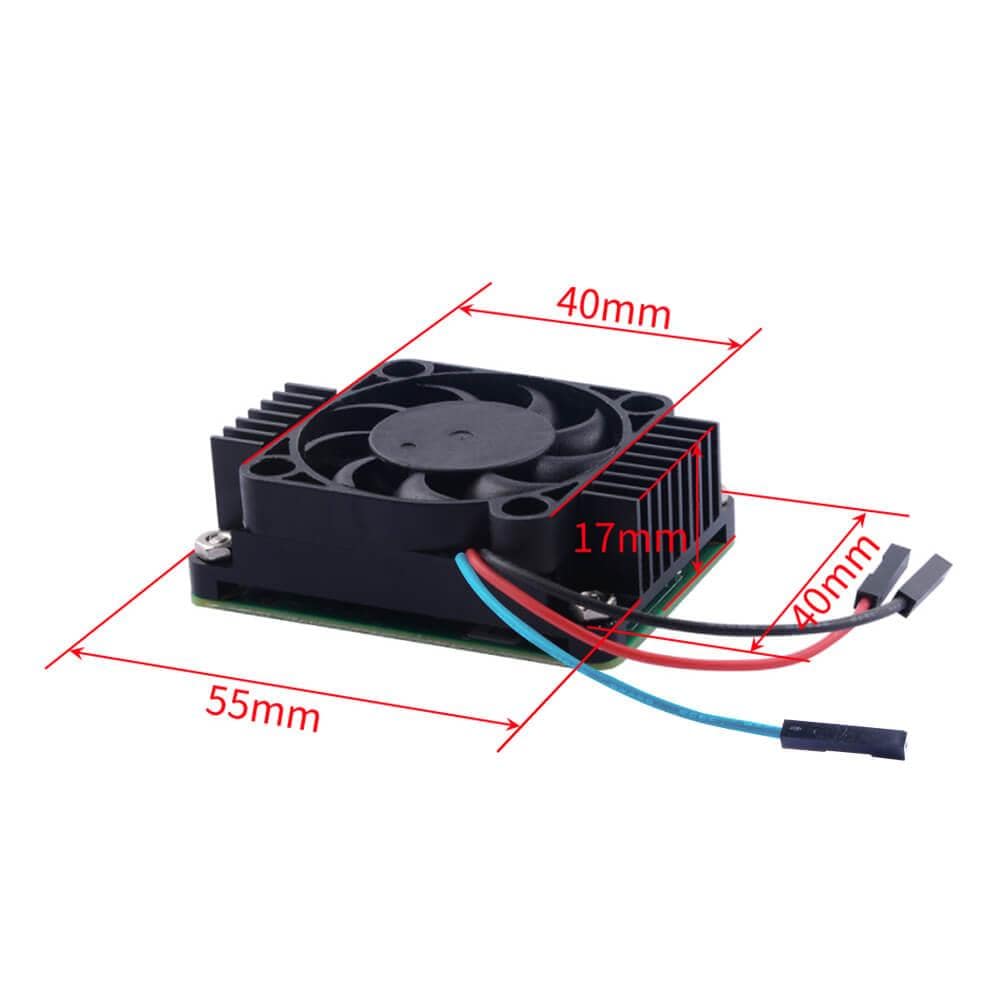
Standing at 17mm tall (from the base mounting points), this unit will cool your CM4 silently until your set temperature threshold, at which point the fan will kick in as the heatsink's trust sidekick! The CM4 heatsink comes with fixings, thermal tape and a mini-screwdriver.
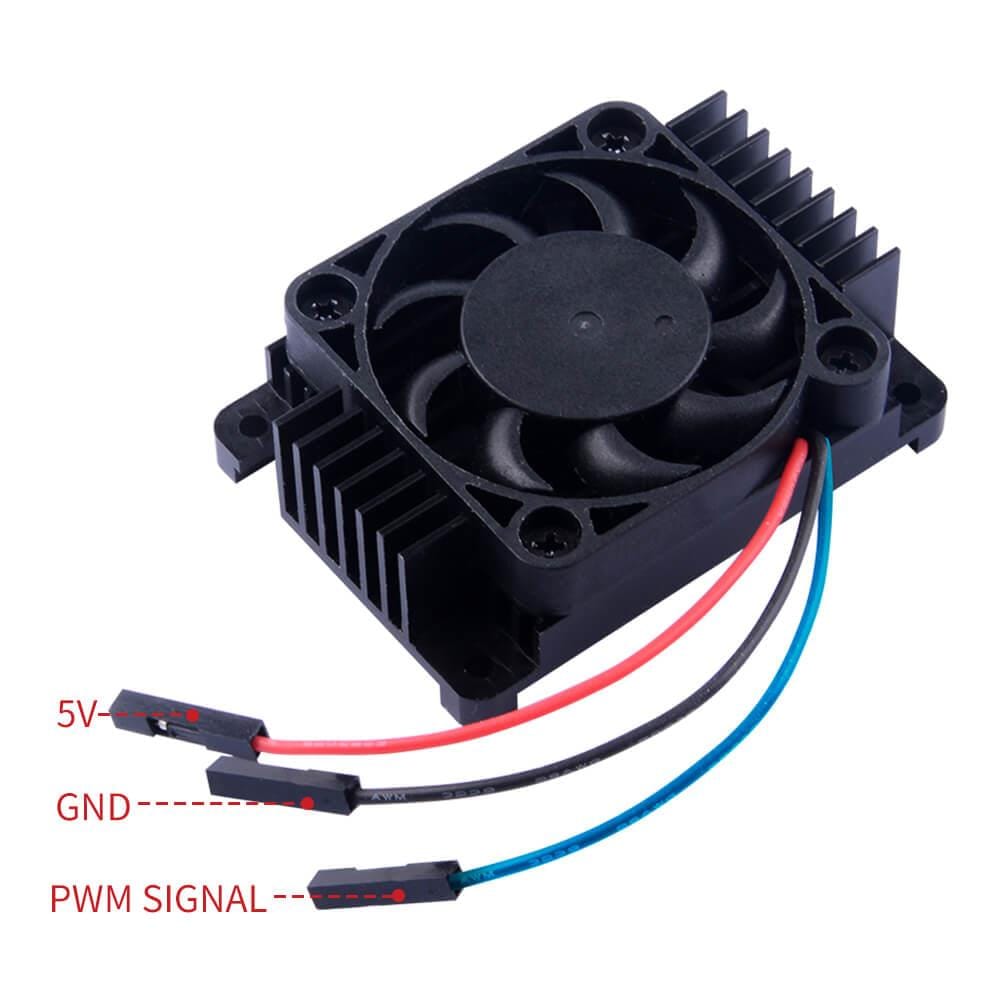
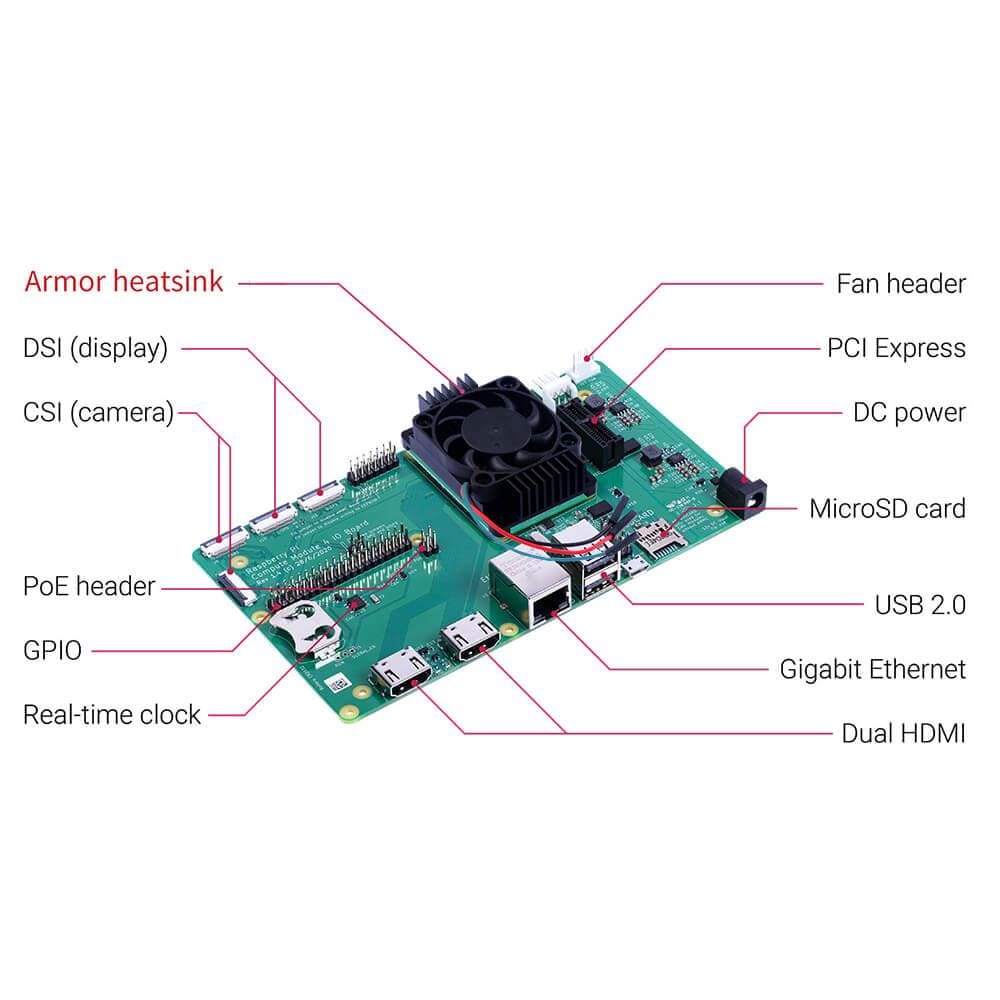
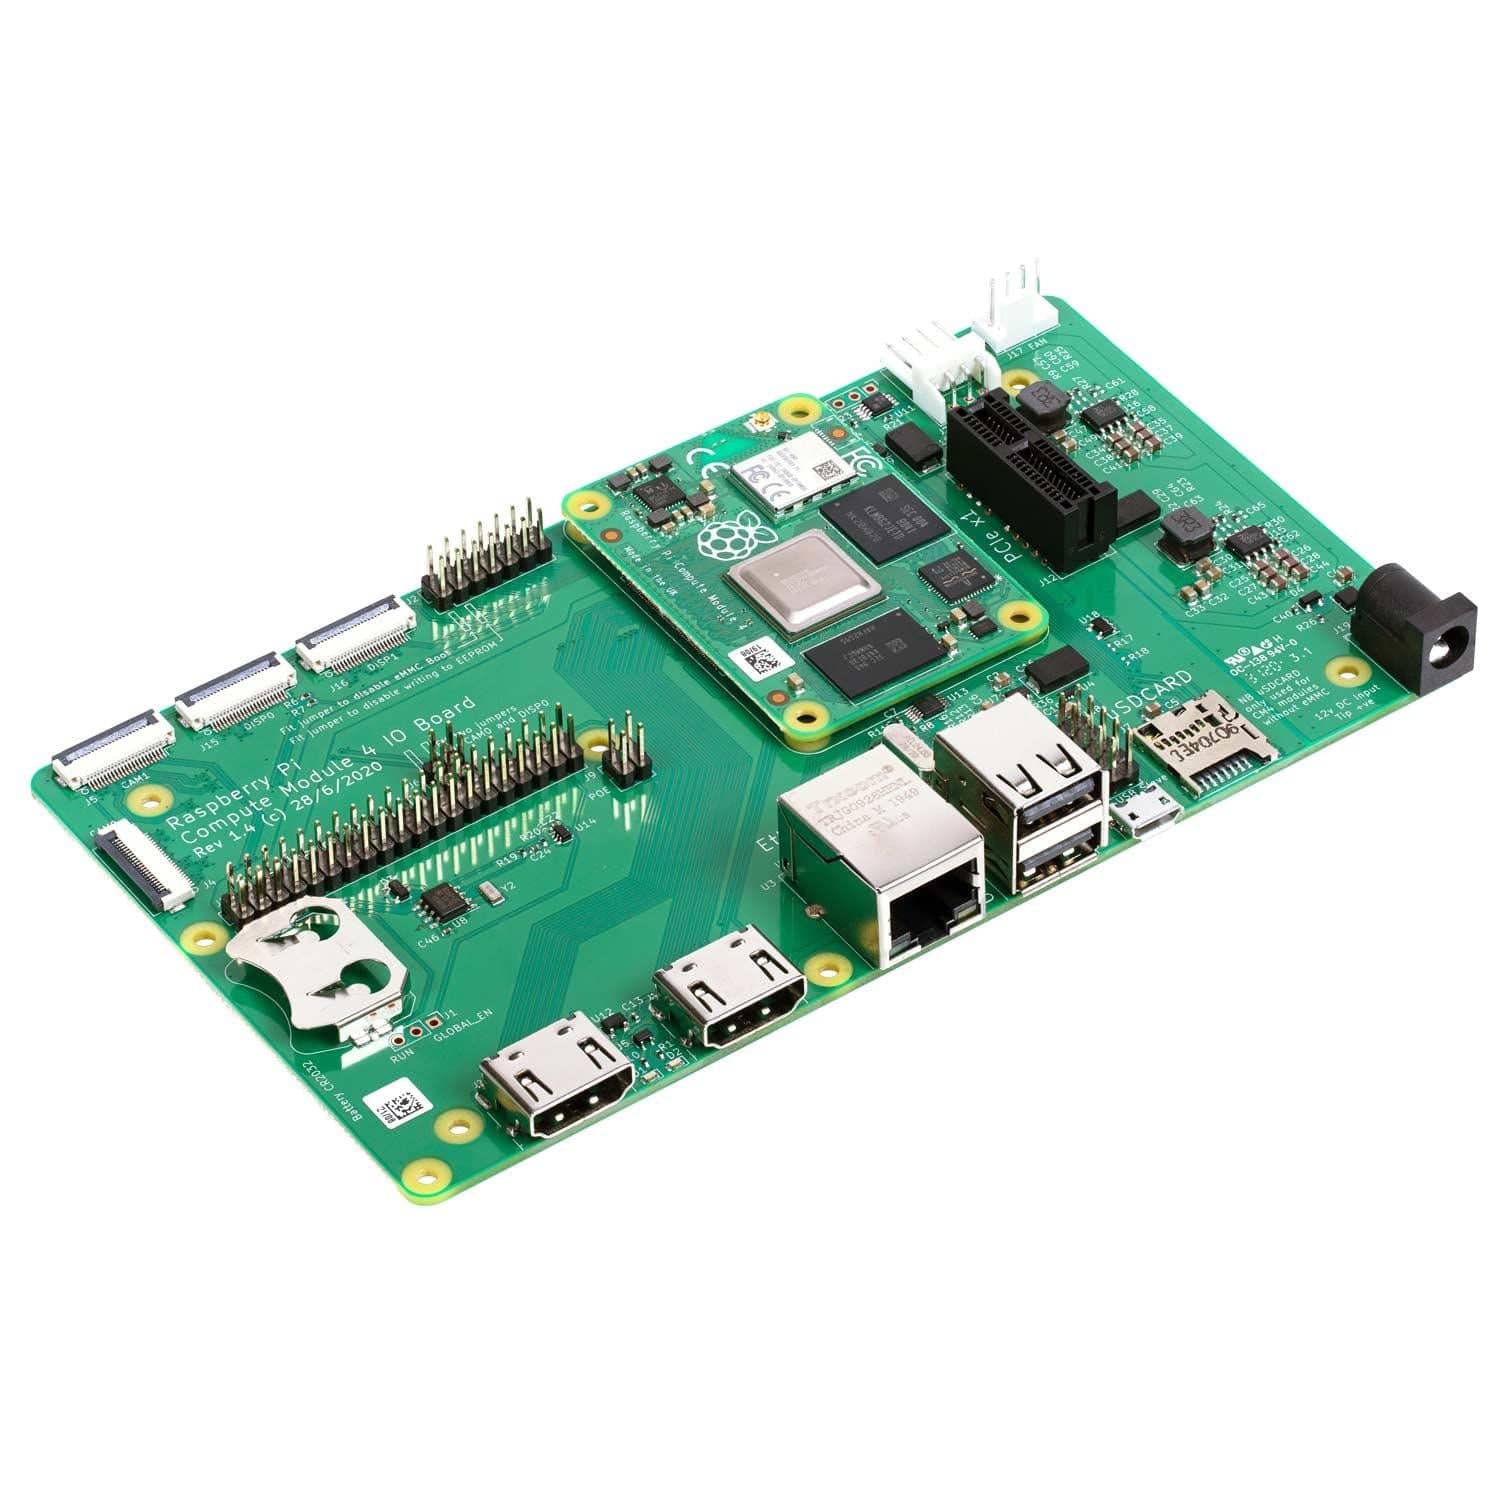
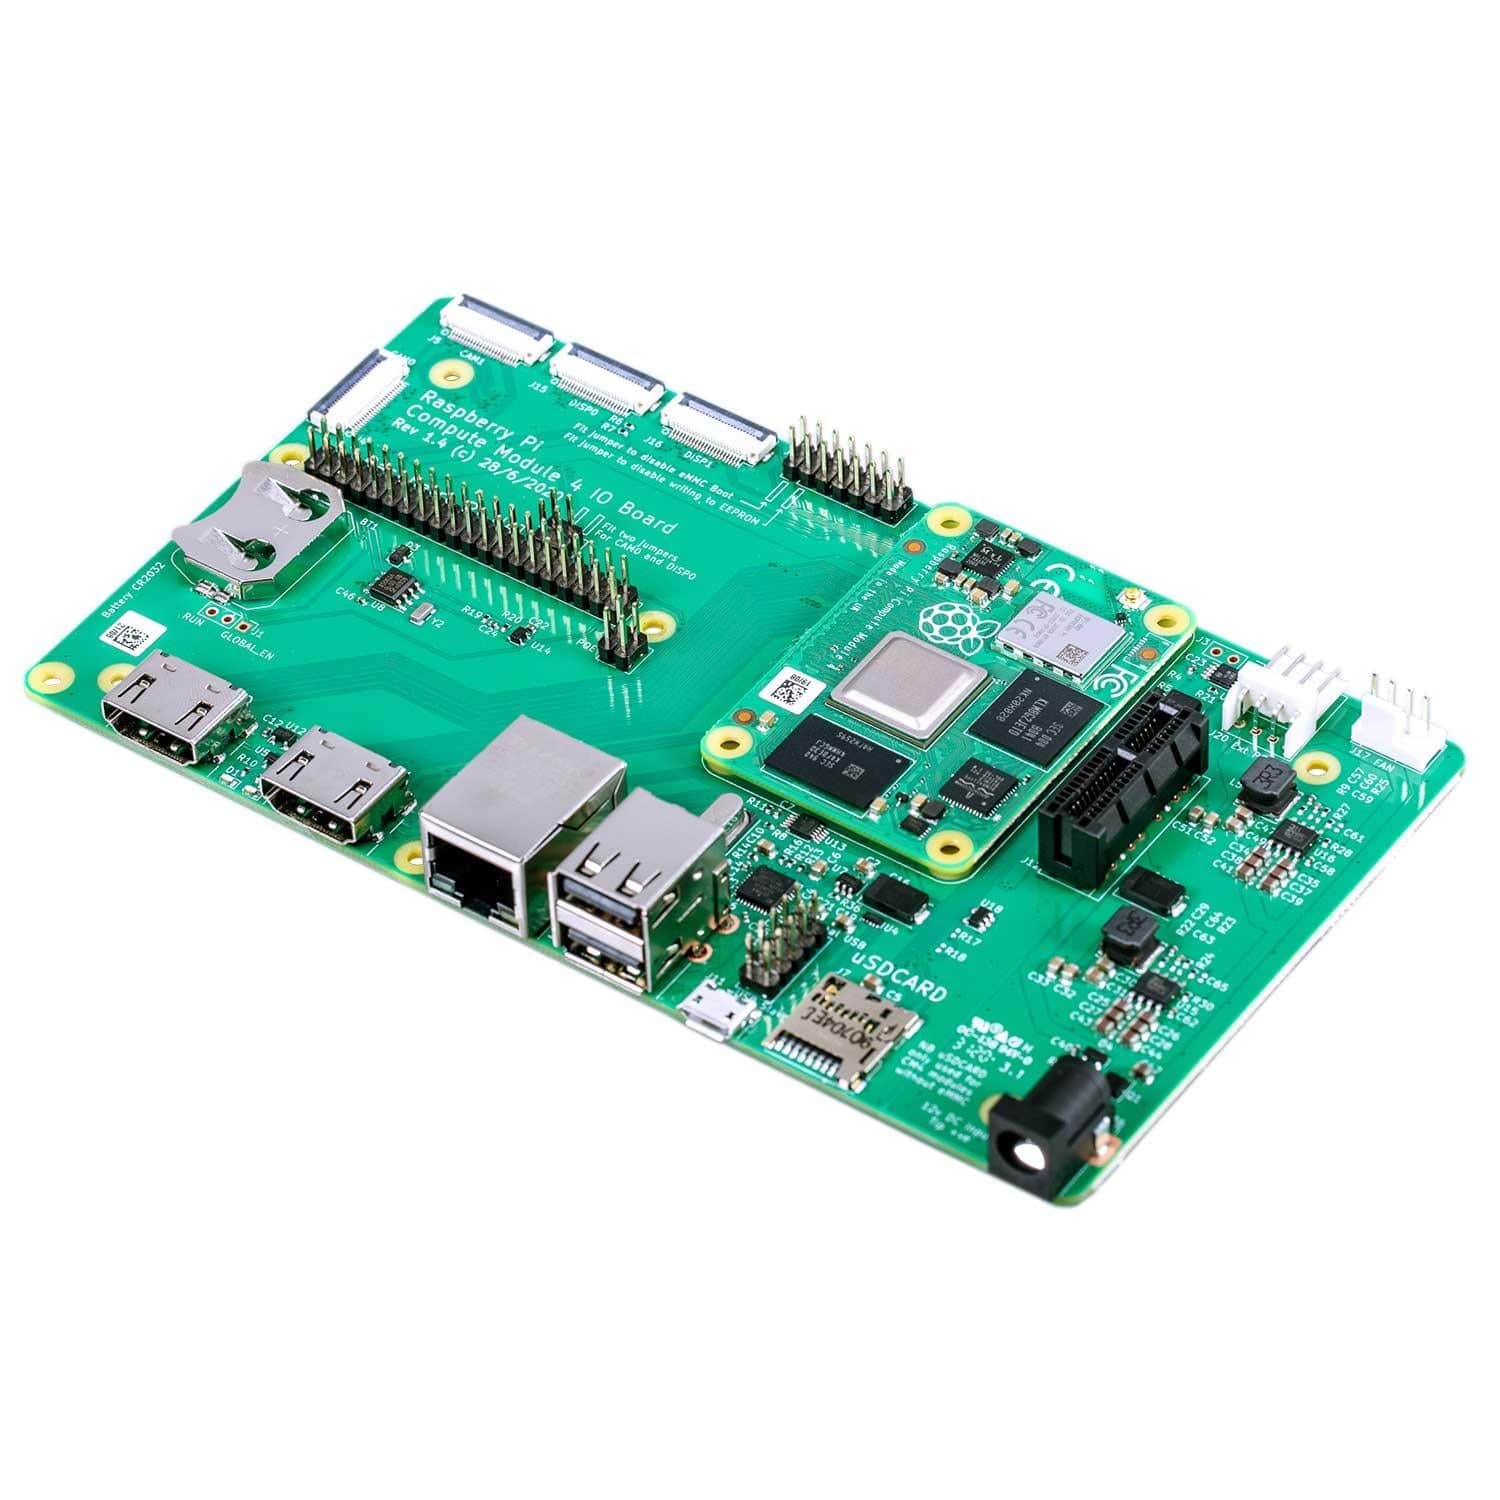
The fan has three wires, 5V, GND and a signal wire that is intended for GPIO18 (Physical pin 12) to allow PWM (code) control of the fan speed/activity. The heatsink is intended to be installed on the Raspberry Pi Compute Module 4 IO board as this provides a pin connection.
A low-profile CM4 heatsink and a tall version without a fan is also available.
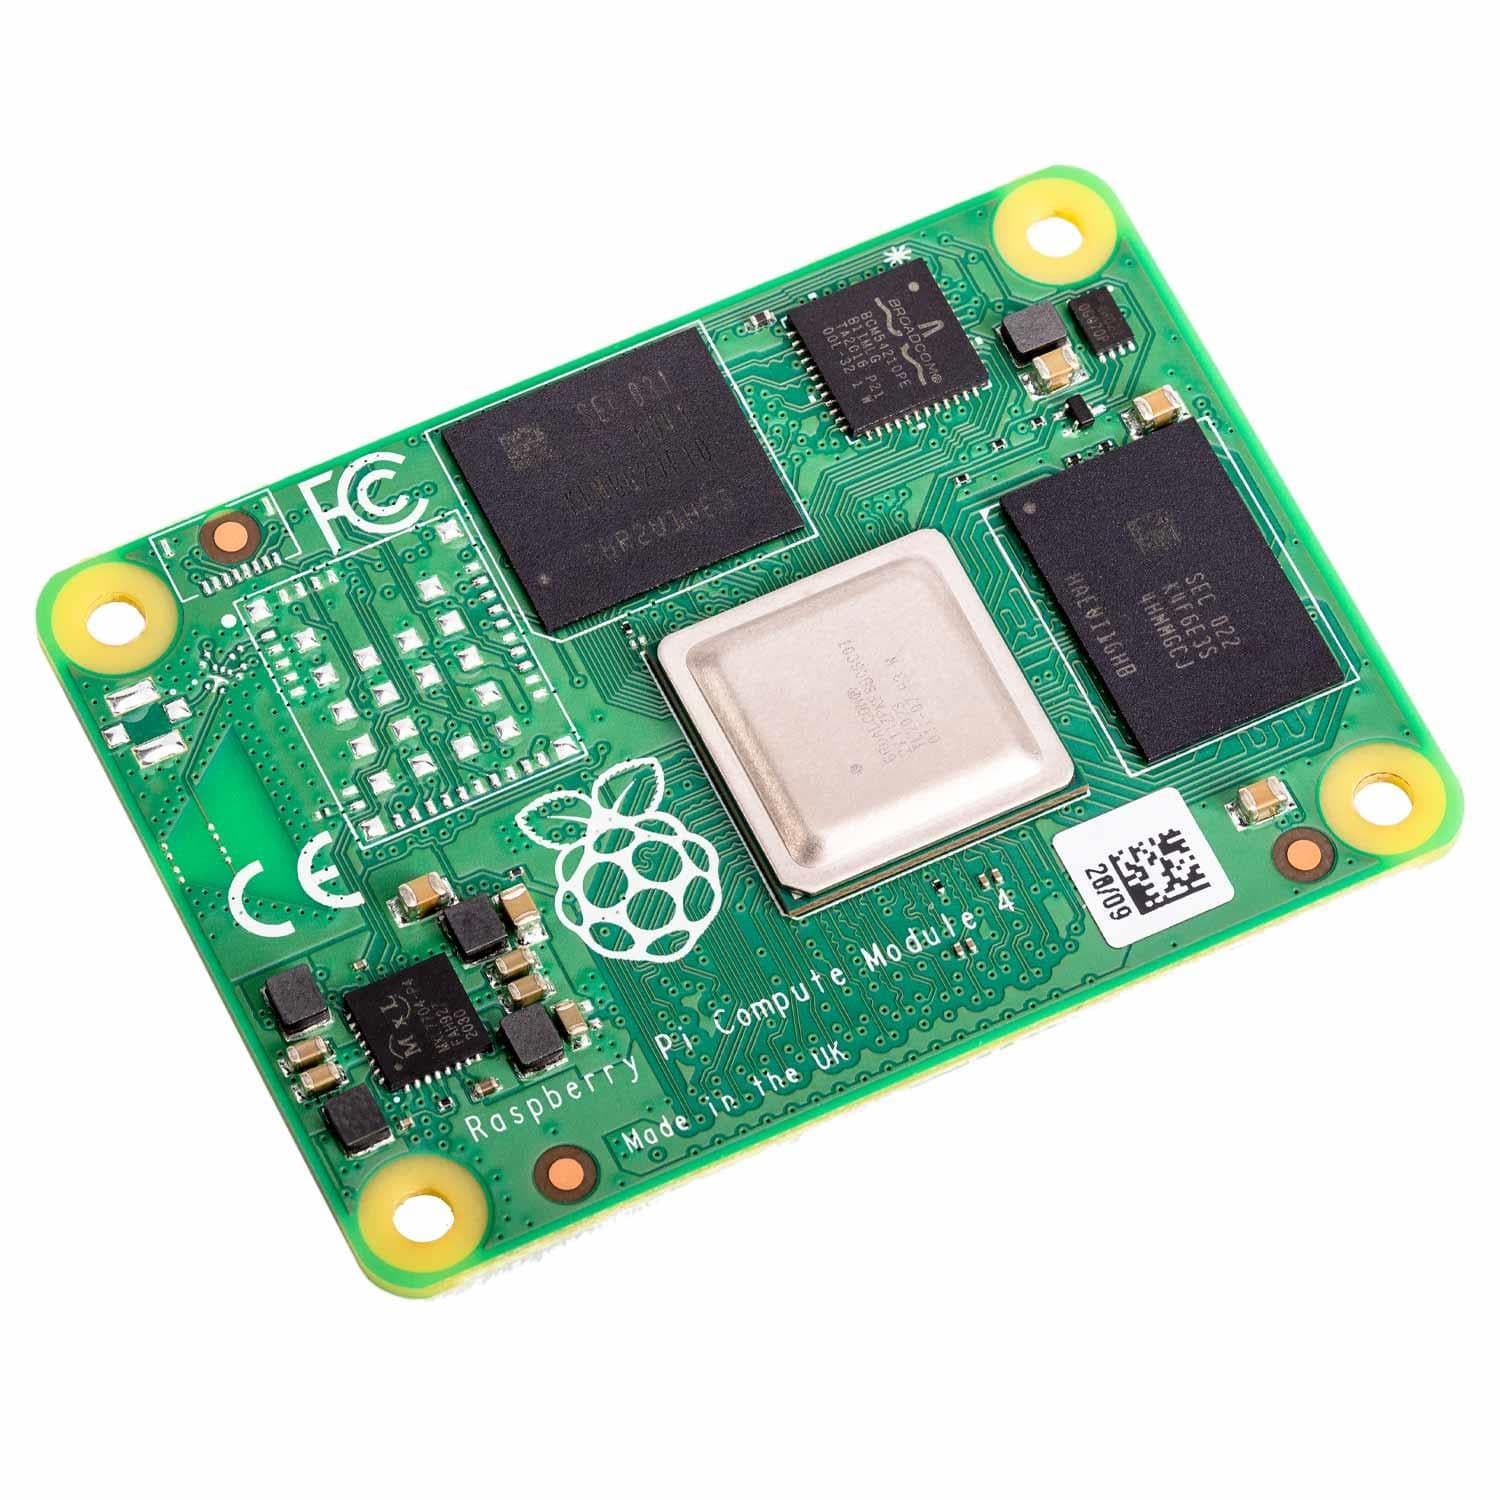
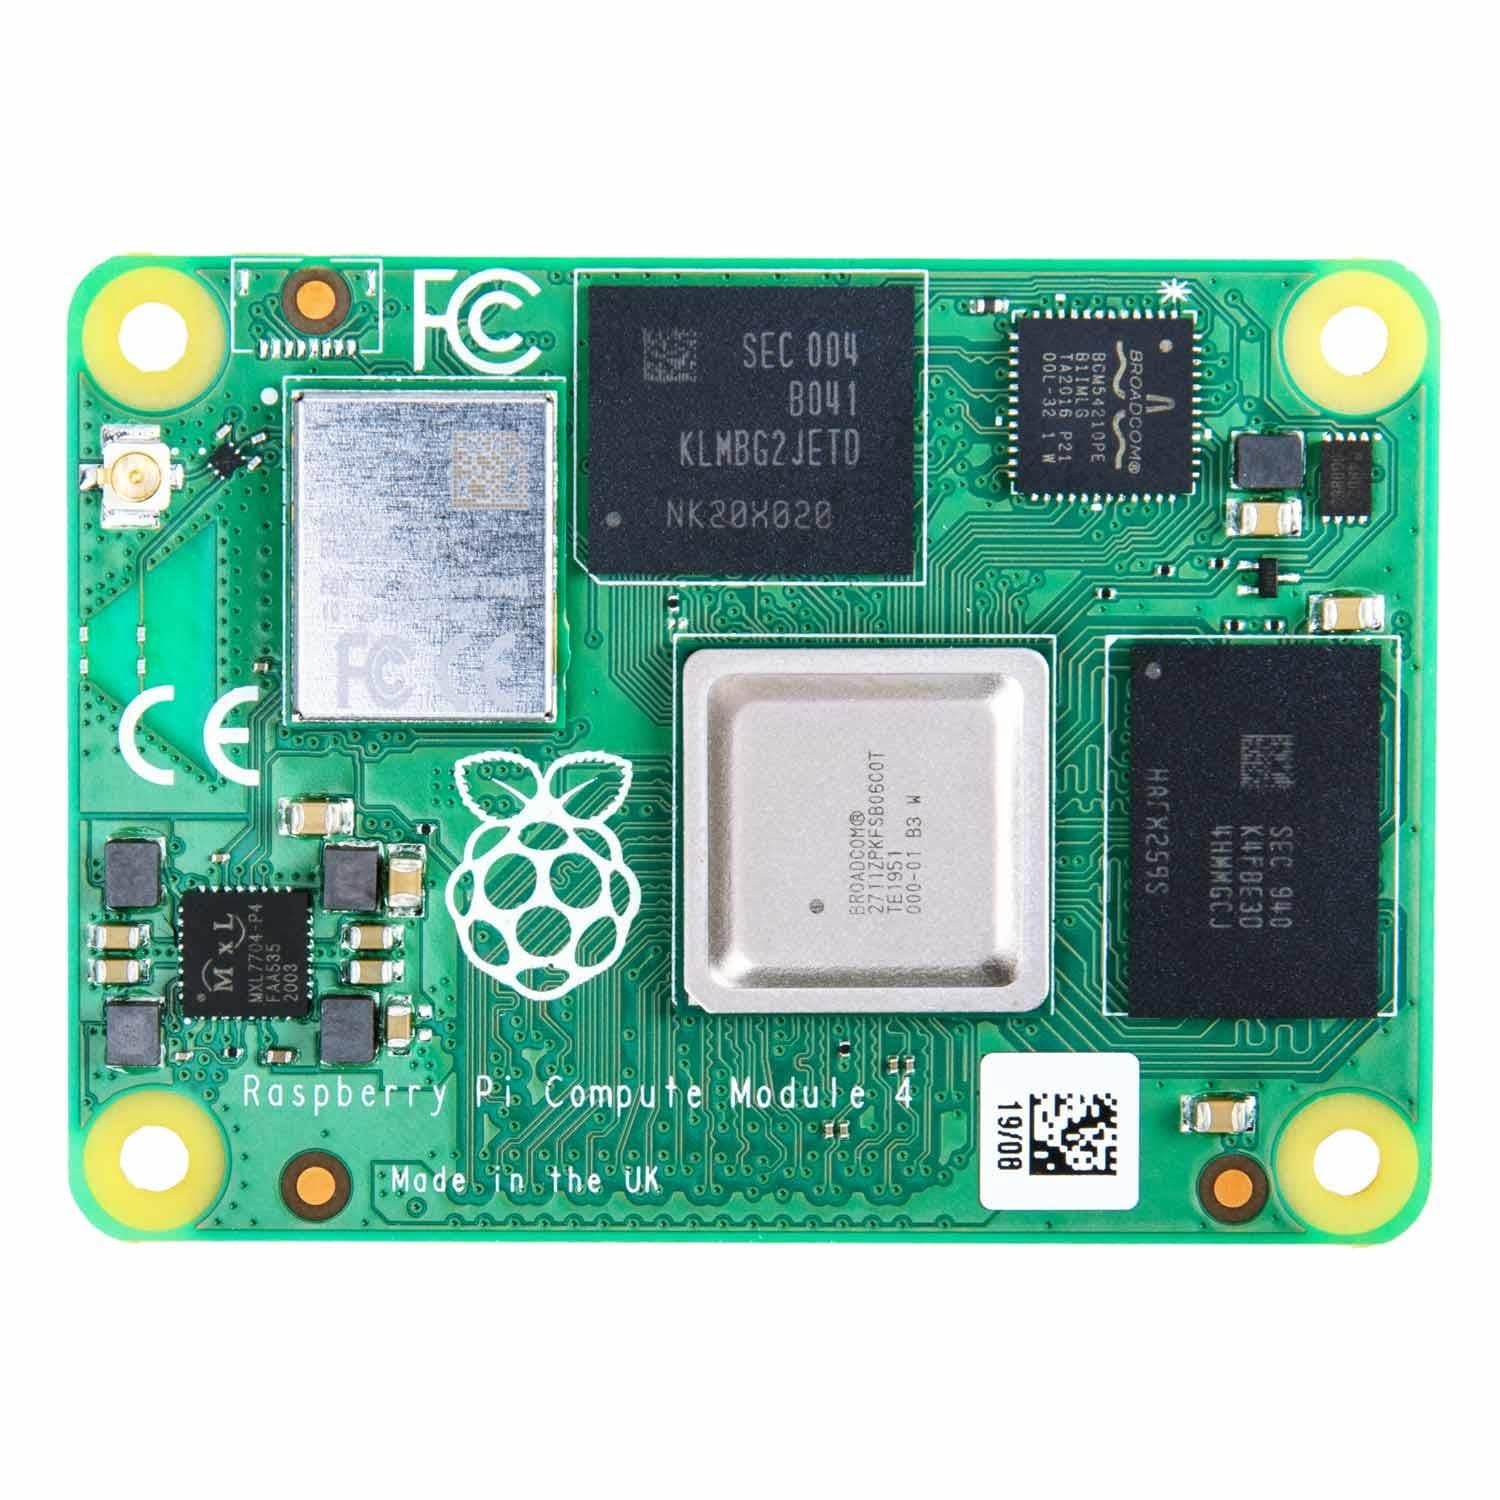
CM4 and IO board not included

sudo raspi-config
pip freeze |grep RPi.GPIO
If the feedback is similar to below (showing a version number), it means the library is installed:
RPi.GPIO==0.7.0
import RPi.GPIO as GPIO import time import subprocess GPIO.setmode(GPIO.BCM) GPIO.setup(14, GPIO.OUT) pwm = GPIO.PWM(14,100) print("\nPress Ctrl+C to quit \n") dc = 0 pwm.start(dc) try: while True: temp = subprocess.getoutput("vcgencmd measure_temp|sed 's/[^0-9.]//g'") if round(float(temp)) >= 65: dc = 100 pwm.ChangeDutyCycle(dc) time.sleep(0.05) else: dc = 0 pwm.ChangeDutyCycle(dc) time.sleep(0.05) except KeyboardInterrupt: pwm.stop() GPIO.cleanup() print("Ctrl + C pressed -- Ending program")
python3 pwm-fan-control.py
Your payment information is processed securely. We do not store credit card details nor have access to your credit card information.