Login / Signup
Cart
Your cart is empty
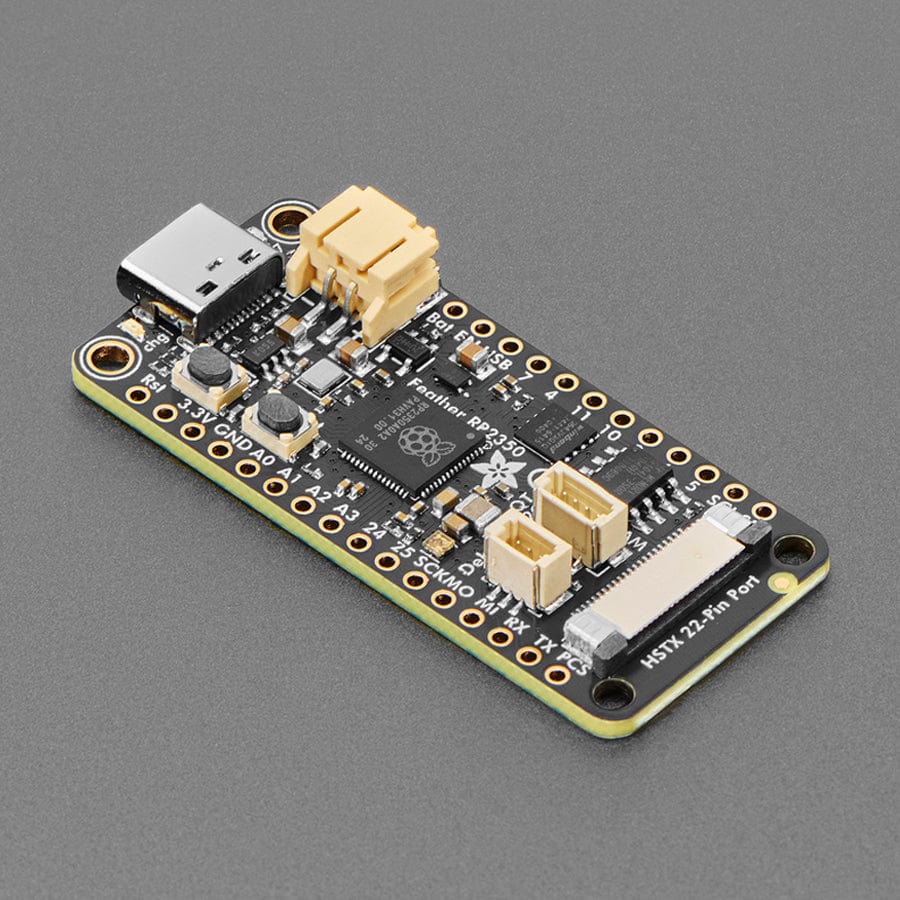
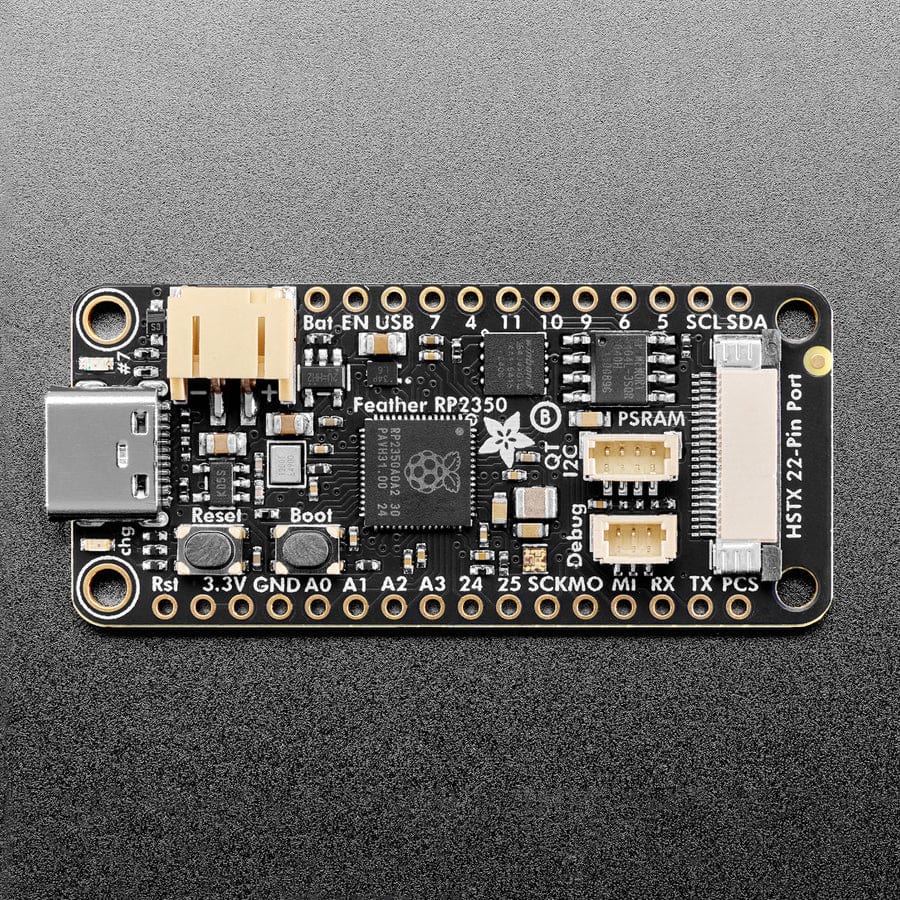
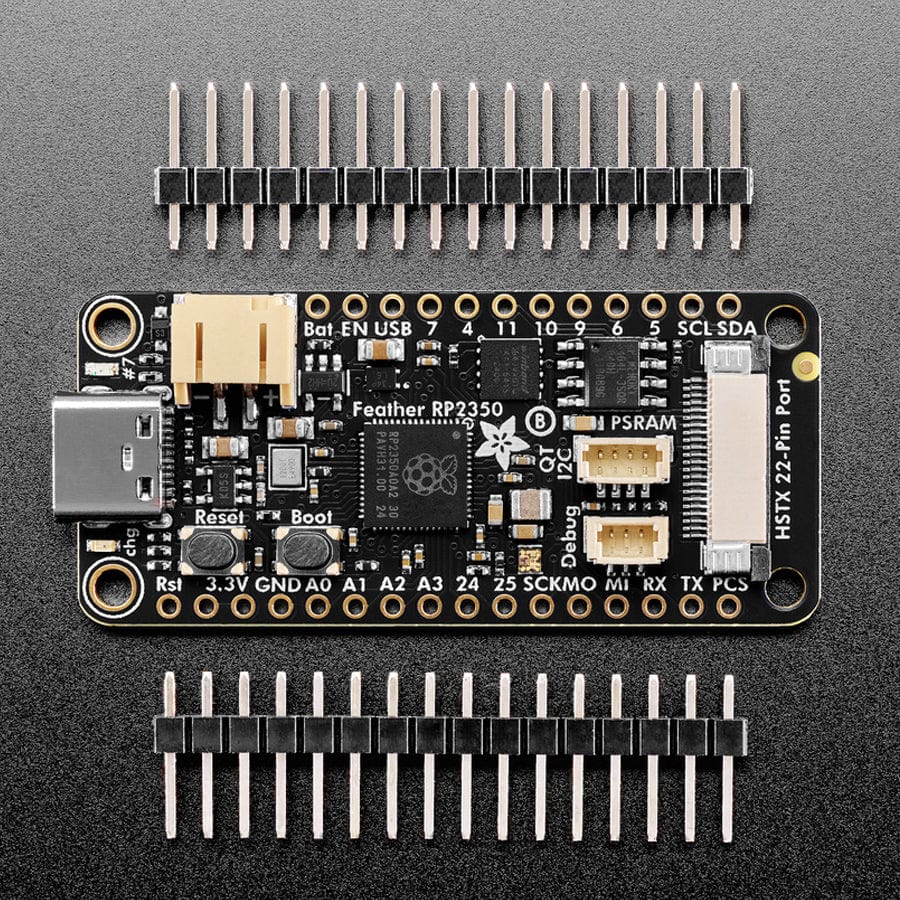
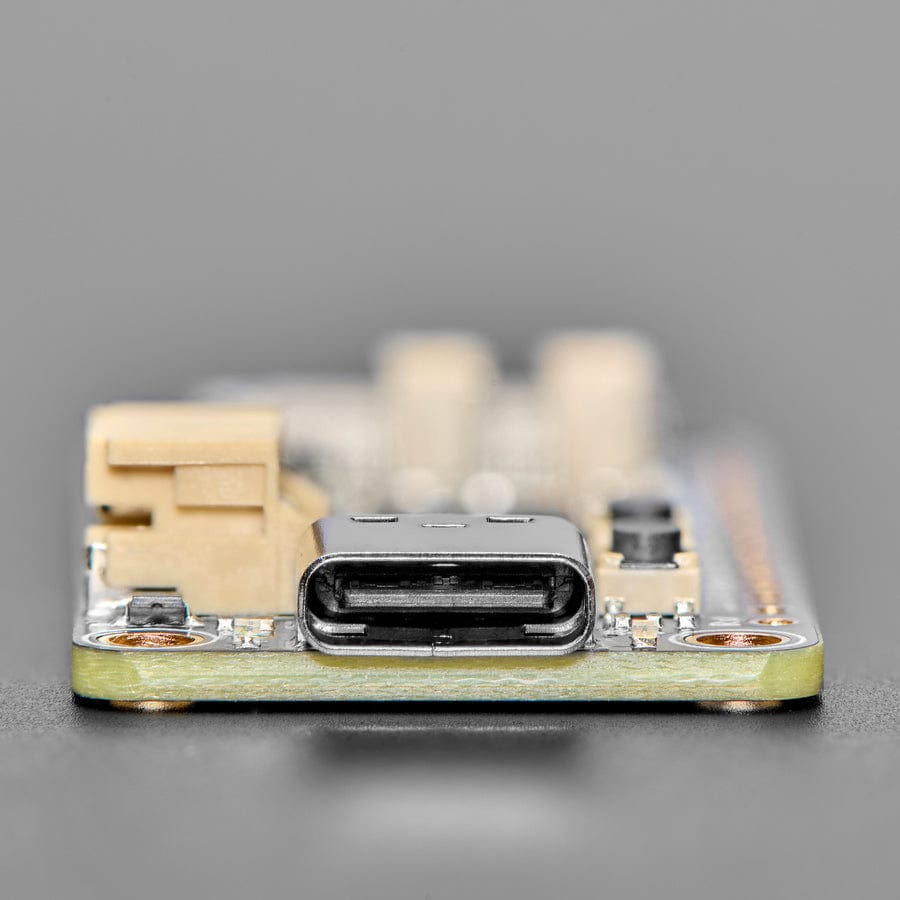
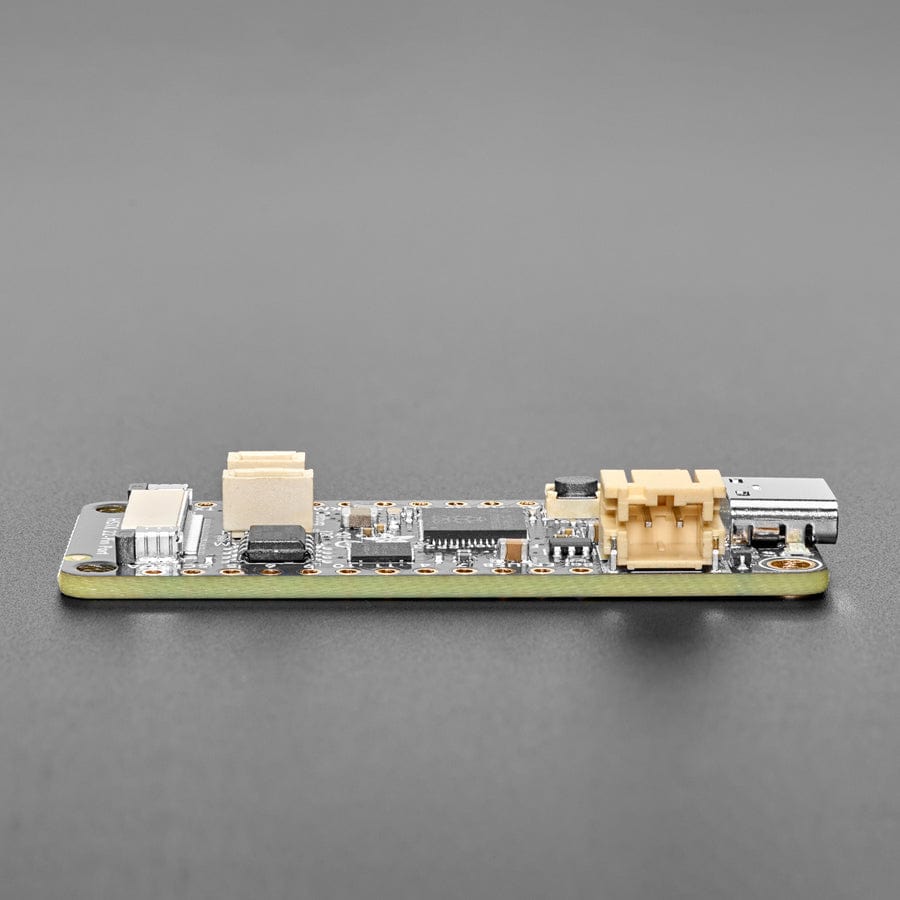
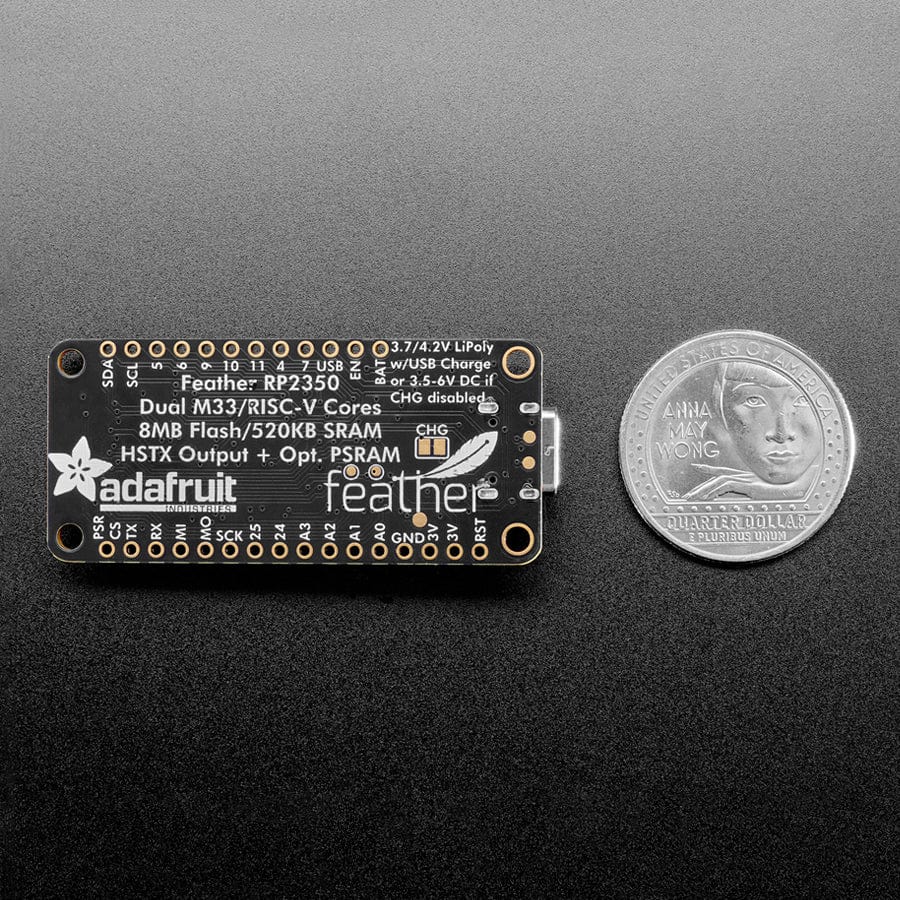
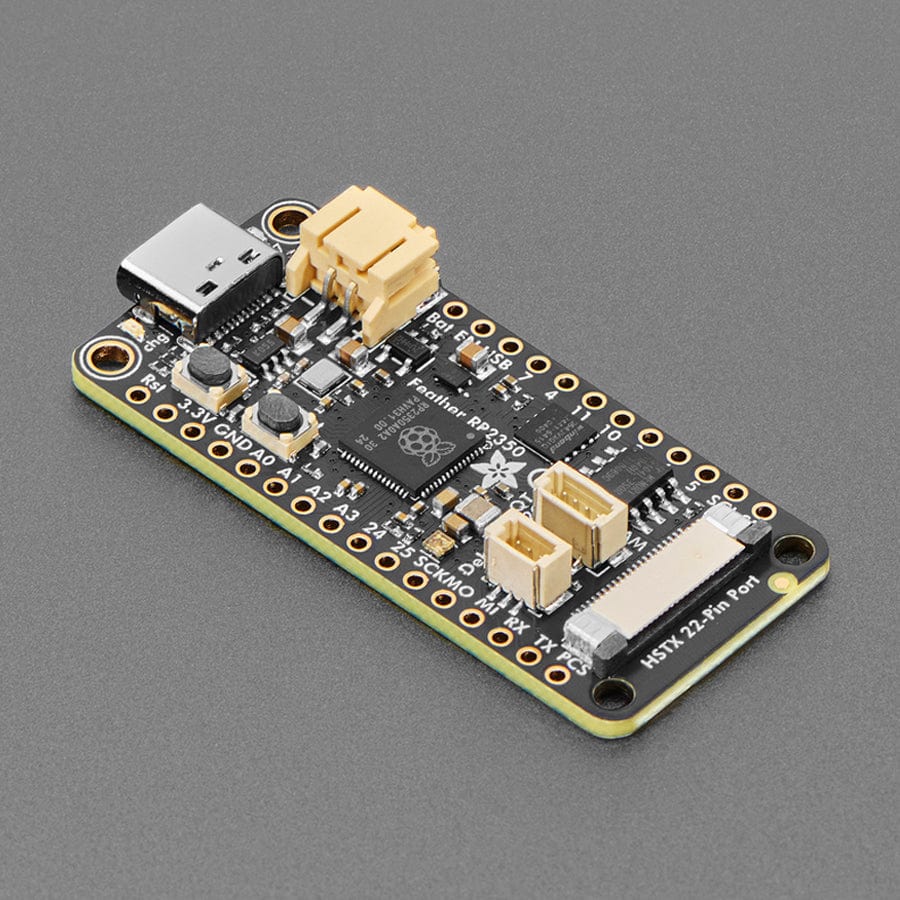
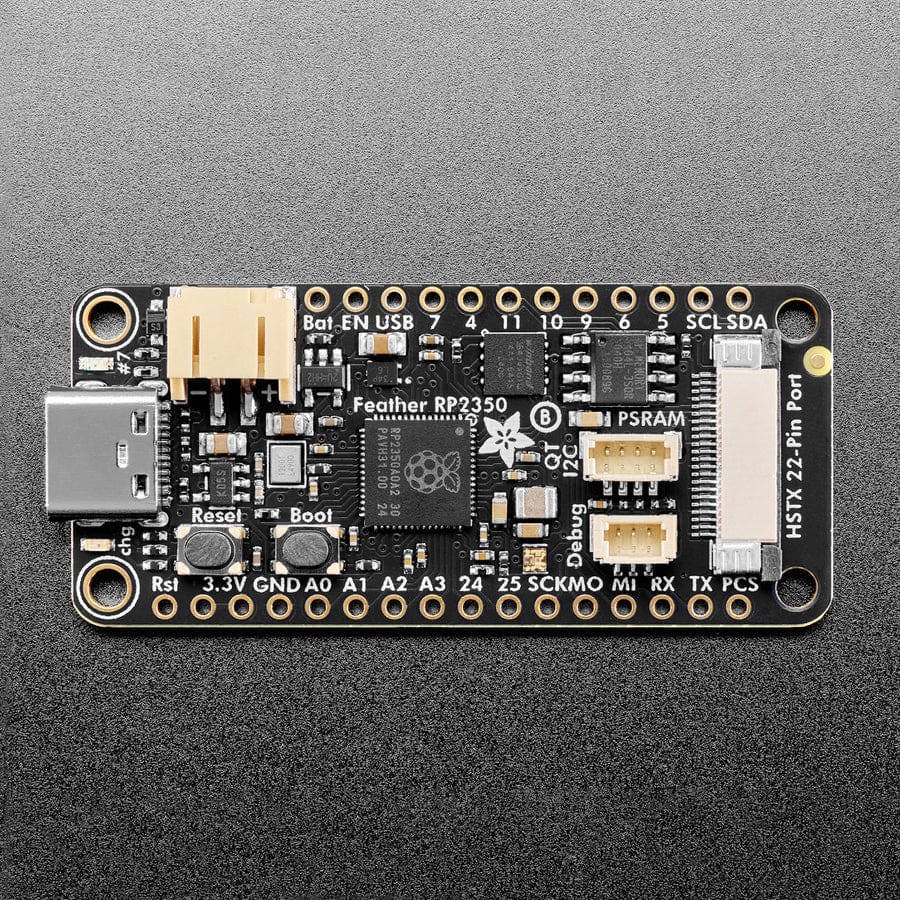
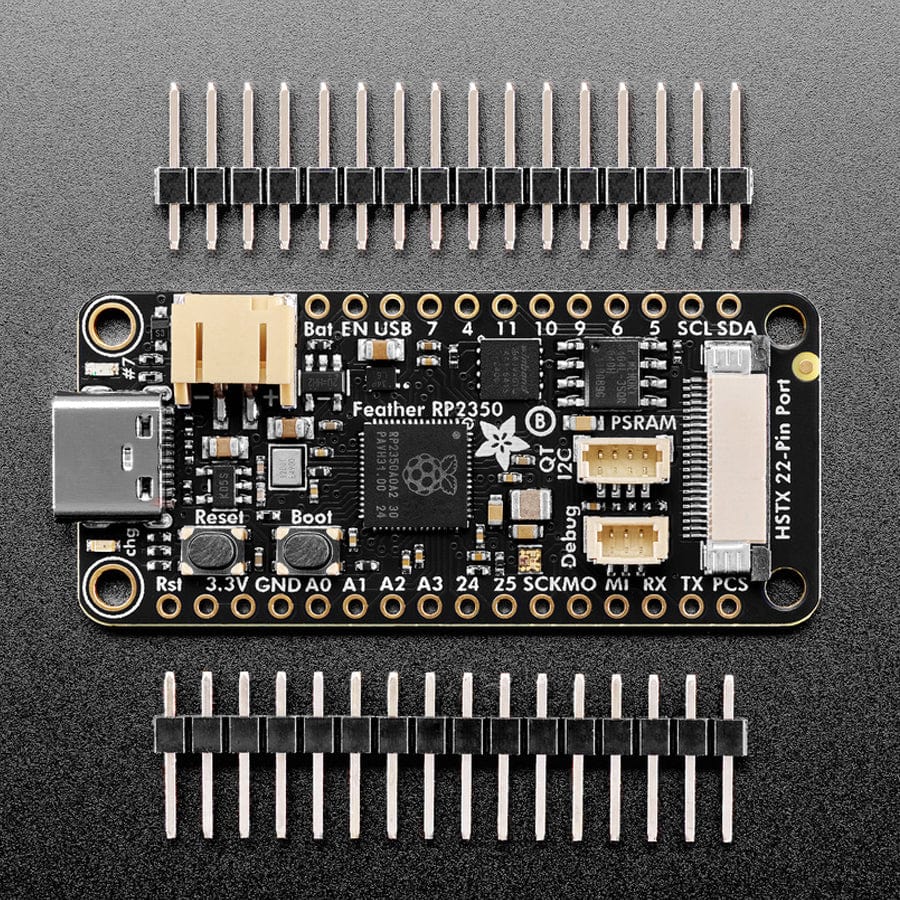
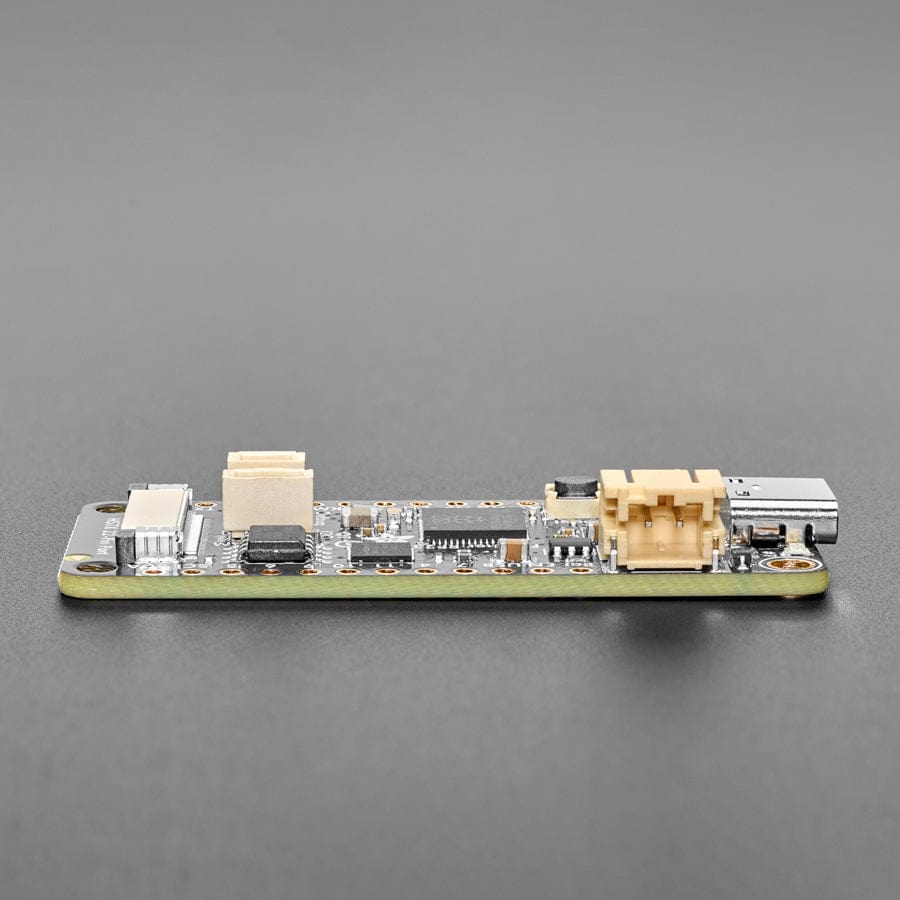
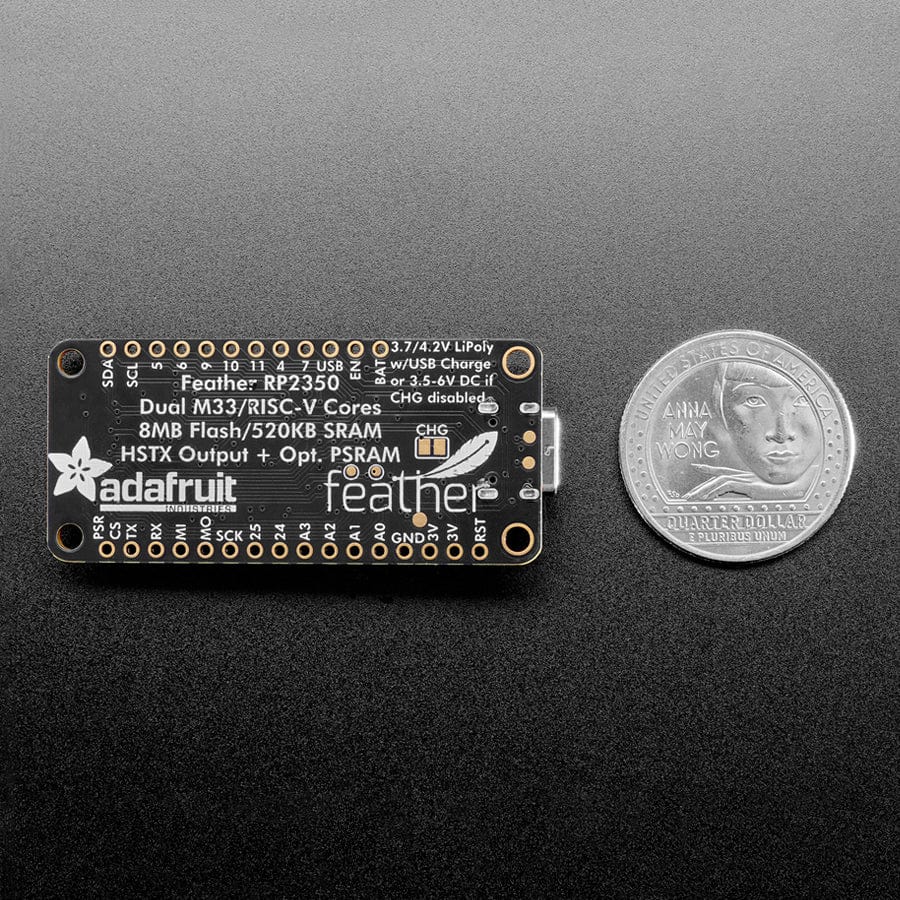
RP2350 flies high with the Feather format - now you can use any FeatherWings with this battery-powered dev board. It comes with 8MB of flash, a 22-pin HSTX output port, Stemma QT, debug SWD, and an optional PSRAM spot. It's our first RP2350 board and we crammed a ton of goodies into our classic Feather format. It's an excellent starter board to go along with your Pico 2.
This version has an AP6404L 8 Megabyte PSRAM chip soldered, perfect for managing huge buffer sizes in memory!
The RP2350 is Raspberry Pi's second microcontroller chip following their breakout-hit the RP2040. Building on their success, the RP2350 upgrades the dual M0 core to dual M33 cores with a 150 MHz clock rate. The M33 is a much newer Arm chipset, we've found that firmware runs about twice as fast. Especially given that we now have hardware floating point support. Also, the RP2350 has twice as much SRAM: 520KB instead of 264KB which means that micropython/circuit python runs great and IoT projects that need a lot of memory buffer space will run better. Other improvements include 3 PIO blocks instead of 2, TrustZone secure boot, and a special High-Speed Transmit (HSTX) peripheral that drives 4 lanes of differential data transmission such as DVI output without needing to overclock or use PIO.
For peripherals, there are two I2C controllers, two SPI controllers, and two UARTs that are multiplexed across the GPIO - check the pinout for what pins can be set to which. There are 24 PWM channels, each pin has a channel it can be set to (ditto on the pinout).
Please note: The Adafruit Feather RP2350 HSTX comes with the A2 version of the RP2350, which is affected by the E9 erratum. This errata affects some uses of GPIO and PIO such as high-impedance inputs and the internal pulldowns. You may need to use 8.2K or smaller resistors if pull-downs are required.
Inside the RP2350 is a 'permanent ROM' USB UF2 bootloader. What that means is when you want to program new firmware, you can hold down the BOOTSEL button while plugging it into USB (or pulling down the RUN/Reset pin to ground) and it will appear as a USB disk drive you can drag the firmware onto. Folks who have been using Adafruit products will find this very familiar - we use the technique on all our native USB boards. Just note you don't double-click reset instead hold down BOOTSEL during boot to enter the bootloader!
There is great C/C++ support, unofficial (but really good) Arduino support, an official MicroPython port, and a CircuitPython port! We of course recommend CircuitPython because we think it's the easiest way to get started and it has support with most of our drivers, displays, sensors, and more, supported out of the box so you can follow along with our CircuitPython projects and tutorials.
While the RP2350 has lots of onboard RAM, it does not have built-in FLASH memory. Instead, that is provided by the external QSPI flash chip. On this board, there is 8 MB, which is shared between the program it's running and any file storage used by MicroPython or CircuitPython. When using C/C++ you get the whole flash memory, if using Python you will have about 7 MB remaining for code, files, images, fonts, etc.


