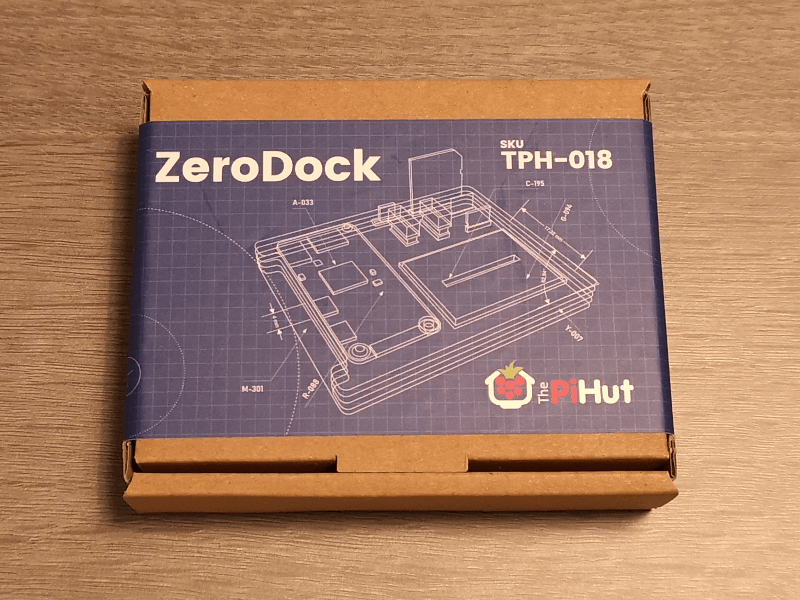
ZeroDock Assembly Instructions
This guide will show you how to assemble the ZeroDock for the Raspberry Pi Zero. All you'll need is a simple cross-head screwdriver.
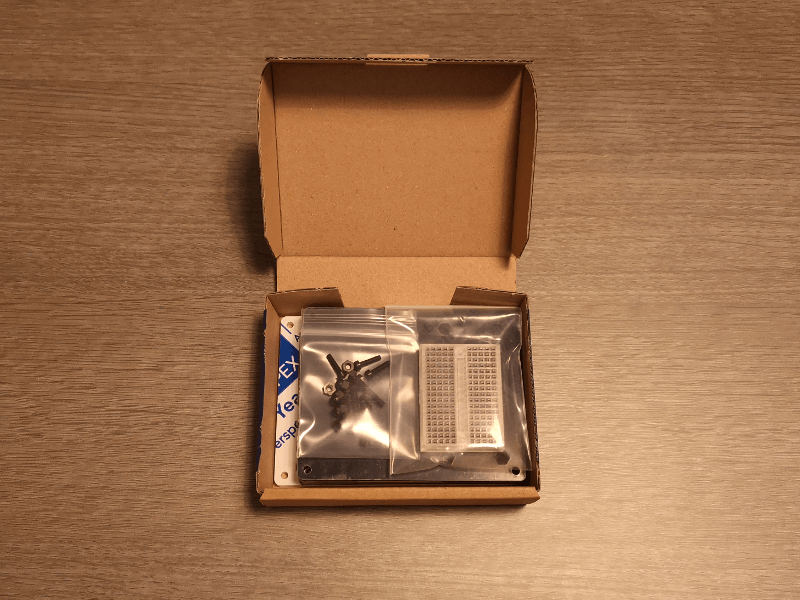
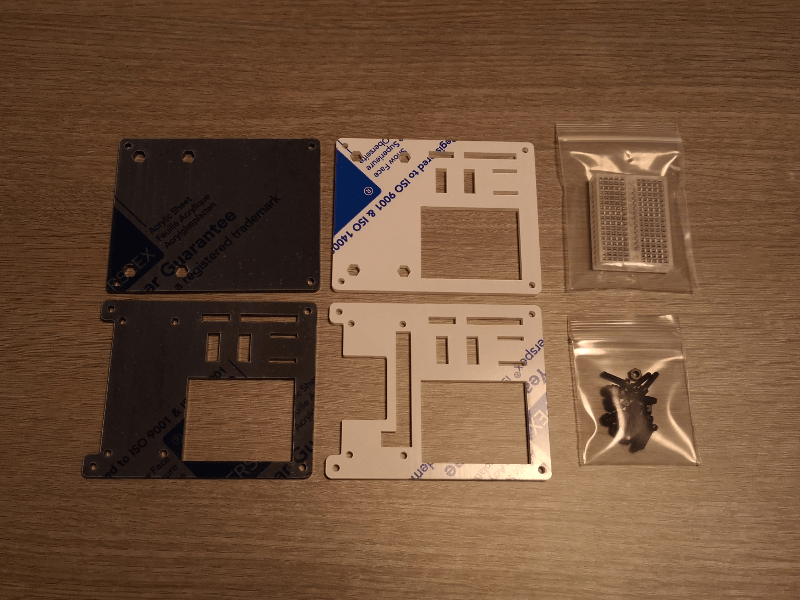
Step 1 – Open up the box! You should find 4 perspex layers, a bag of fixings and a mini breadboard:
Step 2 – Make a note of the layer order and orientation. Here we’ve placed the layers in order. The bottom layer is top-left, then top-right, bottom left and finally bottom right. Notice the breadboard cut-out is in the lower-right position:
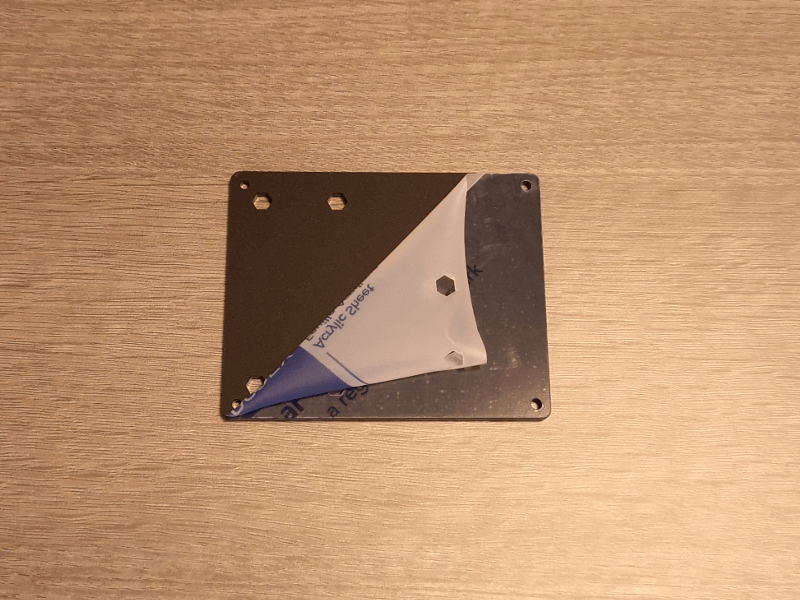
Step 3 – Peel the protective film off of both sides of all layers and clean off any dust:
Step 4 – Leave the bottom layer to the side and stack the remaining layers in order:
Step 5 – Turn the stack around and place a plastic nut in one of the nut cut-outs. Holding the nut in place with a finger, turn the stack back around, place your Raspberry Pi Zero in place, then use one of the shorter/smaller screws to secure the Raspberry Pi in place:
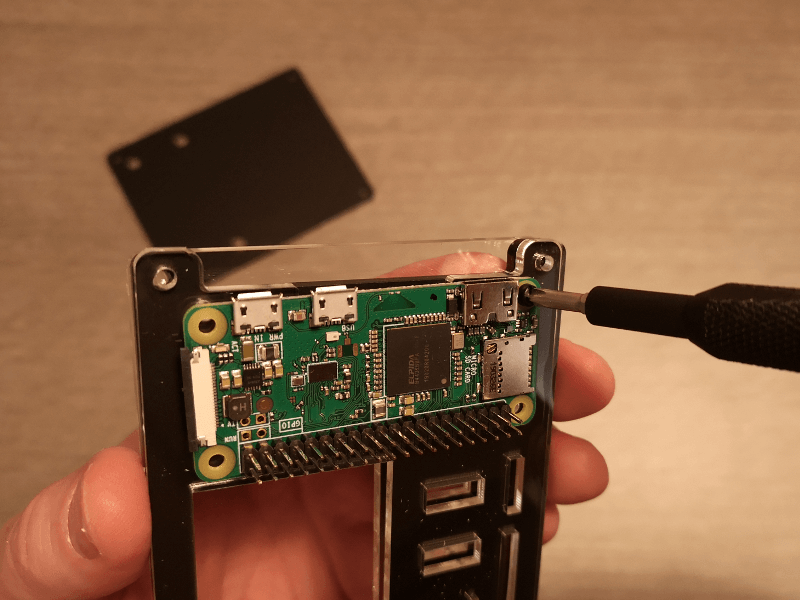
Step 6 – Repeat this process for each of the Raspberry Pi Zero fixings:
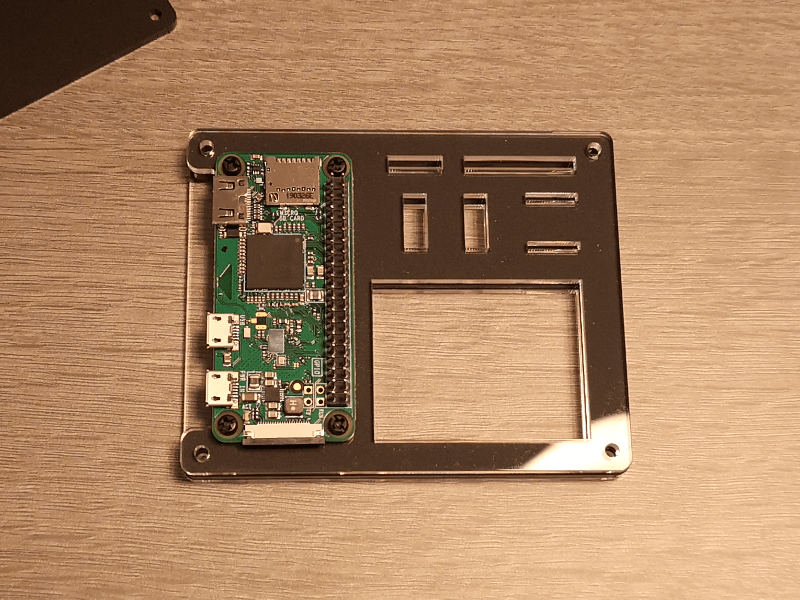
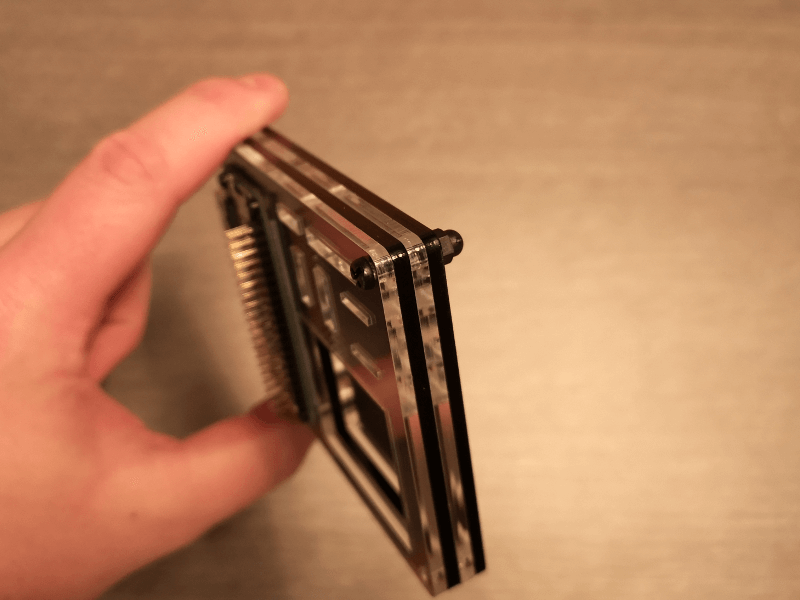
Step 7 – Add the bottom layer to the stack and secure in place with the remaining fixings. The rounded nut should be on the underside. Repeat this for all corners of the ZeroDock:
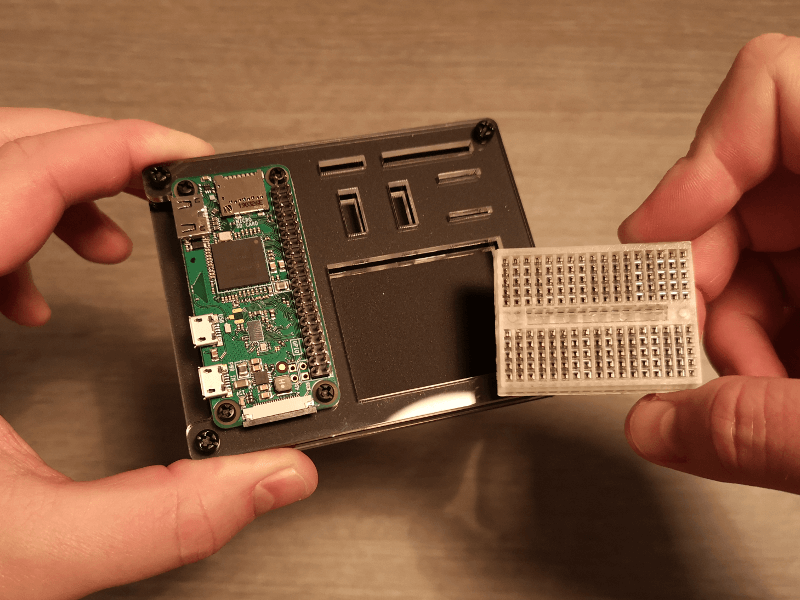
Step 8 – Add the breadboard. Either just pop it in place, or remove the rear film to stick it in place using the adhesive backing:
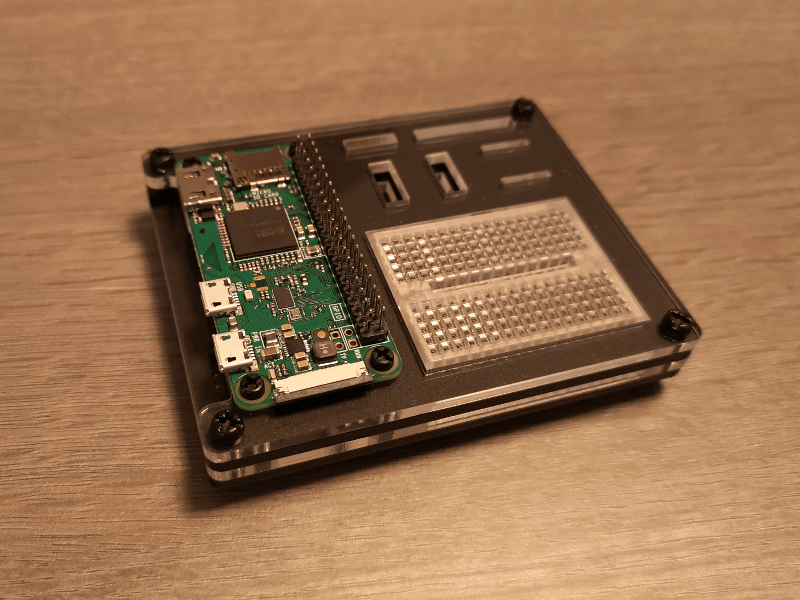
Step 9 – Admire your work, then go make a cool project!