
Using an SSD1315 OLED with the Raspberry Pi Pico
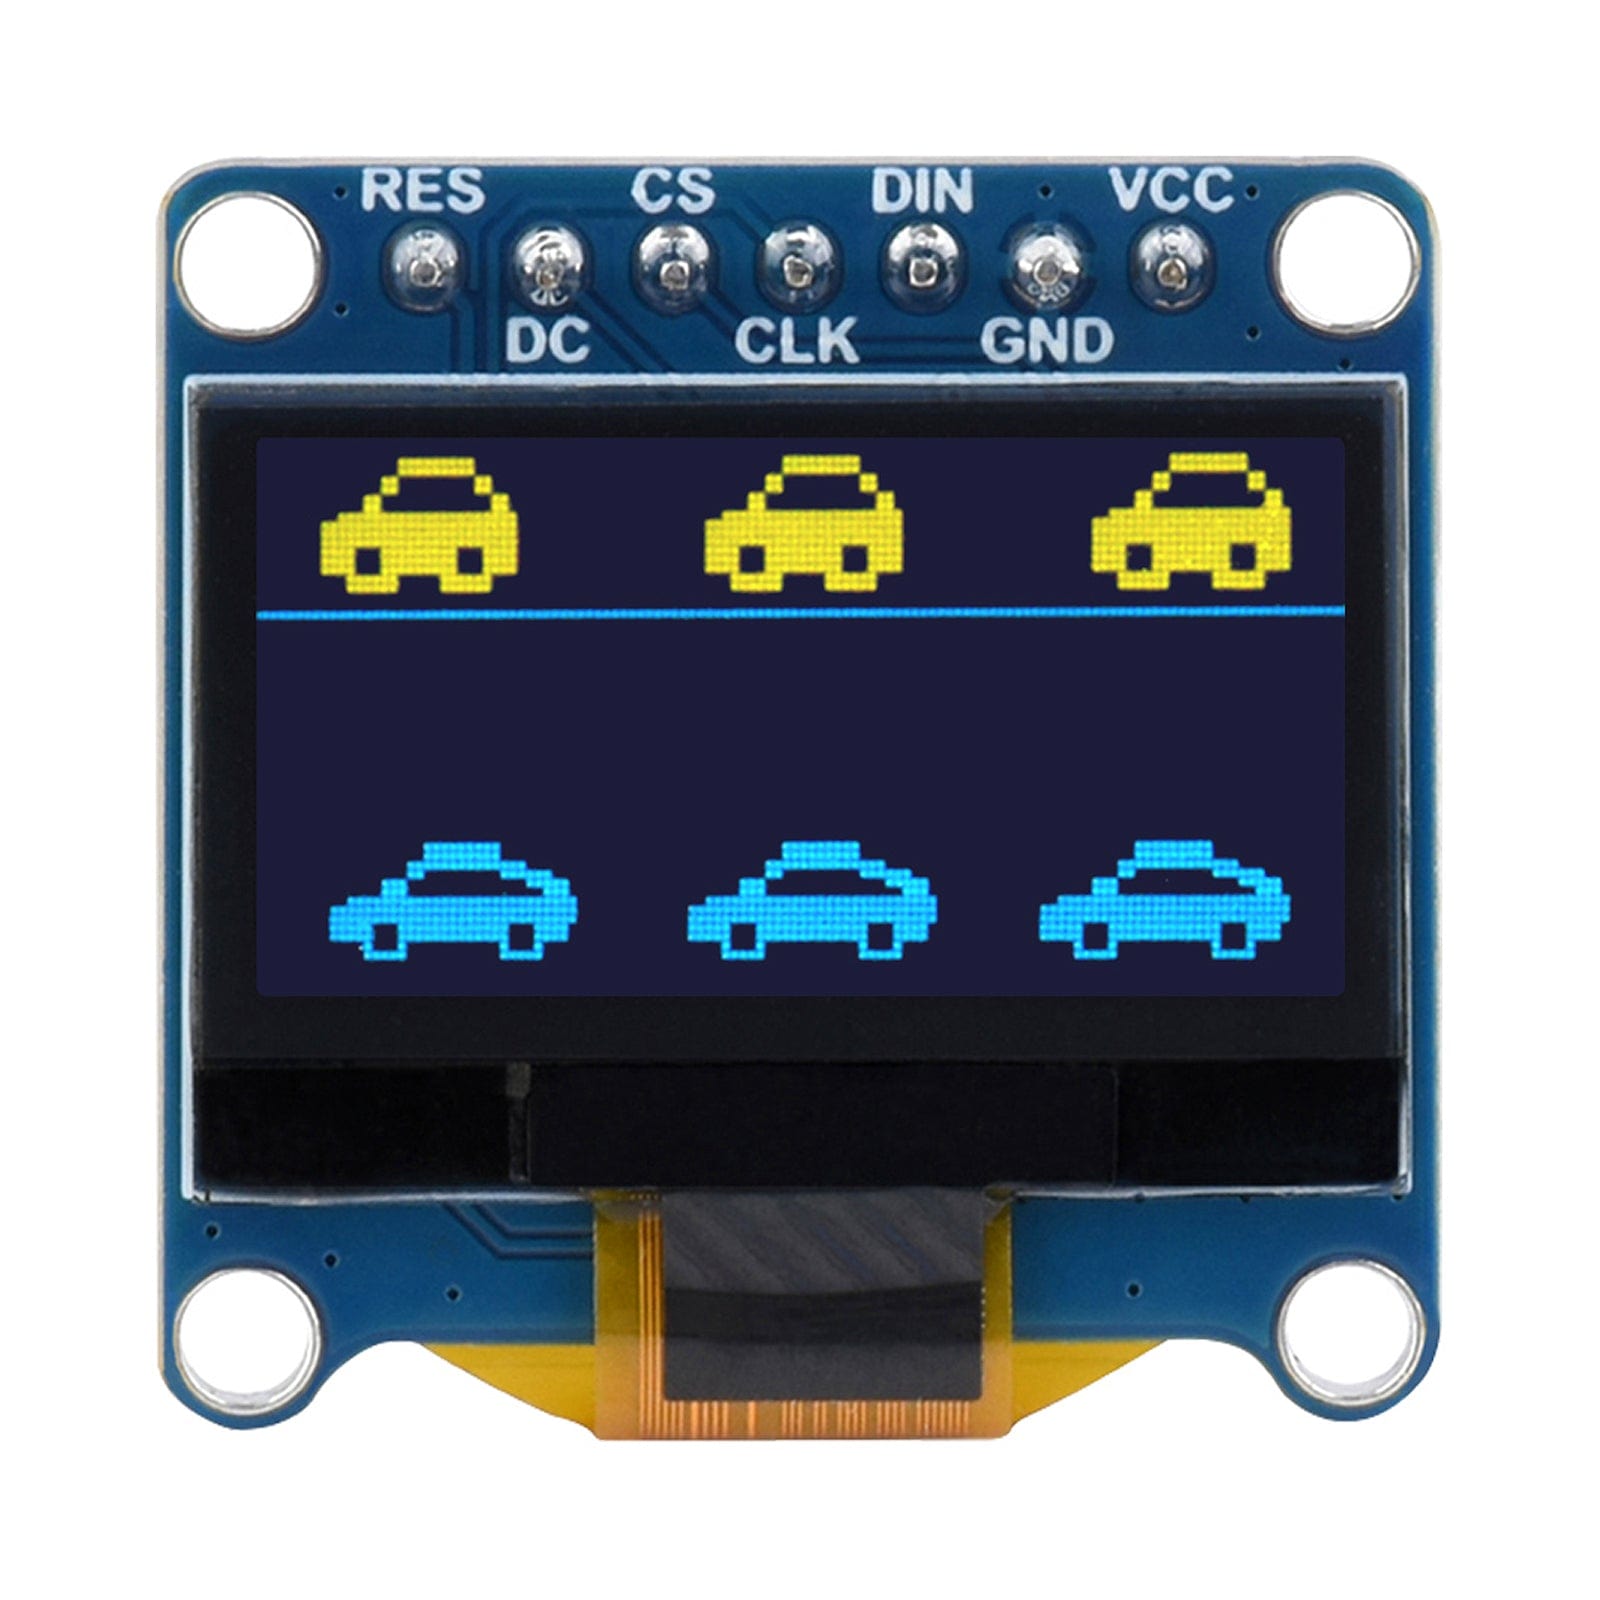
A couple of weeks back we started stocking an interesting new OLED display from our friends over at Waveshare - a two-colour SSD1315 0.96" OLED to be exact.
Funky dual-colours aside, the part we weren't sure about is the use of an SSD1315 driver chip rather than the much more common SSD1306 which has attracted lots of libraries and support over the years.
We thought this might make it difficult to find libraries for, but it turns out you can use existing SSD1306 libraries - with a few tweaks.
Waveshare don't currently offer connection/code examples for using this SSD1315 OLED with the Raspberry Pi Pico, so we had a play and figured it out!
What You'll Need
This tutorial is specifically based around the 0.96" OLED Display Module - Upper Yellow/Lower Blue (128x94) that we have in the store, but it'll likely work with any SSD1315 OLED.
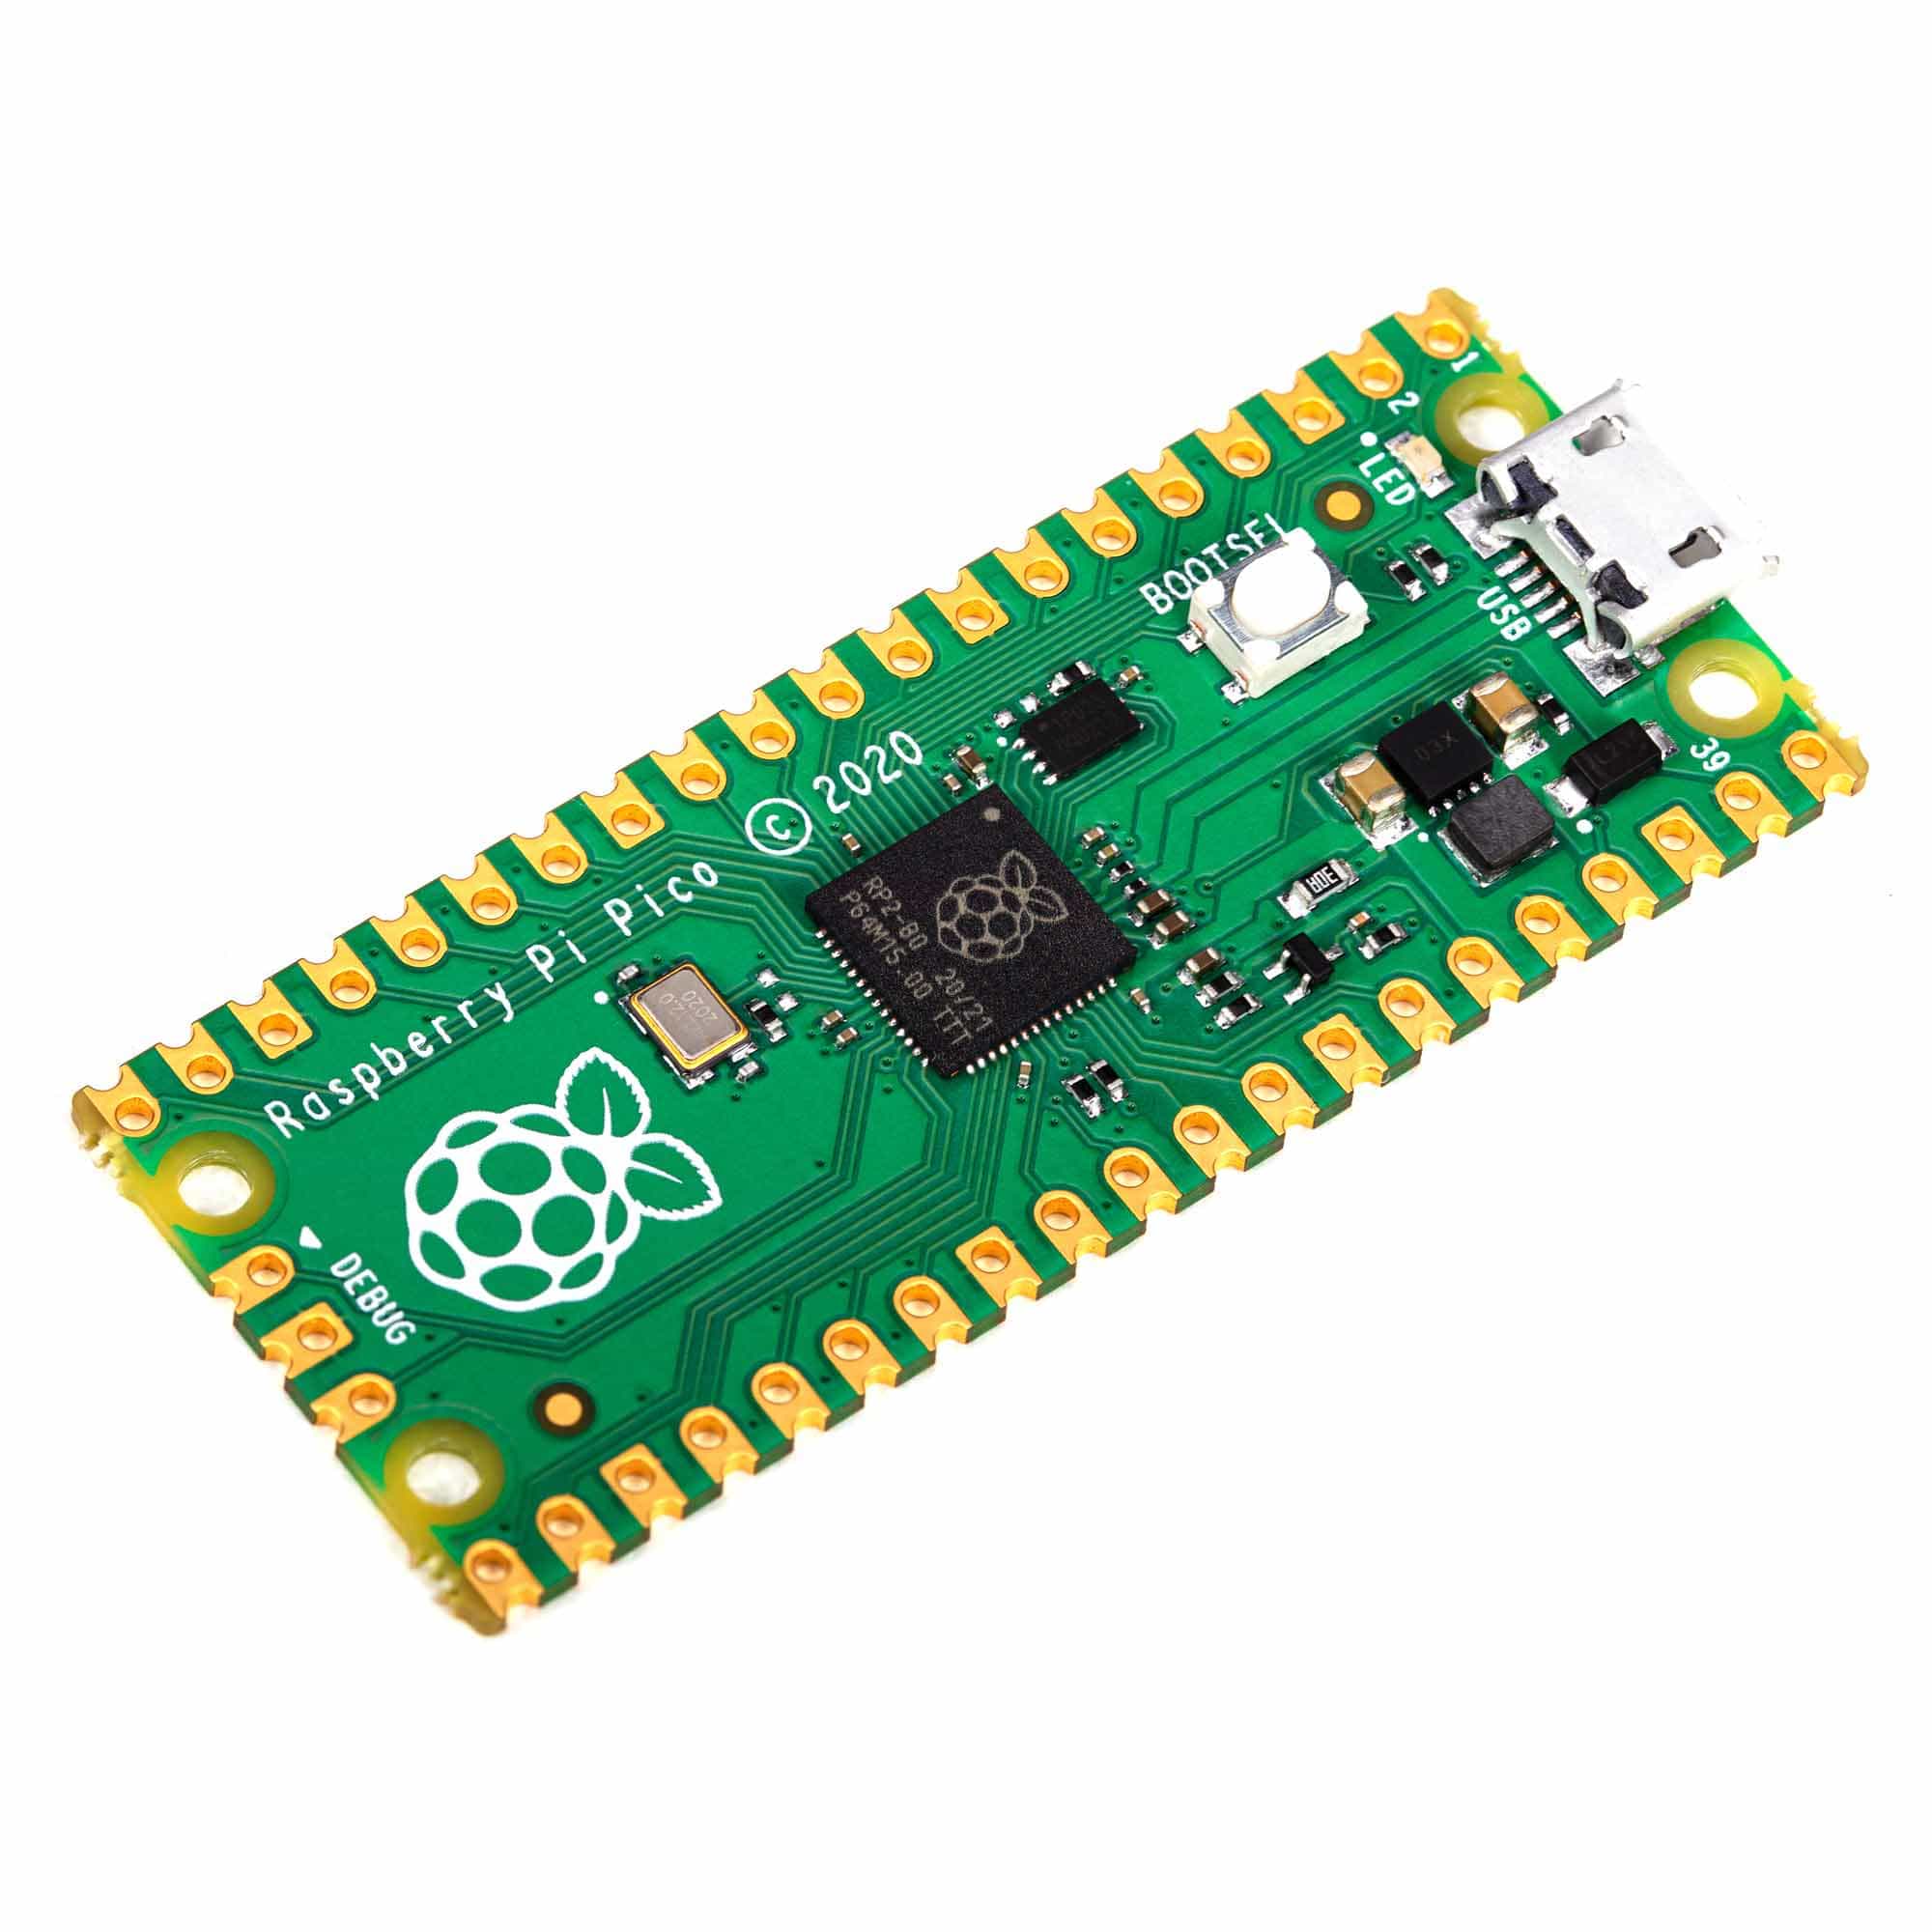
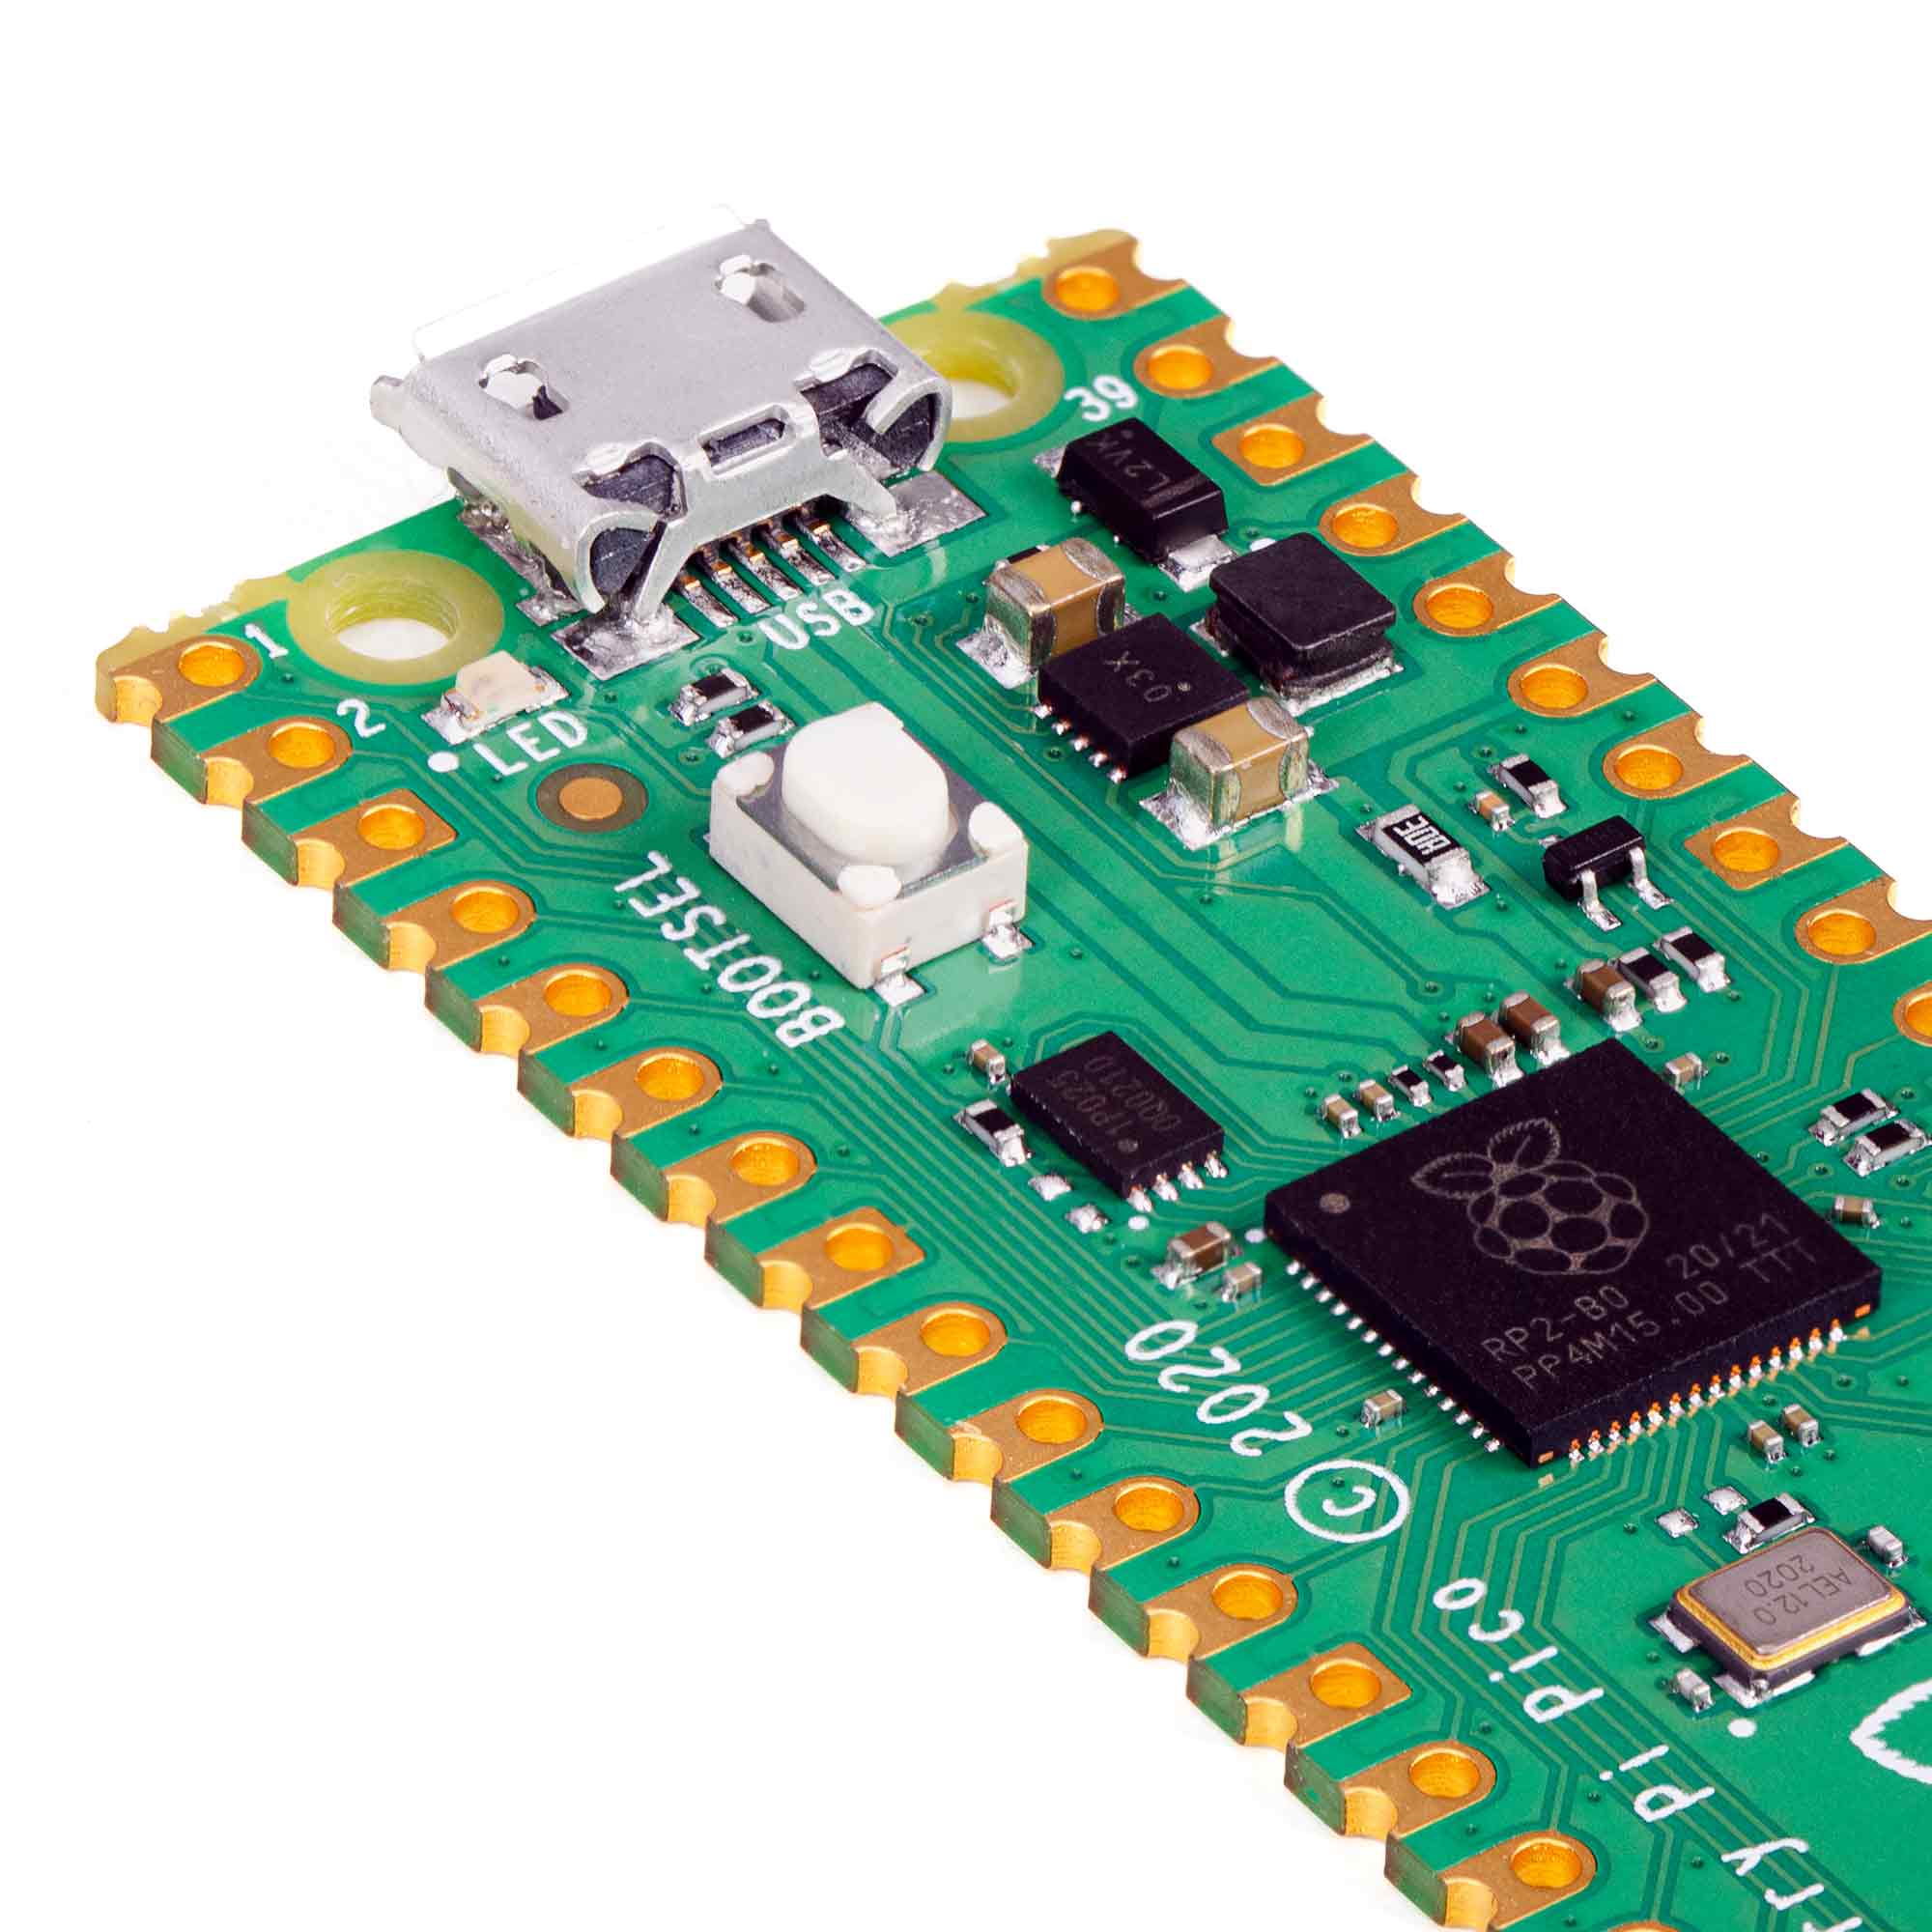
You'll also need a Raspberry Pi Pico and Micro-USB cable of course!
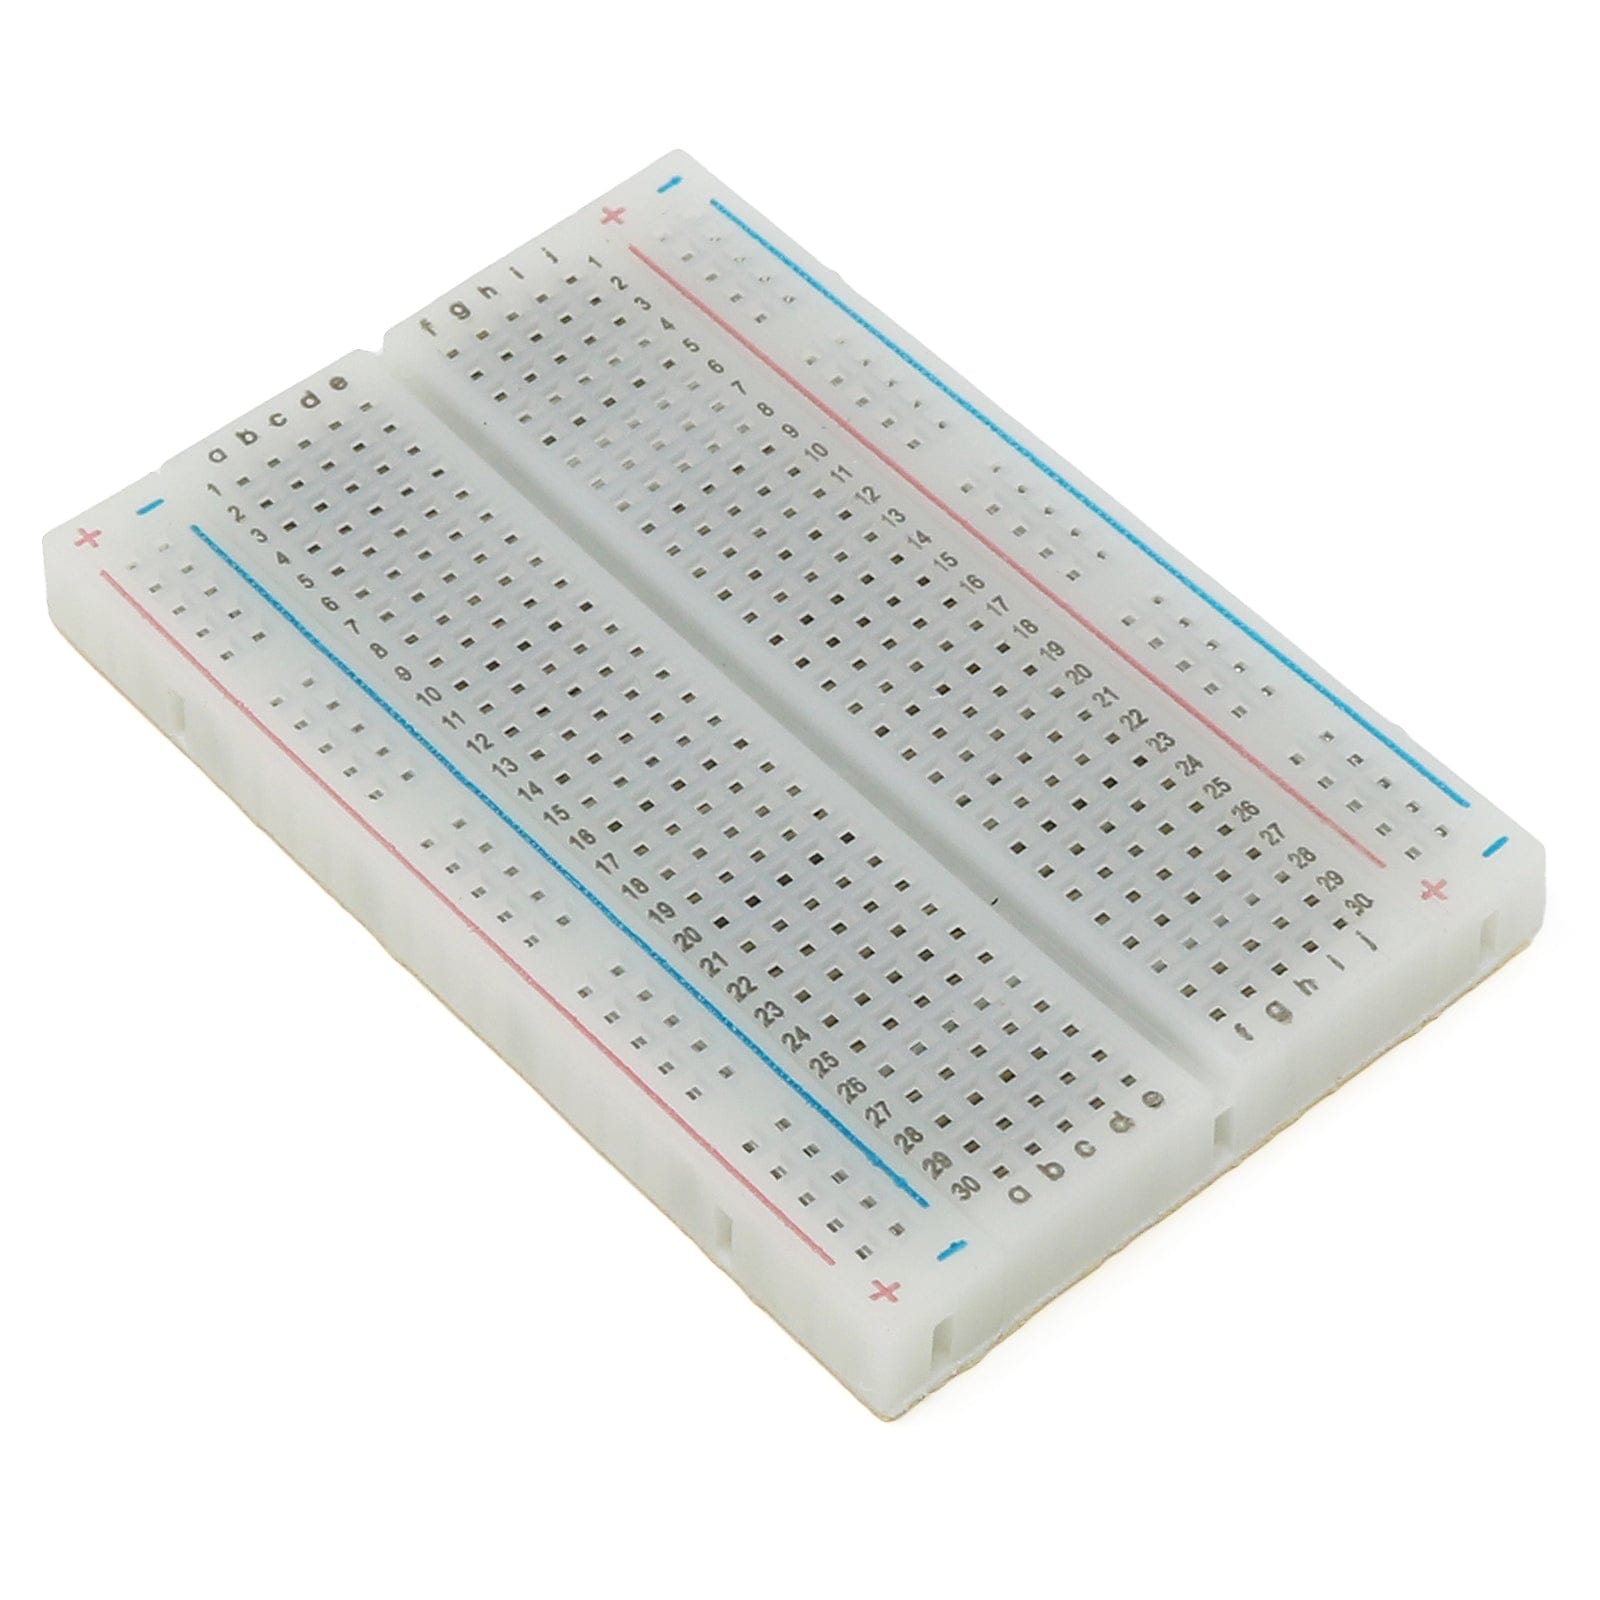
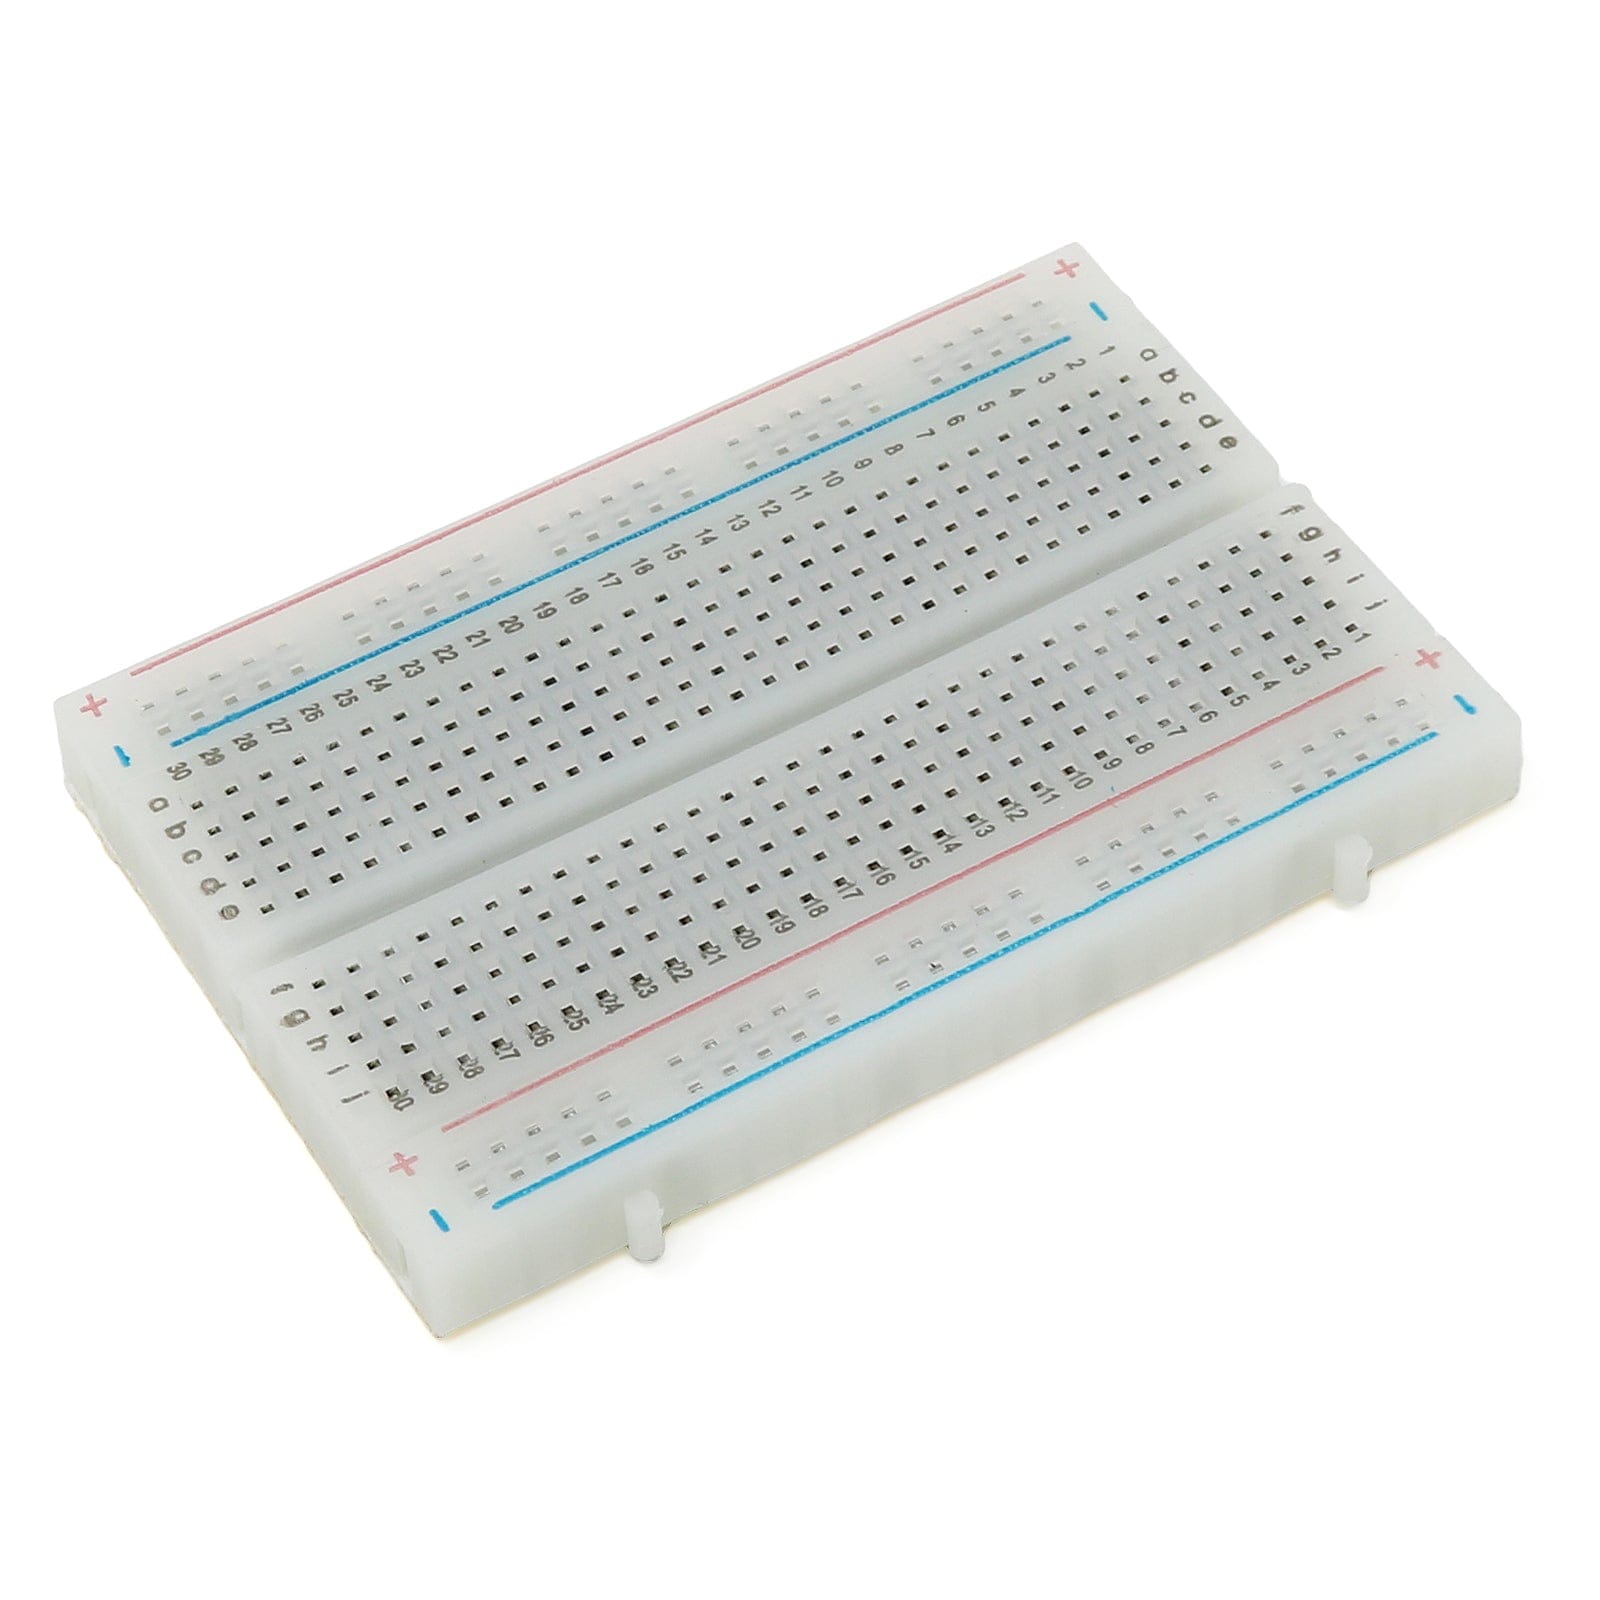
Wiring can be connected however you like. Either use the included jumper wire assembly that comes with the display and connect directly to the Pico's pins, or use a breadboard and some male to male jumper wires like we did.

Setting I2C Mode
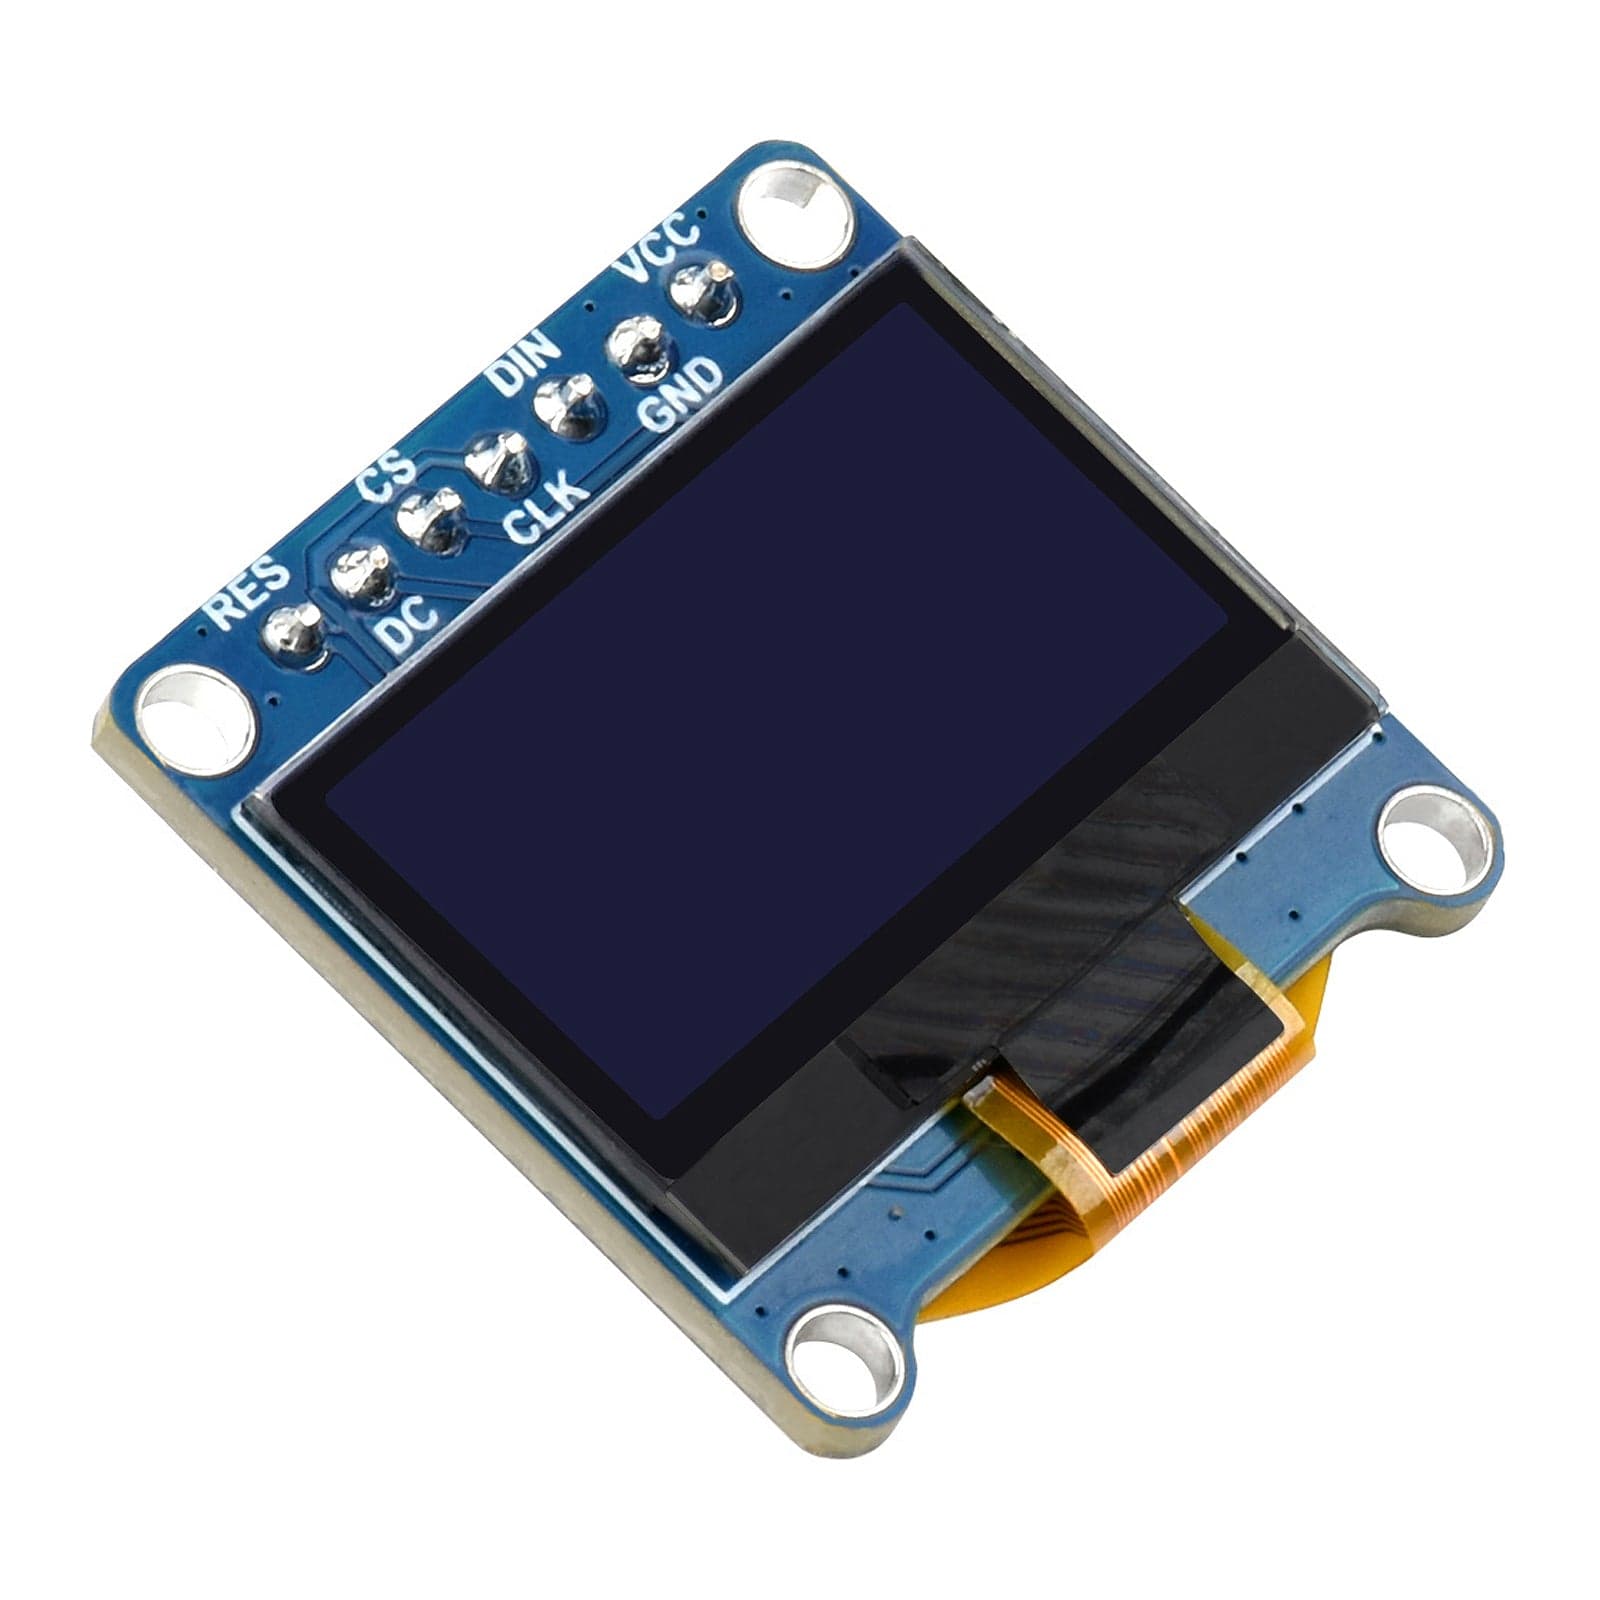
The display we're using offers both SPI or I2C mode (if you're using a different display, you may not need to do this). The mode is set according to the arrangement of the tiny SMT resistors on the rear of the display.
By default the display is set to SPI mode. As we've never had much joy using SPI with OLEDs like these with the Pico, we set ours to I2C mode (update - Tony has this display working with SPI, check out his tutorial here!)
To set the display to I2C mode, grab your soldering iron, heat resistor R1 (highlighted in the image below) and remove it using tweezers or a similar tool. You may just be able to snip it off with some precision diagonal cutters, but de-soldering is the 'proper' way!

Wiring the Circuit
Whether you're using a breadboard or connecting directly to the Pico's pins - the connections are the same and involves just four wires. The table below shows which pin connects from the OLED to your Pico:
| Display | Pico |
| VCC | Pin 40 (VBUS) |
| GND | Pin 38 (GND) |
| DIN | Pin 1 (SDA) |
| CLK | Pin 2 (SCL) |
Here's a Fritzing diagram to confirm where these pins are too:

Install the MicroPython SSD1306 Library
We're using MicroPython and Thonny
We'll be using MicroPython to code this little example, so that means we're using Thonny.
We're assuming that you're familiar with Thonny and have it all set up, but if not, go check out our Raspberry Pi Pico Getting Started Guide which will tell you everything you need to know.
Install the library
We need to install a library to make our display work. Don't let the name confuse you - although we're using an SSD1315 OLED display, the SSD1306 library works with it - we just have to tweak it slightly once installed to make it work.
Here are the steps to follow:
- In Thonny, from the top menu bar select Tools > Manage packages
- In the search bar, enter "micropython-ssd1306" then select the search button
- Select the micropython-ssd1306 option (usually top of the list)
- Select Install
Editing the MicroPython SSD1306 Library
By default, the SSD1306 library looks for a specific I2C address of 0x3C, because that's what most SSD1306 modules usually use.
Our rogue SSD1315 OLED, with the resistors/pads on the rear as they are, uses address 0x3D. If we don't tell the library about this, it won't work (you'd see an error message of OSError: [Errno 5] EIO otherwise).
On the left of your Thonny window you should see the library files that would have appeared after adding it. Open the ssd1306.py file by double-clicking it:

Scroll down the file that opens and find the section below, a code block called class SSD1306_I2C.
See the 0x3C address we've highlighted with the arrow? Change that to 0x3D then save the file and close it. That's all the updates we need to make.

The Code
We're going to run a very simple demo program just to show that it works, then you're free to code whatever it is your project needs.
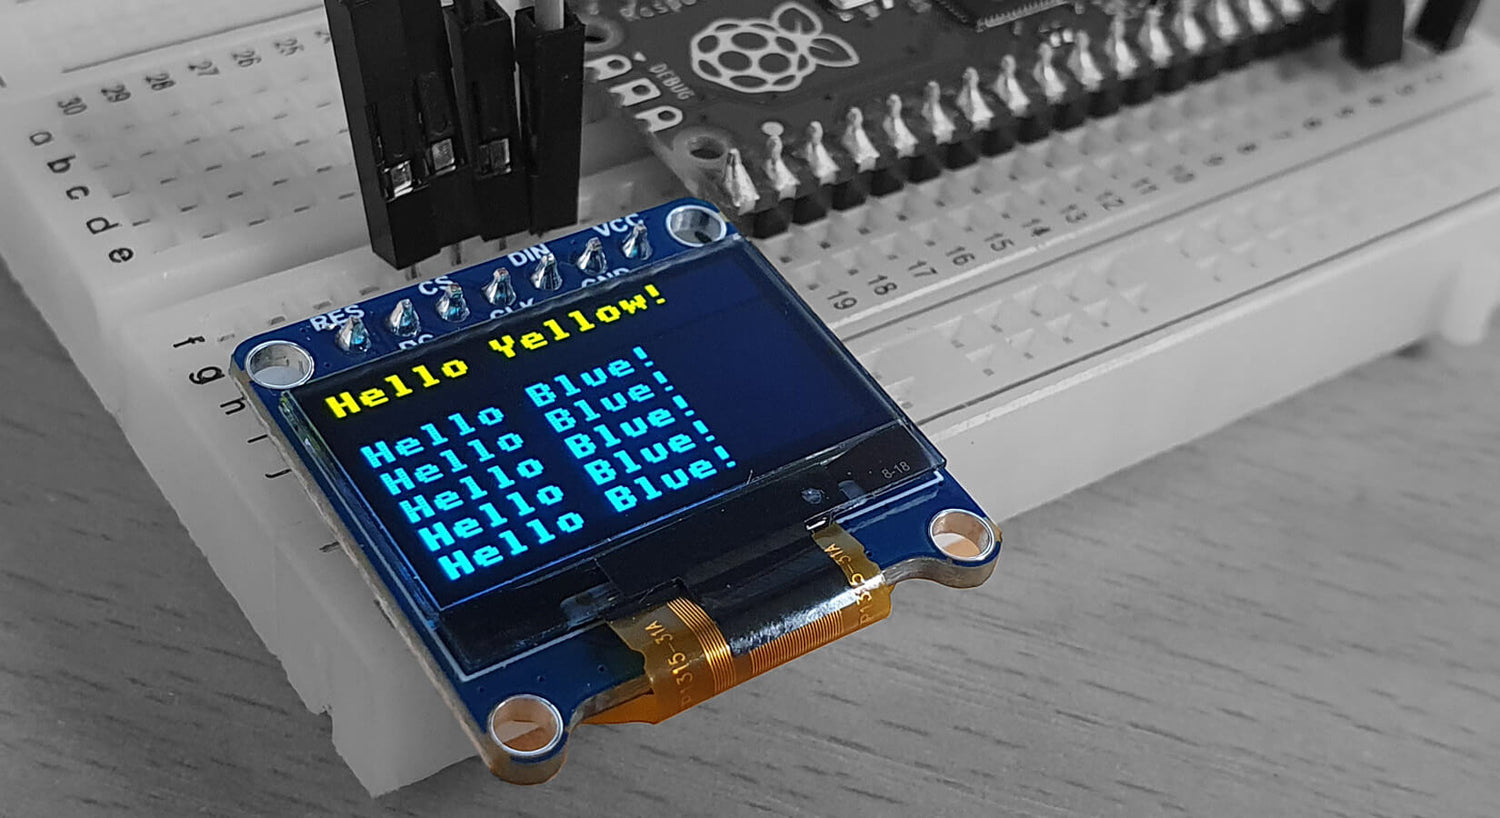
We've re-used the code from our Maker Advent Calendar Day #11 blog post, with just a tweak to the OLED size (128x64) and some larger gaps to show the text in the different colours that this display offers.
Copy the code below over to Thonny then hit the green button to run it:
# Imports
from machine import Pin, I2C
from ssd1306 import SSD1306_I2C
import time

# Set up I2C and the pins we're using for it
i2c=I2C(0,sda=Pin(0), scl=Pin(1), freq=400000)

# Short delay to stop I2C falling over
time.sleep(1)

# Define the display and size (128x32)
display = SSD1306_I2C(128, 64, i2c)

# Clear the display first
display.fill(0)

# Write a line of text to the display
display.text("Hello Yellow!",0,0)
display.text("Hello Blue!",0,17)
display.text("Hello Blue!",0,27)
display.text("Hello Blue!",0,37)
display.text("Hello Blue!",0,47)
display.text("Hello Blue!",0,57)

# Update the display
display.show()
How it works
First we import the things we need, including the SSD1306 library we installed and tweaked:
# Imports
from machine import Pin, I2C
from ssd1306 import SSD1306_I2C
import time
These lines set up I2C, with a short delay afterwards which is required to stop it getting stroppy and crashing out:
# Set up I2C and the pins we're using for it
i2c=I2C(0,sda=Pin(0), scl=Pin(1), freq=400000)

# Short delay to stop I2C falling over
time.sleep(1)
Next we tell the program what display we're using. Well, kind of!
We lie and tell it we're using an SSD1306 as this is what the library is expecting, but it works with our SSD1315 just fine thanks to our tweaks. As part of this we define the size (128x64) and communication type (I2C) too:
# Define the display and size (128x32)
display = SSD1306_I2C(128, 64, i2c)
We always clear the display first, just in case something is lurking from our last run:
# Clear the display first
display.fill(0)
Then we tell the display what we'd like to show. For this simple example we're just showing lines of text one after the other.
The last two numbers of each of these lines determines where the text is displayed - the first number is how far from the left, the second number is how far down from the top.
The top section of our OLED displays in yellow, so the first line includes text to reflect that. The other lines are lower than this, which is controlled by the last number in the brackets.
Note that nothing will show on the display yet. That happens next.
# Write a line of text to the display
display.text("Hello Yellow!",0,0)
display.text("Hello Blue!",0,17)
display.text("Hello Blue!",0,27)
display.text("Hello Blue!",0,37)
display.text("Hello Blue!",0,47)
display.text("Hello Blue!",0,57)
The last part of our program updates the display with the lines we entered above:
# Update the display
display.show()
As with all things in the makerverse, there are likely better or alternative ways to achieve this (maybe even using SPI but we didn't fancy that headache!). You can also read more on the SSD1306 library here: https://docs.micropython.org/en/latest/esp8266/tutorial/ssd1306.html
Feel free to leave a comment with your methods, suggestions or even some code for people to try.
We used Fritzing to create the breadboard wiring diagram images for this page.
17 comments
Judson Belmont
Good day, Your tutorial is the first to direct me to change the address to 0×3D in ssd1306.py. I did that and also did all of the below on three different MAC computers with 3 different 1.3 inch 128×64 monochrome Oleds and 4 different cables. I have uninstalled and reinstalled Thonny and also used VSCode.
I’m getting the same persistent error: Help would be immeasurably appreciated.
MPY: soft reboot
Traceback (most recent call last):
File “”, line 20, in
File “/lib/ssd1306.py”, line 104, in show
File “/lib/ssd1306.py”, line 124, in write_cmd
OSError: [Errno 5] EIO
ERROR 5
Below is what I’ve done.
https://raspberrypi.stackexchange.com/questions/123791/rpi-pico-micropython-ssd1306-oserror-5
Short Answer
1. It is pretty likely that Pico Thonny Python’s error message “OSError: 5” is similar to Rpi Os’s “OSError: [Errno 121] Remote I/O error”
2. Errno 121 usually occurs when running an I2C python program with the following situation: 2.1 The hardware wiring connection is bad, eg, 2.1.1 Forget to plug/connect the cable, 2.1.2 Too long cabling, eg, over 30cm, 2.1.2 I2C frequency too high, over 400kHz, 2.1.3 I2C device, eg. I2C I2C MCP23017, which is sensitive to noise, 2.1.4 I2C bus overloaded, with more than 4 devices, causing bus capacitance over 400pF.
/ to continue, …
Long Answer
/ to continue, …
Update 2021apr08hkt1233
I found the 0.91" OLED a bit tricky to detect. I need to make the the wiring short, not to load two or more devices. I also found I2C Bus 1 better than Bus 1. Anyway, I used Tom’s Hardware’s short program and found it OK, though not stable.
References
(1) Solomon OLED Display Catalog – Solomon Tech
(2) Solomon OLED Driver IC Product Sheet – Solomon Tech
(3) Solomon SSD1306 Product Sheet – Solomon Tech
(4) SSD1306 OLED Display Module Product Spec – Denstron/Farnell
(5) SSD1306 Tutorial – Components101
(6) How to Use an OLED Display With Raspberry Pi Pico – Les Pounder, Tom’s Hardware, 2021feb28
(7) Luma.OLED API Doc for SSD1306, SSD1309, SSD1322, SSD1325, SSD1327, SSD1331, SSD1351 and SH1106API OLED
(8) Rpi3B SSD1306 OLED I2C Interface Problem (with debugged Hello World program) – tlfong01 Rpi.SE Asked 2019dec21, Viewed 799 times
(9) Raspberry Pi Pico + 128×64 I2C SSD1306 OLED (MicroPython) Youtube
(10) Raspberry Pi Pico + 128×64 I2C SSD1306 OLED (MicroPython) Tutorial
(11) SSD1306 OLED Display Module Catalog – AliExpress
Foogod
This is a good walkthrough in general, but if you’re going to try to teach others how to do things like this, you really should learn how Python works better.
You do not need to edit the library at all. That step is completely unnecessary. The library already supports using different addresses if you want to. The value in that line is just a default value for the ‘addr’ argument when creating the SSD1306_I2C object, which will be used if you don’t specify one. You’re supposed to just specify that parameter yourself if you want something different than the default. All you have to do to use a different address is to say this instead:
display = SSD1306_I2C(128, 64, i2c, addr=0×3d)
No editing of the library is required at all.
Steve
I get the exact same errors as Harlan:
File “”, line 13, in
File “/lib/ssd1306.py”, line 110, in init
File “/lib/ssd1306.py”, line 36, in init
File “/lib/ssd1306.py”, line 71, in init_display
File “/lib/ssd1306.py”, line 115, in write_cmd
OSError: [Errno 5] EIO
I get the exact same errors as Harlan:
File “”, line 13, in
File “/lib/ssd1306.py”, line 110, in init
File “/lib/ssd1306.py”, line 36, in init
File “/lib/ssd1306.py”, line 71, in init_display
File “/lib/ssd1306.py”, line 115, in write_cmd
OSError: [Errno 5] EIO
The Pi Hut
@Harlan – The only other thing we can suggest is running an I2C scan to see if any devices/addresses show up. Use something like the example on this page (halfway down the page): https://github.com/T-622/RPI-PICO-I2C-LCD/tree/main
@Harlan – The only other thing we can suggest is running an I2C scan to see if any devices/addresses show up. Use something like the example on this page (halfway down the page): https://github.com/T-622/RPI-PICO-I2C-LCD/tree/main
Harlan
@ThePiHut I re-installed the micropython_ssd1306 driver and chanced it to 0×3d and it still comes up with the same message. I removed the resistor off the back and reflashed it with micropython. Do you know what else could work?
Any help would be appreciated
@ThePiHut I re-installed the micropython_ssd1306 driver and chanced it to 0×3d and it still comes up with the same message. I removed the resistor off the back and reflashed it with micropython. Do you know what else could work?
Any help would be appreciated
Paul
Just FYI, with my board (bought from here) the change to 0×3D wasn’t necessary (in fact caused the ‘OSError’. Reverting to 0×3C worked just fine (thankfully!!)
Just FYI, with my board (bought from here) the change to 0×3D wasn’t necessary (in fact caused the ‘OSError’. Reverting to 0×3C worked just fine (thankfully!!)
The Pi Hut
@Harlan Oh that’s odd, especially if it was working before. It sounds very much like you have the I2C SDA/SCL pins mixed up, or incorrectly referenced in the code. If you downloaded the SSD1306 library again, perhaps you forgot to change the address to 0×3D as required?
@Harlan Oh that’s odd, especially if it was working before. It sounds very much like you have the I2C SDA/SCL pins mixed up, or incorrectly referenced in the code. If you downloaded the SSD1306 library again, perhaps you forgot to change the address to 0×3D as required?
Harlan
@thepihut Yes, I did. It was working but I tried another project and now it has stopped again. Any help would be appreciated
@thepihut Yes, I did. It was working but I tried another project and now it has stopped again. Any help would be appreciated
The Pi Hut
@Harlan – Have you set the display to I2C mode by moving the resistor on the rear?
@Harlan – Have you set the display to I2C mode by moving the resistor on the rear?
Harlan
Hi there, its me again. I managed to get the driver edited and downloaded to my pi but now it comes up with this message
Traceback (most recent call last):
File “”, line 13, in
File “/lib/ssd1306.py”, line 110, in init
File “/lib/ssd1306.py”, line 36, in init
File “/lib/ssd1306.py”, line 71, in init_display
File “/lib/ssd1306.py”, line 115, in write_cmd
OSError: [Errno 5] EIO
The Pi Hut
@Keith – Good idea, we’ll add that to the article :)
@Keith – Good idea, we’ll add that to the article :)
The Pi Hut
@Harlan – Yes you need to use I2C as that’s how these displays are driven. We haven’t seen that error message before, so I would suggest just starting fresh – re-flash your Pico with MicroPython, re-wire the OLED and copy the script over again.
@Harlan – Yes you need to use I2C as that’s how these displays are driven. We haven’t seen that error message before, so I would suggest just starting fresh – re-flash your Pico with MicroPython, re-wire the OLED and copy the script over again.
Harlan
Do you have to sent it to 12c mode
Do you have to sent it to 12c mode
Harlan
When trying to install the micropython-ssd1306 library it gives me this error
install —progress-bar off micropython-ssd1306
PROBLEM IN THONNY’S BACK-END: Exception while handling ‘install_distributions’ (AssertionError).
You may need to press “Stop/Restart” or hard-reset your MicroPython device and try again.
See Thonny’s backend.log for more info.
Process ended with exit code 1.
Any help would be appreciated
Keith
Giving a reference to https://docs.micropython.org/en/latest/esp8266/tutorial/ssd1306.html (or something with similar content) which shows at least some of the other display commands would be helpful for beginners who want to go beyond the demo and play with or use the display.
Giving a reference to https://docs.micropython.org/en/latest/esp8266/tutorial/ssd1306.html (or something with similar content) which shows at least some of the other display commands would be helpful for beginners who want to go beyond the demo and play with or use the display.
The Pi Hut
@Tony – You may be able to use the Arduino example on Waveshare’s Wiki (as the Pico can be programmed in the Arduino IDE), however you’ll likely need to tweak pin numbers etc: https://www.waveshare.com/wiki/0.96inch_OLED_Module#Arduino_User_Guide
@Tony – You may be able to use the Arduino example on Waveshare’s Wiki (as the Pico can be programmed in the Arduino IDE), however you’ll likely need to tweak pin numbers etc: https://www.waveshare.com/wiki/0.96inch_OLED_Module#Arduino_User_Guide
tony
Many thanks for the readme. Is there anything out there in ‘C’ or C++ that you know of?
Many thanks for the readme. Is there anything out there in ‘C’ or C++ that you know of?