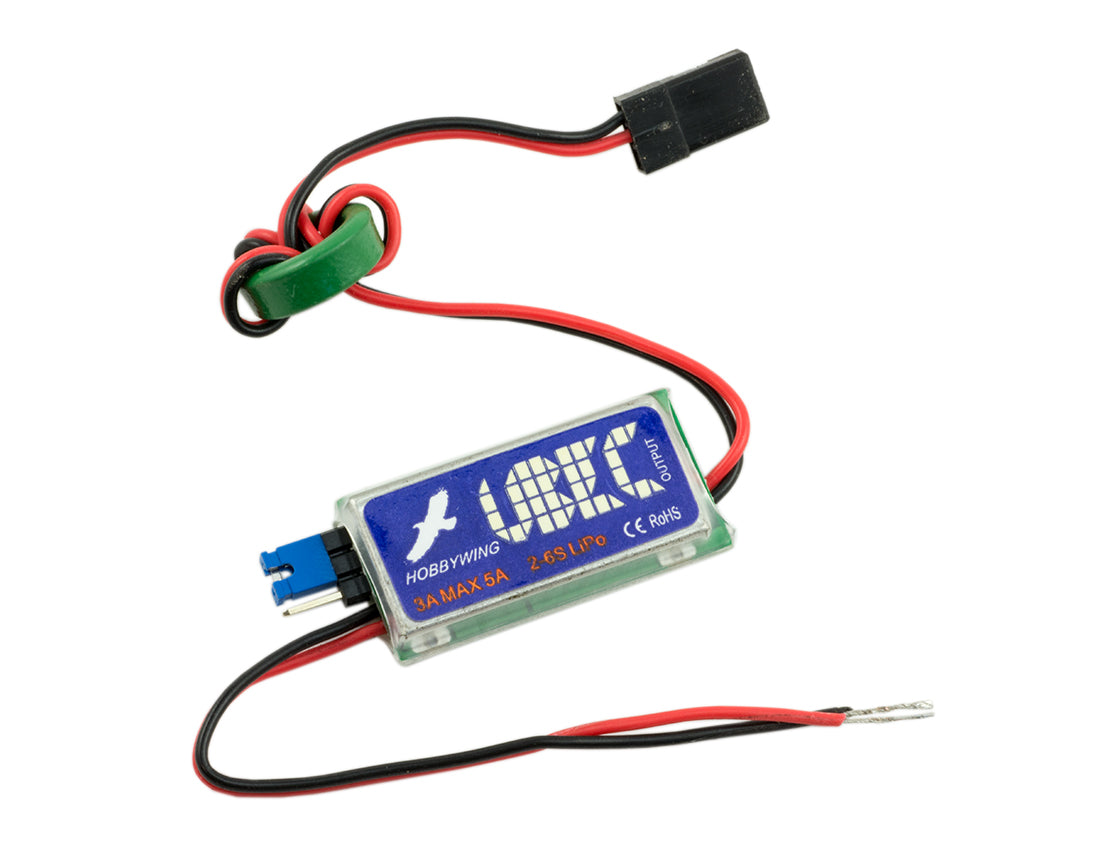
Using a UBEC with a Raspberry Pi
Hooking up your UBEC to your Raspberry Pi really couldn't be easier. Simply plug in the 3 pin socket to your Raspberry Pi's GPIO header; pins 2,4 and 6, making sure the black wire of the UBEC is connected to pin 6.


Now all you need to do as apply a source voltage to your UBEC and watch you Pi power up!
We did some tests and found that for normal usage of the Pi, a minimum of 6.5V (that's 6.5v supplied to your UBEC) is required. If you want to push the Pi a little harder (like if you have an external hard drive hooked up to the USB port) then you'll want to increase your source voltage to a minimum of 7.5V
The higher your source voltage to your UBEC is, the more stable output voltage you'll get when under load. Keep in mind though, that excess voltage will be converted to heat.
Here we have some screenshots of our tests. The Pi has the following peripherals:
1x Seagate 320Gb HDD
1x SDXC Card Reader + 8Gb Sandisk Ultra Micro SD Card
Our tests involved:
Benchmarking the CPU - This caused all 4 cores to run at 100%!
sysbench --test=cpu --num-threads=4 --cpu-max-prime=20000 run
At the same time doing a read/write test on the SD card
./DriveSpeed M 100, F /media/pi/53D2-8F58
Here we can our tests being run with a source voltage of 7.5 - No low power warning


Here we can see the same tests being run with a source voltage of 6.5V - We got the ocasional low power warning


