Sense HAT Case for Raspberry Pi Assembly Guide
How to assemble our Sense HAT Case for Raspberry Pi.
What you need
1. The laser-cut parts of the case are protected by an adhesive film which needs to be removed before assembly (this is *very* therapeutic), simply peel it off:

2. Using the shorter black screws, attach the male/female stand-offs to the bottom plate of the case:

3. Place your Raspberry Pi 4 Model B on top of these stand-offs with the SD card above the SD cut-out.
We'd advise slotting both the USB/HDMI side panels into place before attaching the female/female standoffs as these can get a little tight otherwise:

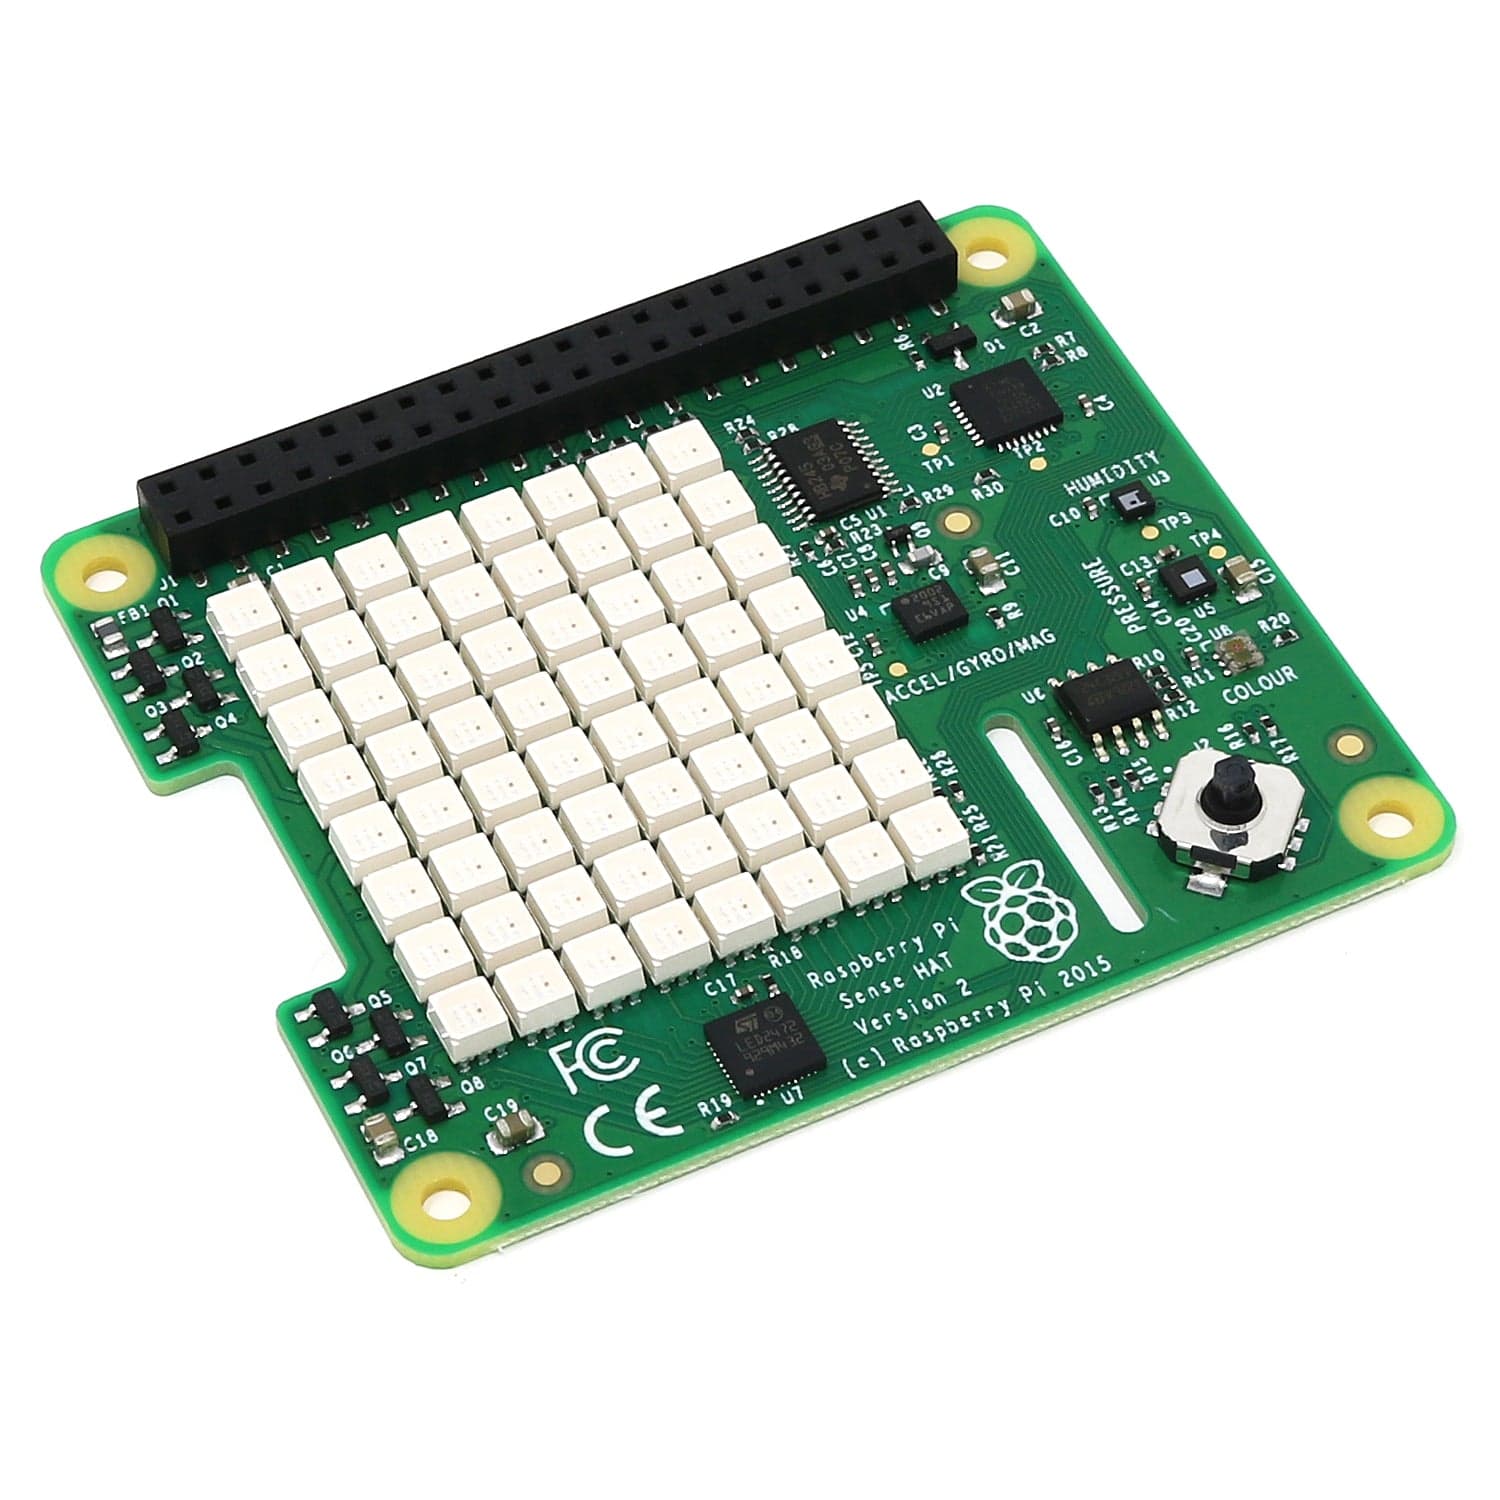
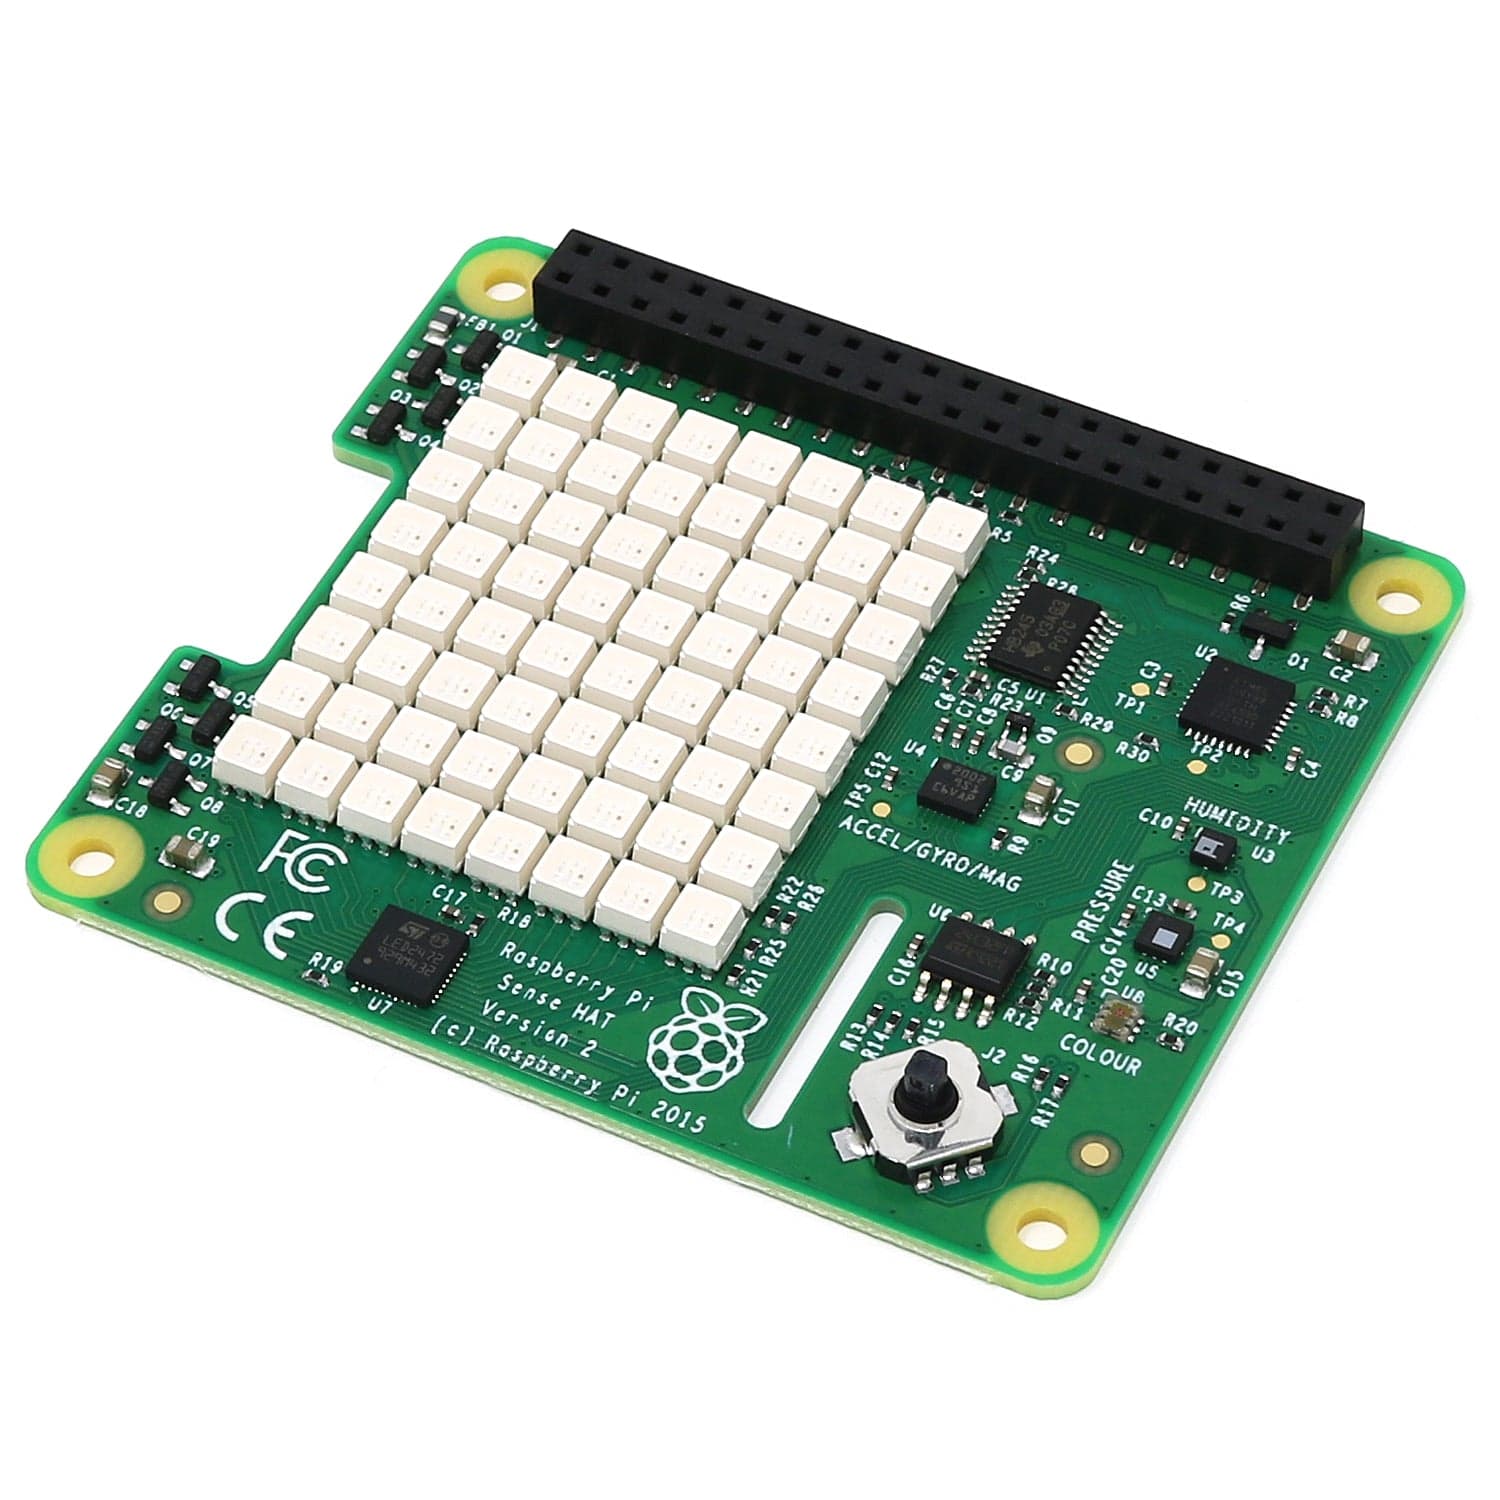
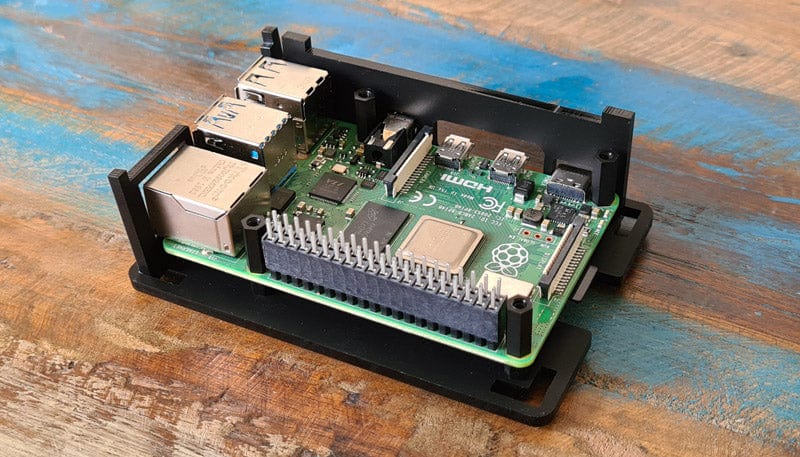
4. Next, ignore the image below! We've found that the GPIO pins have a much better connection when you fit the header to the Sense HAT first. There will be a slight gap between the Pi and the header - this is normal:
5. Slot your Raspberry Pi Sense HAT (with header fitted) on to the GPIO section, it'll sit neatly on top of the female/female standoffs we added earlier.
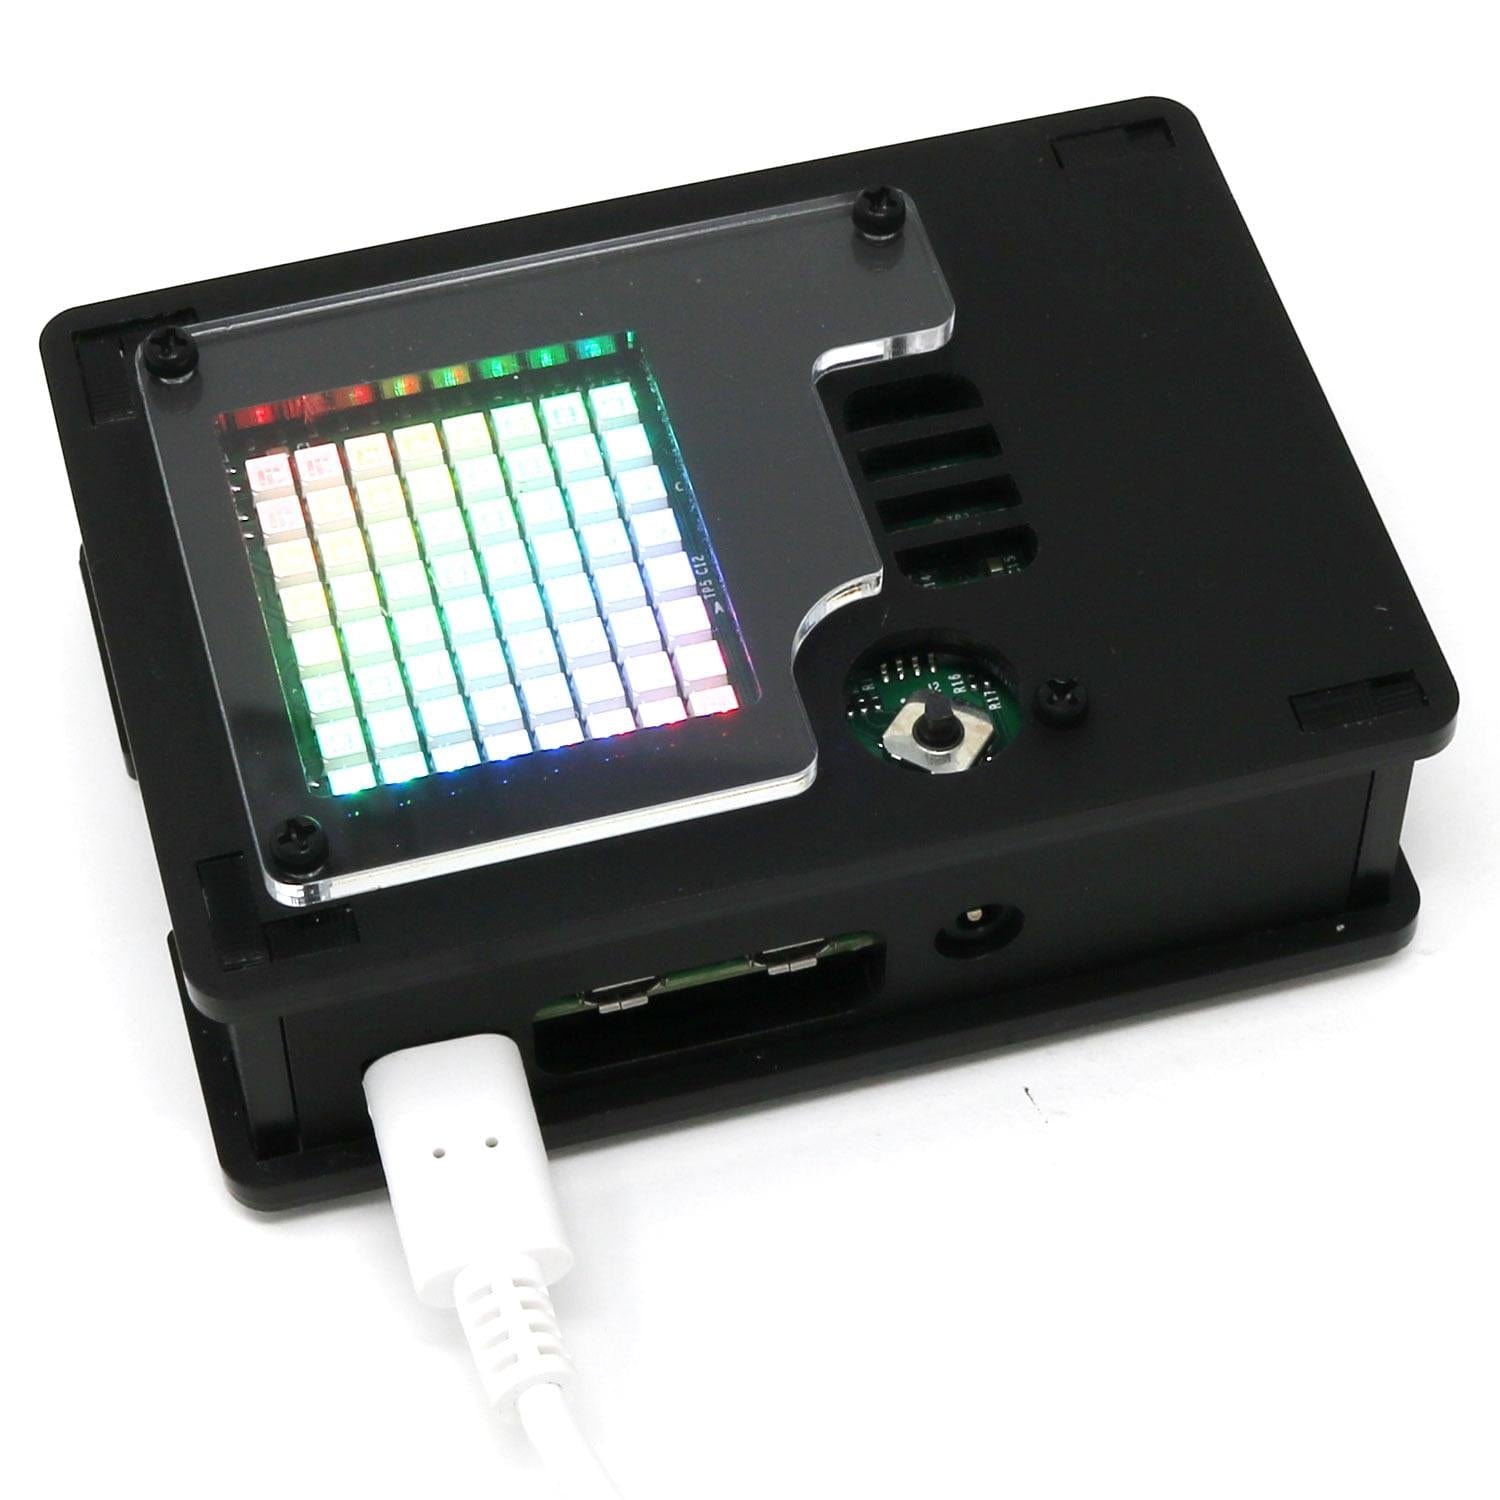
There will be a slight gap between the HAT and riser plastic body - this is normal and doesn't affect the connection:

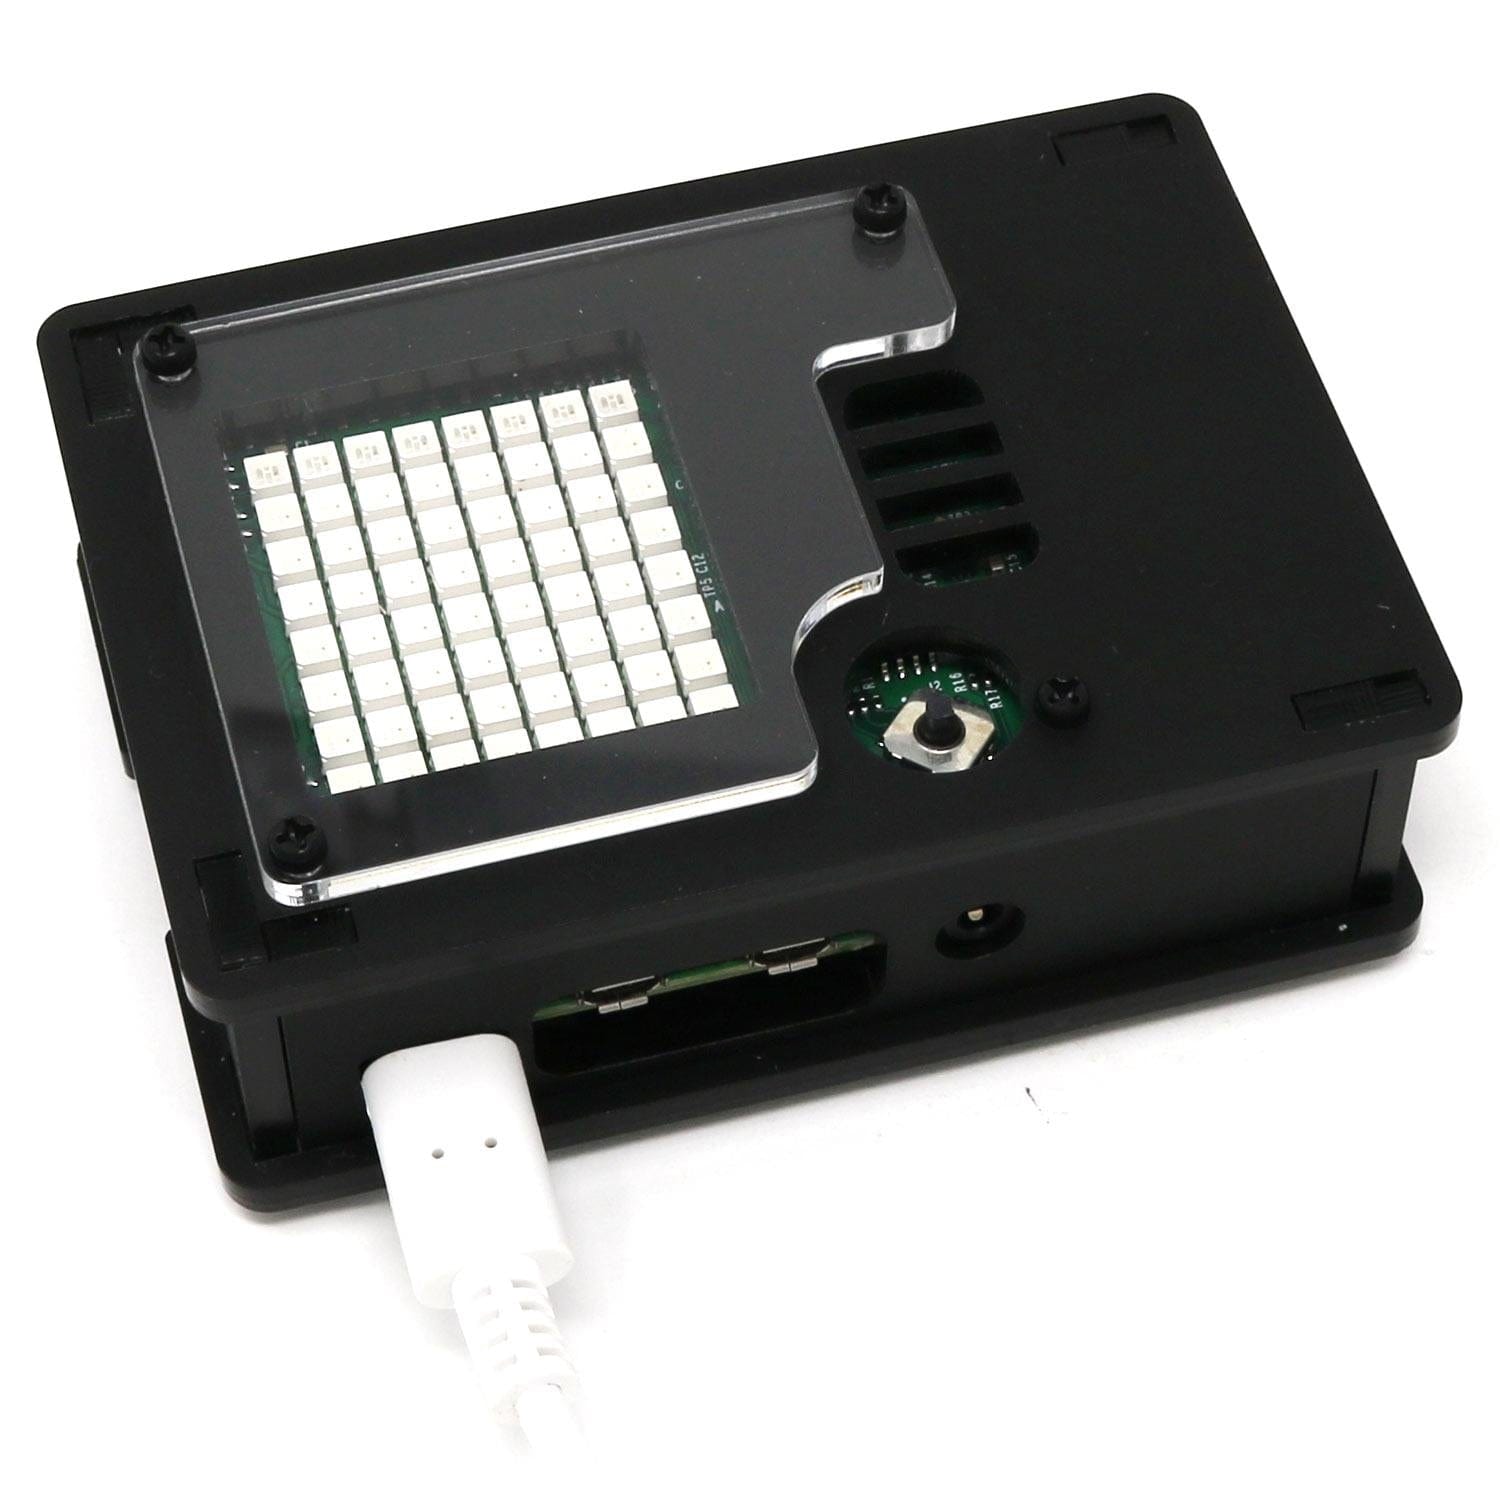
6. Add the remaining two side panels and drop the lid on top - using one of the long screws, secure the lid in place using the bottom right screw hole first (as seen below):

7. With the remaining 3 long screws, secure the clear panel into place on top of the case (or use one of your frosted panels if you bought the add-on pack):

Viola! Case complete!
NOTE: Acrylic is a hard and stiff plastic which is sensitive to stress concentrations and shares a certain level of fragility with glass. Acrylic can scratch easily and should be cleaned with a mild solution of dish detergent and warm water. Never use cleaners unsuitable for acrylic. Never use a dry, abrasive cloth.