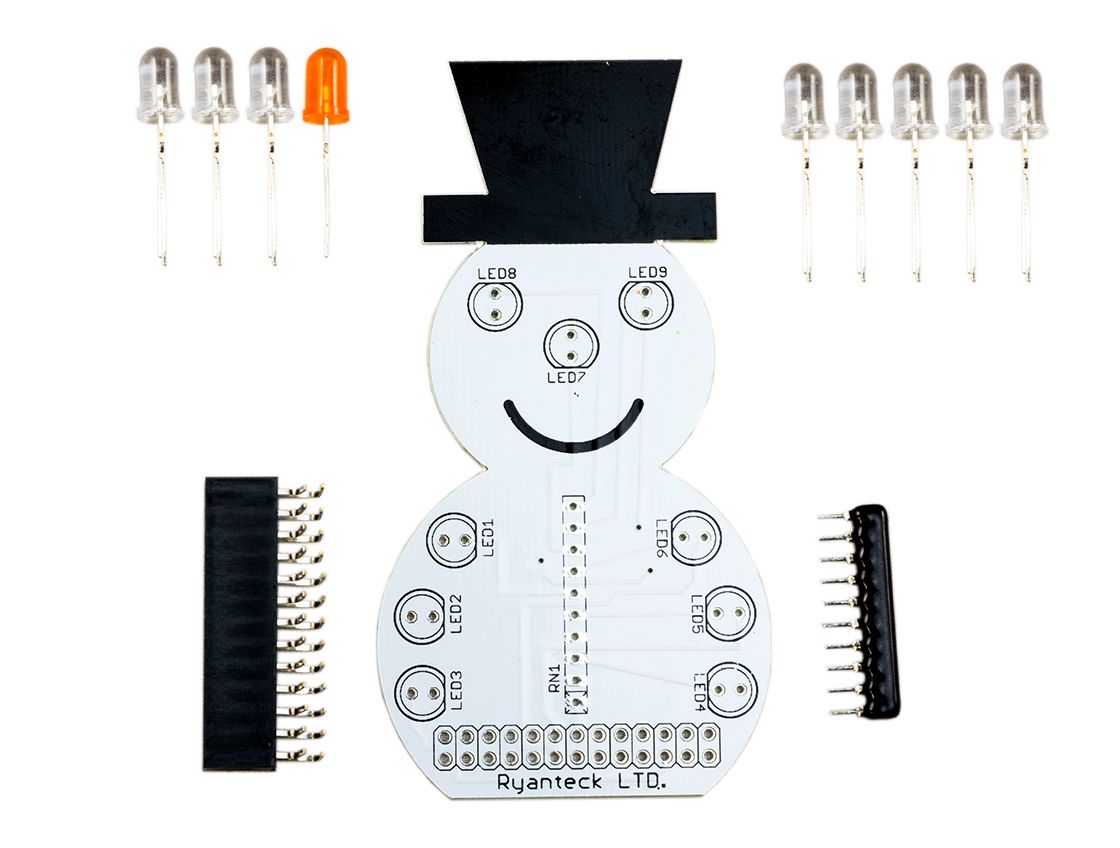
Ryanteck SnowPi - GPIO Zero Guide
To begin please make sure you have the latest version of GPIO Zero Installed. You can follow our guide on installation @ GPIO Zero Install.
Getting SnowPi working is actually very simple and is done in minutes after setting up GPIO Zero using the guide above.
First we need to check the numbers of the GPIO Pins we need to use.
We'll begin by blinking the nose on the SnowPi which is GPIO 25.
1) Begin by opening up an editor for Python. We'll be using Idle.
2) Next click File->New File, This takes us out of the interactive / live console and into a file where we can write our code.
3) Now we're ready to build the code. Copy the code below, we've commented the lines as a guide on what each line does.
#First we need to import the LED & Pause class from the GPIO Zero Library

from gpiozero import LED

#We also need the sleep function from the time library

from time import sleep

#Along with pause which we will use later on

from signal import pause


#Next we need to create a nose object and assign it a class of an LED.

#This gives us all of the functions available for the LED module in GPIO Zero.


nose = LED(25)


#Now we're setup we can go through some of the available commands!


#Let's begin by turning the nose on!

nose.on()

#And wait 1 second

sleep(1)

#And now turn the nose off,

nose.off()

sleep(1)


#We can also toggle the LED instead.

#This means if the LED is already on it will

#turn it off and if it's off turn it on.


#Lets try that now with a sleep inbetween

nose.toggle()

sleep(1)

nose.toggle()

sleep(1)


#Quite simple, we could put this into a while True: loop and have it blink forever

#However GPIO Zero has a neat little blink function.


nose.blink()


#And finally if you've got all of your LEDs blinking you can then use

#the pause function to make it run until quit using Ctrl-C


pause()


#And that's the end of this basic tutorial on blinking an LED on the SnowPi!

#The rest is up to you to decide on patterns you wish to make.


1 comment
Valentin
Just in case someone else wants to revive this little seasonal kit, I put together this simple program:
```
from gpiozero import LEDBoard
from gpiozero.tools import random_values
from signal import pause
nose = LEDBoard(25, pwm=True)
eyes = LEDBoard(23, 24, pwm=True)
body = LEDBoard(7, 8, 9, 17, 18, 22, pwm=True)
for led in nose:
led.blink(on_time=3, fade_out_time=1)
for led in eyes:
led.blink(on_time=1, off_time=0.5, fade_in_time=0.2, fade_out_time=0.5, background=True)
for led in body:
led.source_delay = 0.2
led.source = random_values()
pause()
```
Enjoy the holidays!