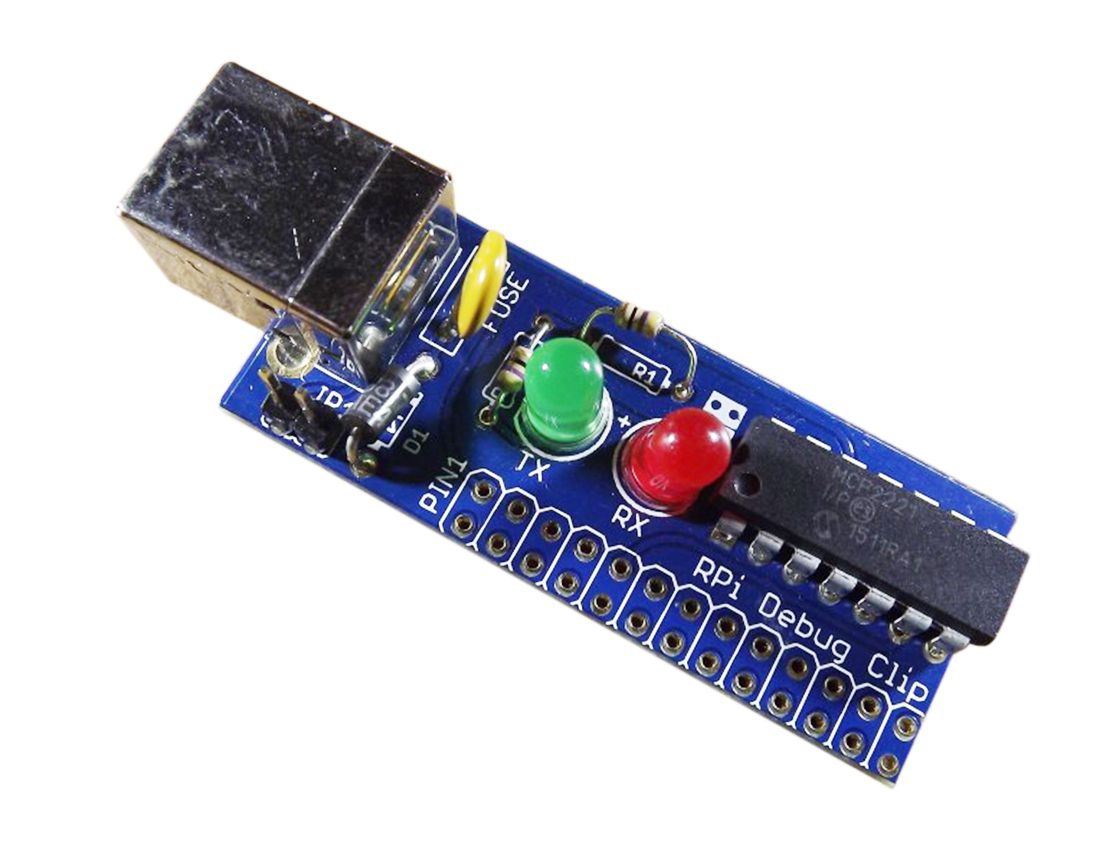
Ryanteck Debug Clip - Windows Connection Guide
This tutorial was done on Windows 7, as long as you've first followed our driver installation guide for Windows 8 then the rest will be the same. We've also had it reported that the same guide works first time for Windows 10 without having to install any extra drivers first.
Step 1
Begin by having your Raspberry Pi's SD card flashed with the latest version of the Raspbian Operating System and then push the debug clip onto your Pi. Once done then plug the debug clip into your computer or laptop.
Step 2
Windows will automatically detect the device, on windows 8 it should then use the drivers you have just installed and on windows 7 & 10 it should find them from windows update and install them automatically and configure the device.
If you're using a computer that is offline then you are able to use the same driver download as for windows 8 on Windows 7.
Step 3
Navigate to Start -> Devices & Printers or Search -> Devices & Printers and then you should get a screen like the following appear.
Next click on MCP2221 USB-I2C/UART Combo to view the details of the clips integrated circuit.
Step 4
Now you should have the following window appear on your screen.
At the top click the tab that says "Hardware" which will then change the screen to display this window.

At the bottom of the list you should see the device for a USB Serial Port. Make a note of the com port which is different for every machine and can also be different depending on what USB port you plug the clip into. Mine has it set to COM4 for this tutorial.
Step 5
Now we need to download a serial terminal, you may use any but from personal experience and feedback Putty is the most popular on Windows which can be downloaded from the Putty Website. (Select just Putty.exe)
Next it will download Putty.exe, you may move this to your desktop or a documents folder if you prefer and then launch it. Putty should launch for the first time and look like the following.

On this screen we now need to change a couple of options.
1) On the connection type area change the radio button selection from SSH to Serial. 2) On the top box that says COM1 change this to the com port your clip is on, in my case this is COM4. 3) For the serial speed / baud rate we need to change this from 9600 to 115200 4) Optional - Type a name into the box under "Saved Sessions" and such as "Debug Clip Com 4" and then click save. This will then save the settings for next time.
Your screen should now look like this.
Step 6
Finally click on open and a terminal willl pop up. Press enter once and then you should see the login screen appear for the Raspberry Pi!
Congratulations, you have successfully connected to your Raspberry Pi Debug Clip!
From now on you can then just click on the saved name twice and Putty will auto launch with all of the previous settings.


