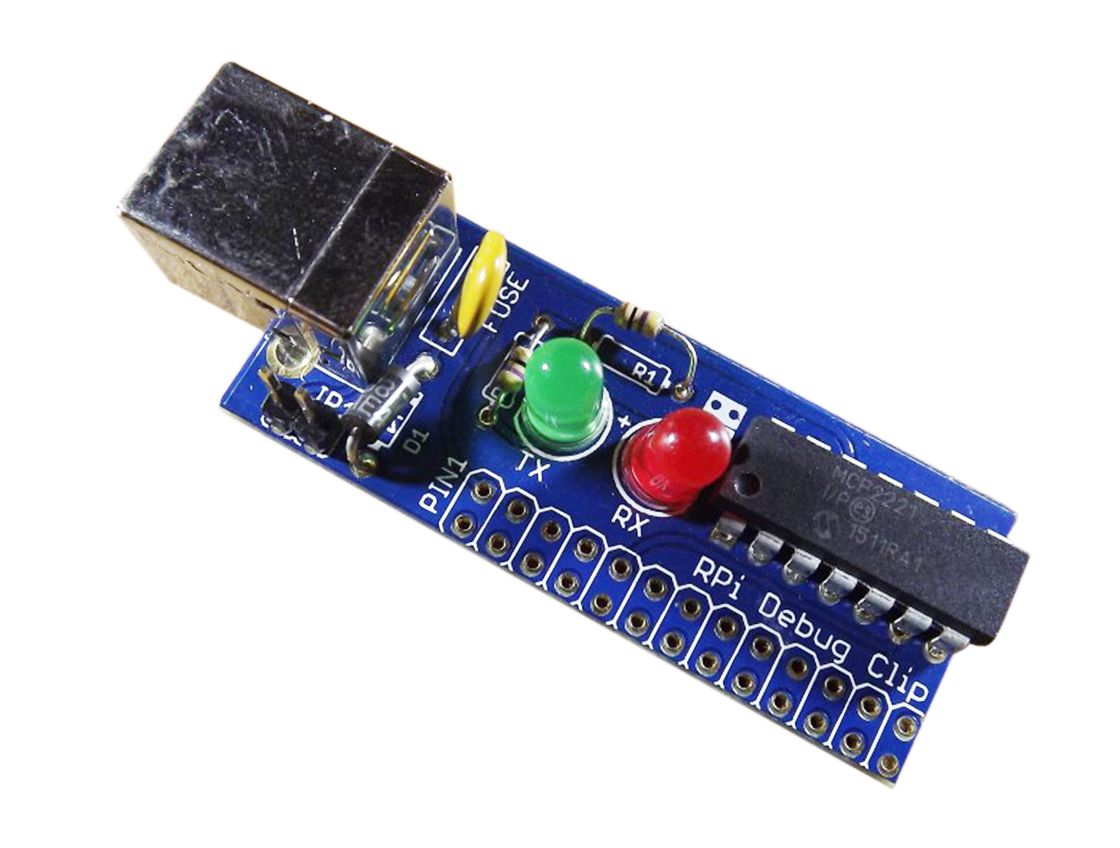
Ryanteck Debug Clip - Linux Connection Guide
This is the tutorial page for connecting your debug clip via a Linux based machine, a majority of this tutorial is the same with slight modifications on the distribution used. Ours covers Ubuntu which also covers a majority of Debian distributions such as Mint.
However the auto installer is designed to work with almost all major distributions.
Auto Installer Method
We've created a python script that can be downloaded using the following command. The script you download and run will then download another python program and put it in the correct location.
The second script is then designed to install any required software that is not installed and then after the first run automatically detect the first USB port that the debug clip is plugged into and automatically launch a screen session on this port as the default settings.
The program is fully open source on BitBucket and can be found on the debug clip repository. If you have any issues then please contact us via our website or create an issue on BitBucket.
Just run the following command in your terminal if you use WGET (Normally on Ubuntu and Debian)
wget -L https://raw.githubusercontent.com/modmypi/RPiDebugClip/master/RpiDebugClipInstaller && sudo python debuginstaller
Or if your computer users CURL (Usually Fedora and Mint)
curl -OL https://raw.githubusercontent.com/modmypi/RPiDebugClip/master/RpiDebugClipInstaller && sudo python debuginstaller
Manual Guide
Step 1
Open a terminal window and then navigate to /dev "cd /dev" and then list the devices by typing in "ls /dev"
Step 2
Now plug in the debug clip and re run the previous command ("ls /dev") A new device should appear along the lines of ttyUSBXX or ttyACMXX with XX being a number (usually 0 if you have no other serial devices plugged in).
For the example of this tutorial ours is showing up as ttyACM0
Step 3
Now launch up a serial terminal of your choice. For this tutorial we will be using screen.
You can install screen on debian based systems by using "sudo apt-get install screen" or "sudo aptitude install screen" and on fedora based systems by running "sudo yum install screen" .
Step 4
Finally open the connection to the Pi by running the following command as root, "screen /dev/
On my computer it would be "sudo screen /dev/ttyACM0"
You can then quit screen by pressing Ctrl & A and then the K key and finally Y to confirm quitting the program.
If you like you can also detach the screen to keep it open in the background by pressing D instead of K. You can then re-attach the screen by using "sudo screen -x".


