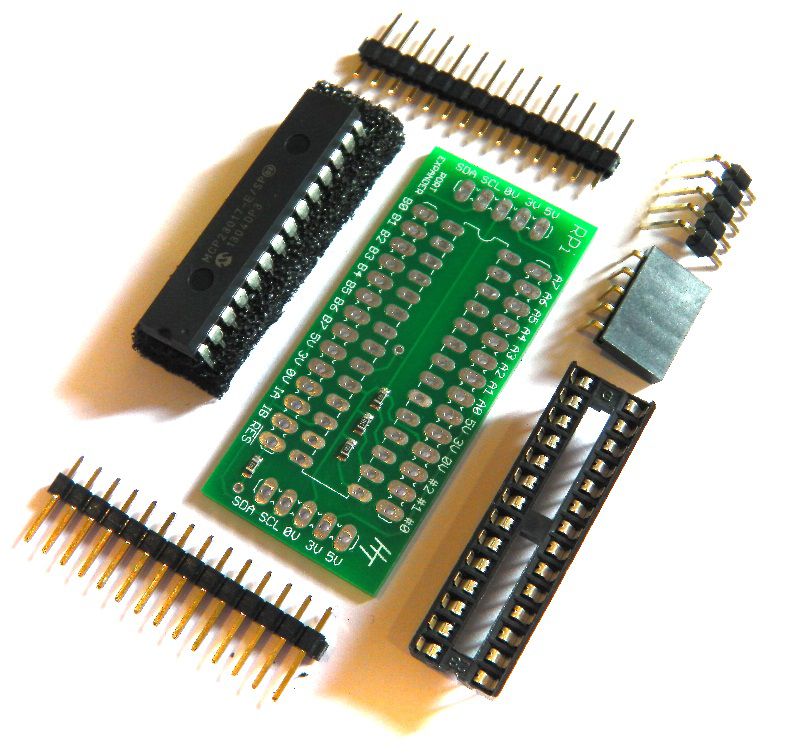
RPi MCP23017 Port Expander Board Kit Assembly Guide
The MCP23017 Port Expander kit connects directly to the HT Raspberry Pi GPIO Breakout Board or HT Raspberry Pi GPIO Breakout Board **Pro** and plugs into a Breadboard. The 16-bit I/O port functionally of the MCP23017 consists of two 8-bit ports (PORTA and PORTB) and the MCP23017 can be configured to operate in 8-bit or 16-bit modes, effectively doubling the number of connections available for the Raspberry Pi GPIO ports!
This assembly guide will give you a quick overview on how to set the unit up!
Part 1 - Solder up your Break-Out Board!
Step 1
Solder "26 Pin Box Header" to the PCB. There's a white guide line on the top of the PCB to show it's location - a break in the white line demonstrates the suggested direction of the box header. Solder on the underside of the PCB.


Step 2
Solder the 2 x 13 Pin Headers to the PCB. Make sure that the headers have the 'short' end poking through the PCB, and the long end pointing downwards. I find the easiest way to get these straight is to place the unit into a breadboard, so there pins are automatically in the correct place! This time solder on top of the PCB.


That's it! The same process applies to both the regular and **Pro** version of the HT breakout boards! Part 2 will work through the set-up of the MCP23017 Port Expander kit.
Part 2 - Soldering the MCP23017 Port Expander Kit
Step 1
Grab your MCP23017 Port Expander Kit and take out the '5 Pin Right Angled Female Header Socket'. You then need to solder this on to your break-out board (the one we soldered in Part 1!). Solder on the underside of the board.


Make sure it's nice and straight when you solder it on.
Step 2
Next, take the '5 pin right angled male header pins'. The black part on the 5 pin male will unfortunately foul on the expander PCB, so it's best to take a pair of pliers, and remove all the pins from black plastic jacket. If you're careful you'll then be left with 5 right angle pieces of metal! Plug these into the female 5 pin, which we just soldered on to our breakout board.

Make sure everything's nice and straight, take your expander board, feed the 5 pin male through, then solder.
Note. Make sure you're soldering the 5 pin male to the correct side of the expander PCB board. This is the side which has the writing, 'RPi' at the top, and 'PORT EXPANDER' at the bottom.

Step 3
Next, grab the IC Socket, which need to be soldered to the expander board. If you look closely at the socket, one end has '28' and a small in-dent, and one end has a 'G' without the indent. The end with the '28' and the in-dent, must be situated on the same end as the 5 pin male we just soldered on! See the picture below for the correct orientation.

Solder it on!
Step 4
Finally, Solder the 2 x 14 Pin Headers to the PCB. As before, make sure that the headers have the 'short' end poking through the PCB, the long end pointing downwards.


And that's it! We've assembled both our boards and plugged them together. The finished product should look something like the pictures below. Don't worry too much about the order that you do these steps in - as long as everything is situated in the correct direction, you'll be OK :)


