
Raspberry Pi 7" Touch Sreen Display Case Assembly Instructions V2
The laser-cut parts of the case are protected by an adhesive film which needs to be removed before assembly.
Bill of Materials
- Raspberry Pi B+/2/3
- Raspberry Pi Touch Screen
- Raspberry Pi Touch Screen Case
- 6x Acrylic Pieces
- 6x M3 x 30mm F/F Stand Off
- 6x M3 x 7.5mm M/F Stand Off
- 6x M3 x 6mm Black Screw
- 10x M3 x 6mm Silver Screw
- 1x M3 Nut
- 4x Adhesive Rubber Feet
NOTE: Acrylic is a hard and stiff plastic which is sensitive to stress concentrations and shares a certain level of fragility with glass. Acrylic can scratch easily and should be cleaned with a mild solution of dish detergent and warm water. Never use cleaners unsuitable for acrylic. Never use a dry, abrasive cloth.
Here are the parts from the case kit:

Follow these images checking parts and orientation of the acrylic pieces. You will see a before and after image for each step. Make sure you have all the parts ready, shown in the before picture.

Start by placing the clear part shown in the picture on to the back of the touch screen. The cut-out should line up with the Micro-USB power port on the Pi.
Secure this plate in place with 4 of the M3 silver screws.


Next we are going to attach the back plate. Start by inserting the male end of the 7.5mm stand offs into each of the mounting holes around the edge of the plate already attached to the touch screen. The male part of the screw should be facing away from the rear. Then screw a M3 x 30mm to fasten in place.

With all the 7.5mm and 30mm stand offs in place, you can add the back plate and secure with the remaining silver screws.


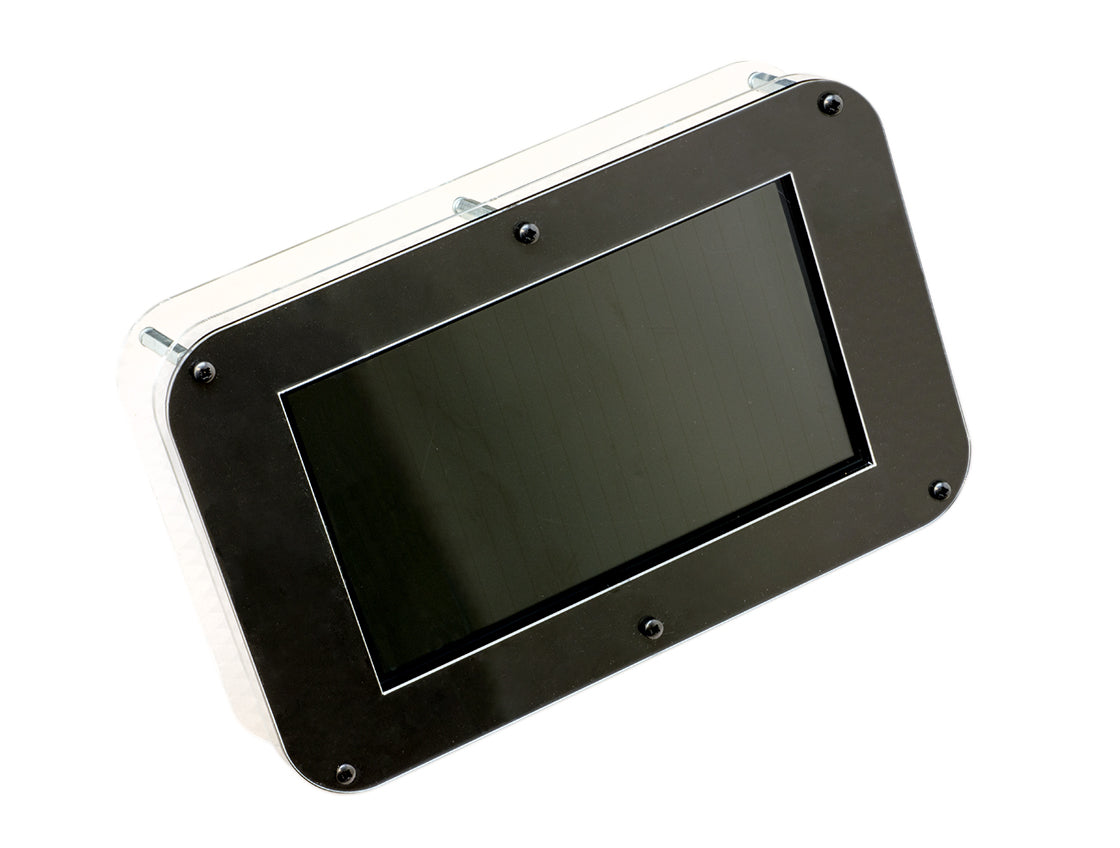
Now we can add the front plates. Start by aligning the black plate onto the 7.5mm stand offs, followed by the thing clear plate. Once aligned fasten with the M3 black screws.


Time to add the rubber feet the stands. Simply add two rubber pads to each stand. The stand has two cut outs, one for each pad.

All that's left to do is slot each of the stands into the cut outs on the back plate, and we are done!


