
Raspberry Pi 4 Case (with cooling fan) Assembly Guide
How to assemble our Raspberry Pi 4 Case (with cooling fan)!
Bill of Materials
1. The laser-cut parts of the case are protected by an adhesive film which needs to be removed before assembly (this is *very* therapeutic), simply peel it off

2. Using the black screws, attach the 4mm stand-offs to the bottom plate of the case

3. Place your Raspberry Pi 4 Model B on top of these stand-offs with the SD card above the SD cutout and attach the longer 11mm standoffs on top. Be careful not to over-tighten as this could damage the acrylic.

4. Assembling the side pieces is nice and easy - they'll be loose at first, but don't worry, the lid and screws on top hold the case together nice and snug.

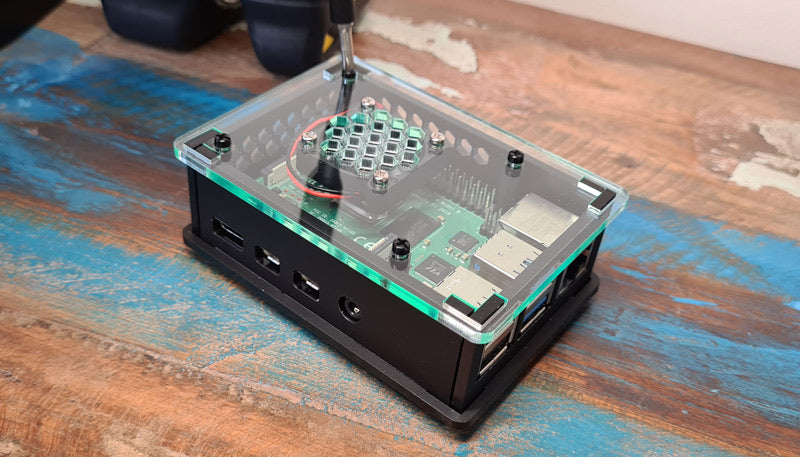
7. Screw the 5V fan into the inside of case, making sure that you copy the orientation of both the fan and lid below.

8. Connect the fan's header to the correct GPIO pins of your Raspberry Pi (see below)

9. Close the case and screw it shut with the remaining black screws.

Viola! Case complete!
NOTE: Acrylic is a hard and stiff plastic which is sensitive to stress concentrations and shares a certain level of fragility with glass. Acrylic can scratch easily and should be cleaned with a mild solution of dish detergent and warm water. Never use cleaners unsuitable for acrylic. Never use a dry, abrasive cloth.


3 comments
Colin
I’ve had my Pi about a year just running HomeBridge OS and have found in hot weather it cuts out due overheating. Not good when it’s controlling TV and Air Conditioners etc.
So needed a fan for it which also meant a new case. Found this lovely piece of kit and the only hard part of assembly was removing the protective coverings!
Works a treat so now waiting to see if can compete with the hot weather.
John Cass
Lovely little case for the Pi 4b – very good value and I’m very pleased with it.
Two things – I had to position the end with the socket cutouts on the Pi before attaching it to the case floor, otherwise I couldn’t get it to slot in. Secondly, the screws to attach the lid weren’t quite long enough to catch the thread in the 11mm standoffs. I had to replace them with longer screws.
But the case looks great, the fan is (at the moment!) completely silent and the assembly instructions are excellent.
Paul
Can i use this case when my pi4 board(s), already have a heatsink fitted
Can i use this case when my pi4 board(s), already have a heatsink fitted