
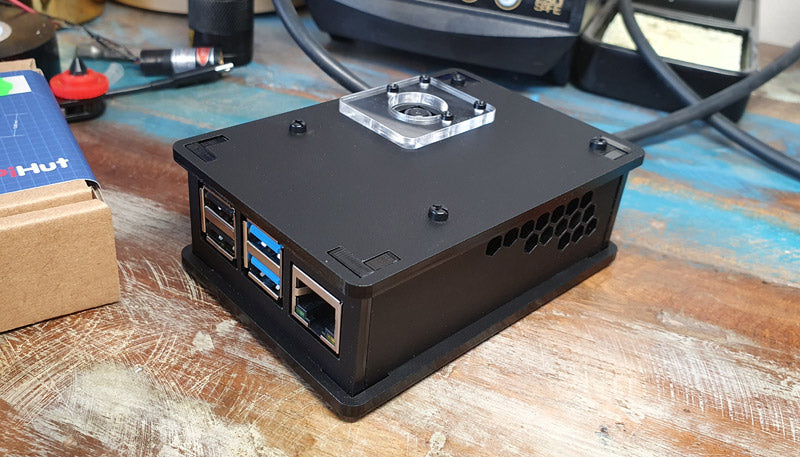
Raspberry Pi 4 Camera Case Assembly Instructions
This guide will show you how to assemble the Raspberry Pi 4/3 Camera Case. All you'll need is a simple cross-head screwdriver (if you have the Raspberry Pi Zero version of this case you'll want this guide instead).
Note: Your front panel might look slightly different if you have the latest version that accommodates the Camera Module 3, but the process is exactly the same.
Step 1 – Snap the 4 panels out of their holders. Don't forget to peel off the protective plastic covering from all pieces:

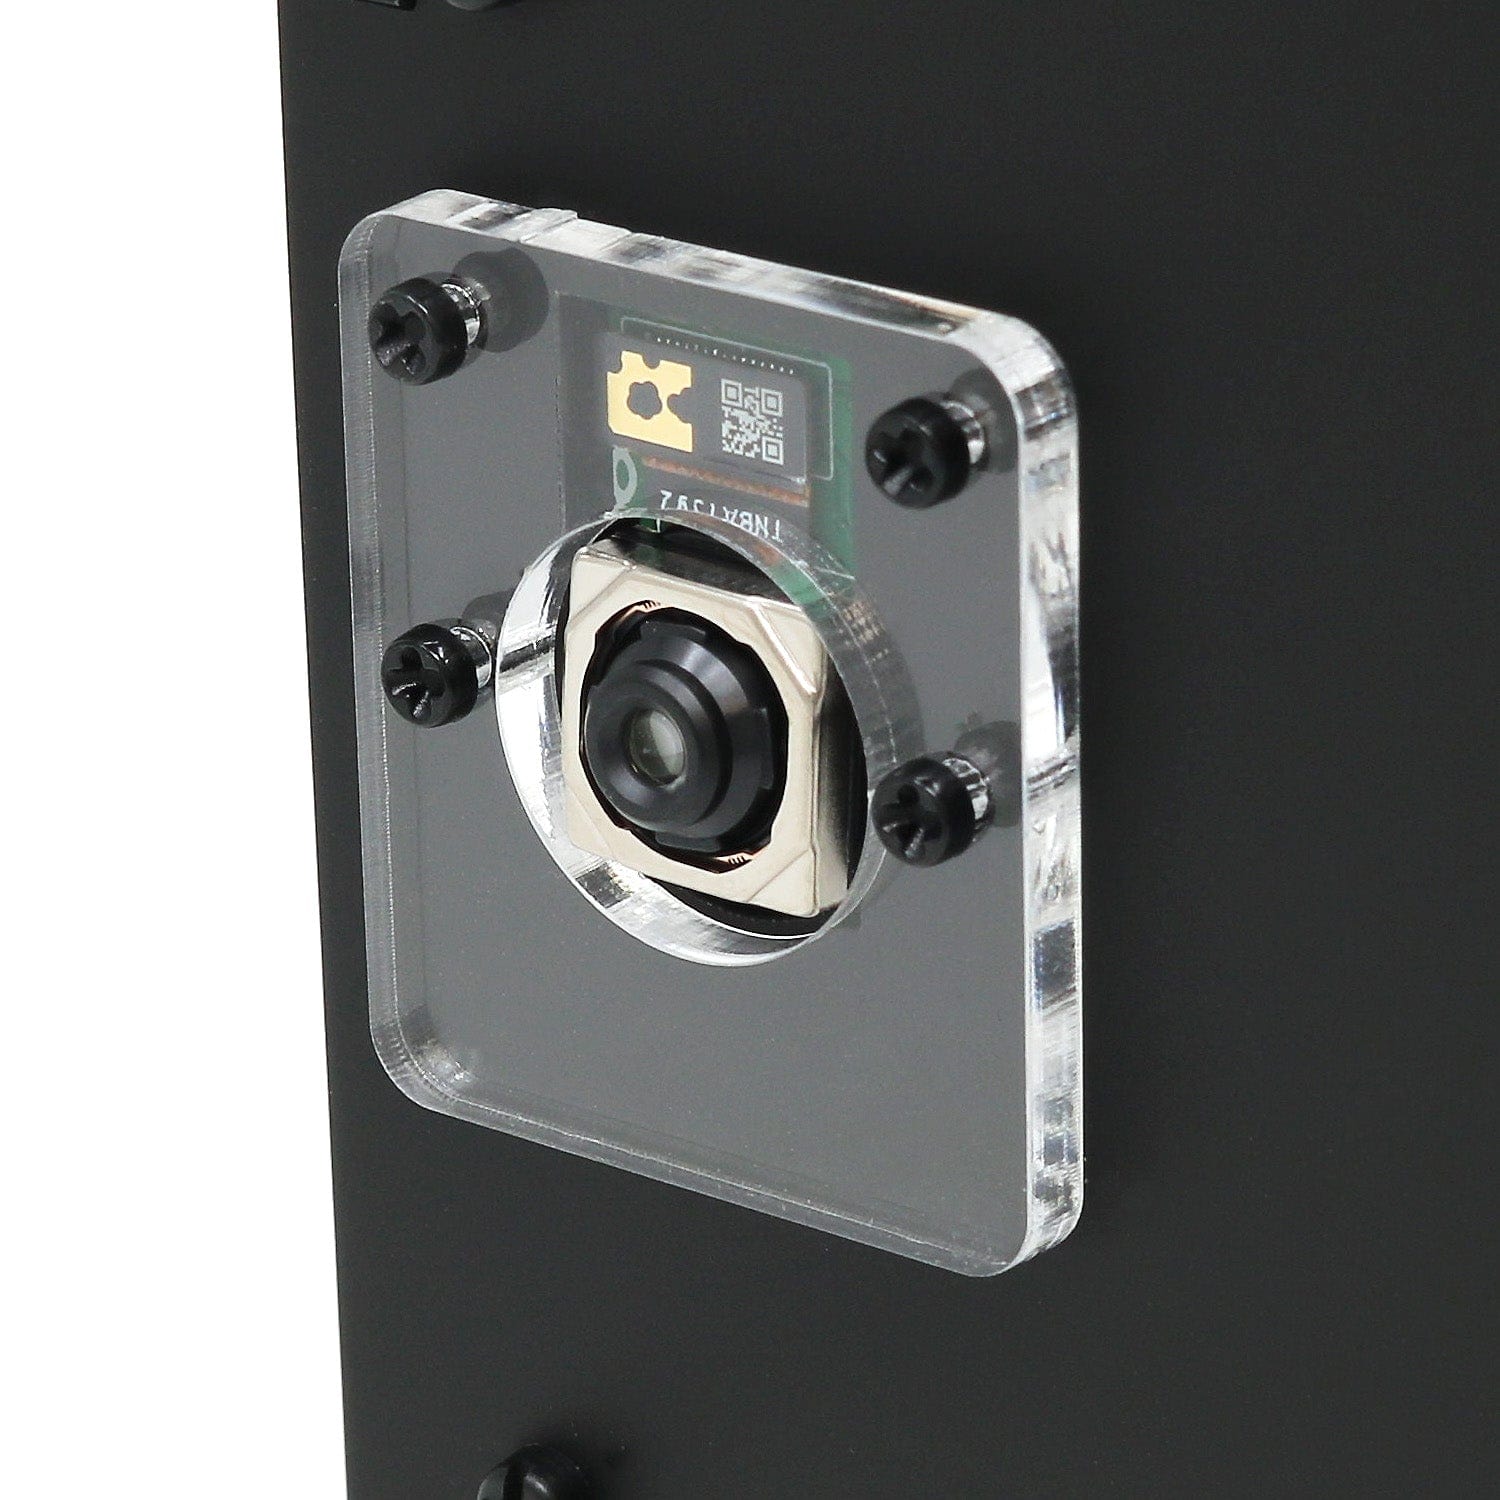
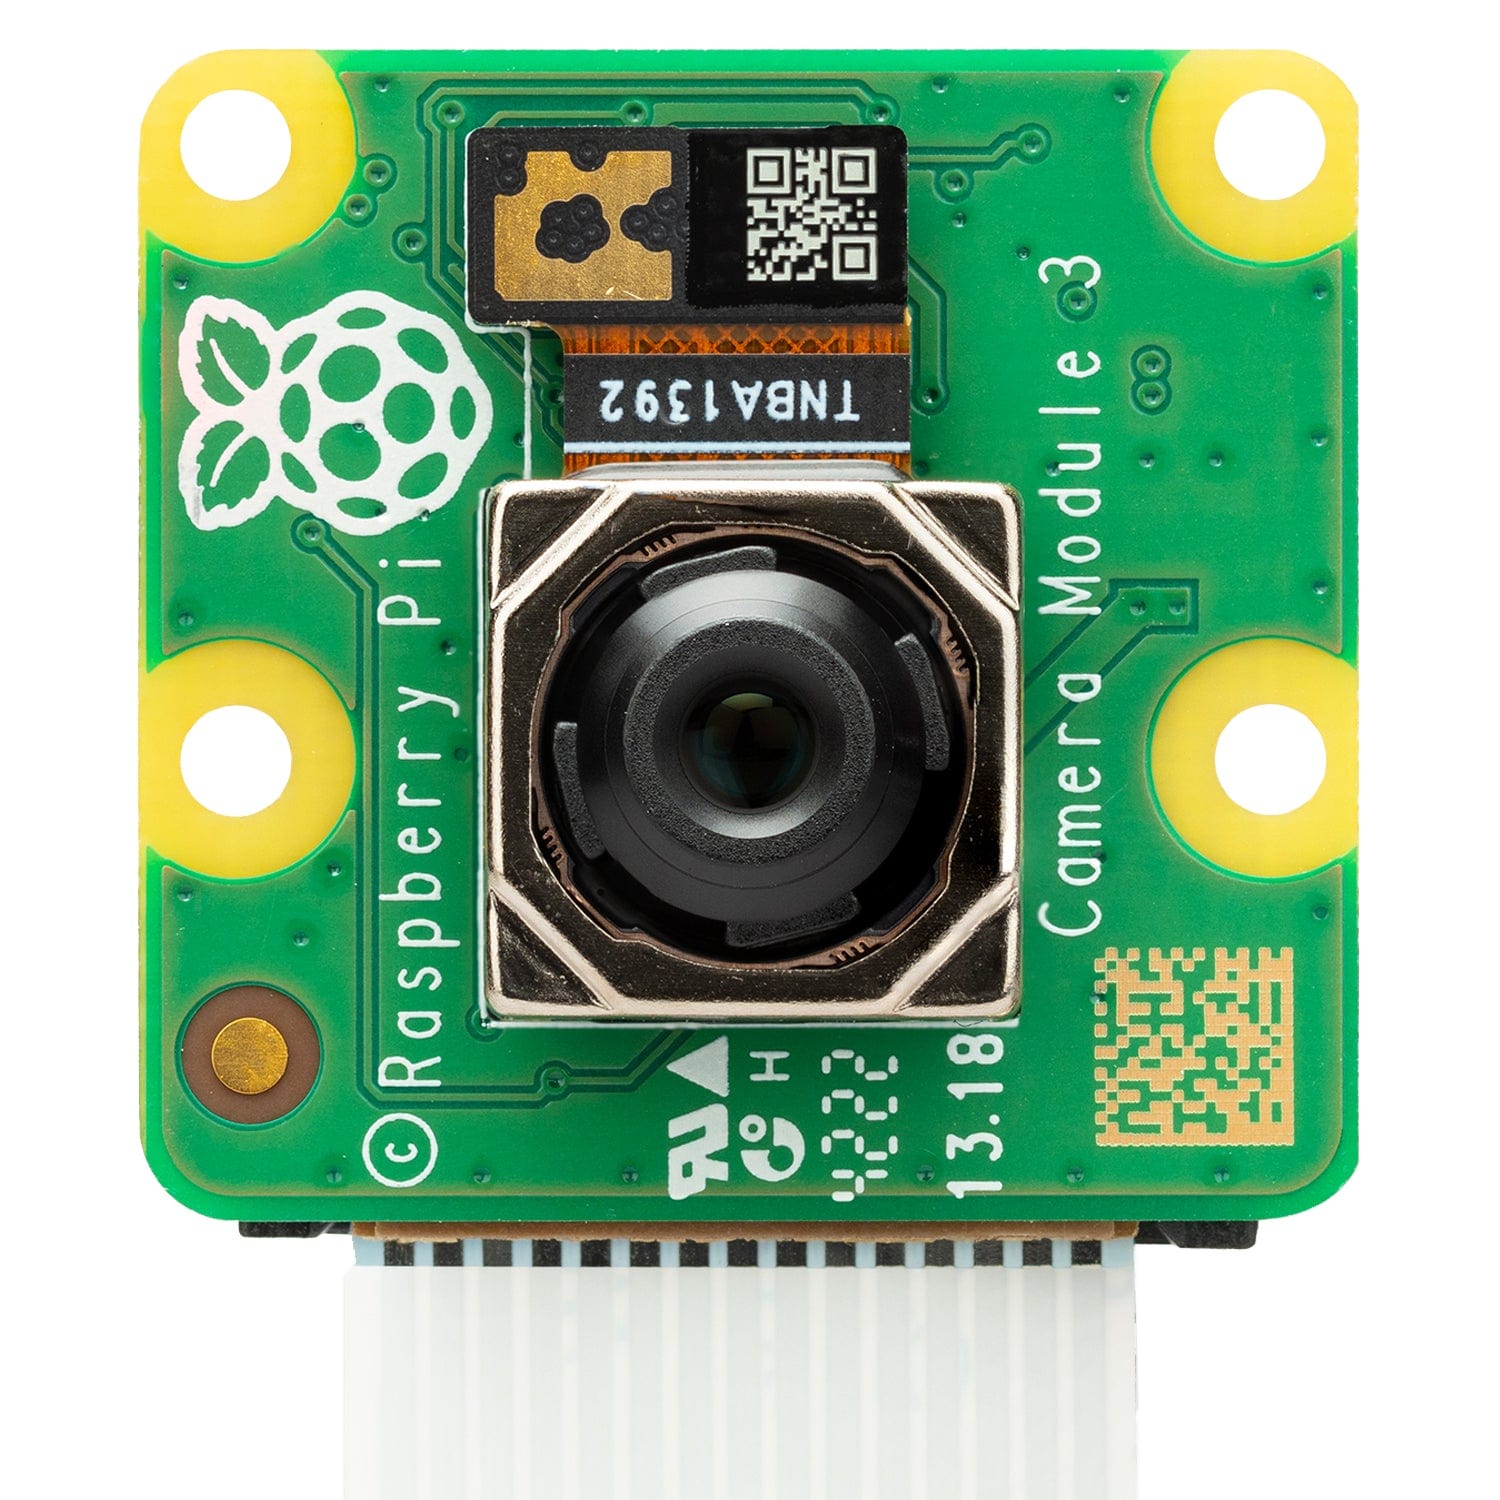
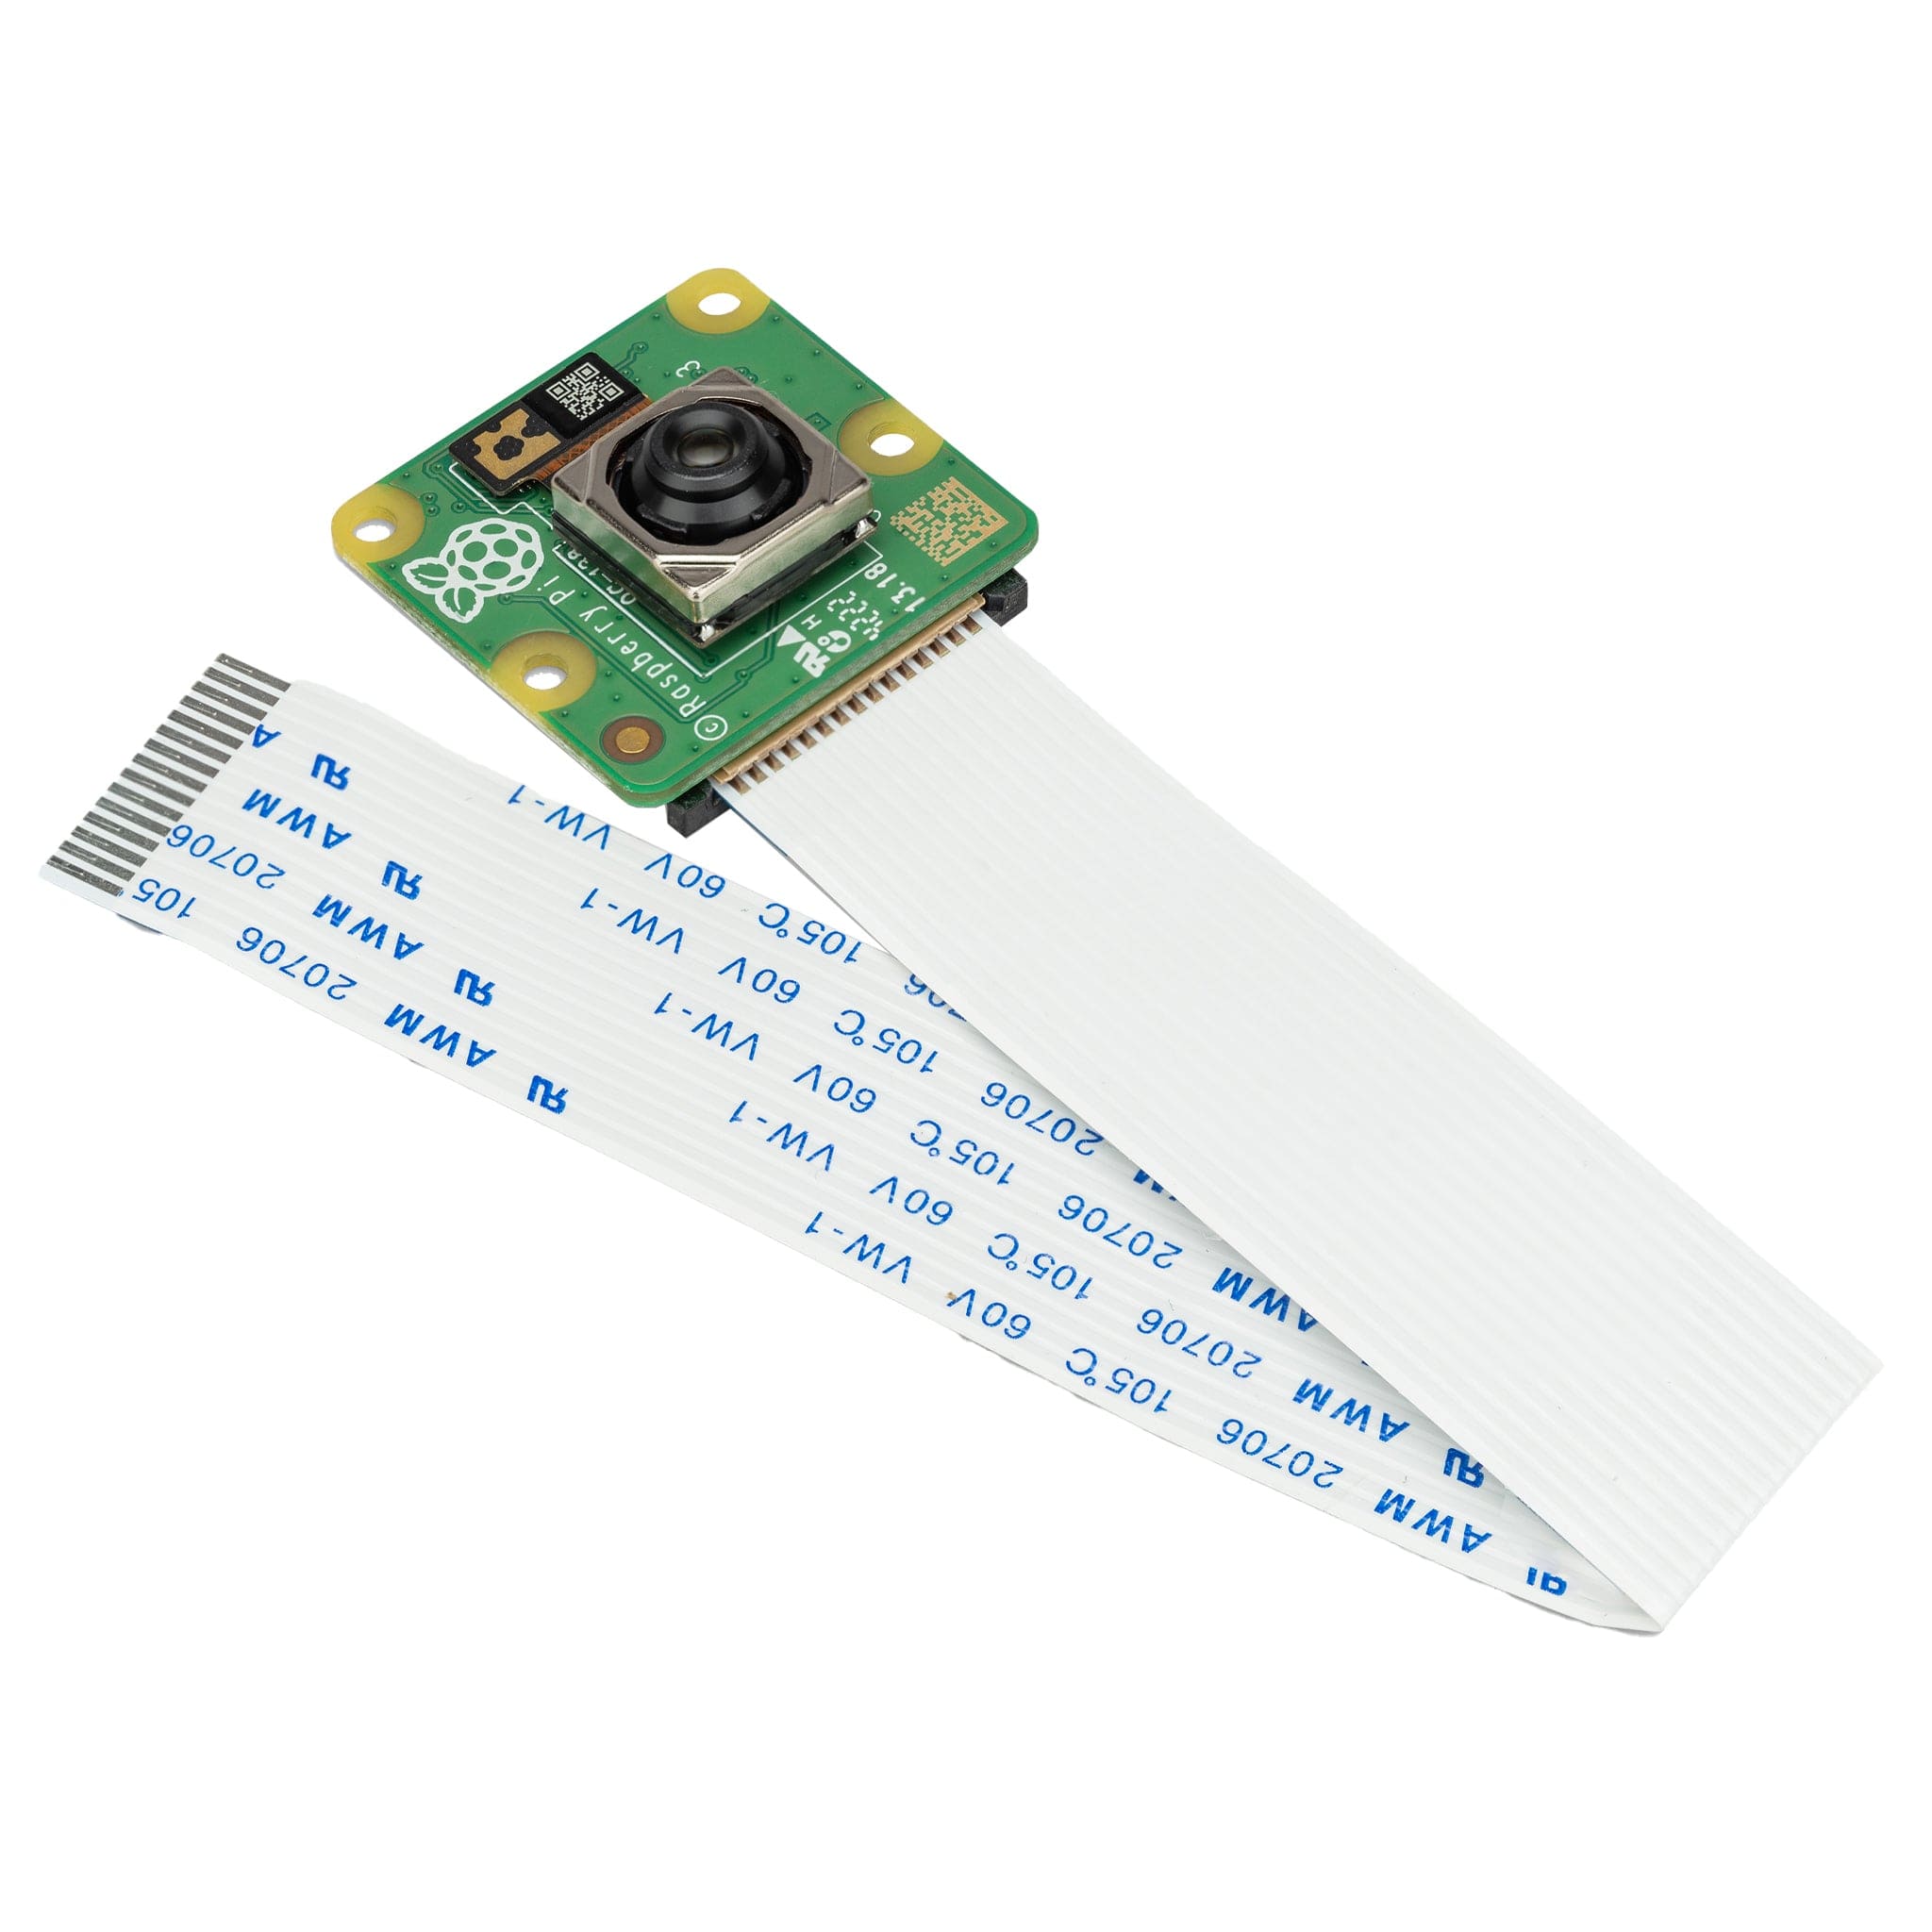
Step 2 – We'll get the fiddly part out of the way, secure the clear lens protector to the front black panel and your camera module with the thinner M2 screws, then use the smaller M2 nuts to secure everything in place.
Don't worry if you have left-over nuts, we included extras in your pack of parts:

 Step 4 – Use four of the larger M2.5 screws to secure the smaller Male/female standoffs to the base layer of the case.
Important! If you're mounting this case to a wall using one of our wall mounting brackets you'll want to quickly check out this guide):
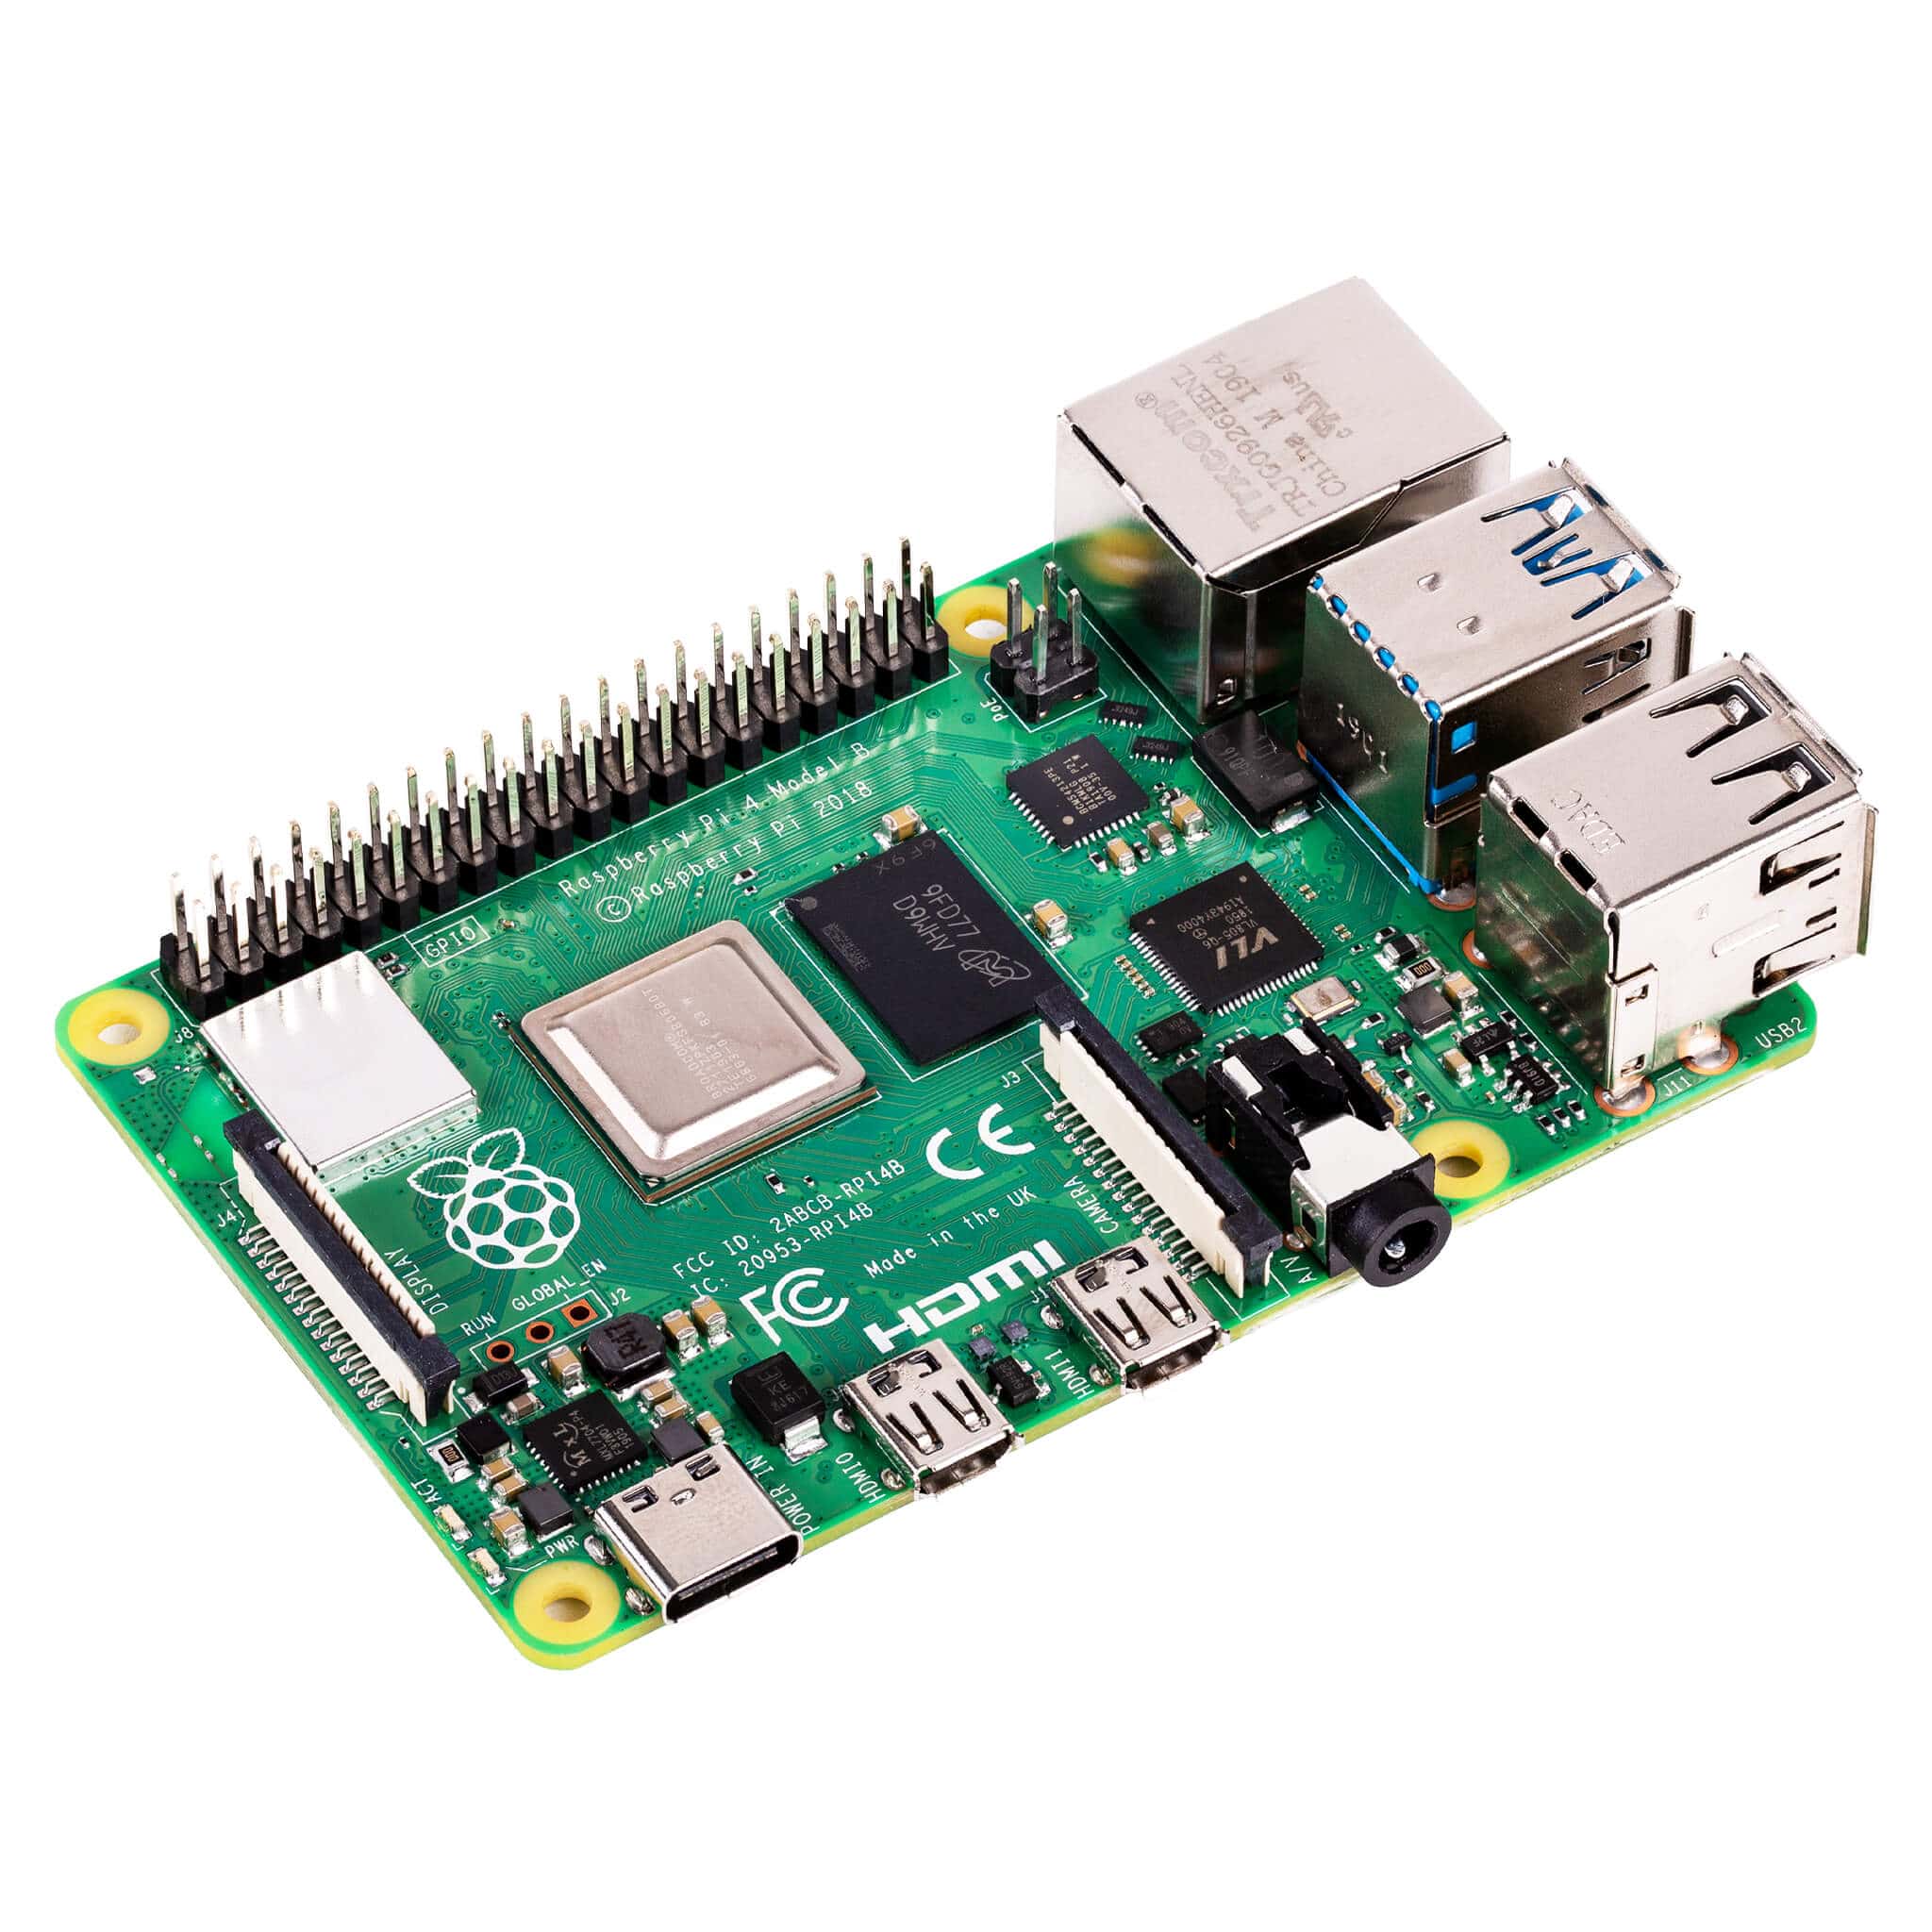
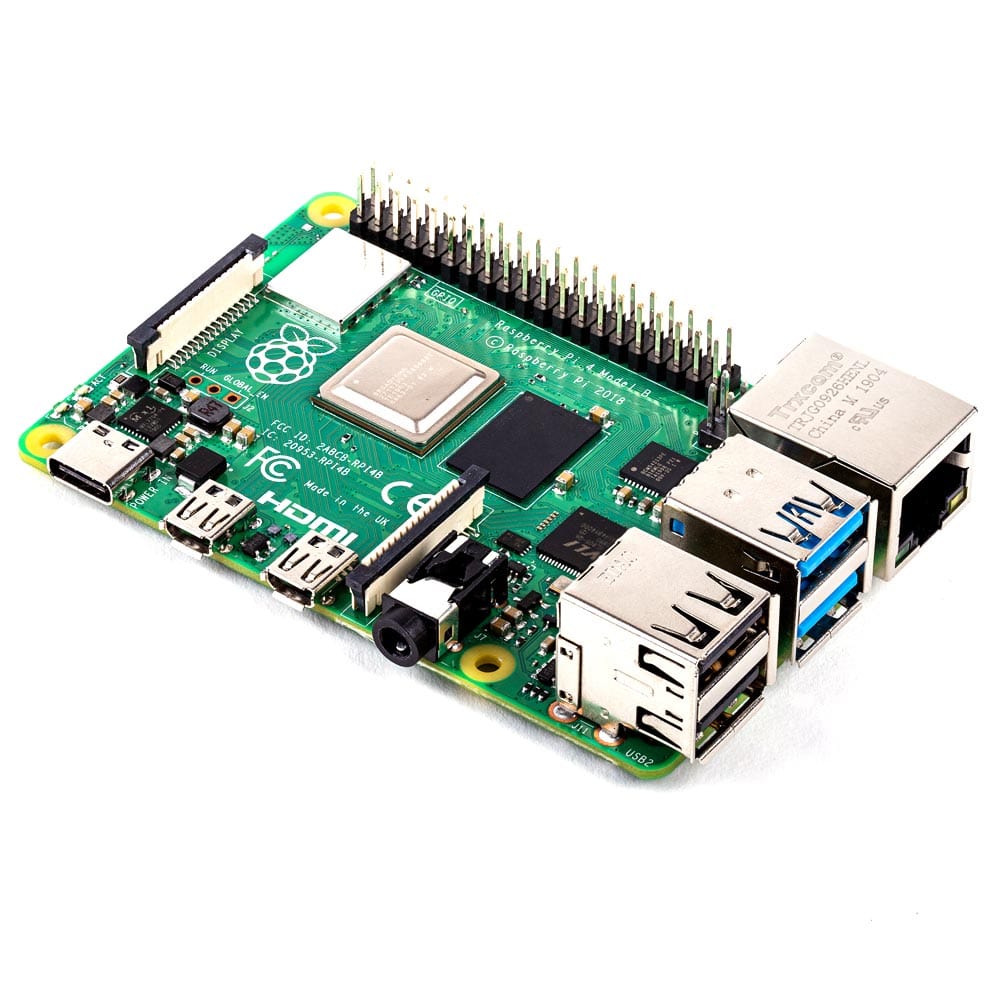
 Step 5 – Add your Raspberry Pi and follow up with the tall Female/Female standoffs.
Note - some customers have found it easier to keep these loose whilst they fit the side panels in the following steps. Give it a try if things are a little tight!

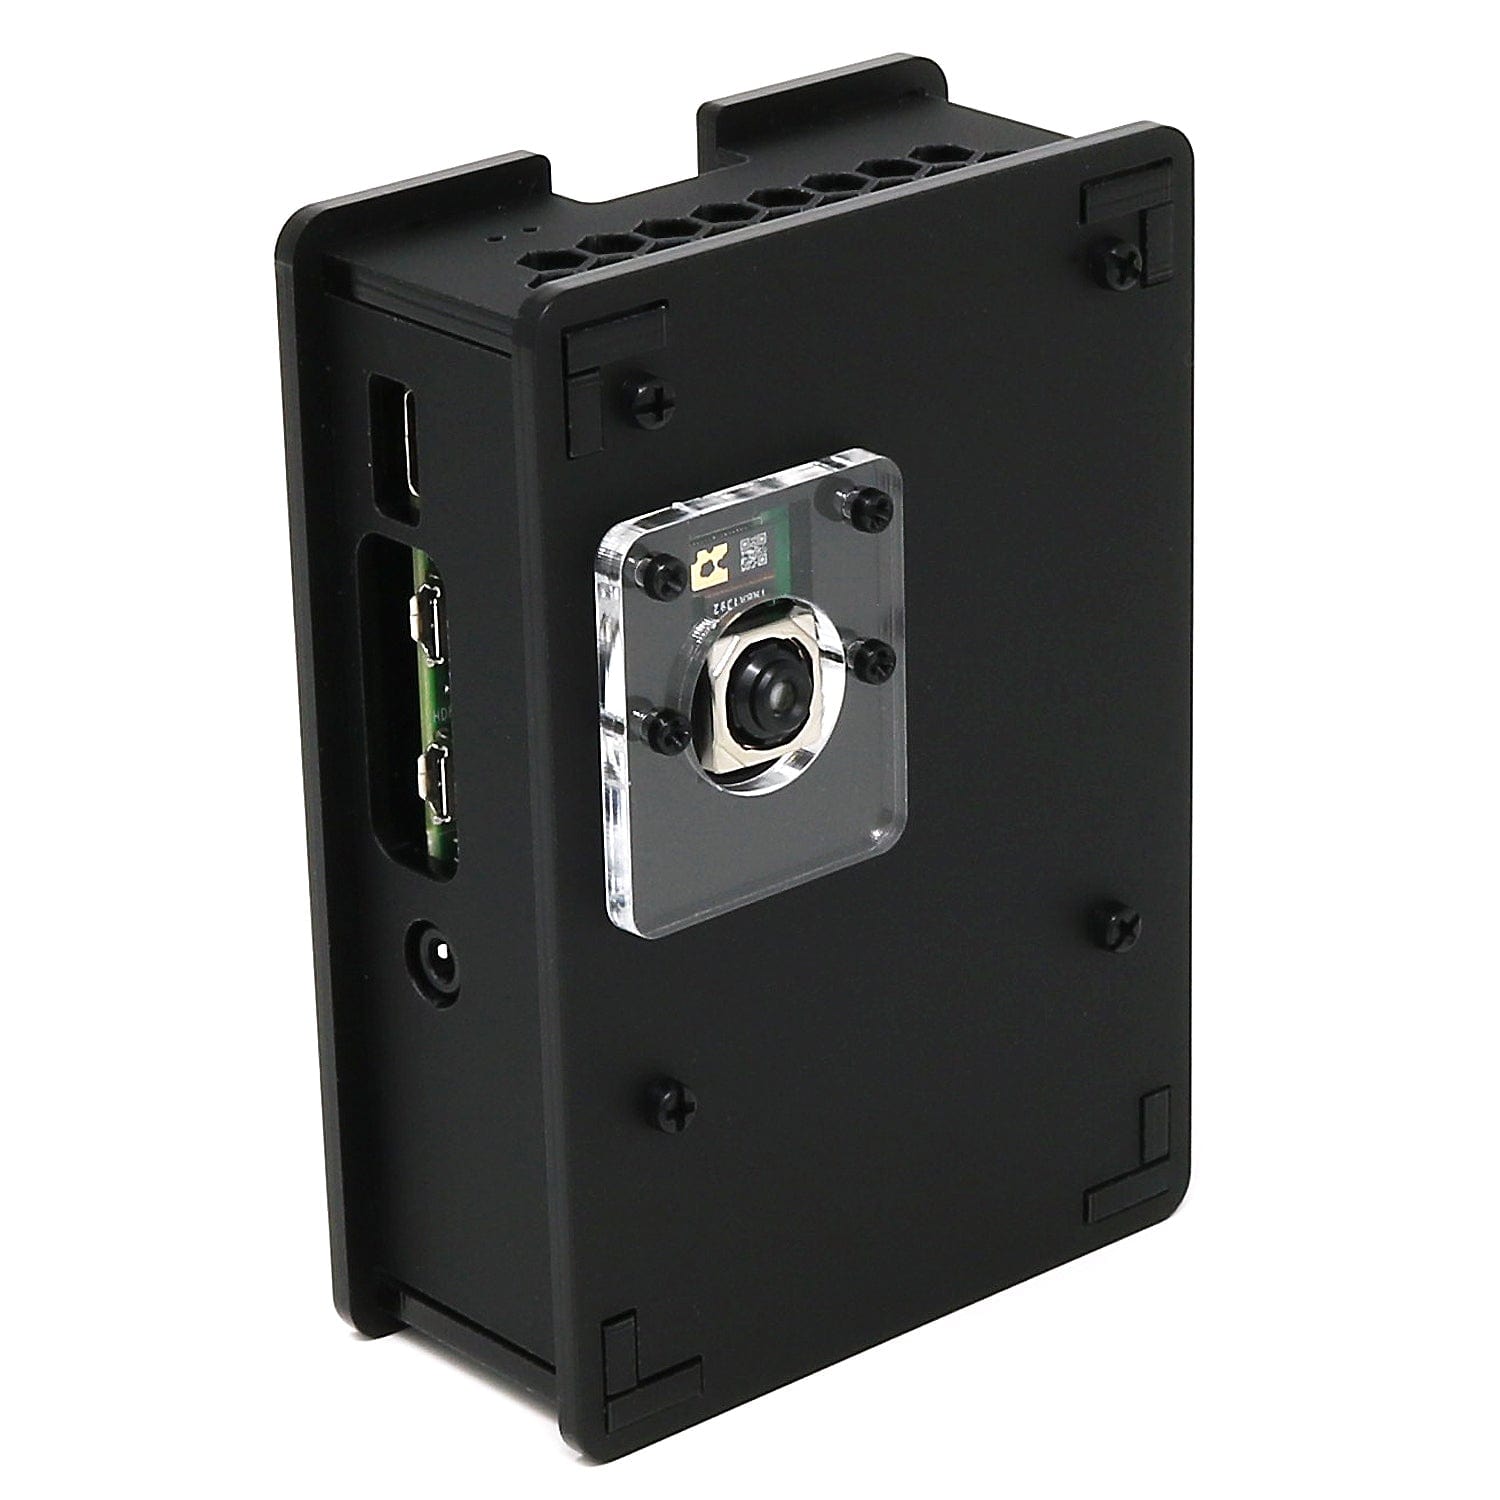
Step 6 – Now is a good time to connect your Raspberry Pi camera ribbon cable, make sure you have it connected the right way round:

Step 7 – Pit stop! Here's a handy photo to show you how the side panels will slot together. Each panel with have a slightly bumpy set of feet (from where we snapped them out of the panels), fear not - these go into the base so won't be seen (and helps confirm which way round they go):

Step 8 – Slot your side panels into place one by one. If the USB side panel is tight, just loosen the spacers a little to get the panel in place, then tighten again.

Step 9 – Now add the lid into place and secure with the remaining two screws
Job done!
7 comments
The Pi Hut
@Dan – There isn’t really any room for additional hardware/HATs as the ribbon cable takes up most of the room – plus this is designed for the Raspberry Pi 4 only, so if you’re planning an NVMe HAT, I assume you’re referring to the Pi 5 which has the PCIe port?
@Dan – There isn’t really any room for additional hardware/HATs as the ribbon cable takes up most of the room – plus this is designed for the Raspberry Pi 4 only, so if you’re planning an NVMe HAT, I assume you’re referring to the Pi 5 which has the PCIe port?
Dan
Great idea.
Does/will this case allow for the installation of an M.2 NVMe hat+/compact and card? I noticed someone already asked about some type of cooling.
Great idea.
Does/will this case allow for the installation of an M.2 NVMe hat+/compact and card? I noticed someone already asked about some type of cooling.
David Bartel
Is there a picture showing the optional wall mount?
Is there a picture showing the optional wall mount?
Matha
Some type of active cooling would be desirable for outdoor use in Southern USA.
BTW, great design! Personally, I’m not comfortable with the layers of plastic (or 3D printed filament) that many others offer.
Regards.
Some type of active cooling would be desirable for outdoor use in Southern USA.
BTW, great design! Personally, I’m not comfortable with the layers of plastic (or 3D printed filament) that many others offer.
Regards.
The Pi Hut
@Ken – That’s great advice as that part can be a little tight sometimes. Thanks, we’ve updated the guide👍
@Ken – That’s great advice as that part can be a little tight sometimes. Thanks, we’ve updated the guide👍
Ken
Very simple to assemble, just two things I’d update on the instructions
Get yourself a compatible screwdriver and a suitable pair of pliers
Also, recommend fitting the usb and ethernet side plate before fixing the support screws tight. It’s way easier than trying to pull the mounting over the ports when it’s secured
Jamie
Nice looking kit, easy to put together, little fiddly with the small plastic nuts and bolts but don’t let that put you off, would be a nice touch if there were some rubber feet included. Overall 9/10 👍
Nice looking kit, easy to put together, little fiddly with the small plastic nuts and bolts but don’t let that put you off, would be a nice touch if there were some rubber feet included. Overall 9/10 👍