
ProtoDock Assembly Instructions
This guide will show you how to assemble the ProtoDock for the Raspberry Pi. All you'll need is a simple cross-head screwdriver.
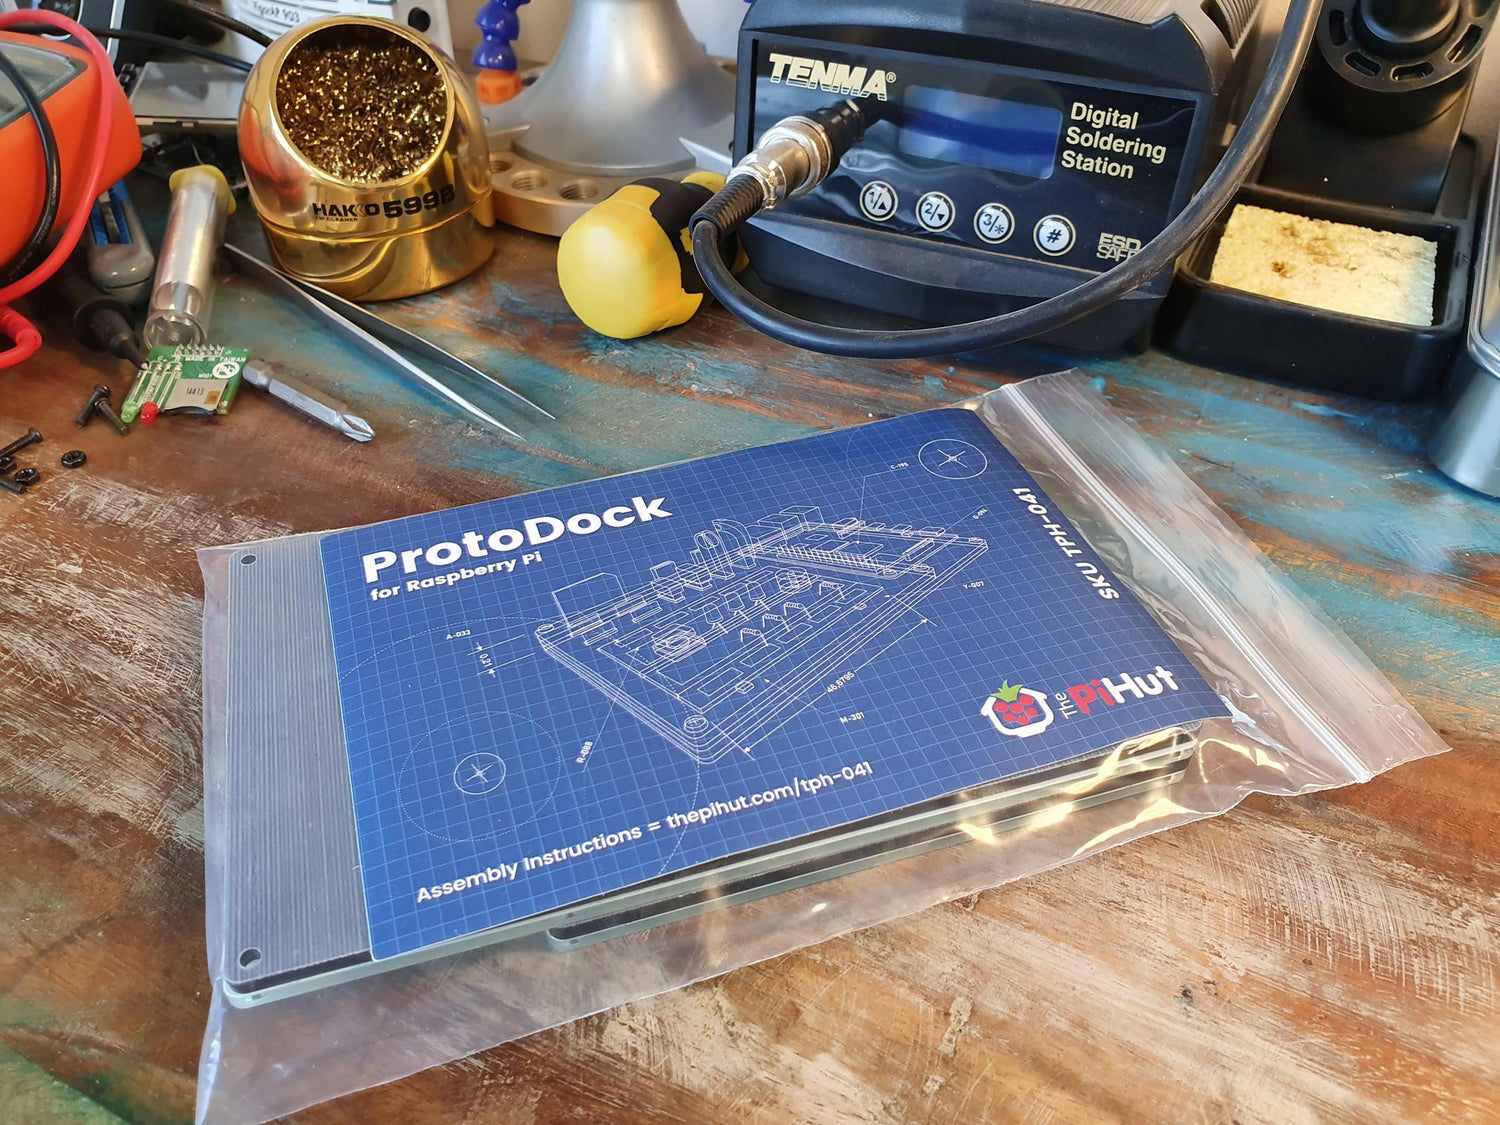
Step 1 – Grab your bag! You should find 4 perspex layers, a bag of fixings and a breadboard:

Step 2 – Peel the protective film off of both sides of all layers and clean off any dust:

Step 3 – Build up the first two layers. Be sure to line up the screw holes in the clear layer with the nut holes in the black base layer
Step 4 – Turn the stack around and place a plastic nut in one of the nut cut-outs. Holding the nut in place with a finger, turn the stack back around, then screw a standoff into place, repeat this for the four Raspberry Pi standoffs. You can now place your breadboard snugly into it's cutout.

Step 5 – Add the next two layers to your creation. Black first, then clear. The top clear layer does not have indents for the breadboard and sits neatly on top

Step 6 – There are 6 remaining screw holes that hold the entire ProtoDock together. Push these into place, flip the ProtoDock over and secure with the M3 dome nuts

Step 7 – All that's left to do is secure your Raspberry Pi in place atop the four standoffs using the remaining 4x M2.5 screws.


