Pineboards HatDrive! Piano Documentation
This blog post is a backup from the now-unavailable Pineboards HatDrive! Piano documentation page. We have created this post to ensure this information remains available for our customers following the unfortunate closure of Pineboards.
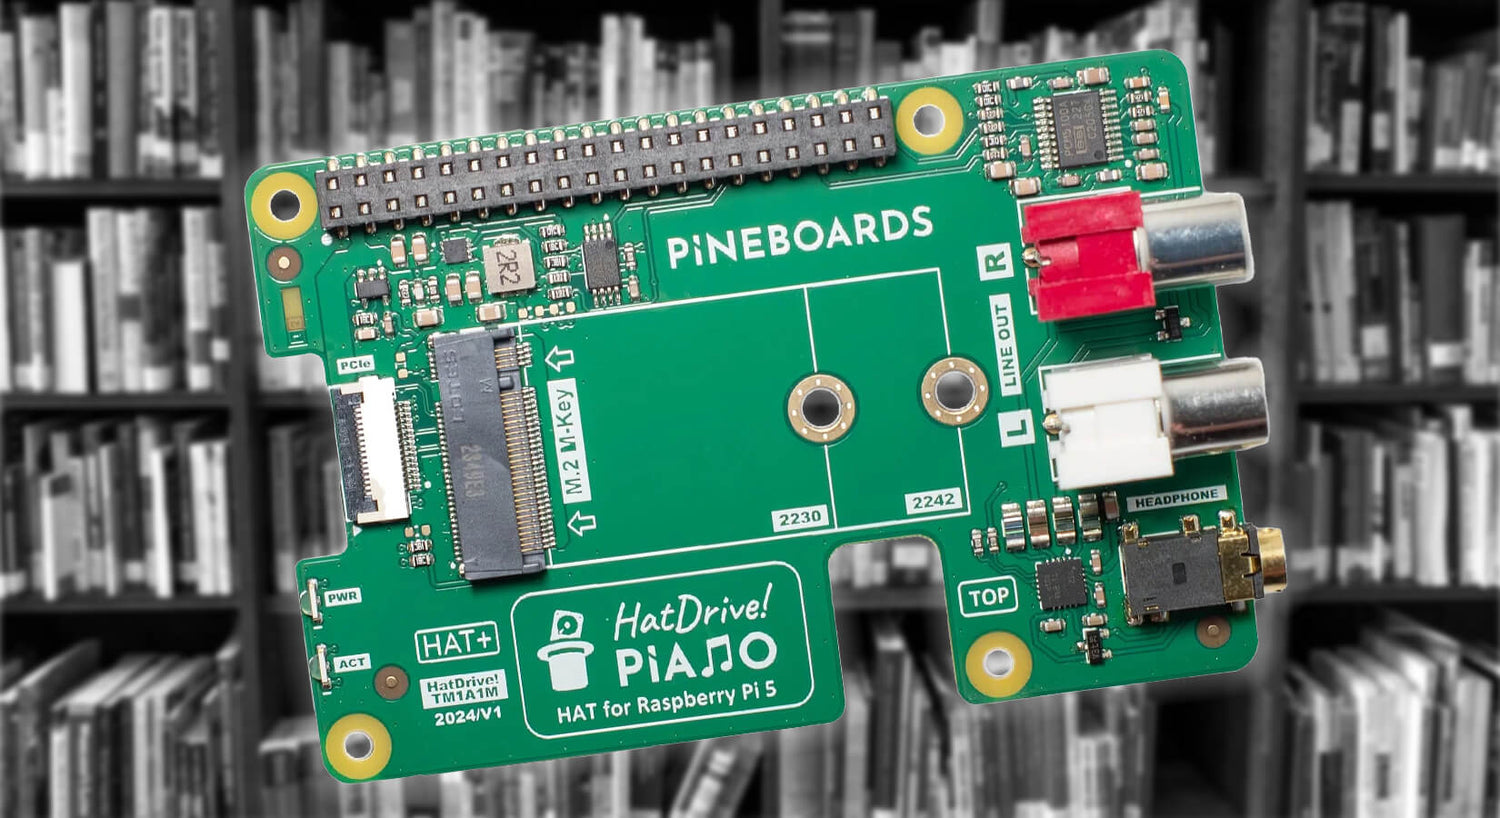
The Pineboards HatDrive! Piano is an Audio DAC (RCA) + Amp (3.5mm jack) board for Raspberry Pi 5, with M.2 M-Key NVMe (2230, 2242).
Compatible with Raspberry Pi 5.
Packaging contents
- HatDrive! Piano board
- 25mm PCIe FPC cable with controlled impedance
- 40 pin GPIO header
- 4 standoffs
- M.2 drive standoff
- 9 M2.5 screws
Assembly instructions

- Begin with inserting the FPC ribbon cable into your board. Use the alignment triangle to determine the proper direction, check the picture above for reference.
- Insert the 40 pin GPIO header into your HatDrive! Piano.
- Insert the NVMe drive using the provided standoff.
- Attach 4 metal standoffs to the board using M2.5 screws.
- Insert the PCIe cable into your Pi 5.
- Install the board on top of your Pi 5.
- Power on the board, the PWR LED should be now on. If this is not the case please update the firmware on your Pi 5 or enable PCIe (check tutorials below).
Drivers
No drives are required for NVMe SSDs on the Raspberry Pi 5. We recommend regularly updating the firmware to benefit from constantly improving drive compatibility.
In order to enable the audio out please add dtoverlay=hifiberry-dac to /boot/firmware/config.txt. This step will soon be automated after our own overlay rolls out.
Compatibility
HatDrive! Piano is compatible with Raspberry Pi 5. Audio DAC might not function correctly on other boards with the 16-pin PCIe connector (Radxa 5C etc).
Tutorials
Get started with your board quickly with our tutorials.