
Pine64 2Gb Case Assembly Instructions
The laser-cut parts of the case are protected by an adhesive film which needs to be removed before assembly.
Bill of Materials
- Pine64 2Gb
- 9x Acrylic plates
- 4x M3 x 25mm Bolt
- 4x M3 Nut
NOTE: Acrylic is a hard and stiff plastic which is sensitive to stress concentrations and shares a certain level of fragility with glass. Acrylic can scratch easily and should be cleaned with a mild solution of dish detergent and warm water. Never use cleaners unsuitable for acrylic. Never use a dry, abrasive cloth.
Here are the parts from the case kit:

Follow these images checking parts and orientation of the acrylic pieces. You will see a before and after image for each step. Make sure you have all the parts ready, shown in the before picture.

Insert the M3 bolts into the corner holes of the bottom clear acrylic plate. Then place the black acrylic plate on top, making sure the bolts align with the corner holes.


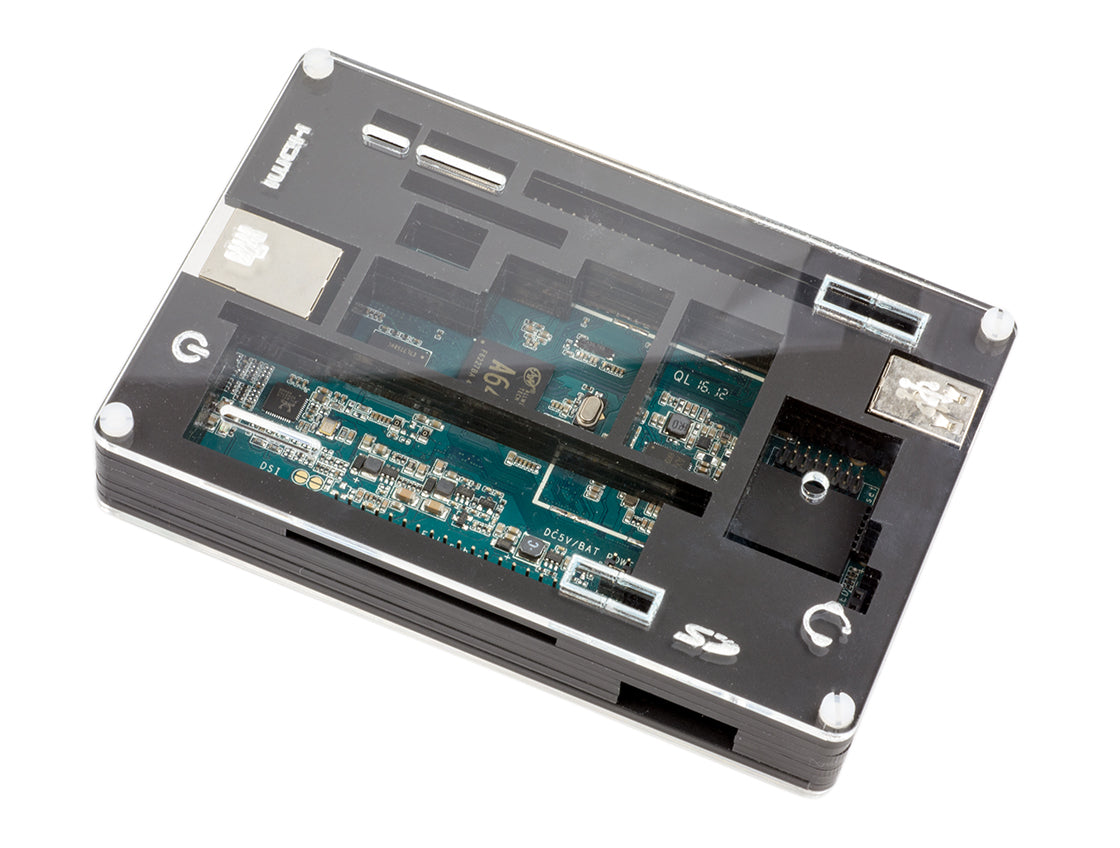
Place the thin acrylic surround onto the stack, then place the Pine64 into the middle of the stack. The Pine64 should sit in the middle of the surround, not on top of it.


Take the next acrylic plate and it to the stack. This piece sits on top of the Pine64.


If you have the WiFi/Bluetooth module, you'll need to install that now.

Now simply follow these pictures making sure you have the correct acrylic plate in the correct orientation. Add them one by one to the stack.


Finally secure on the plates in position by adding a M3 nut to each of the corner bolts.


Finish off by trimming the excess length of the bolt down, using a pair of scissors or a sharp knife.


