
PicoBorg - Basic Motor Set Up Guide
Introduction
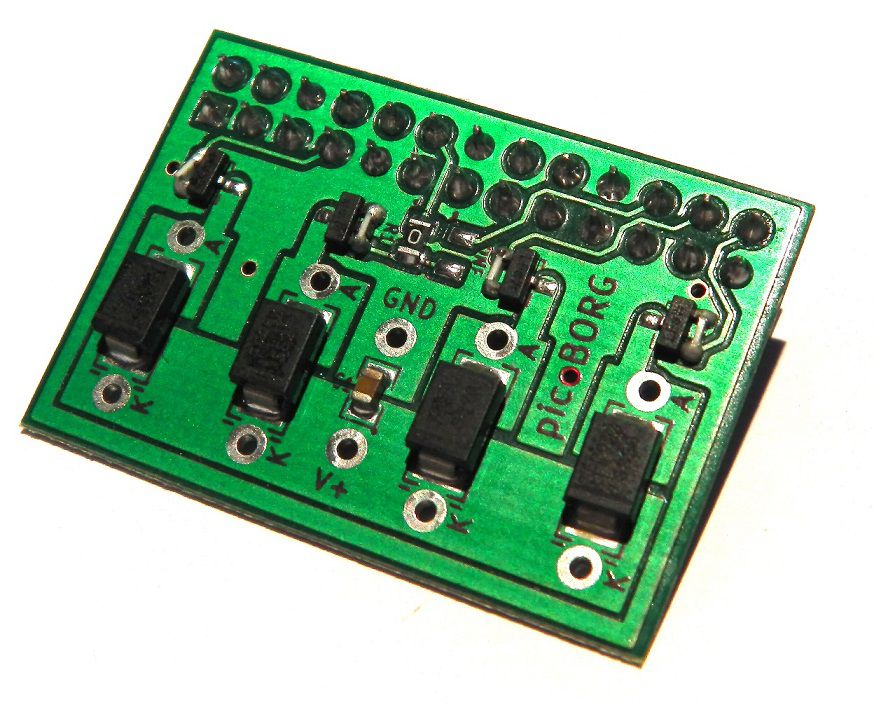
The PicoBorg is an ultra compact motor controller for the Raspberry Pi. With PicoBorg, you can turn on and off fans, motors, solenoids or relays from your Raspberry Pi. There are 4 low side drivers, so you can turn on and off 4 devices, and one device is connected to the RPi PWM pin, so you can vary the speed of that motor! Motor control is accessed via a simple GUI, which can be installed by following the PicoBorg installation instructions. Motor power is not taken directly from the Raspberry Pi, so there's no risk of your Pi dropping out. Instead, the PicoBorg utilises a battery pack to drive the motors; meaning you're not restricted to 5V motors, in fact you can drive ANY motors up to 20V!
This guide will give you a quick introduction on how to install and use the PicoBorg, in addition to giving a brief example, using the 3V DC Motor and Wheel, on how to control a motor!
What you Need!
First step is to make sure that you’ve got everything!
- Raspberry Pi and basic peripherals inc. screen, keyboard power supply etc.
- Internet Connection via LAN to download software
- Basic Soldering Iron and Solder
- Wire
- PicoBorg
- Motor. The PicoBorg can drive motors up to 20V (12V recommended) or 2.5A
- Battery Pack - With the required number of batteries for your motor. 3V = 2 x AA for example!
Step 1 - Solder It Up!
This project is the start of a Rover so, as this set up will likely be part of a larger moving unit, I’ve selected flexible 7 strand wire. This will allow for some movement in the wire, rather than putting the pressure on the solder joint. Also, make sure you’re soldering on the correct side – this is the side WITHOUT any components on the PicoBorg.

The PicoBorg allows for the motor to be powered from an external source, so first we need to solder on the wires for the battery pack. We need to solder two wire’s, one for positive on the V+ point, and one for negative on the GND point. Both are labelled on the PicoBorg.


Next we need to solder on our motor controller wires. We’re only running one motor in this example, so I’ll add some cables to M1- and M1+ (orange and green).

Then all we need to do is hook our M1- and M1+ wires to our motor. Most small motor’s will have two terminals, for example the motor in this example has two copper terminals. Just hook your M1- and M1+ wires to these terminals and we’re away – if you want a more permanent connection you can solder them. Note the polarity will affect the motor’s spin direction!

Leave the battery terminals on the PicoBorg unwired for now, you need to connect these AFTER switching the Pi’s power on.
Step 2 - Install the Software
Make sure you’re running the latest version of Raspian, have a decent Internet connection via LAN and you’re all updated! Then run the following commands. . . . .
mkdir ~/picoborg
(creates a folder directory to store all our PicoBorg software)
cd ~/picoborg
(change the folder so we’re downloading the software to the right place)
wget http://www.piborg.org/downloads/picoborg/examples.zip
(download the software)
unzip examples.zip
(unzip the software)
chmod +x install.sh
(changes the permission of the file to run it as an executable)
./install.sh
(run the install file)
Once the install has run, the software will be installed! Simply boot up the GUI using ‘startx’ and you will have an additional desktop icon ‘PicoBorg Demo GUI’!
Let’s get motoring!
Part 3 – Hook it up!
Make sure your Raspberry Pi is turned off. Plug your PicoBorg into the Pi and make sure that the motor is connected to the PicoBorg, leave the battery unconnected for now.

Turn your Pi on and boot to the GUI:
startx
Run the ‘PicoBorg Demo GUI’ desktop icon which will bring up the motor GUI.

Connect power to your V+ and GND points (Red and Black wires) to your battery pack (or cobbled tape + batteries).
Click on the number 1 red square on the motor GUI, this will turn green, and your motor should start turning!

That's it! This is just one example, and there's plenty more motors to play with :D
If you wanted to control the motor's speed (rather than just whether it's on/off) you can connect the motor across M2- and M2+ and then control the speed with the slider.
More resources


