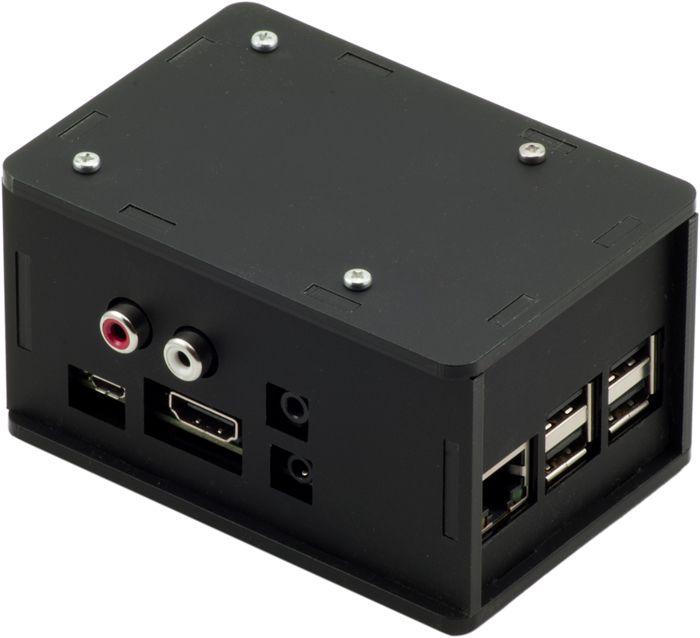
Pi-DAC+ ModMyPi Case Assembly Instructions
The laser-cut parts of the case are protected by an adhesive film which needs to be removed before assembly.
Bill of Materials
- Raspberry Pi A+/B+/2
- Pi-DAC+ Full-HD Audio Card
- 6x Acrylic plates
- 4x 25mm M/F hex stand-offs
- 4x 12mm F/F hex stand-offs (included with Pi-DAC+)
- 4x 8mm M/F hex stand-offs
- 4x Nylon washers
- 8x Screws (included with Pi-DAC+)
- 4x Rubber feet
Note: Acrylic is a hard and stiff plastic which is sensitive to stress concentrations and shares a certain level of fragility with glass. Acrylic can scratch easily and should be cleaned with a mild solution of dish detergent and warm water. Never use cleaners unsuitable for acrylic. Never use a dry, abrasive cloth.
Here are the parts from the case kit:
Here are the parts from the Pi-DAC+:
- Peel off the protective film from both sides of all the acrylic pieces.
-

Lightly secure (don't do the scerw up tight yet) a 8mm M/F stand-off on to each of the 4 holes on the bottom piece of acrylic. Fasten the stand-offs using 4 of the screws. With the stand-offs in place and making sure the male/screw part of the stand-off is facing upwards, put a nylon washer over each.

-

Place the pi on top, making sure each of the 8mm M/F stand-offs mount correctly through the Pi mounting holes. Now secure the pi in place by using the 12mm F/F stand-offs.

-

Now we need to install the Pi-DAC+ onto the Pi, simply plug the Pi-DAC+ onto the GPIO of the pi, and secure in place using the 25mm M/F stand-offs

-

Now we need to start adding the wall sections. First, we recommend placing the network/usb plate in first.

Then the power/hdmi side plate.

Then the rear sd card plate.

And finally the side with the GPIO ribbon slot

With all 4 walls in place, we can now tighten the 4 screws underneath. -

Last step is to add the top plate and secure in place using the remaining 4 screws.


