
Nwazet Minitux Clear Case Assembly Instructions
Bill of Materials
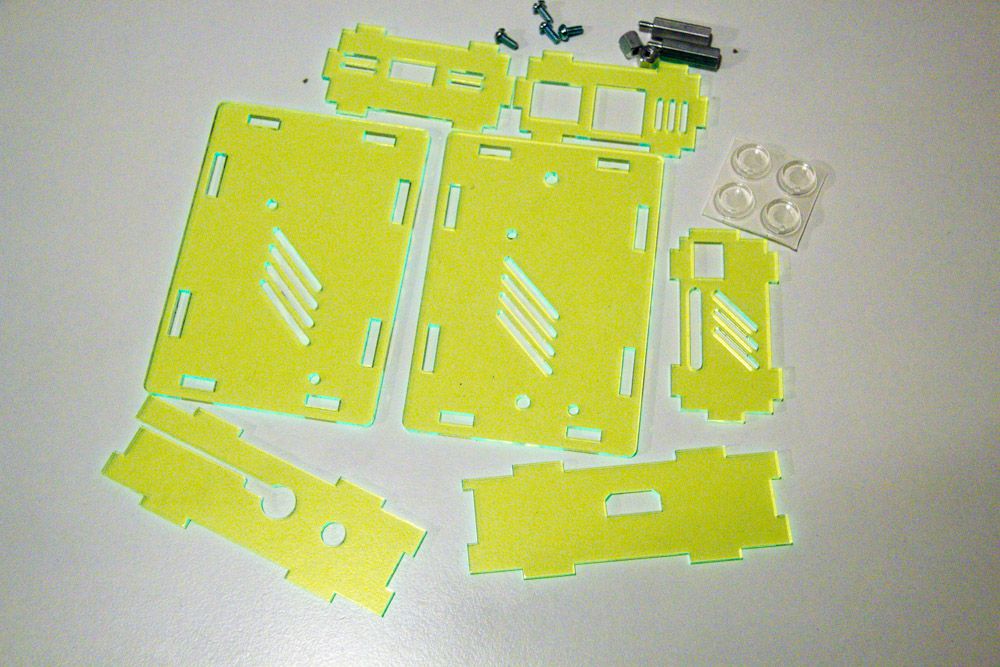
- 7x acrylic plates
- 4x screws
- 2x 3/4" M/F hex standoffs
- 2x 1/4" F/F hex standoffs
- 4x rubber feet
Note
Acrylic is a hard and stiff plastic which is sensitive to stress concentrations and shares a certain level of fragility with glass. This is most obvious with small or thin parts. Acrylic can scratch easily and should be cleaned with a mild solution of dish detergent and warm water. Never use cleaners unsuitable for acrylic. Never use a dry, abrasive cloth.

Let's first check that we have all the parts in the bill of materials, plus of course a Raspberry Pi.

Once you've carefully peeled off the protection paper off of both faces of each acrylic part, you should be ready to start assembling the case.

Attach the two 1/4" hex standoffs to the bottom of the case using two screws. Make sure that you put the screws on the correct side of the plate. The correct holes are two smaller ones, and there should be one at the bottom-left, and another at the top-right, if the aluminium standoffs are on the top side and the screws are on the bottom.

If your Pi is a model B (the one with two USB ports and an Ethernet port), select the corresponding left wall. Then fit the left wall around the USB ports. It's important to do this before attaching the Pi to the bottom of the box. Make sure the vents are on the right side.

If your Pi is a model A (that has only one USB port and no Ethernet), select the other left wall. Then fit the wall over the USB port of the Pi. The vents should be slightly offset to the right and bottom. If they are not, you probably need to flip the wall over.

Now put the Pi onto the two standoffs that are already attached to the bottom plate while inserting the left wall into the proper slots of the bottom plate. Screw the two 3/8" standoffs through the Pi's mounting holes and into the already in place standoffs. The Pi should now be strongly attached to the bottom of the case.

Insert the front wall into the front slots of the bottom plate, and push the plate back so the it fits around the sound and analog video ports.

Insert the back wall into the bottom plate, then gently pull back the wall to bring it into its final vertical position.

Insert the right wall into the bottom plate, then gently pull it back into vertical position.

Maintain all walls in vertical position while you put the top plate in place. Gently press until you get a nice fit for the box. Fasten the top plate using the two remaining screws.

All that remains to be done is to attach the rubber feet.

Put one rubber foot at each corner on the bottom of the box.

And we're done. The box is now fully assembled.
Original author: Fabien Royer, nwazet.com


