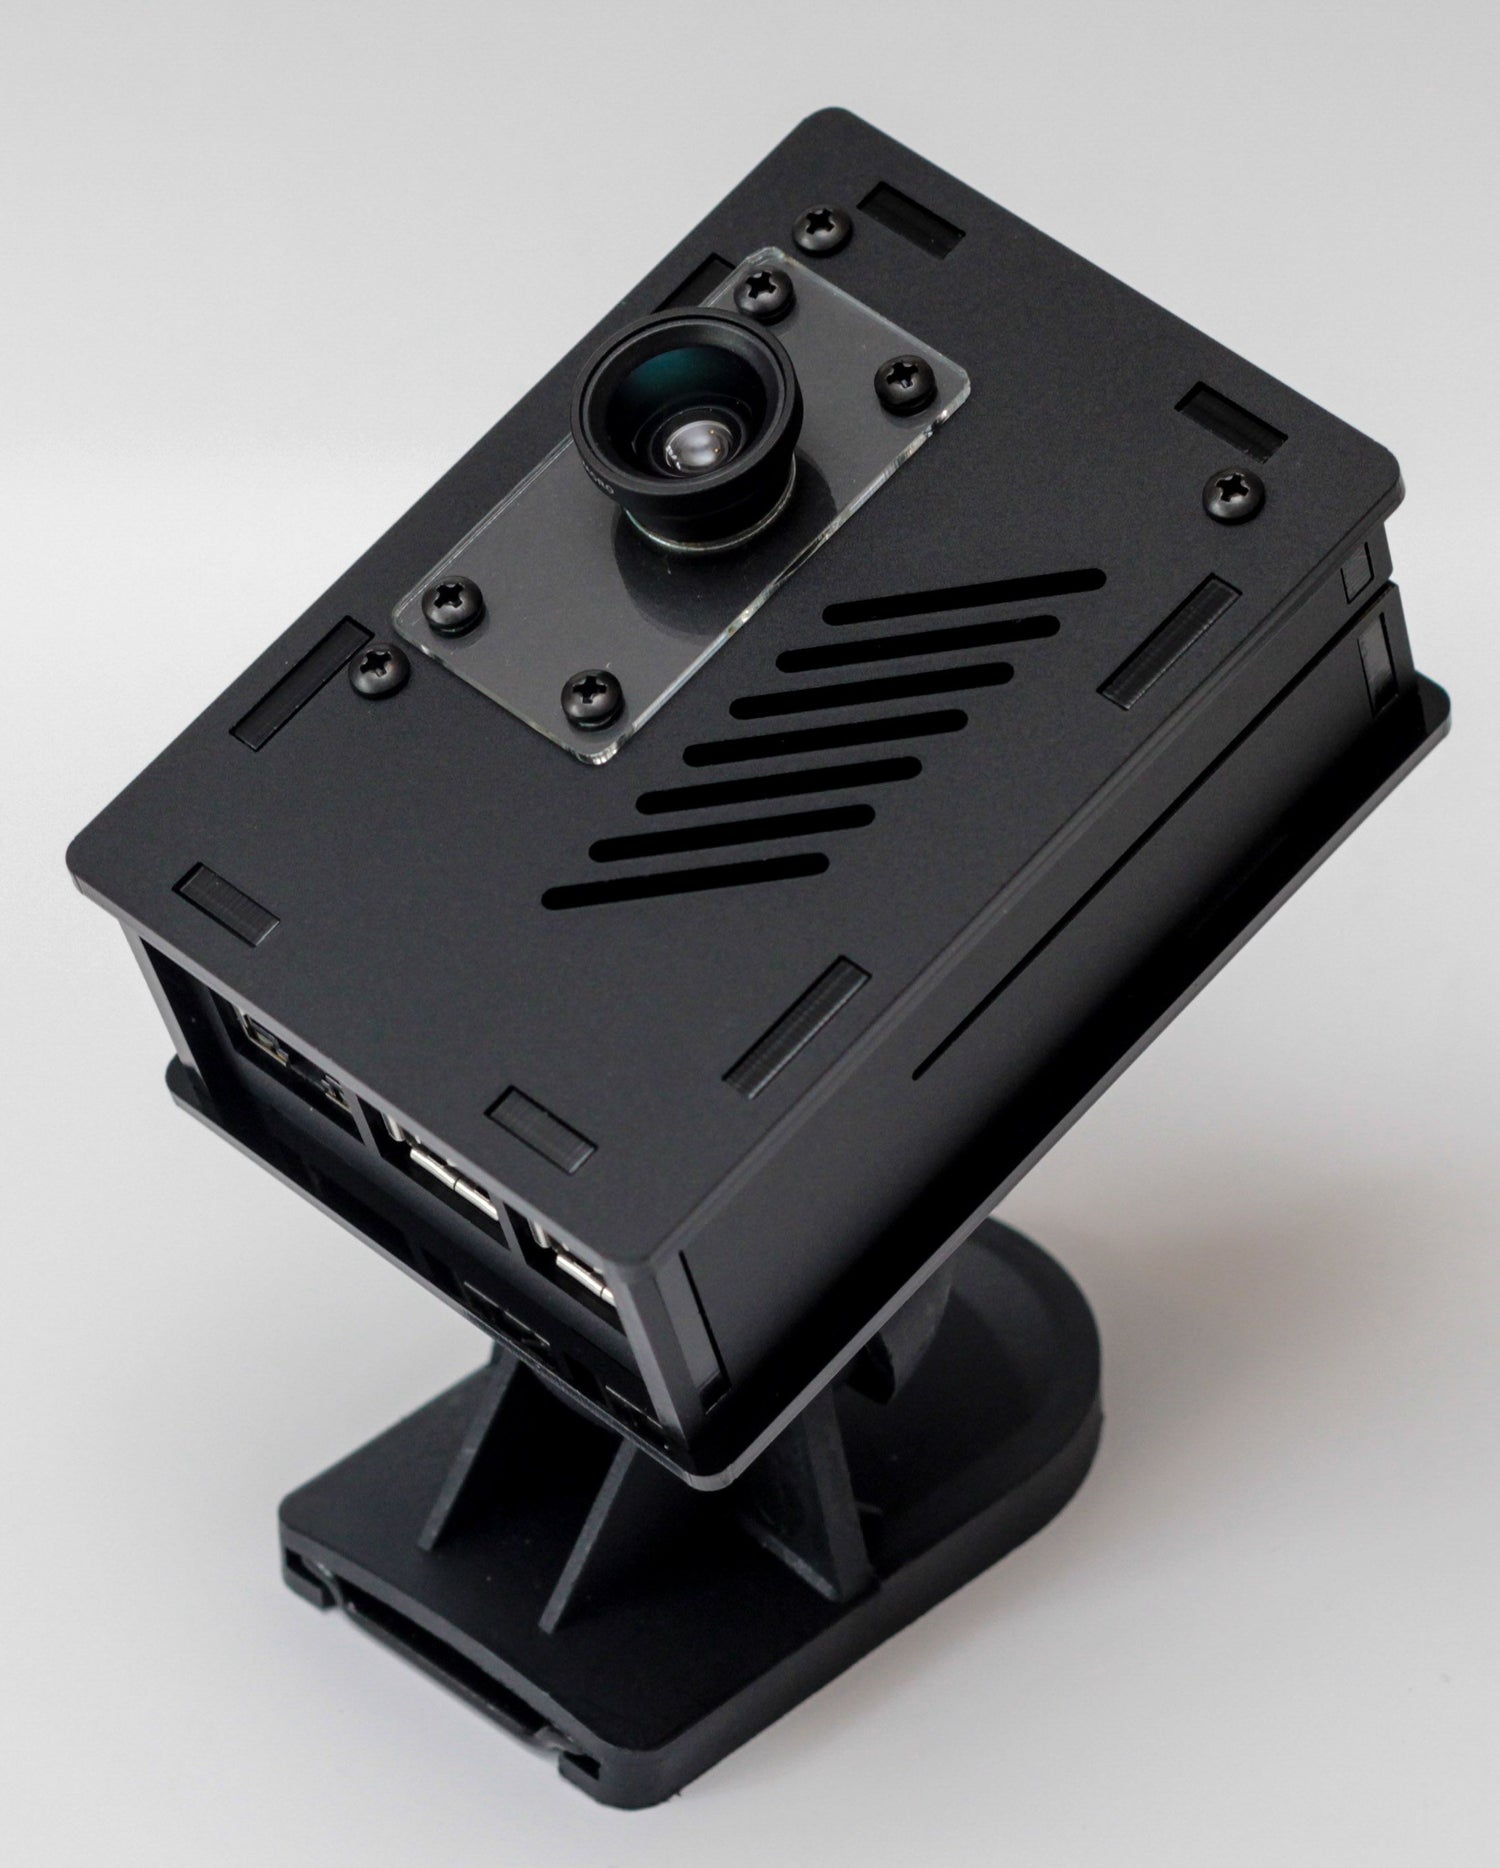
Motion Triggered Video Recording
So you’ve got your camera setup with your Raspberry Pi, and you’ve got a PIR Infrared Motion Sensor and you’re thinking to yourself “There must be an easy way to start the camera recording when motion is detected?”… Well there is! Thanks to Martin, who has written a lovely little script to do just that.
We’ll run through parts of the script that you may want to customise first:
Line 12: int err = 0, pin = 7; FILE *logFile = NULL;
The part of this line we may want to edit is the “pin = 7” part. This defines which GPIO pin the PIR-OUT from our PIR Motion Sensor is connected to. If you followed our tutorial for the PIR, then you won’t need to change this.
Line 41: sprintf(tstr, "raspivid -o /vids/vid.%s.h264 -t 15000 -fps 30 -hf > /dev/null", buf2);
This line is responsible for recording the video, there are a couple of things you may want to change here. First “/vids/vid.%s.h264” specifically the “/vids” part. This is where the video will be saved too. If you leave it how it is, make sure the “/vids” directory exists. Otherwise change this to an existing dir. Secondly, “-t 15000” this defines how long to record for, currently set to 15 seconds. Change as required, value is in milliseconds.
(Optional) Line 42: fileLog("Recording 15 second video..."); system(tstr);
If you changed the –t value on line 41, then for continuity’s sake you should update the fileLog to log the correct number of seconds.
Line 43: sprintf(tstr, "MP4Box -fps 30 -add /vids/vid.%s.h264 /vids/vid.%s.mp4 > /dev/null", buf2, buf2);
If you change the “/vids” dir on line 41, then make sure you update the directories here too.
Line 45: sprintf(tstr, "rsync -az /vids/vid.%s.mp4 server:/srv/vids/vid.%s.mp4 > /dev/null", buf2, buf2);
This line copies the video from your Pi off to a remote server. If you want to do this, then remember to update the “/vids” dir to match that on line 41, and also replace “server:” with your remote server’s details (refer to http://en.wikipedia.org/wiki/Rsync)
Otherwise delete this line, as well as Line 46: fileLog("Copying video to server....."); system(tstr);
That’s it for script changes, let’s get our Pi software ready to run this script!
The script makes use of the wiringPi library, so we need to install this first. Follow the installation instructions found here: http://wiringpi.com/download-and-install/
Once installed, make sure you test the wiringPi installation by running these gpio commands:
gpio -v
gpio readall
The script also makes use of MP4Box, for converting the raw h264 video into a MP4 video file. To install this simply run the following commands:
sudo apt-get update
sudo apt-get install gpac
Now we have all the dependencies installed, we can now compile the script. To do this run the following command (make sure your current working directory is the same as the script):
gcc -Wall -o PiPIR PiPIR.c –lwiringPi
Now the script has been compiled, we can run the compiled script with:
sudo ./PiPIR
Job Done!


