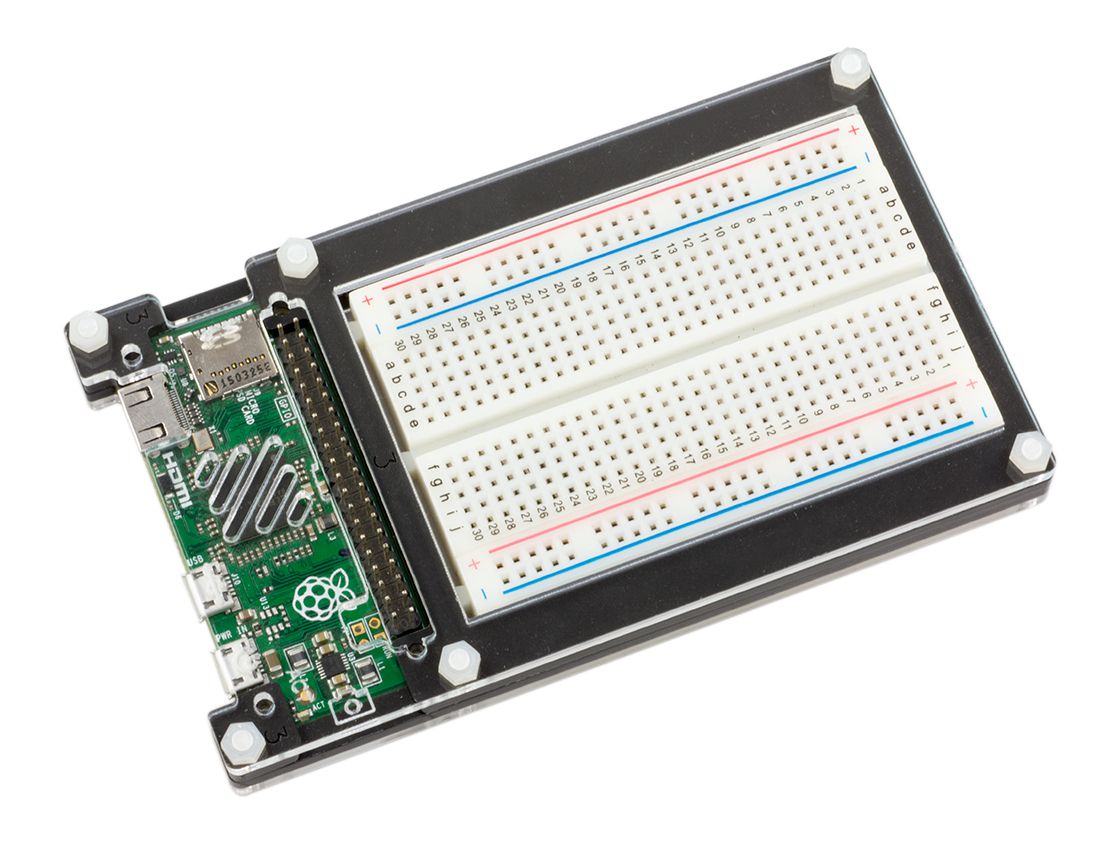
ModMyPi Pi Zero + Breadboard Case Assembly Instructions
The laser-cut parts of the case are protected by an adhesive film which needs to be removed before assembly.
Bill of Materials
- Raspberry Pi Zero
- Half Size Breadboard
- 6x Acrylic Pieces
- 6x M3 Nylon Screws
- 6x M3 Nuts/li>
NOTE: Acrylic is a hard and stiff plastic which is sensitive to stress concentrations and shares a certain level of fragility with glass. Acrylic can scratch easily and should be cleaned with a mild solution of dish detergent and warm water. Never use cleaners unsuitable for acrylic. Never use a dry, abrasive cloth.
Here are the parts from the case kit:

Follow these images checking parts and orientation of the acrylic pieces. You will see a before and after image for each step. Make sure you have all the parts ready, shown in the before picture.

Start by inserting the nylon screws from underneath the bottom acrylic plate.


Now add the plate numbered 2, as well as the little 1.5mm piece of acrlyic.


Time to add the Pi.


Now add the three pieces numbered 3. Double check the orientation of the little corner parts with the picture.


Next, add the top plate.


OPTIONAL: Peal off the backing from the breadboard to reveal the sticky bottom.
Carefully press the breadboard into the gap in the case. It is a tight fit so be careful not to break anything.


Now we need to secure the acrylic by adding the nuts.

Finally trim the nylon screws down.


