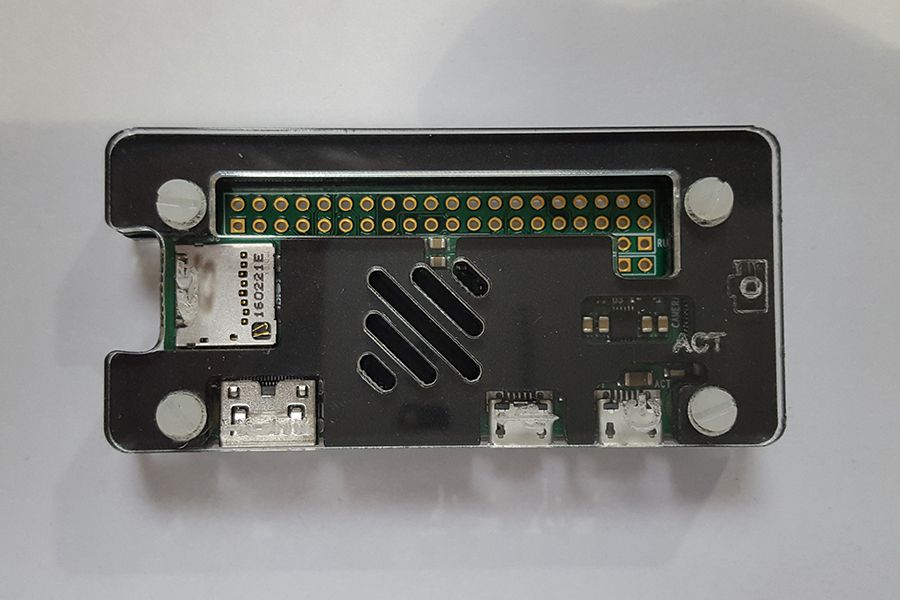
ModMyPi Pi Zero Case Assembly Instructions
The laser-cut parts of the case are protected by an adhesive film which needs to be removed before assembly.
Bill of Materials
- Raspberry Pi Zero
- 5x Acrylic Plates
- 4x M2.5 12mm Nylon Screws
- 4x M2.5 Nylon Nuts
NOTE: Acrylic is a hard and stiff plastic which is sensitive to stress concentrations and shares a certain level of fragility with glass. Acrylic can scratch easily and should be cleaned with a mild solution of dish detergent and warm water. Never use cleaners unsuitable for acrylic. Never use a dry, abrasive cloth.
NOTE: Before assembly, you may need to gently remove any excess/left over acrylic residue from the engraved sections. These section are:
- 4x Nut recess areas
- 4x Screw recess areas
- 4x Corners of Pi Zero holding plate

To remove the left over residue, carefully scrape the area with a sharp knife, being careful not to scratch the surrounding areas.
Here are the parts from the case kit:

Follow these images checking parts and orientation of the acrylic pieces. You will see a before and after image for each step. Make sure you have all the parts ready, shown in the before picture.
Make sure the engraved nut recess' are facing down.

Place the Raspberry Pi Zero on top of the acrylic plate, making sure the 4 little solder dots on the underside of the Pi line up with the 4 cut outs on the plate.

Make sure the engraved corners are facing down.

Place the acrylic plates on top of the Pi Zero.


Make sure the engaving is facing up, with the engraved screw recesses facing upwards as well.


Slot each of the screws through the holes.

Screw each nut on to each of the screws. Make sure not to overtighten and that both the nut and screw head have seated correctly into the recess.

You may want to trim the nylon screws down so that they are flush with the nut. To do this, simple use a sharp knife or even a pair of scissors.


