Mini Camera Mount Assembly Guide
How to assemble our Mini Camera Mount!
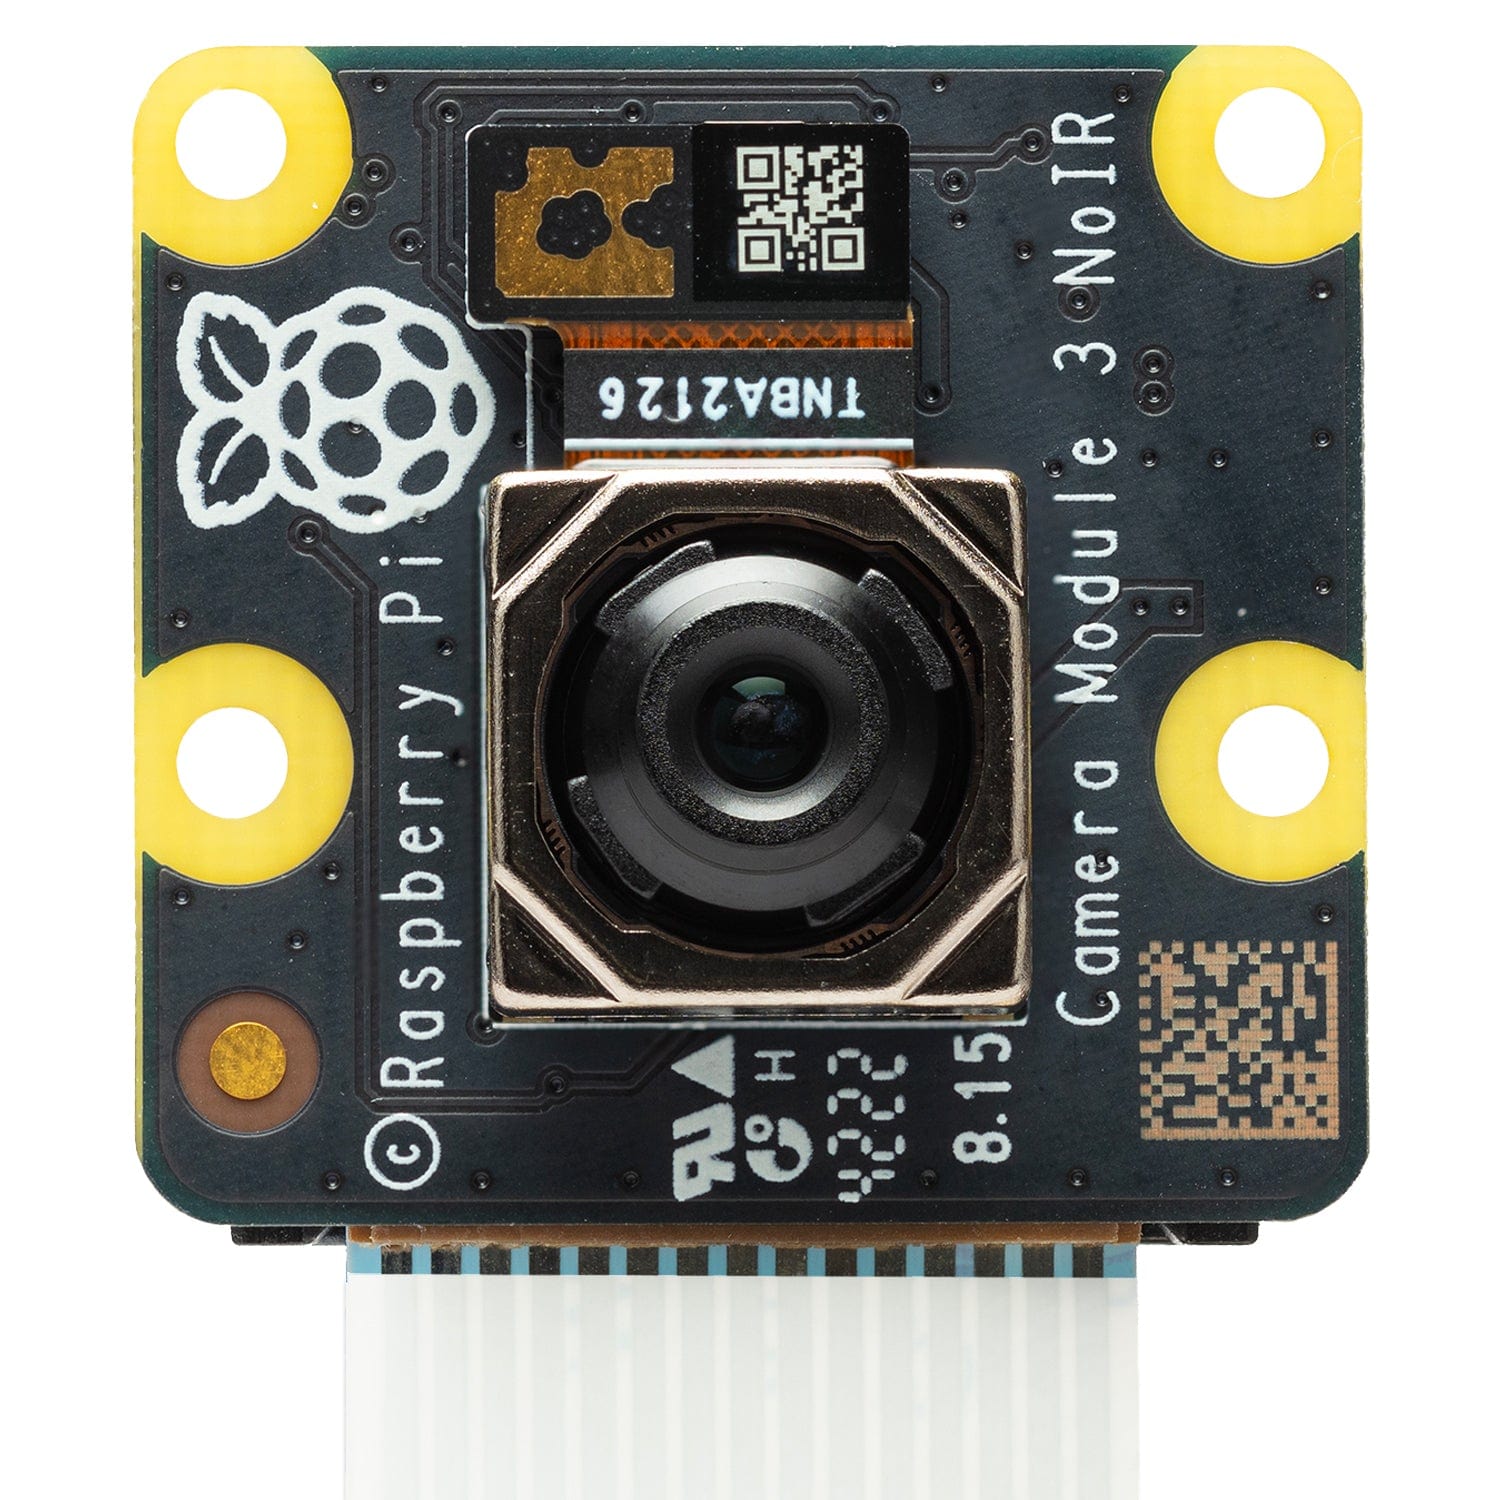
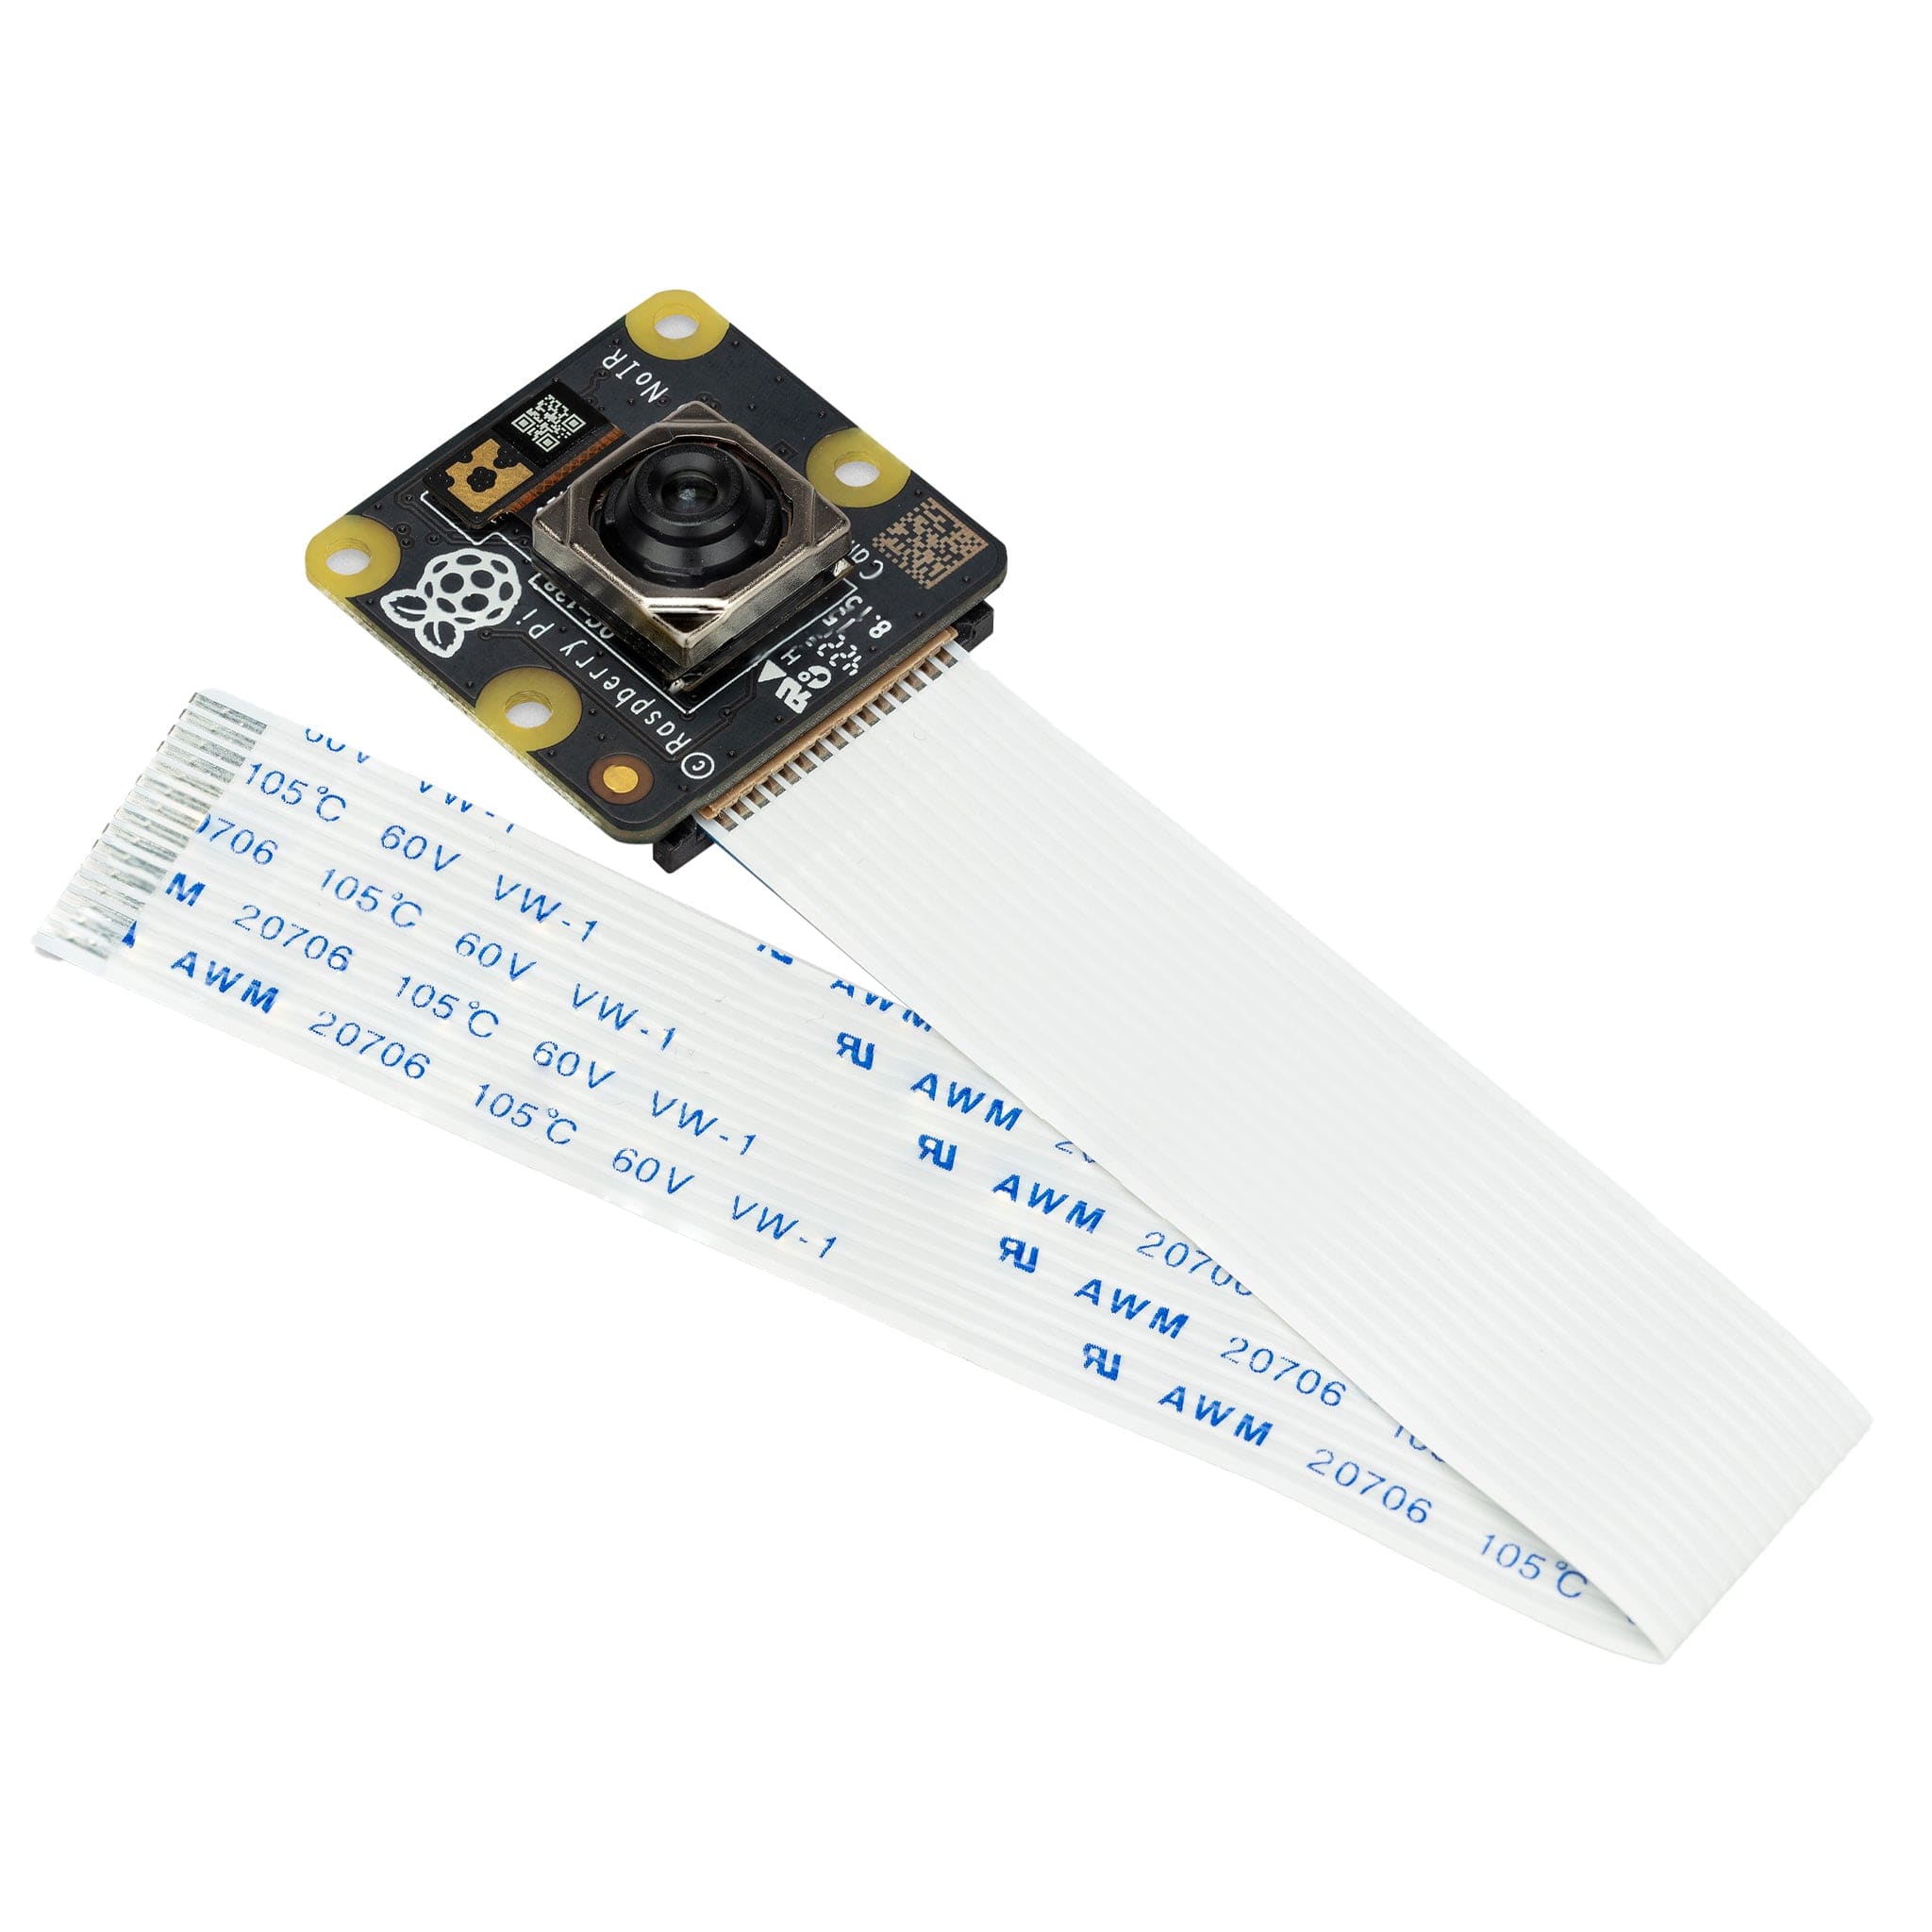
Bill of Materials
Step 1 - The laser-cut parts of the case are protected by an adhesive film which needs to be removed before assembly (this is very therapeutic!), simply peel it off:

Step 2 - Let's get the fiddly bit out of the way! Pop the screws through (either one at a time combined with the next step, or all four at once):

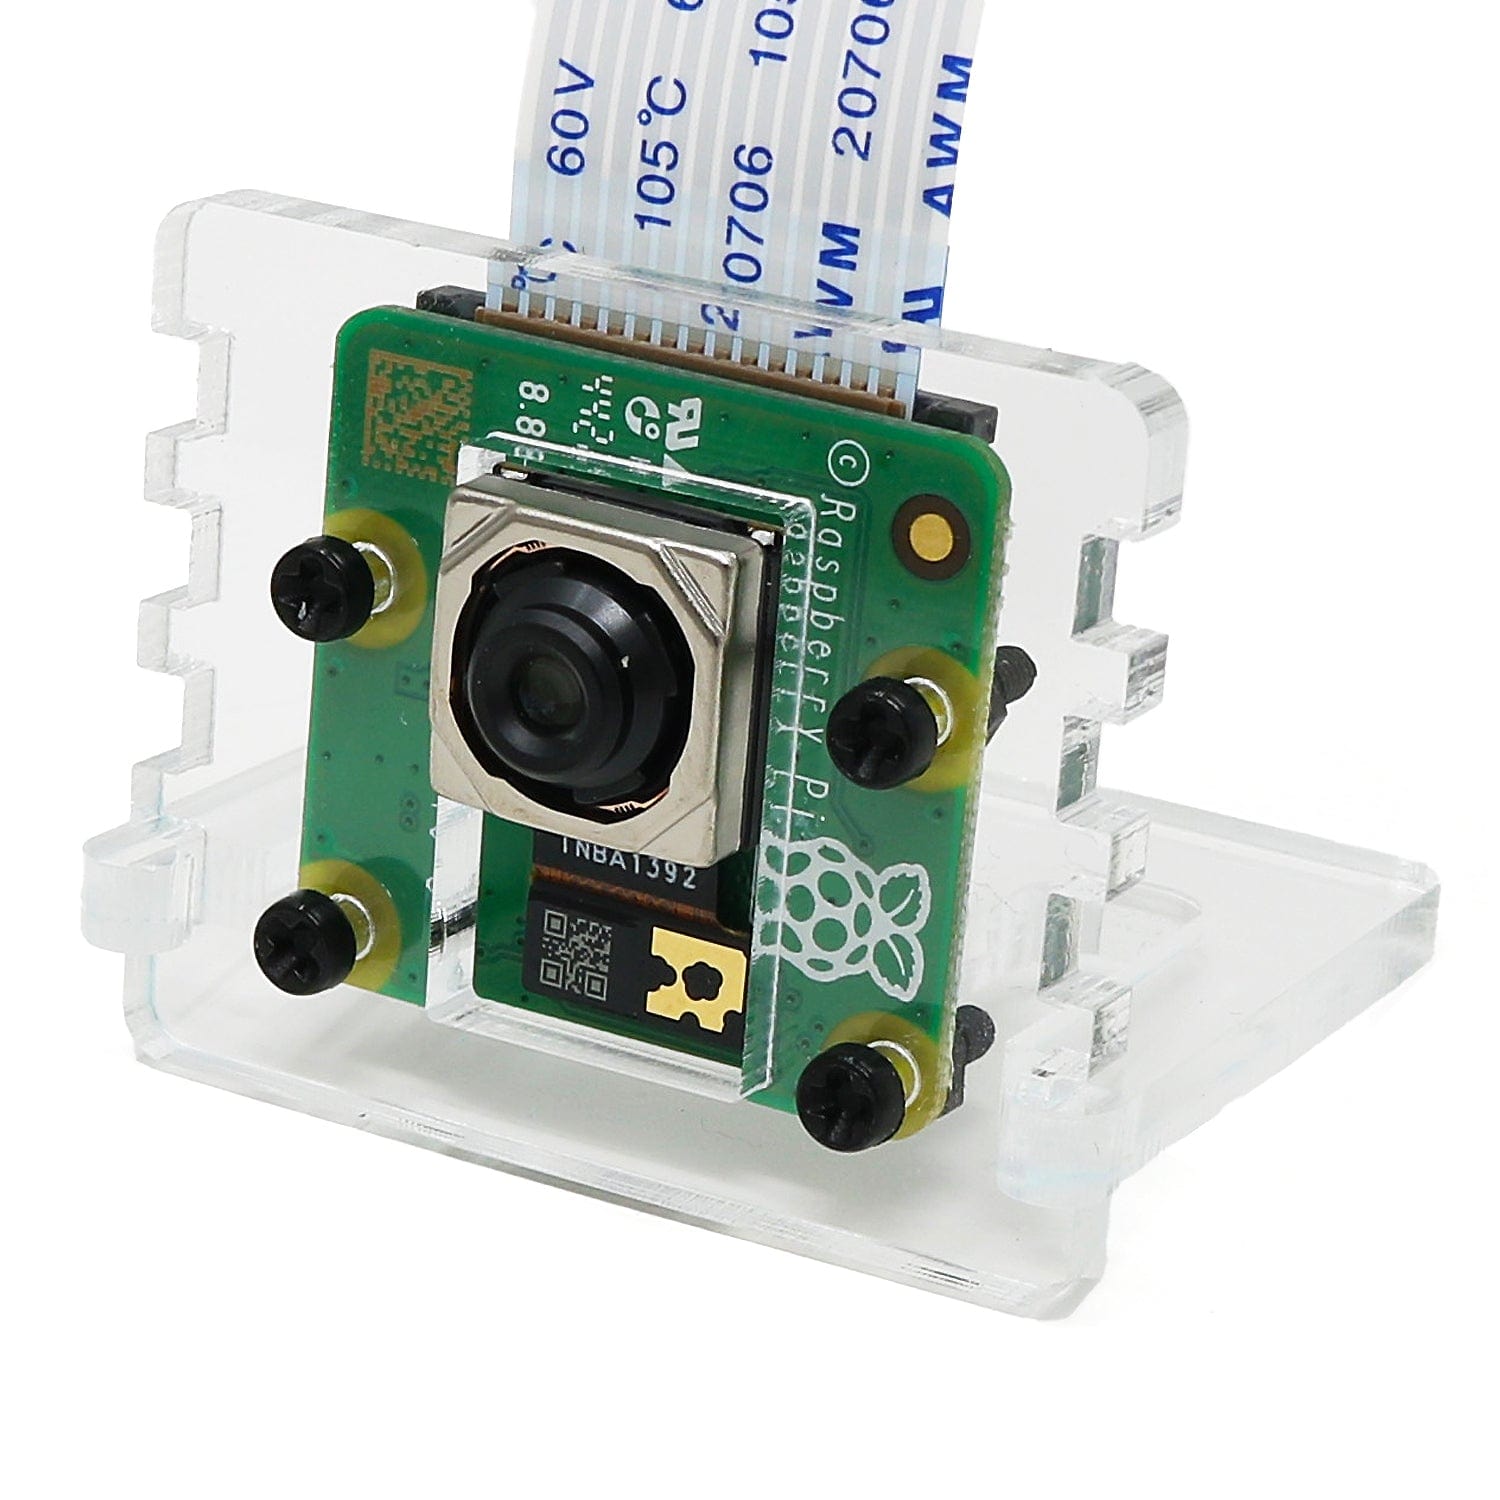
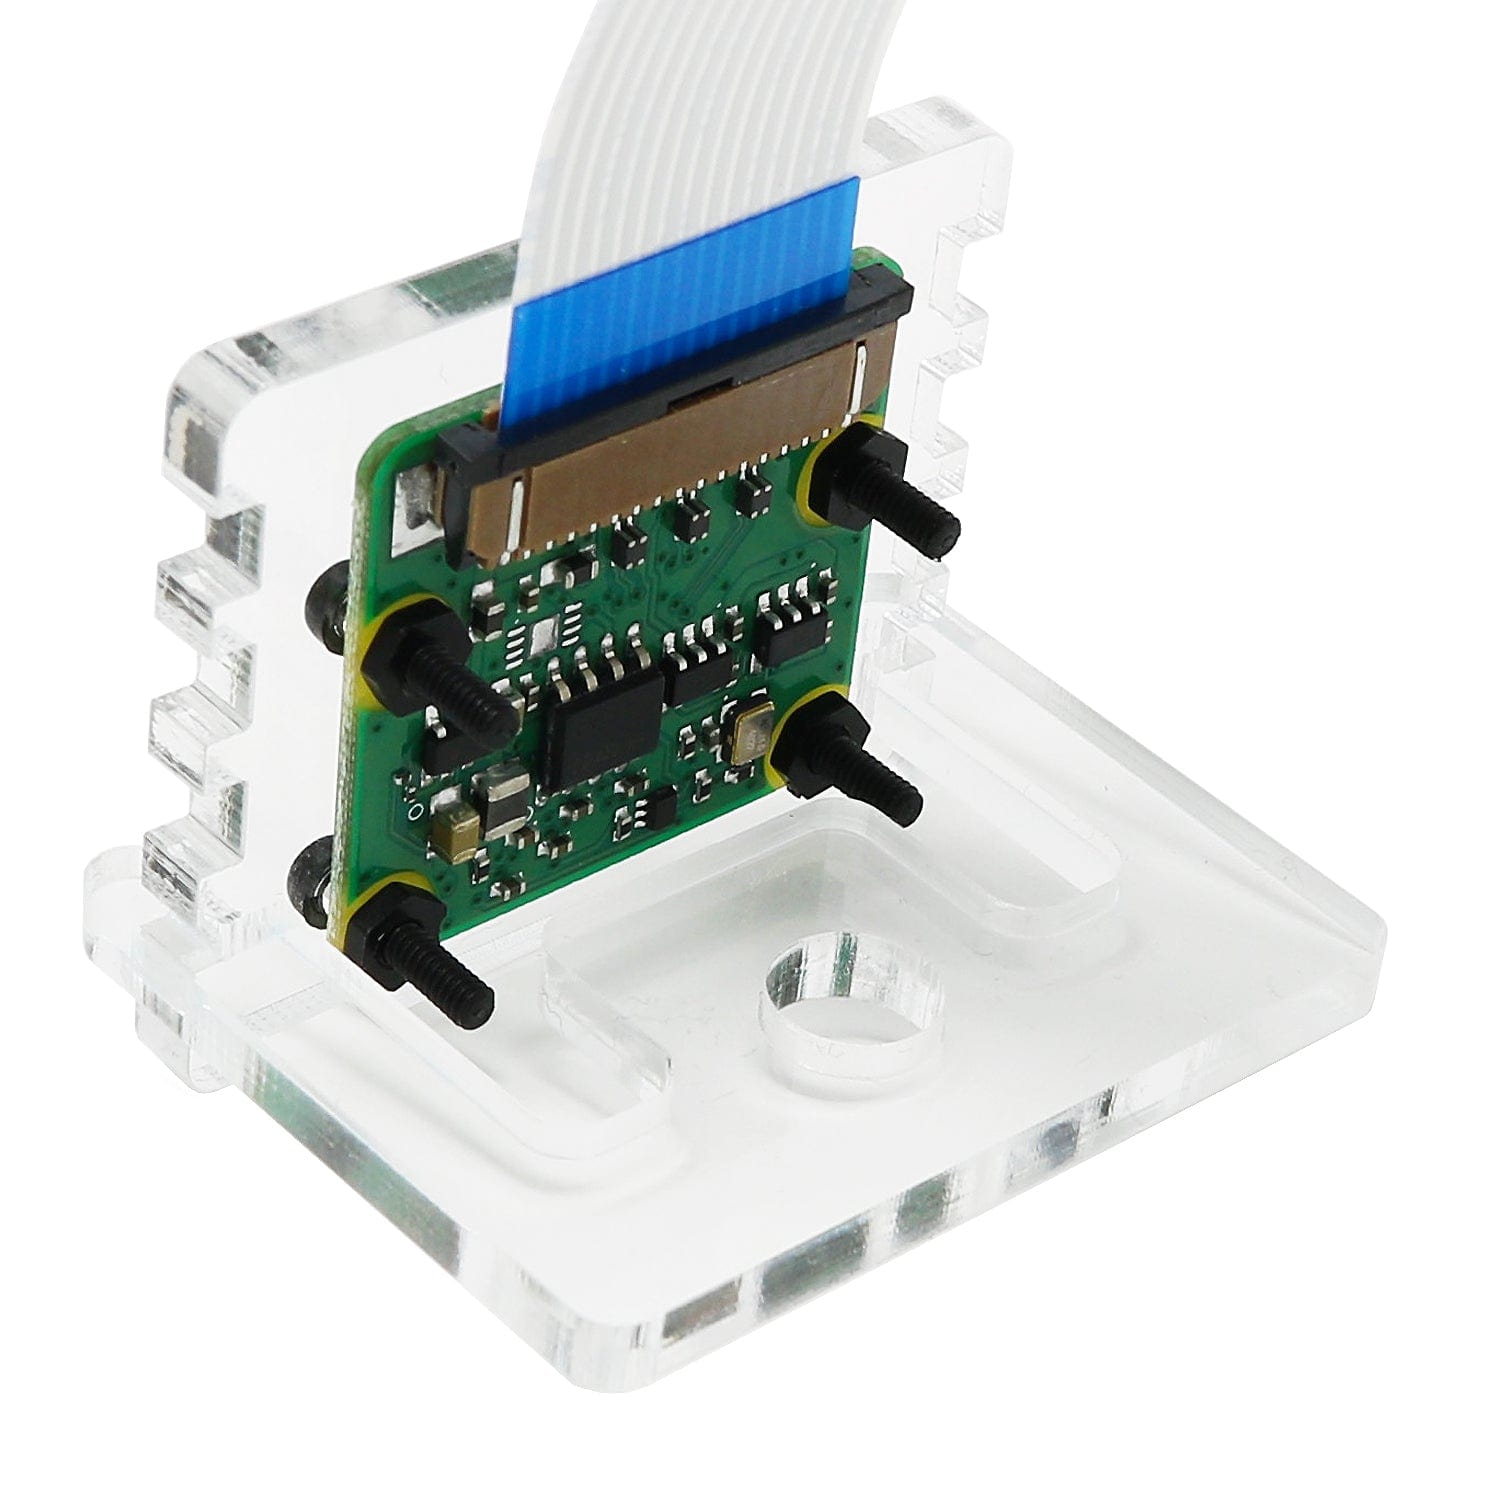
Step 3 - Secure the Raspberry Pi Camera Module to the mounting plate with four nuts:

Step 4 - Clip the two parts together by having one side in place and popping the other side in:

Step 5 - Place the module on your desk or mount to a tripod and get cracking with libcamera! Job done.
NOTE: Acrylic is a hard and stiff plastic which is sensitive to stress concentrations and shares a certain level of fragility with glass. Acrylic can scratch easily and should be cleaned with a mild solution of dish detergent and warm water (only once you've removed the Raspberry Pi/Camera!). Never use cleaners unsuitable for acrylic. Never use a dry, abrasive cloth.