Media Centre Setup Guide
If you've purchased our amazing Media Centre Kit, plugged it all in, powered it up, you might find it boots straight into the Raspbian operating system. Fear not, its super easy to get a media centre OS installed! Simply follow this step-by-step guide and you'll be good to go in no time at all.
First things first, make sure you have the following plugged into your Raspberry Pi:
- Keyboard
- Mouse
- HDMI cable plugged into your TV or Monitor
- Ethernet Cable (wired internet)
- Micro SD Card with NOOBs OS
Once you have everything plugged in, its time to power up the Pi, but be ready!!! During the boot sequence you'll see a splash screen that looks like the below. When you see this you need to press and hold the left shift key on the keyboard until you see the recovery menu load up.


You'll notice that theres an X next to the Raspbian OS. We need to unmark this and mark the box next to either OpenELEC_RPi2 (even if you are using a PRi3) or OSMC_Pi2 (even if you are using a RPi3). These are the two media centre operating systems available via the NOOBs card. Take your pick! Make sure you only have 1 OS marked, otherwise you'll end up with multiple OS's on your SD card.

Once you have the media centre OS marked, click the Install button. You'll be prompted with a little message that reads something along the lines of "Warning any data currently on the SD card will be erased". You are essentially formatting the SD card so make sure you have any personal files backed up before doing this. Hit Yes to start the install.


After a few moments the OS will have successfully been installed. Simply click OK, and your Raspberry Pi will reboot and boot into the installed OS.

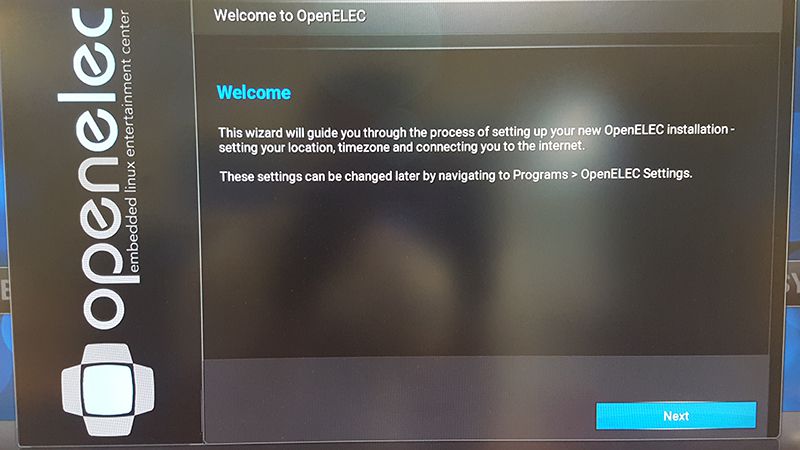
Job done! Its then just a case of following the on-screen setup wizard for your choosen OS.


