
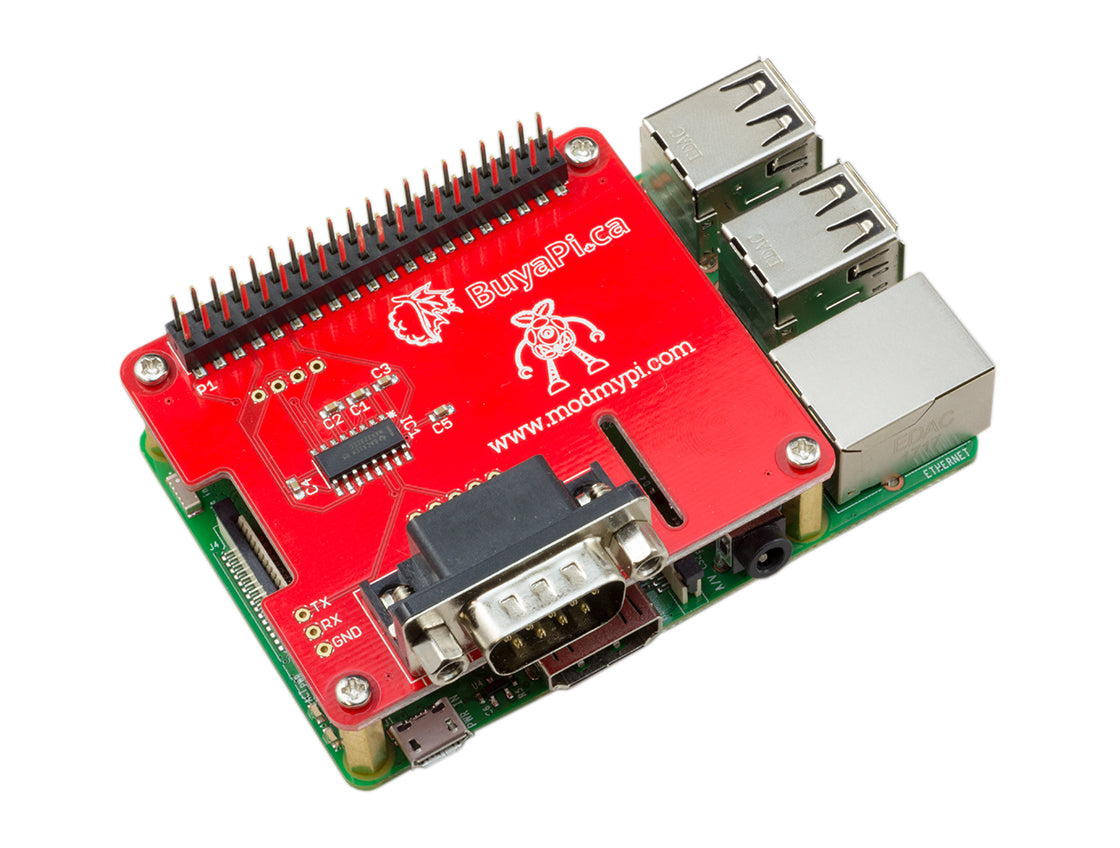
How to use the ModMyPi Serial HAT
Use with the Raspberry Pi 3 and Zero W
To get serial working over GPIOs 14 & 15 you have two options. Disable Bluetooth completely or move Bluetooth to the mini-UART.
Disable Bluetooth
If you don’t need to use Bluetooth the easiest option is to simply disable it. To do this edit the boot config file:
sudo nano /boot/config.txt
And add the following line:
dtoverlay=pi3-disable-bt
Then run the following command:
sudo systemctl disable hciuart
Reboot your Pi and Bluetooth should be disabled, and serial will be mapped to GPIOs 14 & 15.
Move Bluetooth to mini-UART
If you still need Bluetooth functionality then edit your boot config file:
sudo nano /boot/config.txt
And add the following lines:
dtoverlay= pi3-miniuart-bt

core_freq=250
N.B. It is also necessary to edit /lib/systemd/system/hciuart.service and replace ttyAMA0 with ttyS0, unless you have a system with udev rules that create /dev/serial0 and /dev/serial1, in which case use /dev/serial1 instead because it will always be correct.
Once you have either disabled or moved the Bluetooth, you then just need to enable serial from the raspi-config menu:
sudo raspi-config
Serial Console
If you’d like to connect to your Pi via the serial console from your computer then you’ll need to grab yourself a Female to Female Null Modem DB9 cable and possibly a USB to serial converter, depending on whether your computer has a serial port or not.
Plug the Null Modem cable into the Serial HAT, and then the USB to serial converter into the other end of the Null Modem cable. Finally, plug the USB cable into your computer.


The USB to serial converter should be Plug N' Play. We need to find out what COM port it's using. To do this on Windows 10, open up the Device Manager by right-clicking on the start icon, and then clicking on "Device Manager".


With the Device Manager open, you should see a section called "Ports (COM & LPT)" If you exapnd this section, you should hopefully see something along the lines of "USB-to-Serial Comm Port (COM7)" The COM7 in brackets, in my case, is the COM port its using.


Now we know the COM port we can load up putty or any other serial inteface program and connect to our Pi. Make sure "Serial" is selected, and that the "Serial line" is the same as the COM port you got from the Device Manager. Change the Speed (baude rate) to 115200 and click Open.


Now we have started the Serial connection, we can power on the Pi! After a few moments you should see some text running down the putty window and eventually you should be prompted to login.


Connecting a Serial Device
If you'd like to communicate with a serial device then we need to edit the boot cmdline.txt file. Before we edit this file its a good idea to take a backup of it:
sudo cp /boot/cmdline.txt /boot/cmdline.txt.backup
Now we can edit the original:
sudo nano /boot/cmdline.txt
You then need to remove the following text:
console=serial0,115200
Now we have stopped the Pi from using the serial to output its console data, we can use the serial port with our own device.
We have an old set of digital scales with a serial port, so I'll show you how easy it is to start reading data from a serial device.
Using a Null Modem Cable, connect the serial device to the serial HAT board. I've used a Male to Female cable here.


Then is just a case of writting a little python script to get the data from the device:
import serial

from time import sleep


ser = serial.Serial(

    port='/dev/serial0',\

    baudrate=9600,\

    parity=serial.PARITY_NONE,\

    stopbits=serial.STOPBITS_ONE,\

    bytesize=serial.EIGHTBITS,\

    timeout=0)


print("connected to: " + ser.portstr)


try:

    while True:

        line = ser.readline()

        if line:

            print line

        sleep(0.1)

except:

    ser.close()
Depending on your serial device depends what values you'll have set for:
baudrate=
parity=
stopbits=
When I run this script I get the output of my scales :)


