
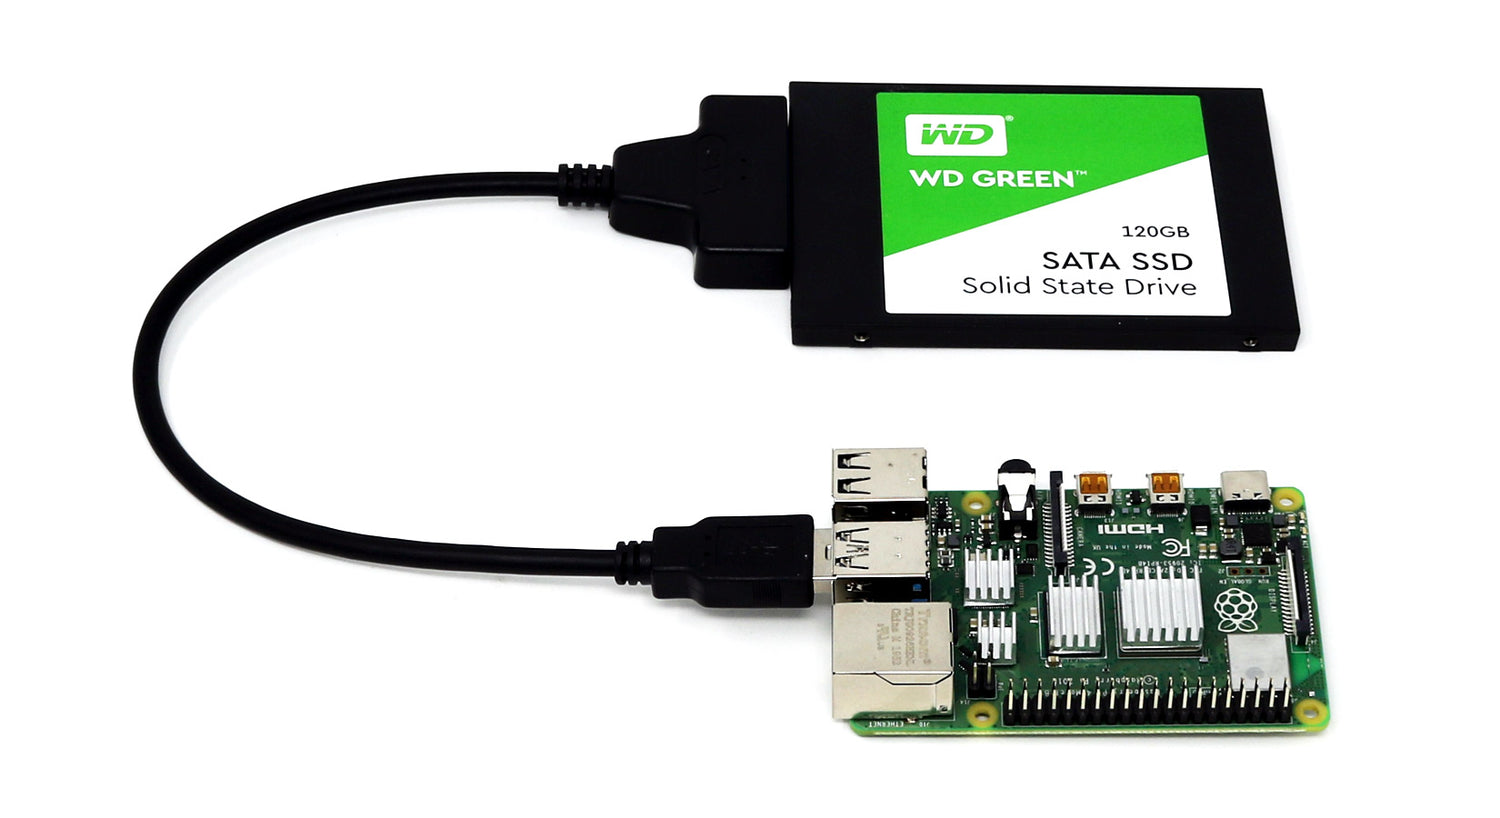
How to set up an SSD with the Raspberry Pi 4
So you've got yourself a Raspberry Pi 4, a shiny new SSD and one of our SSD adapter cables - now you need to get it all set up!
The Raspberry Pi OS is a Linux-based operating system, so plugging in USB 'things' isn't always as plug n' play as Windows. New drives need to have partition tables and partitions created, and these need to be 'mounted' to be able to use them.
We also need to tell the Pi to automatically mount the drive when it boots.
Luckily this guide will show you how to do all of those things - let's get started!
You will need
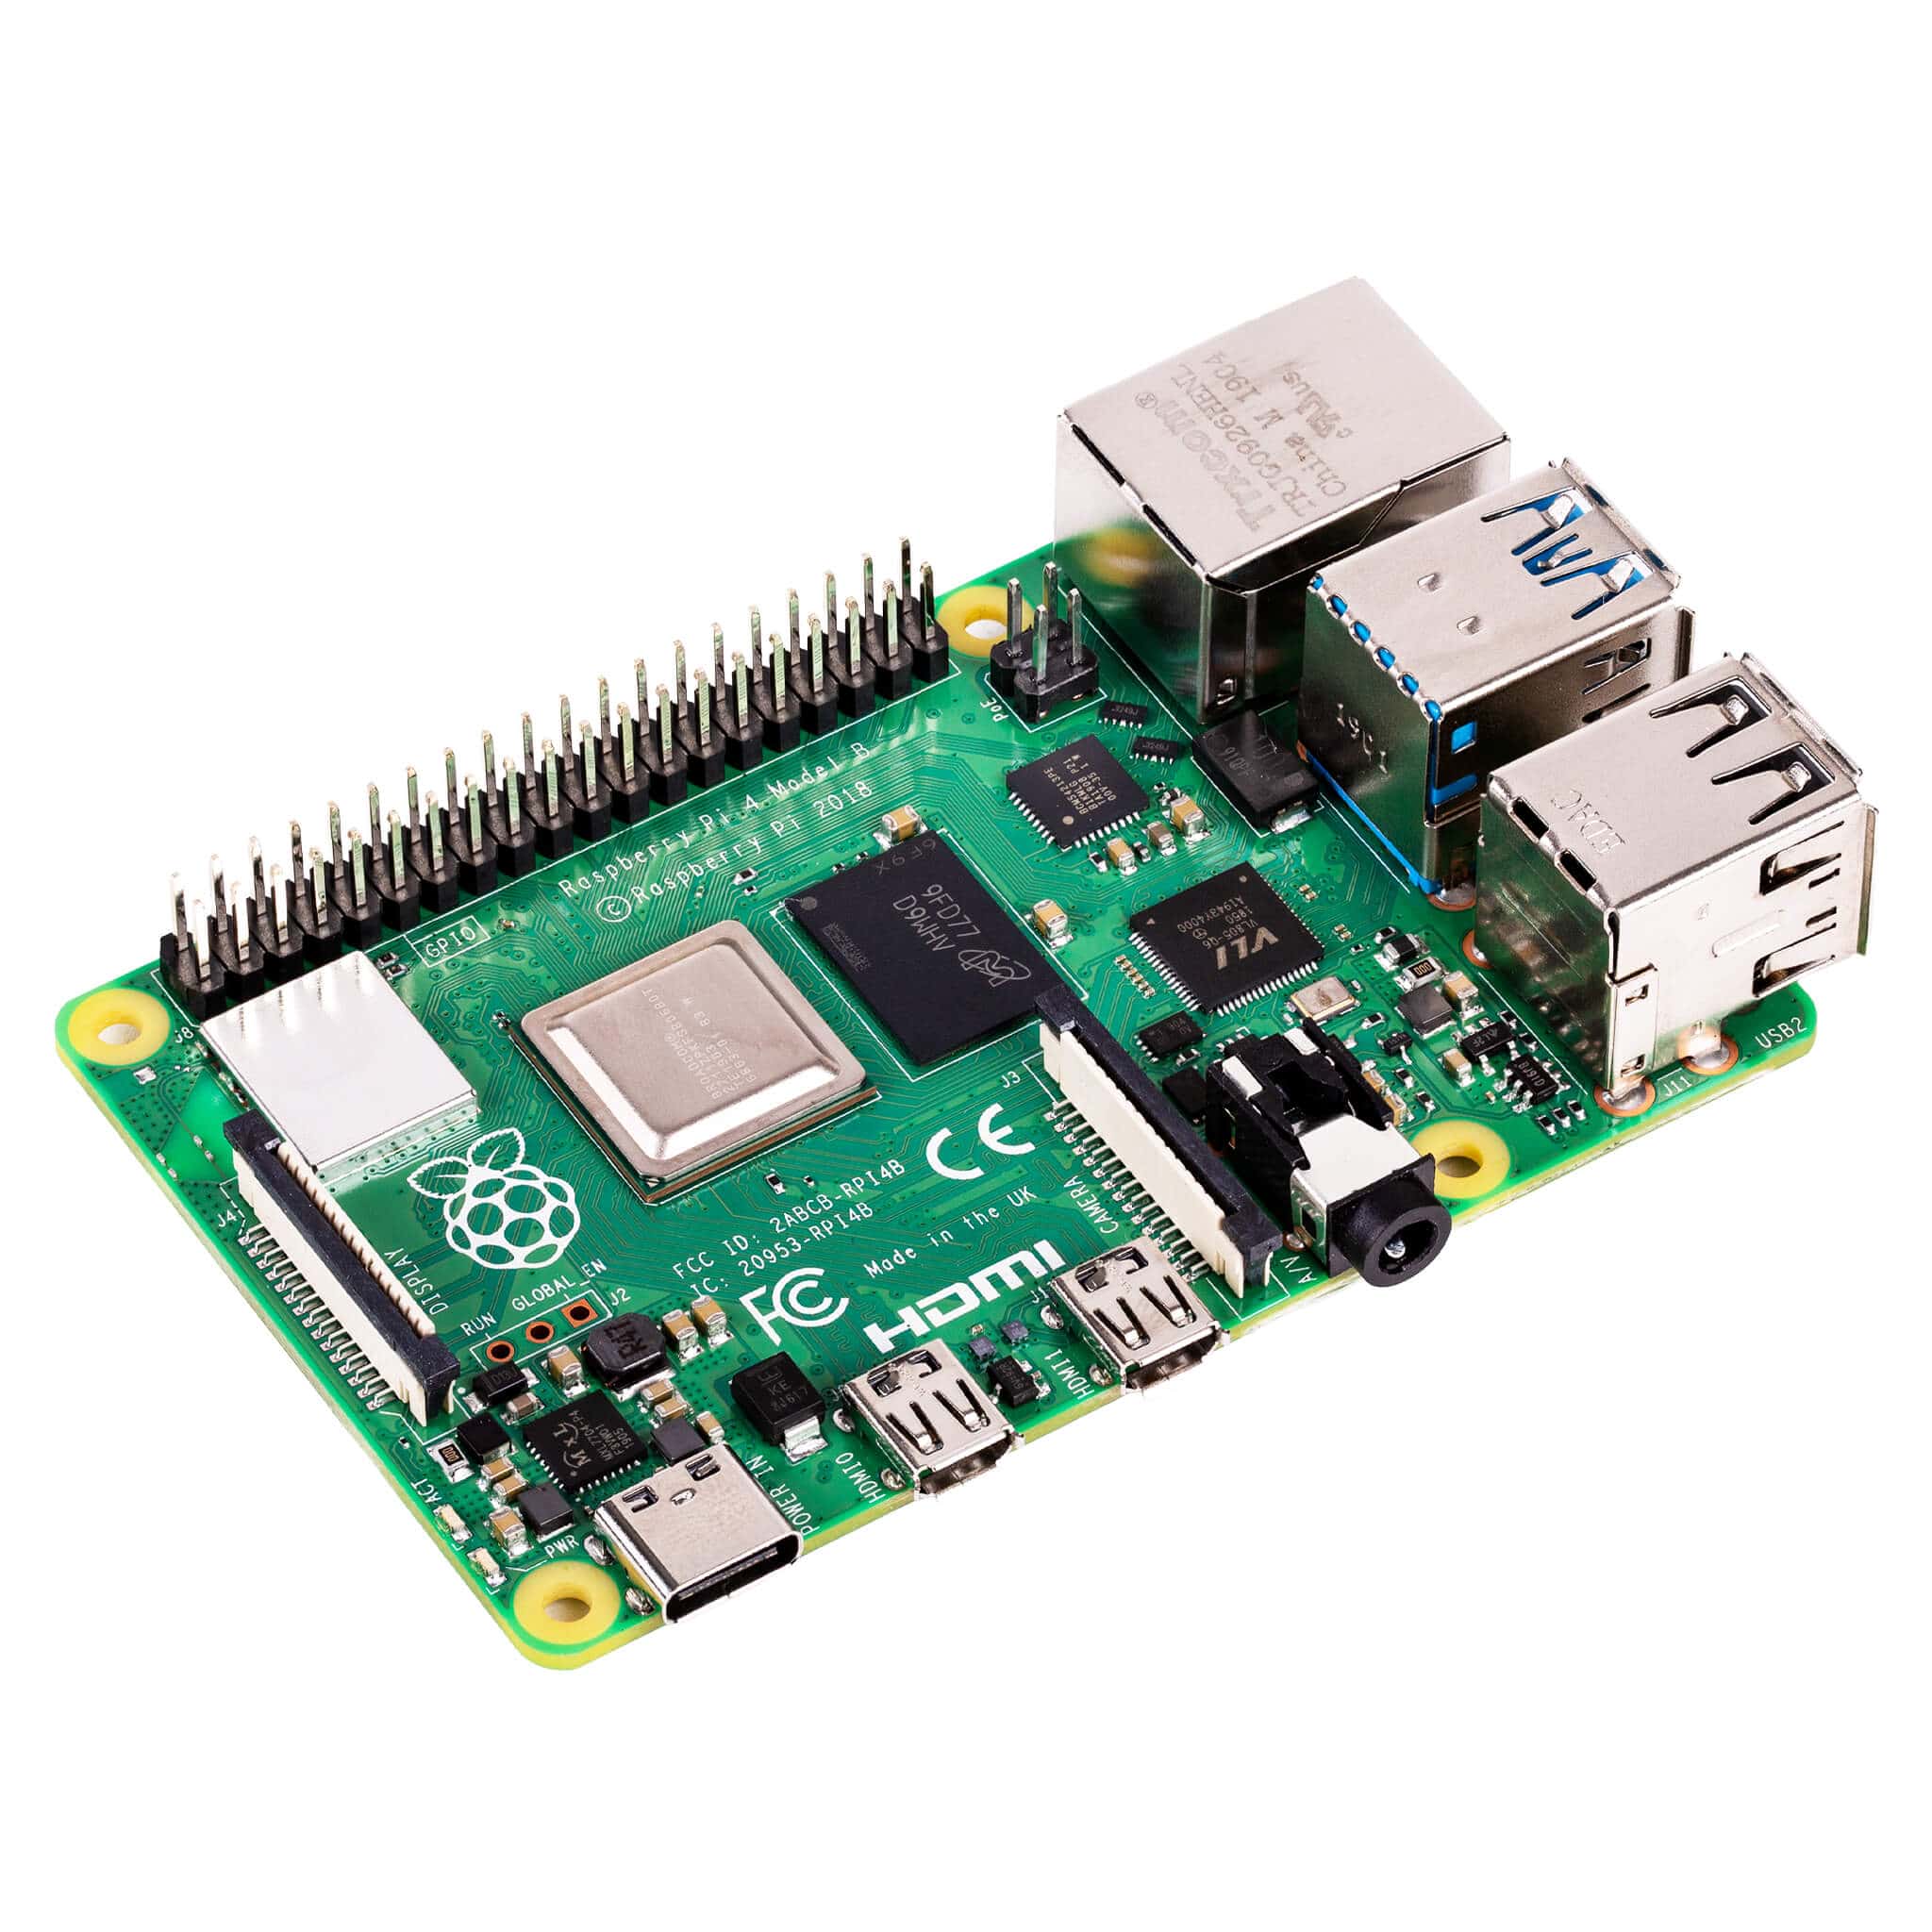
- A working Raspberry Pi setup connected to the internet (a starter kit is a great way to grab everything you need)
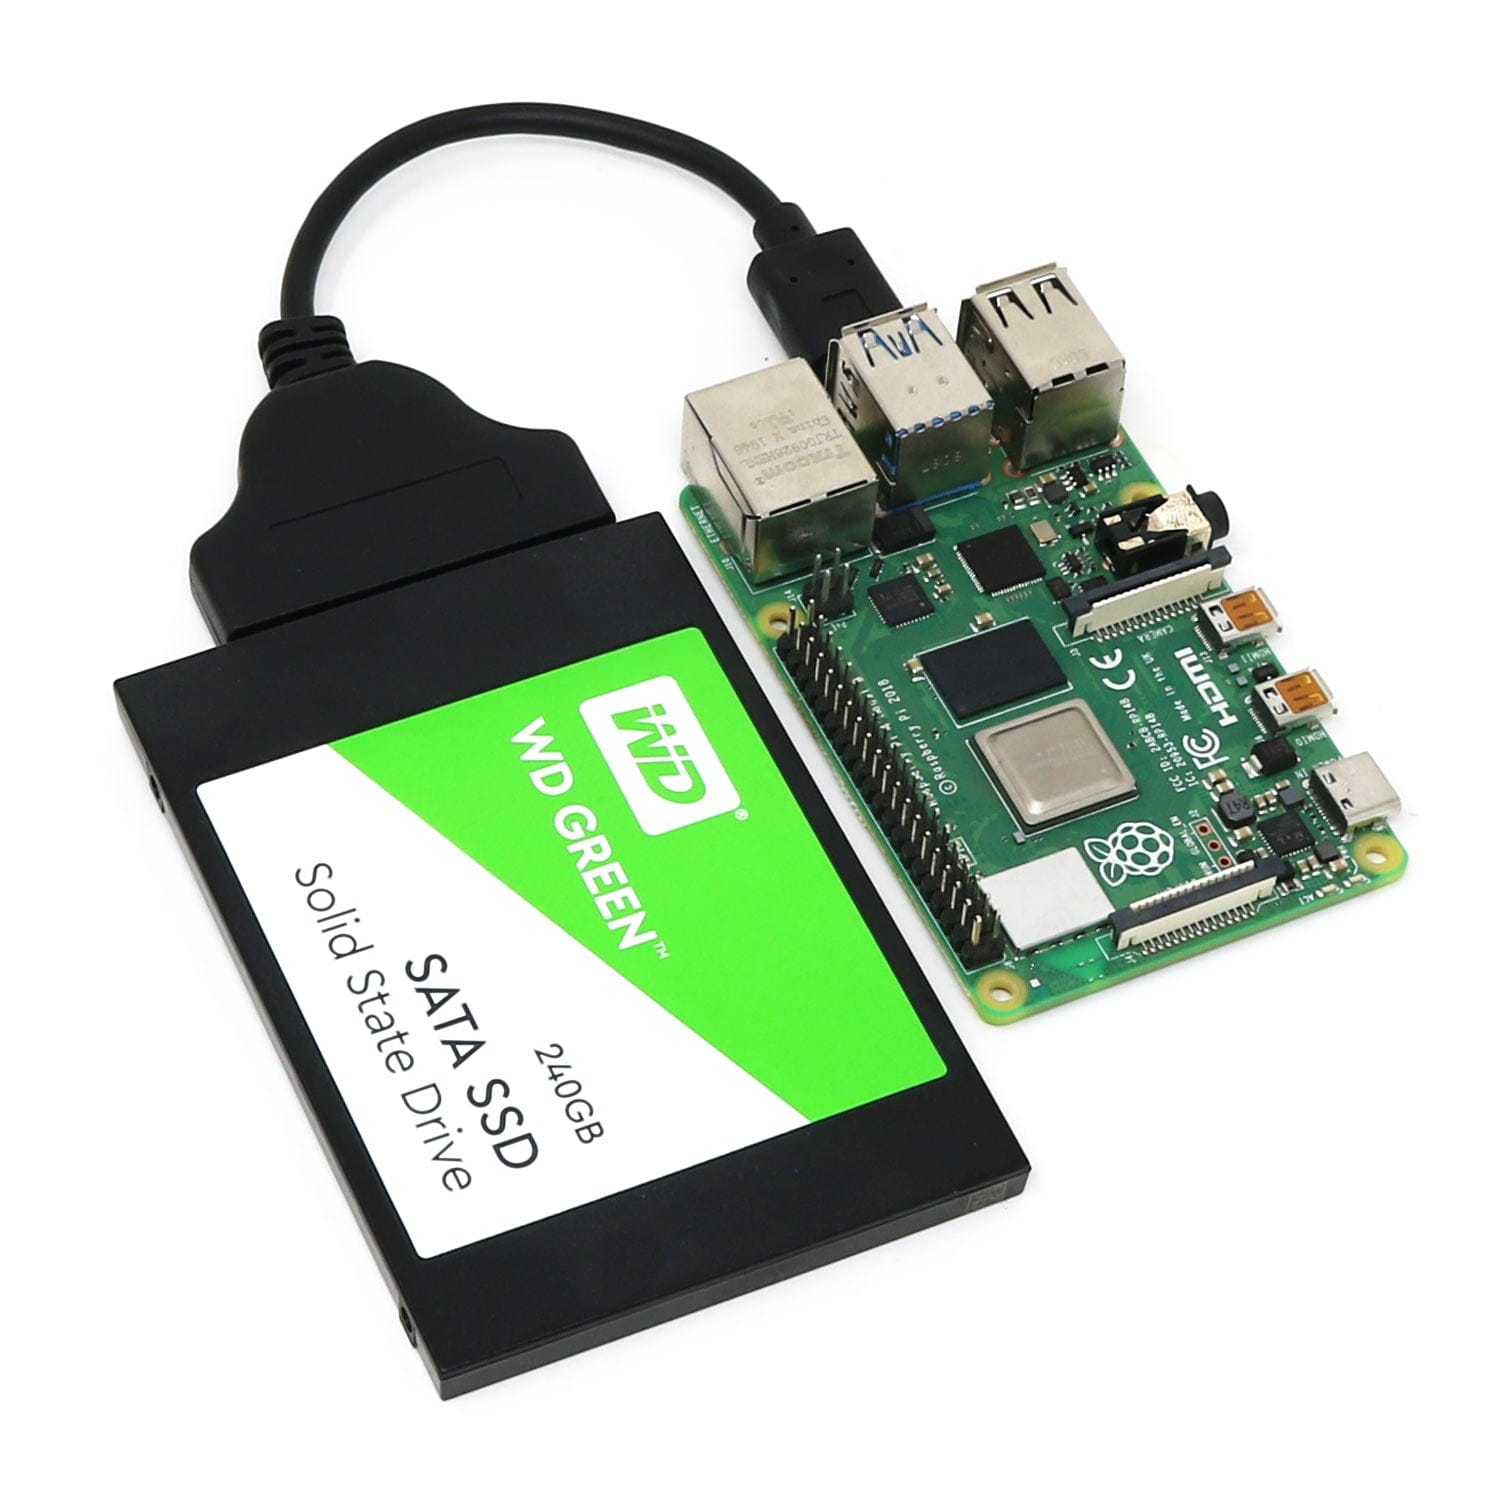
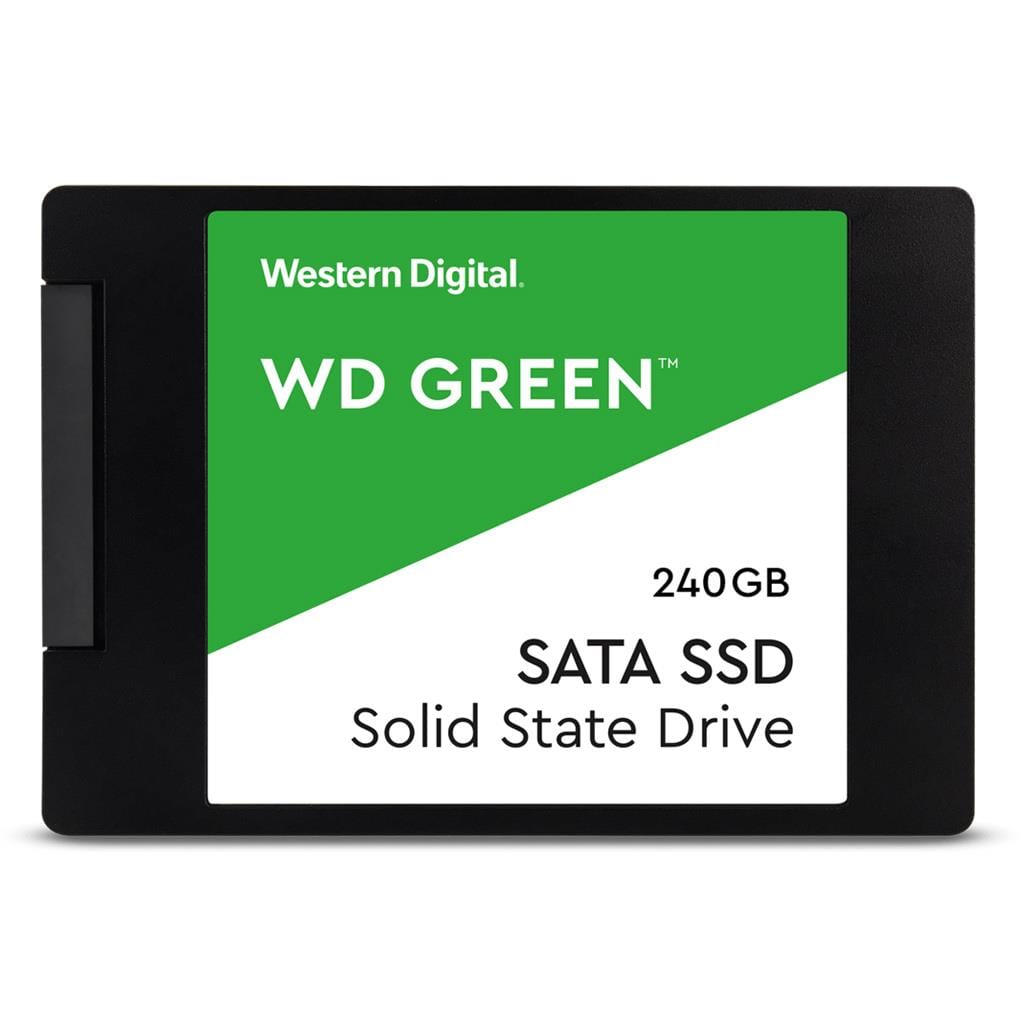
- A 2.5" SSD (SATA connection)
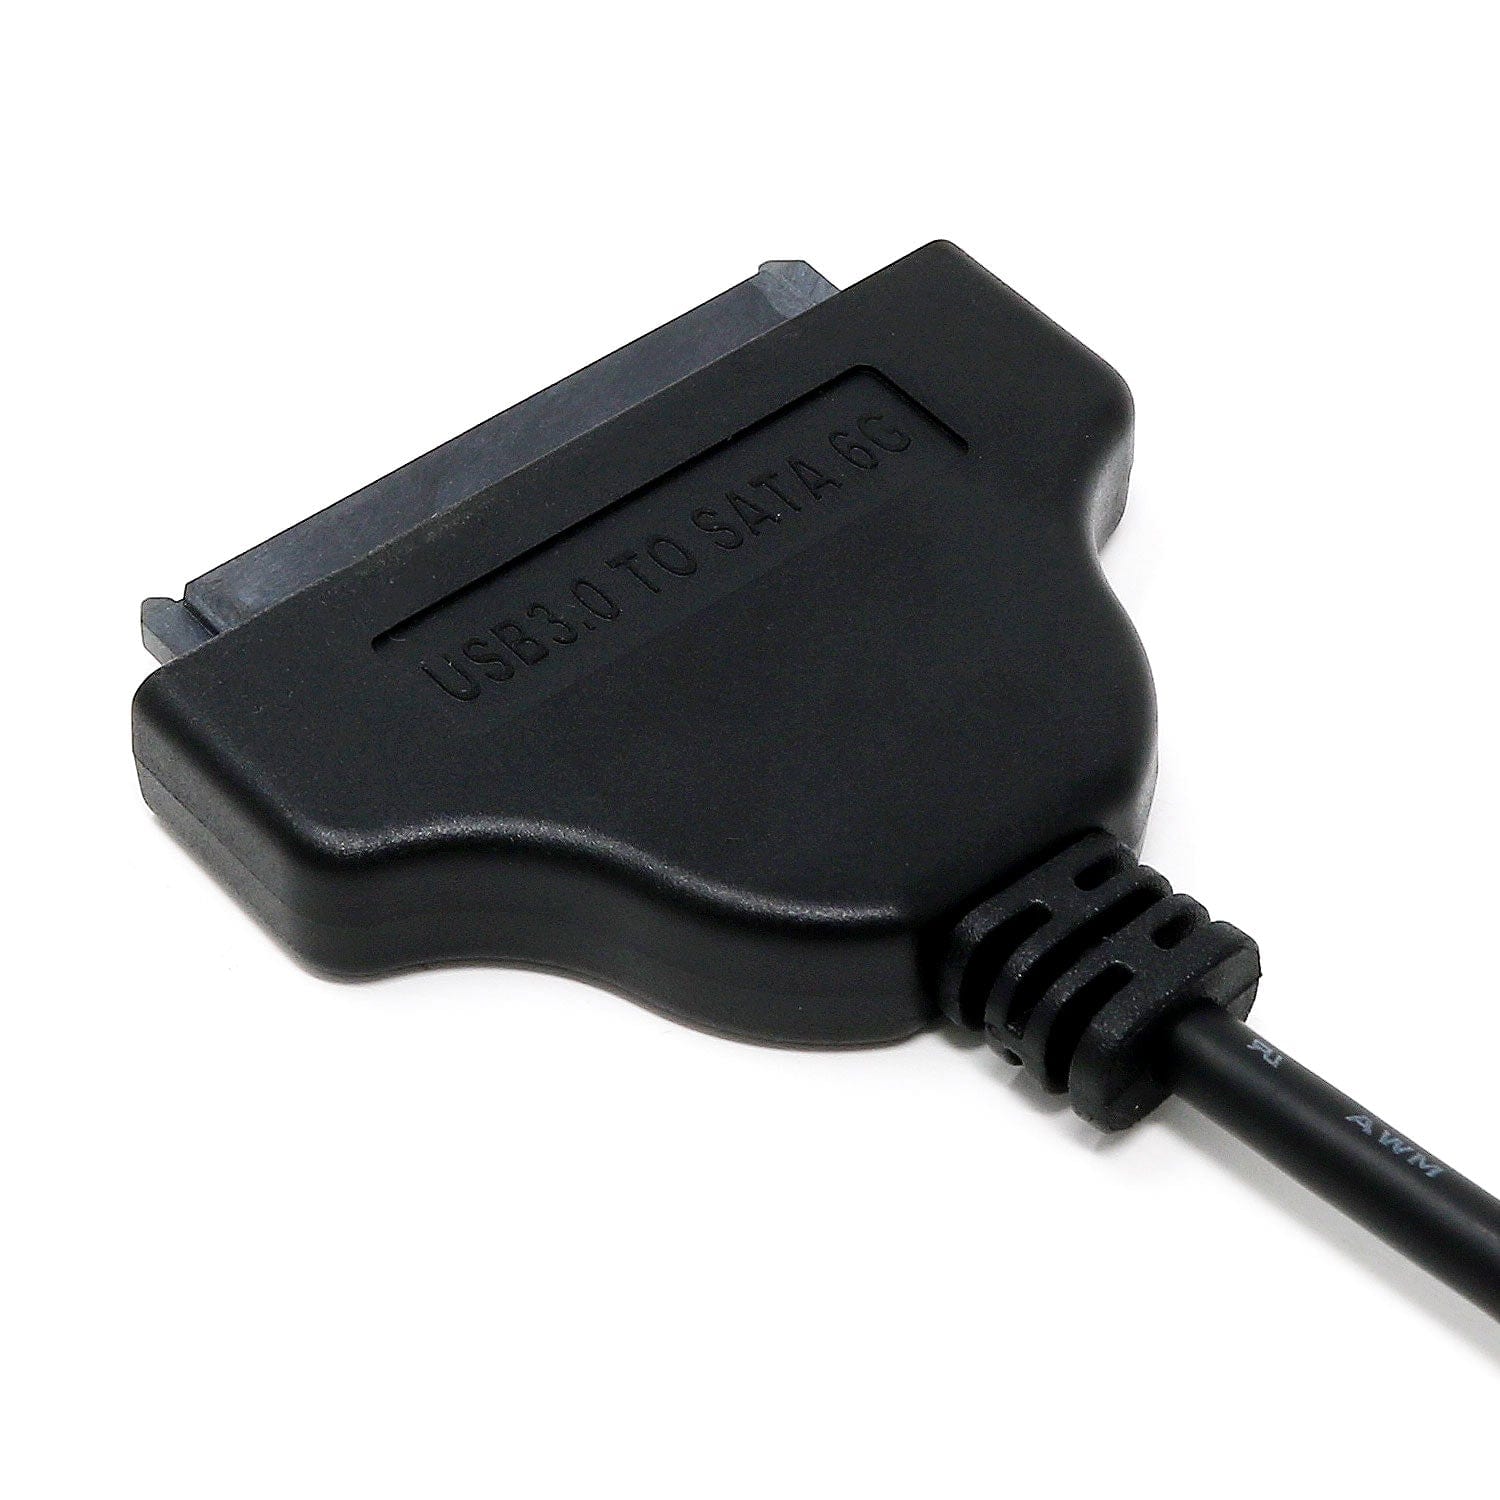
- A USB to SATA Cable*
* A word on USB SATA cables - they're not all equal when it comes to Raspberry Pi compatibility! We tested lots (as many just didn't work properly) before choosing the cable we supply.
Install Raspberry Pi OS
As with all projects, you should make sure you're using the most recent Raspberry Pi OS and also ensure this is fully updated.
You can install Raspberry Pi OS on to a micro-SD card using the super-simple Raspberry Pi Imager software - or grab one of our pre-formatted micro-SD cards for convenience.
Once you have Raspberry Pi OS installed you'll want to make sure it's all up to date. Open a new terminal window and type in the following commands and press Enter after each:
Don't connect your SSD yet - we'll get to that bit soon.
Install GParted
GParted is a really nice tool for managing storage and partitions as it comes with an easy to use interface which works well on Raspberry Pi OS.
In a new terminal window, install GParted using the following command:
sudo apt-get install gparted
Once it's completed, open GParted from the Raspberry Pi OS menu which you'll find under 'System Tools':

Connecting the SSD
Note: this guide assumes you're using a new out-of-the-box SSD
Your current view in GParted will show the information and partitions for the micro-SD card in your Pi. There's a drop-down box in the top-right corner to select other devices, but you shouldn't have any others showing yet.
Go ahead and connect your SSD (via the cable) to one of the Pi's USB 3.0 ports (the blue ones).
Wait 30 seconds then, in GParted, select 'GParted > Refresh Devices' from the top menu. This process takes a minute or two.
Now your drop-down should show a new option - your new SSD! Select that option and wait for the information to display:
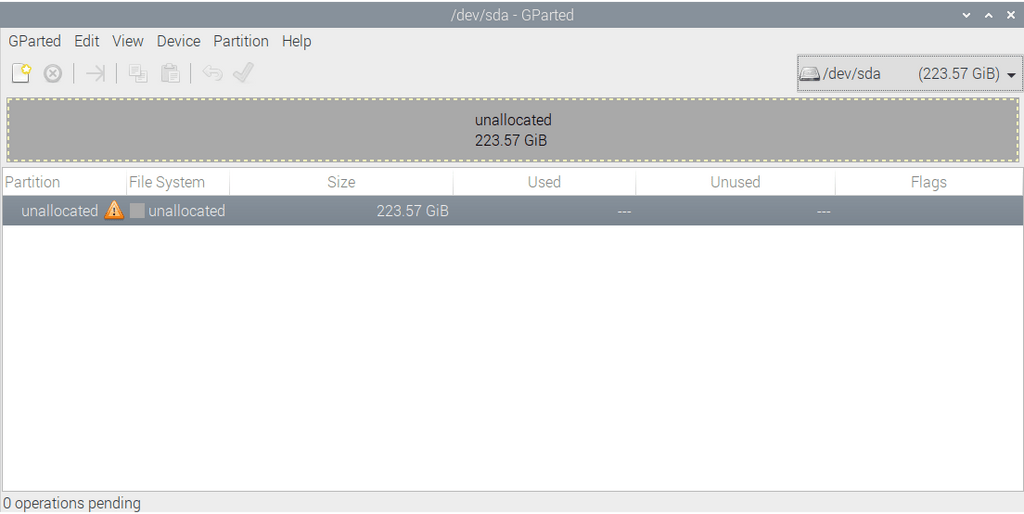
Your new SSD likely won't have any partitions or even a partition table, so let's go ahead and set those up now.
Create Partition Table
Select 'Device > Create Partition Table' from the top menu:

Keep the default settings, select 'Apply' and then leave it to do its thing for a few minutes. It may look like nothing is happening or that the application has crashed - it hasn't - it just doesn't give you a lot of feedback whilst it's working.
Once complete (or if nothing happens after a few minutes), move on to the next step.
Create Partition
Now that we have a partition table, we can go ahead and create a partition. This tutorial will create a single partition for the entire SSD capacity.
Select 'Partition > New' from the top menu:

Keep all of the default settings as they are (including the ext4 filesystem), but add a sensible label to help you identify it later on - we've used 'WDSSD':

Now select 'Edit > Apply All Operations' from the top menu and click yes to the warning once you've checked everything:

Once again, leave it to do its thing. We found the interface appeared to stall at times, but it is working away in the background. This part can take some time depending on the size of the SSD.

Once completed, a box will show confirming the action. Close this box and GParted will automatically refresh and show your new partition:

Next - mounting and auto-mounting!
Find the SSD's UUID
We need to find our SSD's UUID (an identifier number) to tell our Raspberry Pi exactly which SSD we want to mount and where (extra-important if you use multiple SSDs).
Enter the following command into a terminal window:
sudo lsblk -o UUID,NAME,FSTYPE,SIZE,MOUNTPOINT,LABEL,MODEL
You should see something like this:

You're looking for devices on 'sda' or 'sdb'. The label field can help you identify your SSD too as you set the label earlier. In our example, our SSD is on 'sda1'.
Make a note of the long number in the UUID field - that's your SSD's UUID! We copied and pasted it into a text editor.
Create a Directory for Mounting the SSD
We also need to create a directory to mount the SSD to (this is where you'll access your SSDs files).
For ease, we're going to make a new directory in the usual /home/pi/ folder. In a new terminal window enter the following command to make a new directory called 'myssd':
mkdir myssd
Now set permissions for the directory:
sudo chown pi:pi -R /home/pi/myssd/
sudo chmod a+rwx /home/pi/myssd/
Set up Automatic SSD Mounting
Now that we know the UUID of the SSD and we have a directory to mount it to, we can now set up auto mount for every time we boot our Pi.
In a terminal window, enter the following command:
sudo nano /etc/fstab
At the end of the file that opens, add a new line containing your SSD's UUID and the mounting directory (change the xxxxxx to your UUID):
UUID=xxxxxxxx-xxxx-xxxx-xxxx-xxxxxxxxxxxx /home/pi/myssd/ ext4 defaults,auto,users,rw,nofail 0 0
It should look something like this (our example below has a slightly shorter line but use the example above for the best results):

Select Ctrl+X and Y to save and exit.
Mount the SSD
We can now mount the SSD very easily using the following command:
sudo mount -a
Give it 10 seconds and then take a look in your File Manager - your SSD should now be showing (with a Lost + Found sub-directory) too:

Reboot & Test
Reboot your Raspberry Pi (you can use terminal command sudo reboot) to test that the SSD auto-mounts.
If there are any issues, go back and check the steps above to make sure you've done everything correctly and in order.
Remember this guide is based on using a brand new unformatted SSD - if you're using an existing/used/formatted SSD you may need to adjust your approach a little - there's a good Raspberry Pi resource on external USB storage here to help with that.
18 comments
matti
but how i copy my all setting sametime, old SD card to USB SSD and later boot only whit SSD. i use now SD card but no have space more, need use my SSD have lot biggest, before i try raspi SD card copy sftware (include in raspi) all files to SSSD but many time freeze HD, SD car working well but why not same copy working good whit SSD.
but how i copy my all setting sametime, old SD card to USB SSD and later boot only whit SSD. i use now SD card but no have space more, need use my SSD have lot biggest, before i try raspi SD card copy sftware (include in raspi) all files to SSSD but many time freeze HD, SD car working well but why not same copy working good whit SSD.
Carlo
I am stuck on the Chown part .
New to Linux and was having an error when I put in the: sudo chown pi:pi -R /home/pi/myssd/ part.
I keep getting the error invalid option — “/“
Please help.
Thanks
I am stuck on the Chown part .
New to Linux and was having an error when I put in the: sudo chown pi:pi -R /home/pi/myssd/ part.
I keep getting the error invalid option — “/“
Please help.
Thanks
Tim Holland
Will this power larger WD Green drives? I’m looking at 2T to replace a 2T Passport drive powered from a hub
Will this power larger WD Green drives? I’m looking at 2T to replace a 2T Passport drive powered from a hub
Pedro
Thanks for the information! I followed the process and the NVMe disk is successfuly mounted after rebooting; however, when I tried to save a document to it and/or create a new folder in the drive, it gives me an error creating directory /home/pi/myssd. It seems I need to do something regarding authorised access to the disk???
I do appreciate your feedback!
Peter
When I was adding extra devices to my Pi4B the logic got corrupted. I added a good quality POWERED USB hub (expensive but saved me so much trouble) and plugged everything into that. It all worked flawlessly after that. Even the SSD would work off that, but I ended up connecting the SSD directly to the Pi, as I had an Argon 40 case with an SSD board (Kingston A400 Sata M2x 80mm)….. this kept things tidy.
Also to do the SSD boot and operate the Pi off it, I just plugged the SSD into my PC USB port and using the Raspberry software downloader, just downloaded Ubuntu straight into the SSD. Then plugged it into the Pi. Can’t remember if it auto started, or if I selected the SSD to be first in boot order. I didn’t have the SD card in it at any rate. I can remember that I was surprised how easy it was, so I must have done something wrong !!!
James duroy
Thank you very much. Worked perfectly the 1st time. Your my hero
Thank you very much. Worked perfectly the 1st time. Your my hero
Recycled
Thanks Pi Hut, this all worked perfectly first time now all I have to do is work out what to do with all that storage!
Thanks Pi Hut, this all worked perfectly first time now all I have to do is work out what to do with all that storage!
Malak
Why am I getting this:
admin@raspberrypi:~ $ mkdir myssd
admin@raspberrypi:~ $ sudo chown pi:pi -R /home/pi/myssd/
chown: invalid user: ‘pi:pi’
admin@raspberrypi:~ $ sudo chmod a+rwx /home/pi/myssd/
chmod: cannot access ‘/home/pi/myssd/’: No such file or directory
Why am I getting this:
admin@raspberrypi:~ $ mkdir myssd
admin@raspberrypi:~ $ sudo chown pi:pi -R /home/pi/myssd/
chown: invalid user: ‘pi:pi’
admin@raspberrypi:~ $ sudo chmod a+rwx /home/pi/myssd/
chmod: cannot access ‘/home/pi/myssd/’: No such file or directory
Andy
I have just tried this on a Raspberry Pi 5 and these instructions work perfectly.
I have just tried this on a Raspberry Pi 5 and these instructions work perfectly.
Mike
I too would like to know if this will work on the RPI 5, or if the article needs to be updated.
I too would like to know if this will work on the RPI 5, or if the article needs to be updated.
Leslie Thatcher
I have per ordered a PI5 will this work on that or is an update needed
I have per ordered a PI5 will this work on that or is an update needed
Jon
Hi this guide was great for the Pi 4 . Are you update this for the Pi 5?
Hi this guide was great for the Pi 4 . Are you update this for the Pi 5?
Justin
Hi Tom,
I see that you’ve tried running two SSDs, directly connected to the Pi via a “SSD to USB 3.0 Cable” for each. Can I ask what drives you’ve used?
According to :
https://raspberrypi.stackexchange.com/questions/136098/multiple-ssds-on-an-rpi-4
…..the 1.2A should be enough to power a pair of “WDS100T3G0A” SSDs……even when they’re both writing.
Thanks in advance
Tom
Just a note that one SSD should be fine, but 2 or more will cause system instability as the Pi won’t have enough current to supply the SSDs safely. I’ve had issues with my system for a few months now due to this!
Just a note that one SSD should be fine, but 2 or more will cause system instability as the Pi won’t have enough current to supply the SSDs safely. I’ve had issues with my system for a few months now due to this!
Bryn
It would be nice if you could add a few extra instructions on how to modify the Pi so that it can boot from the SSD,.
Secondly how to add a further SSD as a mirror copy of the main SSD, allowing for redundancy.
It would be nice if you could add a few extra instructions on how to modify the Pi so that it can boot from the SSD,.
Secondly how to add a further SSD as a mirror copy of the main SSD, allowing for redundancy.
The Pi Hut
@Rick You sure can. Just plug the cable into your PC and use Raspberry Pi Imager as you would with an SD card, but select the SSD volume when it shows on the options of where to install Raspberry Pi OS on to. This wasn’t an option previously, but within the last year (maybe 2) it was introduced for USB booting as the Raspberry Pi 4 handles it so well now.
@Rick You sure can. Just plug the cable into your PC and use Raspberry Pi Imager as you would with an SD card, but select the SSD volume when it shows on the options of where to install Raspberry Pi OS on to. This wasn’t an option previously, but within the last year (maybe 2) it was introduced for USB booting as the Raspberry Pi 4 handles it so well now.
Rick
Nice use of an SSD on the PI, can we change the Pi to boot from the SSD drive and not the SDcard boot structure? It would be much better to have a “proper” disk like the SSD for a more robust operation like running a Plex server, where databases and files are changing more often. The SDcard is not designed for such continual writing, and the SSD is…
Nice use of an SSD on the PI, can we change the Pi to boot from the SSD drive and not the SDcard boot structure? It would be much better to have a “proper” disk like the SSD for a more robust operation like running a Plex server, where databases and files are changing more often. The SDcard is not designed for such continual writing, and the SSD is…
Han
I believe you should always add ‘noauto’ in the fstab line, otherwise the system won’t boot if the disc is not present. (This can be a real pain if the disc breaks for some reason and it cannot be mounted anymore.)
I believe you should always add ‘noauto’ in the fstab line, otherwise the system won’t boot if the disc is not present. (This can be a real pain if the disc breaks for some reason and it cannot be mounted anymore.)