How to Mount an External Hard Drive on the Raspberry Pi
This is a short guide on how to connect an External Hard Drive to the Raspberry Pi! Most external Hard Drives are quite juicy and will require a USB Hub to run in a stable manner, so please do check this before trying to install your drive!
First step is to plug it in, and then switch on your Pi! It should boot up as normal, so go ahead and log in to Raspian as usual.
Step 1. Is it there?!
If you want to check for the current storage devices attached to your Pi, simply run the command:
sudo blkid

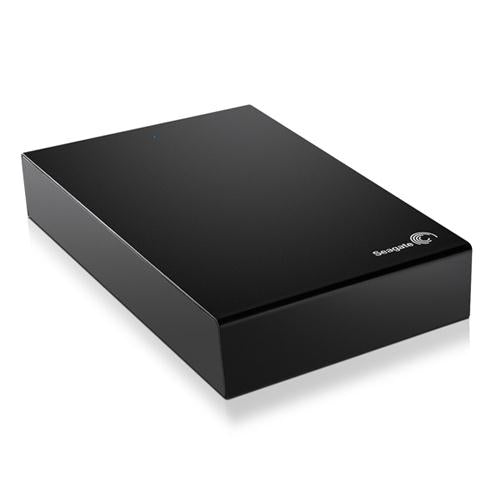
This reveals that we currently have our “Seagate Expansion Drive” attached.
Step 2. Check the Partitions
We now need to check the boot name of our Seagate’s partition.
Care: the fdisk command can do many things, including wiping your drive/partitions. Follow the steps carefully.
sudo fdisk –l

Reveals that our drive is located at /dev/sda1
Step 3. Mounting it.
Now we know where our drive is, we need to mount it:
sudo mount /dev/sda1 /mnt
The folder “/mnt” is the standard location for mounting permanent media, but you can always create your own folder if required using the “mkdir” command.
That’s it! Our drive is mounted.
Step 4. Permissions.
As our drive is formatted in NTFS, we might need to change the /mnt drive permissions in order to enable proper access. Simply run the following command:
sudo chmod 775 /mnt
This will change your permissions and allow you to access the drive.
To test this, let’s try to create a folder. . .
cd /mnt
sudo mkdir /IMAFOLDER
cd /IMAFOLDER

Great! So we can read and write to our hardrive!
Step 5. Automounting our drive.
If you want your Hard Drive to mount from boot, we need to set this up!
First step is to edit our "fstab" file
sudo nano /etc/fstab

This will open up the file in nano text editor:

We need to add the following line to have our hard drive mount at boot!
/dev/sda1 /mnt ntfs defaults 0 0

You can now reboot your Raspbery Pi, and your Hard Drive will automatically mount!
Step 5. How to unmount.
To unmount the drive, simply run the command:
sudo umount /mnt
As long as you’re not currently accessing the drive, it should unmount successfully.


3 comments
Cool-off
There is a small error on this page.
“sudo mkdir /IMAFOLDER” creates a folder called IMAFOLDER in the root filsystem, not in the filesystem mounted at the mount point /mnt.
There is a small error on this page.
“sudo mkdir /IMAFOLDER” creates a folder called IMAFOLDER in the root filsystem, not in the filesystem mounted at the mount point /mnt.
Phil LaMaire
Great Stuff, got me back online!
Great Stuff, got me back online!
Dennis wield
Forgot to mention – write out and exit from nano.
Folks reading this are not experts, so need full instructions to follow.
Good info though
Forgot to mention – write out and exit from nano.
Folks reading this are not experts, so need full instructions to follow.
Good info though