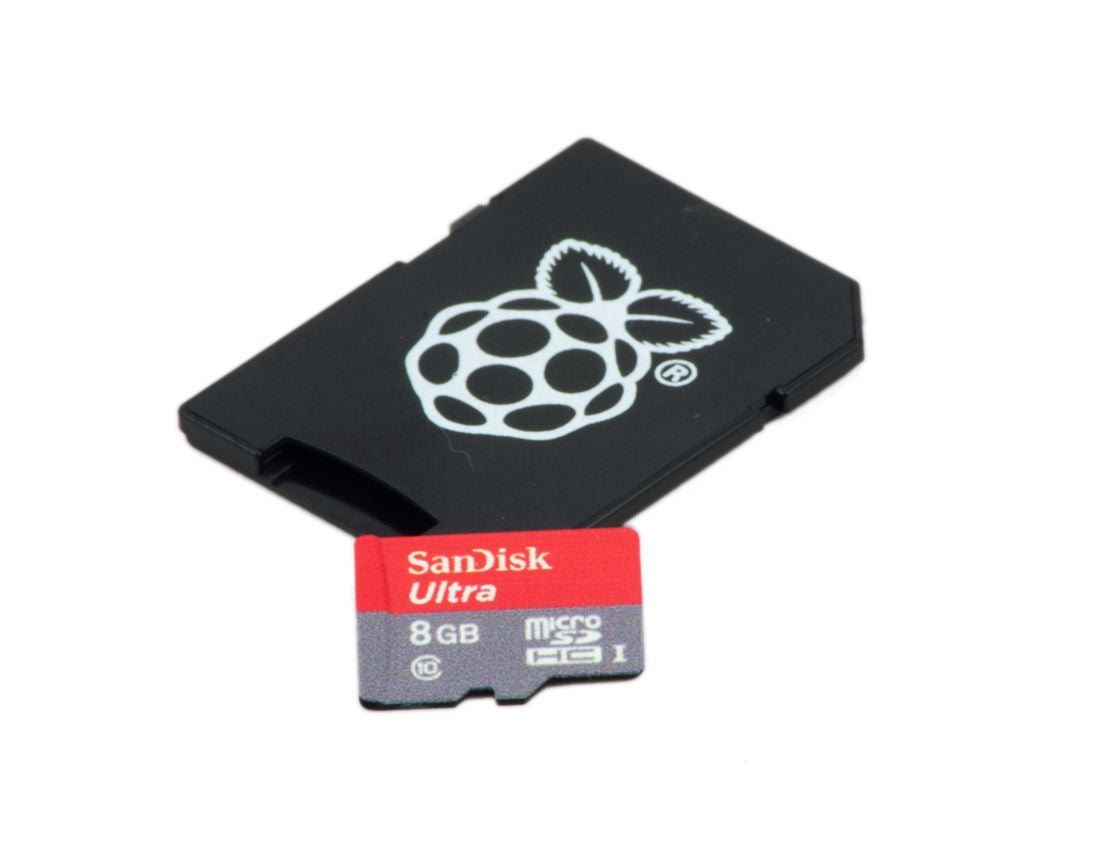
How to Format "Dead" SD Cards!
Most SD cards are shockproof, waterproof, bulletproof and explosion-proof, and will likely survive Armageddon. However, somehow we manage to corrupt SD cards via the Raspberry Pi on a weekly basis! Nine times out of ten a simple reformat using the SD card associations formatter (available from the link below) is all it takes to bring an SD card back to life:
https://www.sdcard.org/downloads/formatter_4/
However, every now and then we get a really stubborn SD card that either won’t format via the usual methods, or that sustains corruption and bad sectors through the formatting process. For these cards, we’ve developed a method that can bring “dead” SD card back to life! It’s not a fool-proof method and won’t work for every card, but it has helped us save quite a few cards from the bin.
Try this first!
The first thing to try is formatting the card in a digital camera (or similar device). In a lot of cases, the camera will simply ignore any write protection or corruption and format the card!
If this doesn't work, then follow the process below.
This method does require a Windows PC and SD card reader. Similar base formatting software and methods are available for Mac and Ubuntu, but they aren’t covered here and we’ve never tried them.
Insert your corrupt SD card in the SD card reader on your PC.
Open up command prompt - if you are unsure where this is, check out this handy guide.
(N.B. – hit the enter key after each new command)
cmd.exe
Run Disk-Part Utility
diskpart
List the drives you have connected
list disk
Select your SD card (ensure that you do select the correct drive!!!!). My laptop has a 250GB HDD (Disk 0), and the 64GB corrupt SD card (Disk 1). Hence we want to select Disk 1, the SD card. You really don’t want to format your windows OS drive so please take care to select the correct drive.
select disk 1
Run the clean utility. This will wipe everything off your SD card, so ensure you’re happy to do so!
clean
If you receive an error message, then the override command “clean all” should work.
clean all
Create a partition
create partition primary
Select the partition we’ve just created
select partition 1
Make that partition active
active
Format the partition in your specified format. I’ve found that formatting to NTFS using Diskpart, and then following it up formatting to FAT32 using the windows drive manager works best to ensure bad sectors are removed
format fs=ntfs
This may take some time depending on the speed and size of the SD card. Your SD card should now be fully working and functional! If you’re reformatting for use with a linux based system, then I’d recommend reformatting it to FAT32. Instructions below.

Open up “My Computer” or in newer versions of Windows: “This PC”
Right click on your SD card
Select format
Again, please ensure you’ve selected the correct drive!
Select FAT32 for the file system with the default allocation size. Deselect quick format, and rename the volume label if you wish!

Hit start, and it will run through the formatting process. When it’s finished, that’s it!
You can then download and re-install the NOOBs operating system from:
http://www.raspberrypi.org/downloads/
There is an SD card set up guide here.
http://www.raspberrypi.org/help/noobs-setup/
All you need to do is download the NOOBs OS, unzip it and copy the files over to the home folder of your SD card. It should look like the picture below!
Make sure that you've unzipped the files and placed the files themselves (not the extracted folder) onto the base SD card directory.

When you open your SD card it should look exactly like this ^^. All contents should be on the SD card's home directory. If the NOOBs contents is held within a folder on the SD card, it will not work!


1 comment
TimR
Great tips, they have helped me rescue three SD cards – thank you!
Great tips, they have helped me rescue three SD cards – thank you!