
Cluster HAT Case Assembly Instructions
The laser-cut parts of the case are protected by an adhesive film which needs to be removed before assembly.
Bill of Materials
- Raspberry Pi B+/2/3
- ClusterHAT
- 1-4 x Pi Zero/Zero W
- 7x Black Acrylic Pieces
- 6x Clear Acrylic Pieces
- 4x M2.5 x 40mm M/F Stand Off
- 4x M2.5 x 8mm M/F Stand Off
- 4x M2.5 x 12mm F/F Stand Off
- 8x M2.5 Black Screw
NOTE: Acrylic is a hard and stiff plastic which is sensitive to stress concentrations and shares a certain level of fragility with glass. Acrylic can scratch easily and should be cleaned with a mild solution of dish detergent and warm water. Never use cleaners unsuitable for acrylic. Never use a dry, abrasive cloth.
Here are the parts from the case kit:


Follow these images checking parts and orientation of the acrylic pieces. You will see a before and after image for each step. Make sure you have all the parts ready, shown in the before picture.


Start by attaching the 12mm F/F stand offs to the top of the Pi, securing them from underneath with the 8mm M/F stand offs.


Now attach the ClusterHAT and add the 40mm M/F stand offs.


Add the light pipe locator by sloting it over the two 40mm stand offs closest to the USB/Ethernet ports. Make sure the sticking out part is facing towards the SD card.


Now's the time to add your Pi Zero's. Make sure no SD cards have been plugged in.


Now we need to add the side plates of the case around the Raspberry Pi.


Starting with the USB/Ethernet plate, continue clockwise adding each wall around the Pi.


Now carefully pick the whole lot up and place onto the bottom plate. Flip it all over and secure with 4 black screws.


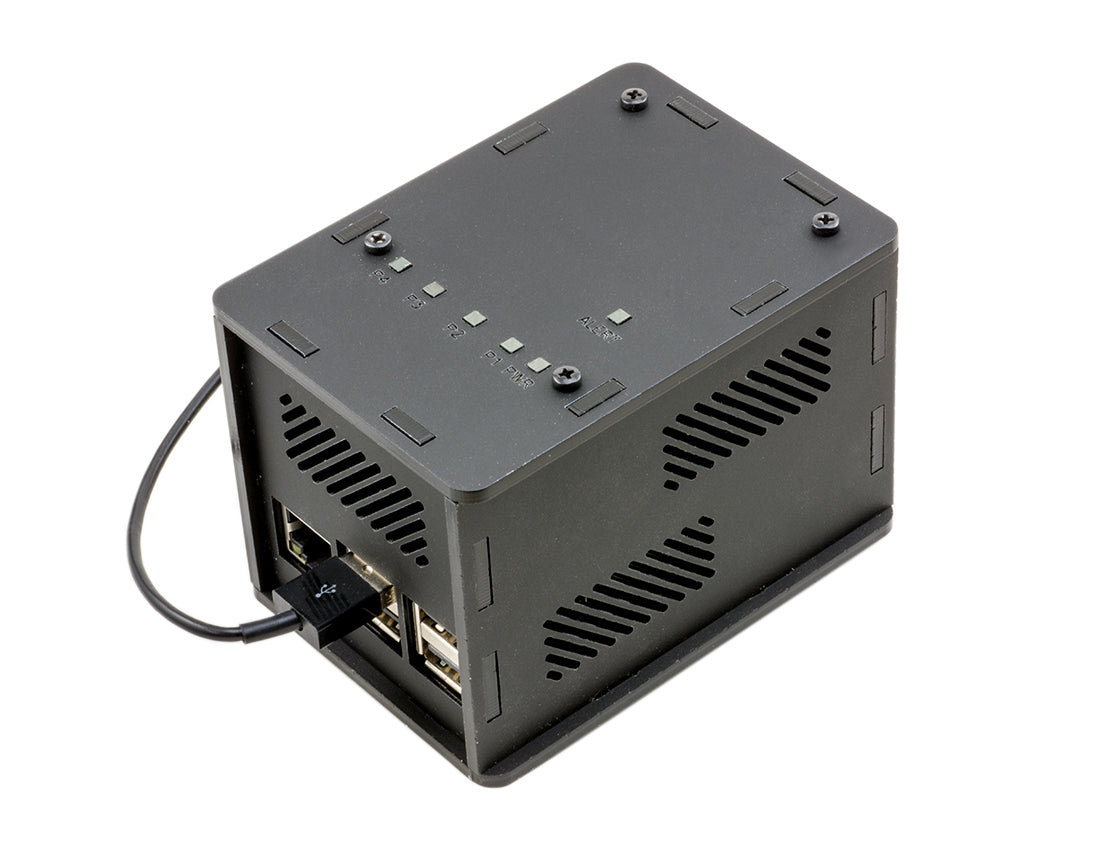
Add the lid and fasten with the remaining black screws.


Optional: Add the light pipes. This is quite fiddly and will require a bit of pateients. Insert each of the light pipes into the the wholes on the lid.

You'll probably find that they stick out a little bit when first inserted. Give them a little wiggle around until they locate into the light pipe locator we added earlier. The light pipe will sit flush with the lid once inserted correctly


That's it! Now you can add the SD cards, USB cable etc and away you go!


