

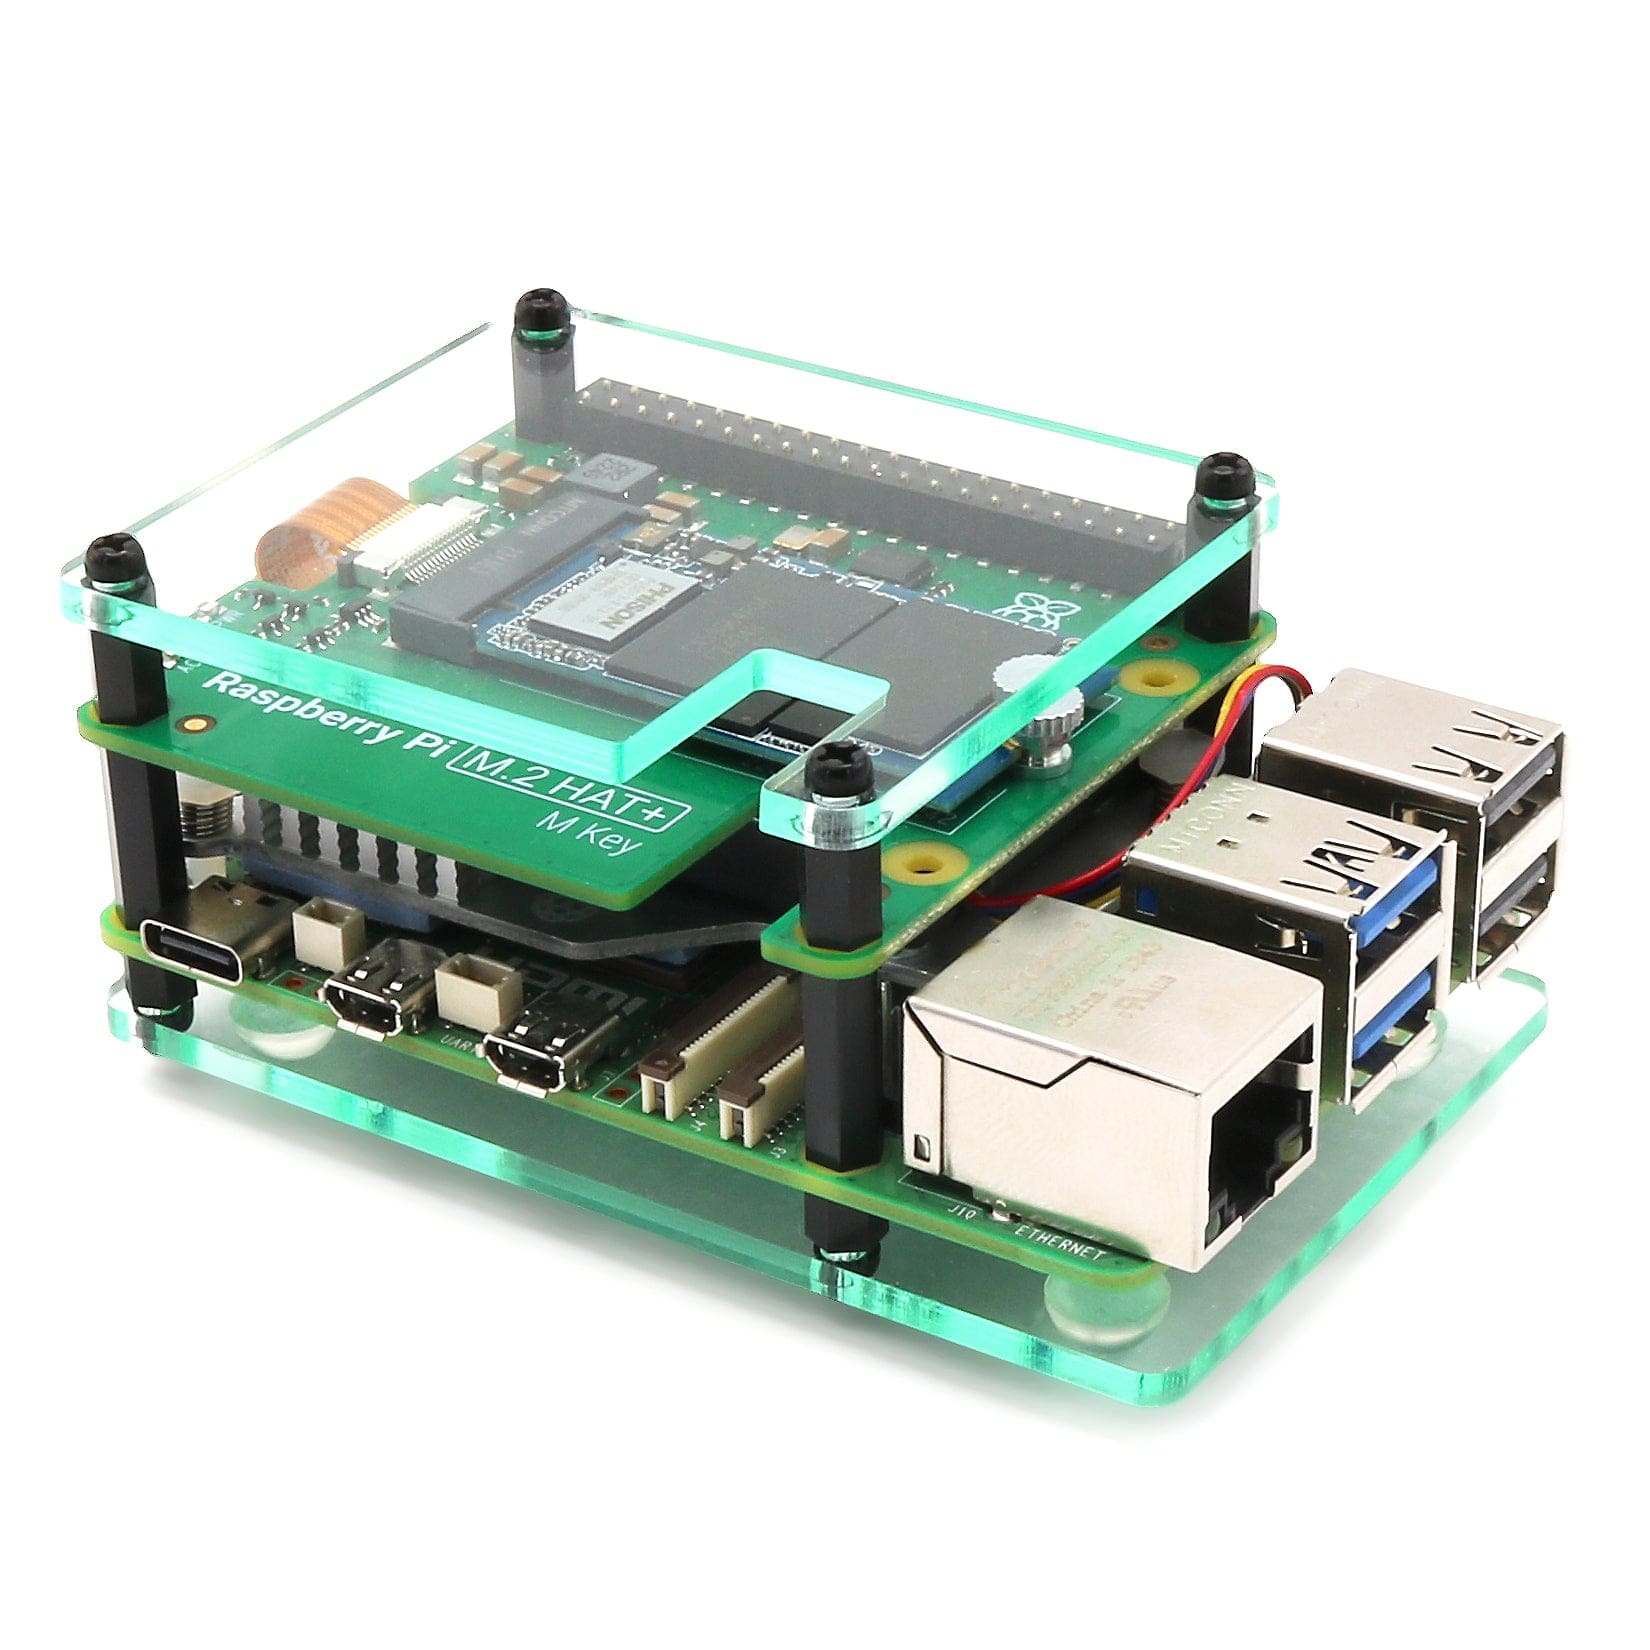
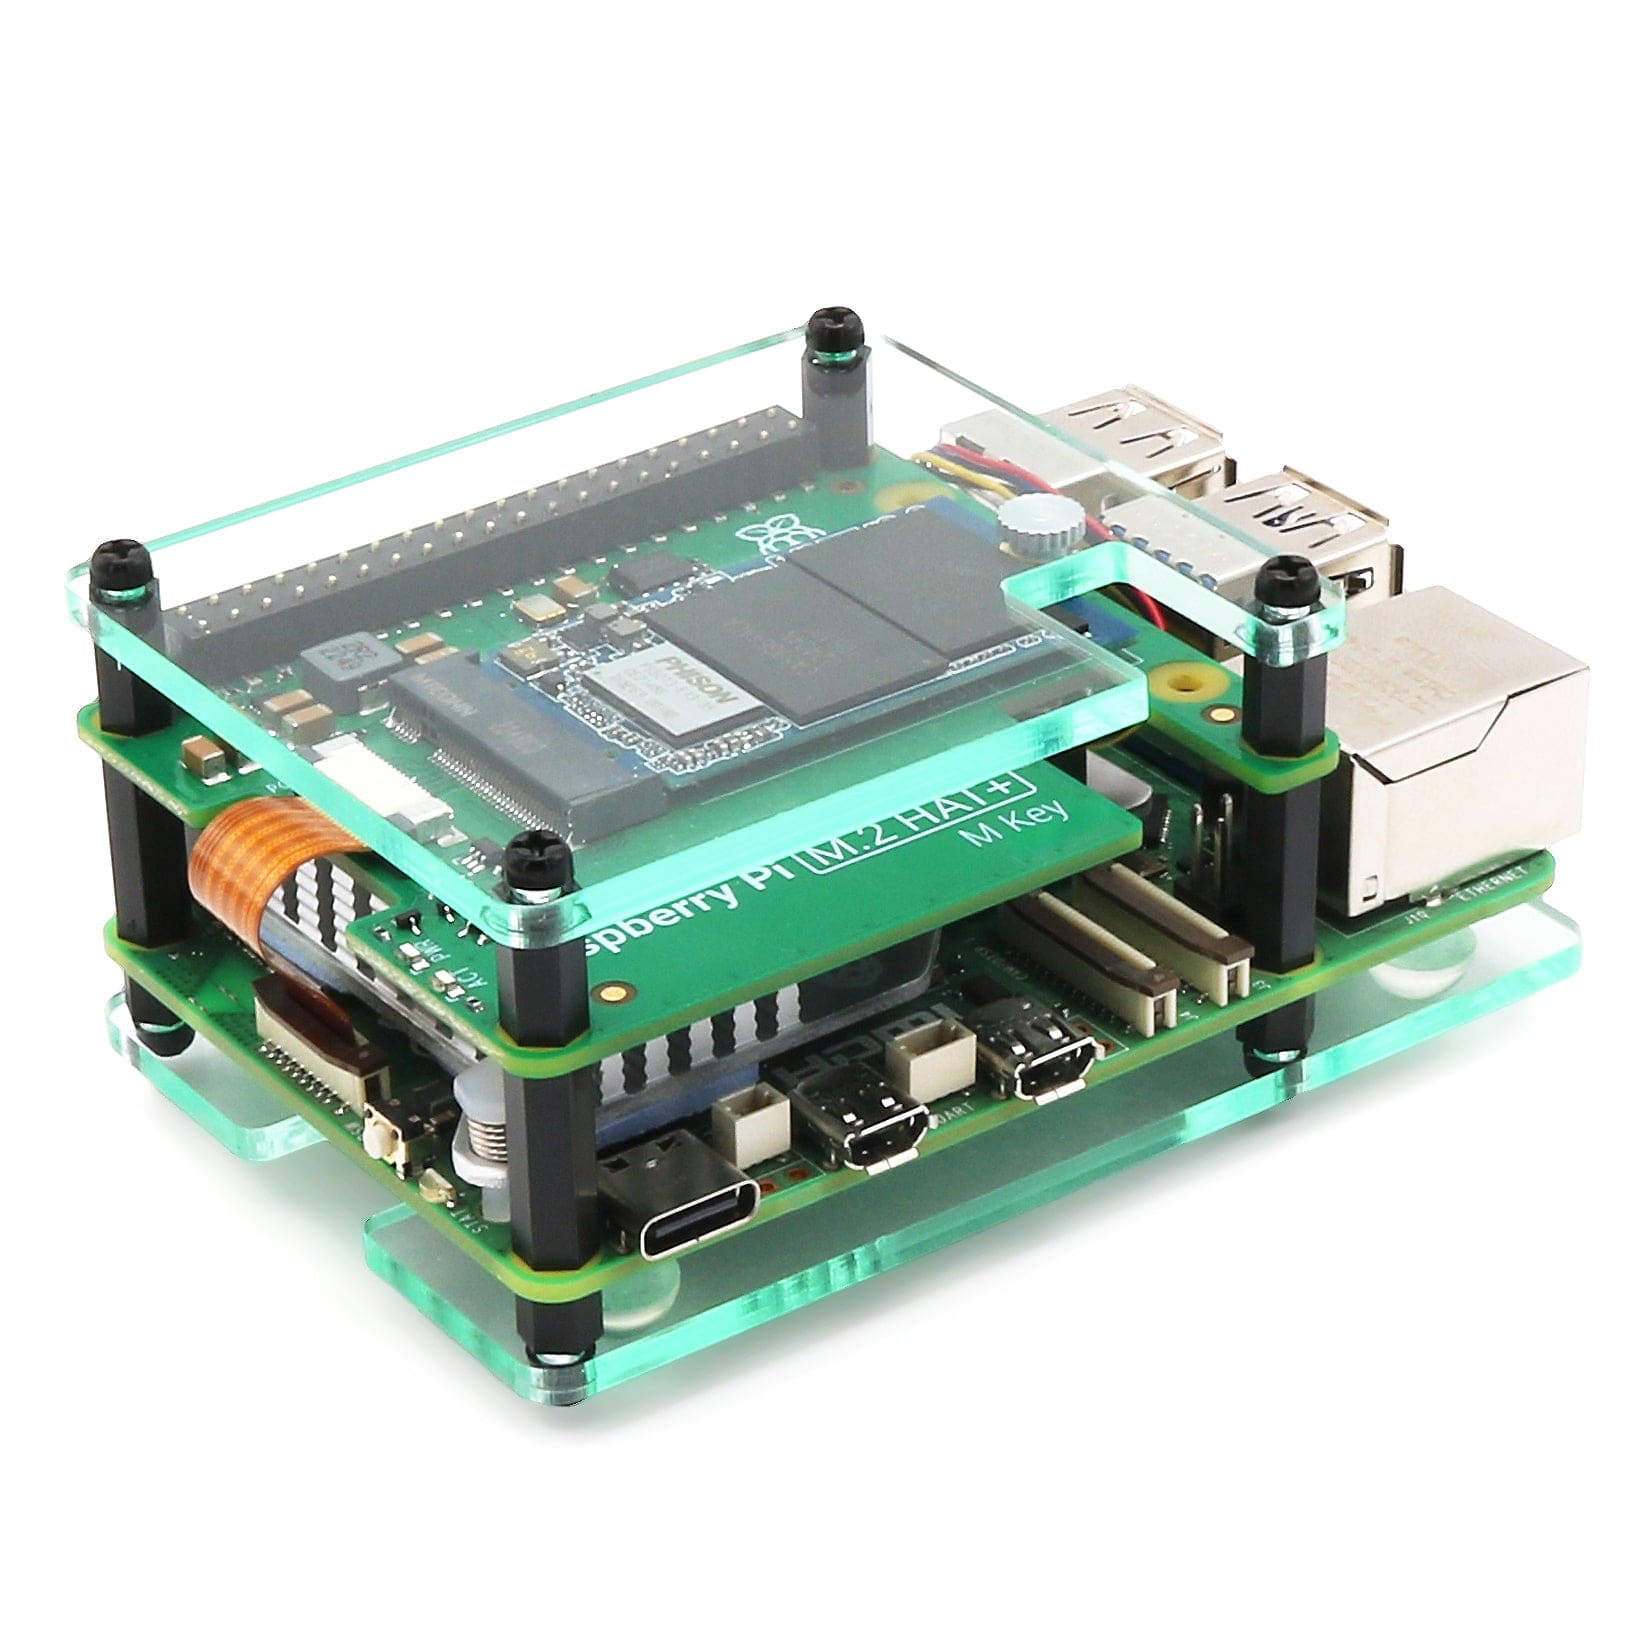
Assembly Guide for the Raspberry Pi M.2 HAT+ Layer Case
This guide will show you how to assemble the Layer Case for Raspberry Pi M.2 HAT+ & Active Cooler. Assembly is straight-forward and the only tool you'll need is a small cross-head screwdriver.
Note: The fixings and standoffs used in this product are made from nylon. Do not over-tighten them. Finger-tight is all you need, and avoids damaging the threads.
Parts check
You will need the contents of the case bag (two Perspex panels, the fixings and rubber feet), your Raspberry Pi 5, Raspberry Pi M.2 HAT+ (with NVMe device already fitted) and (if you're using one) your Raspberry Pi Active Cooler.
The fixings include four smaller screws and four larger screws, as well as four larger male/female standoffs and four smaller ones. Separate these as we'll be telling you where to use each size later on.

Assembly Steps
Step 1 - We first need to remove the protective film from both sides of the plastic parts.
Use your fingernail (not a tool - they scratch!) to start at one corner and try not to touch the clean faces from this point onwards:

Step 2 - Take the lower Perspex panel and fit the four smaller male-female standoffs using the four smaller screws fed from underneath - like this:

Step 3 - Fit your Raspberry Pi 5 on to the standoffs. The threads should pop through each of the four corner holes. It's a good idea to add the HAT's riser header to your Pi at this stage too. If you're using an Active Cooler, you'll want this fitted as well:

Step 4 - Now screw the four female/female standoffs on to the lower standoff threads, securing your Raspberry Pi in place:

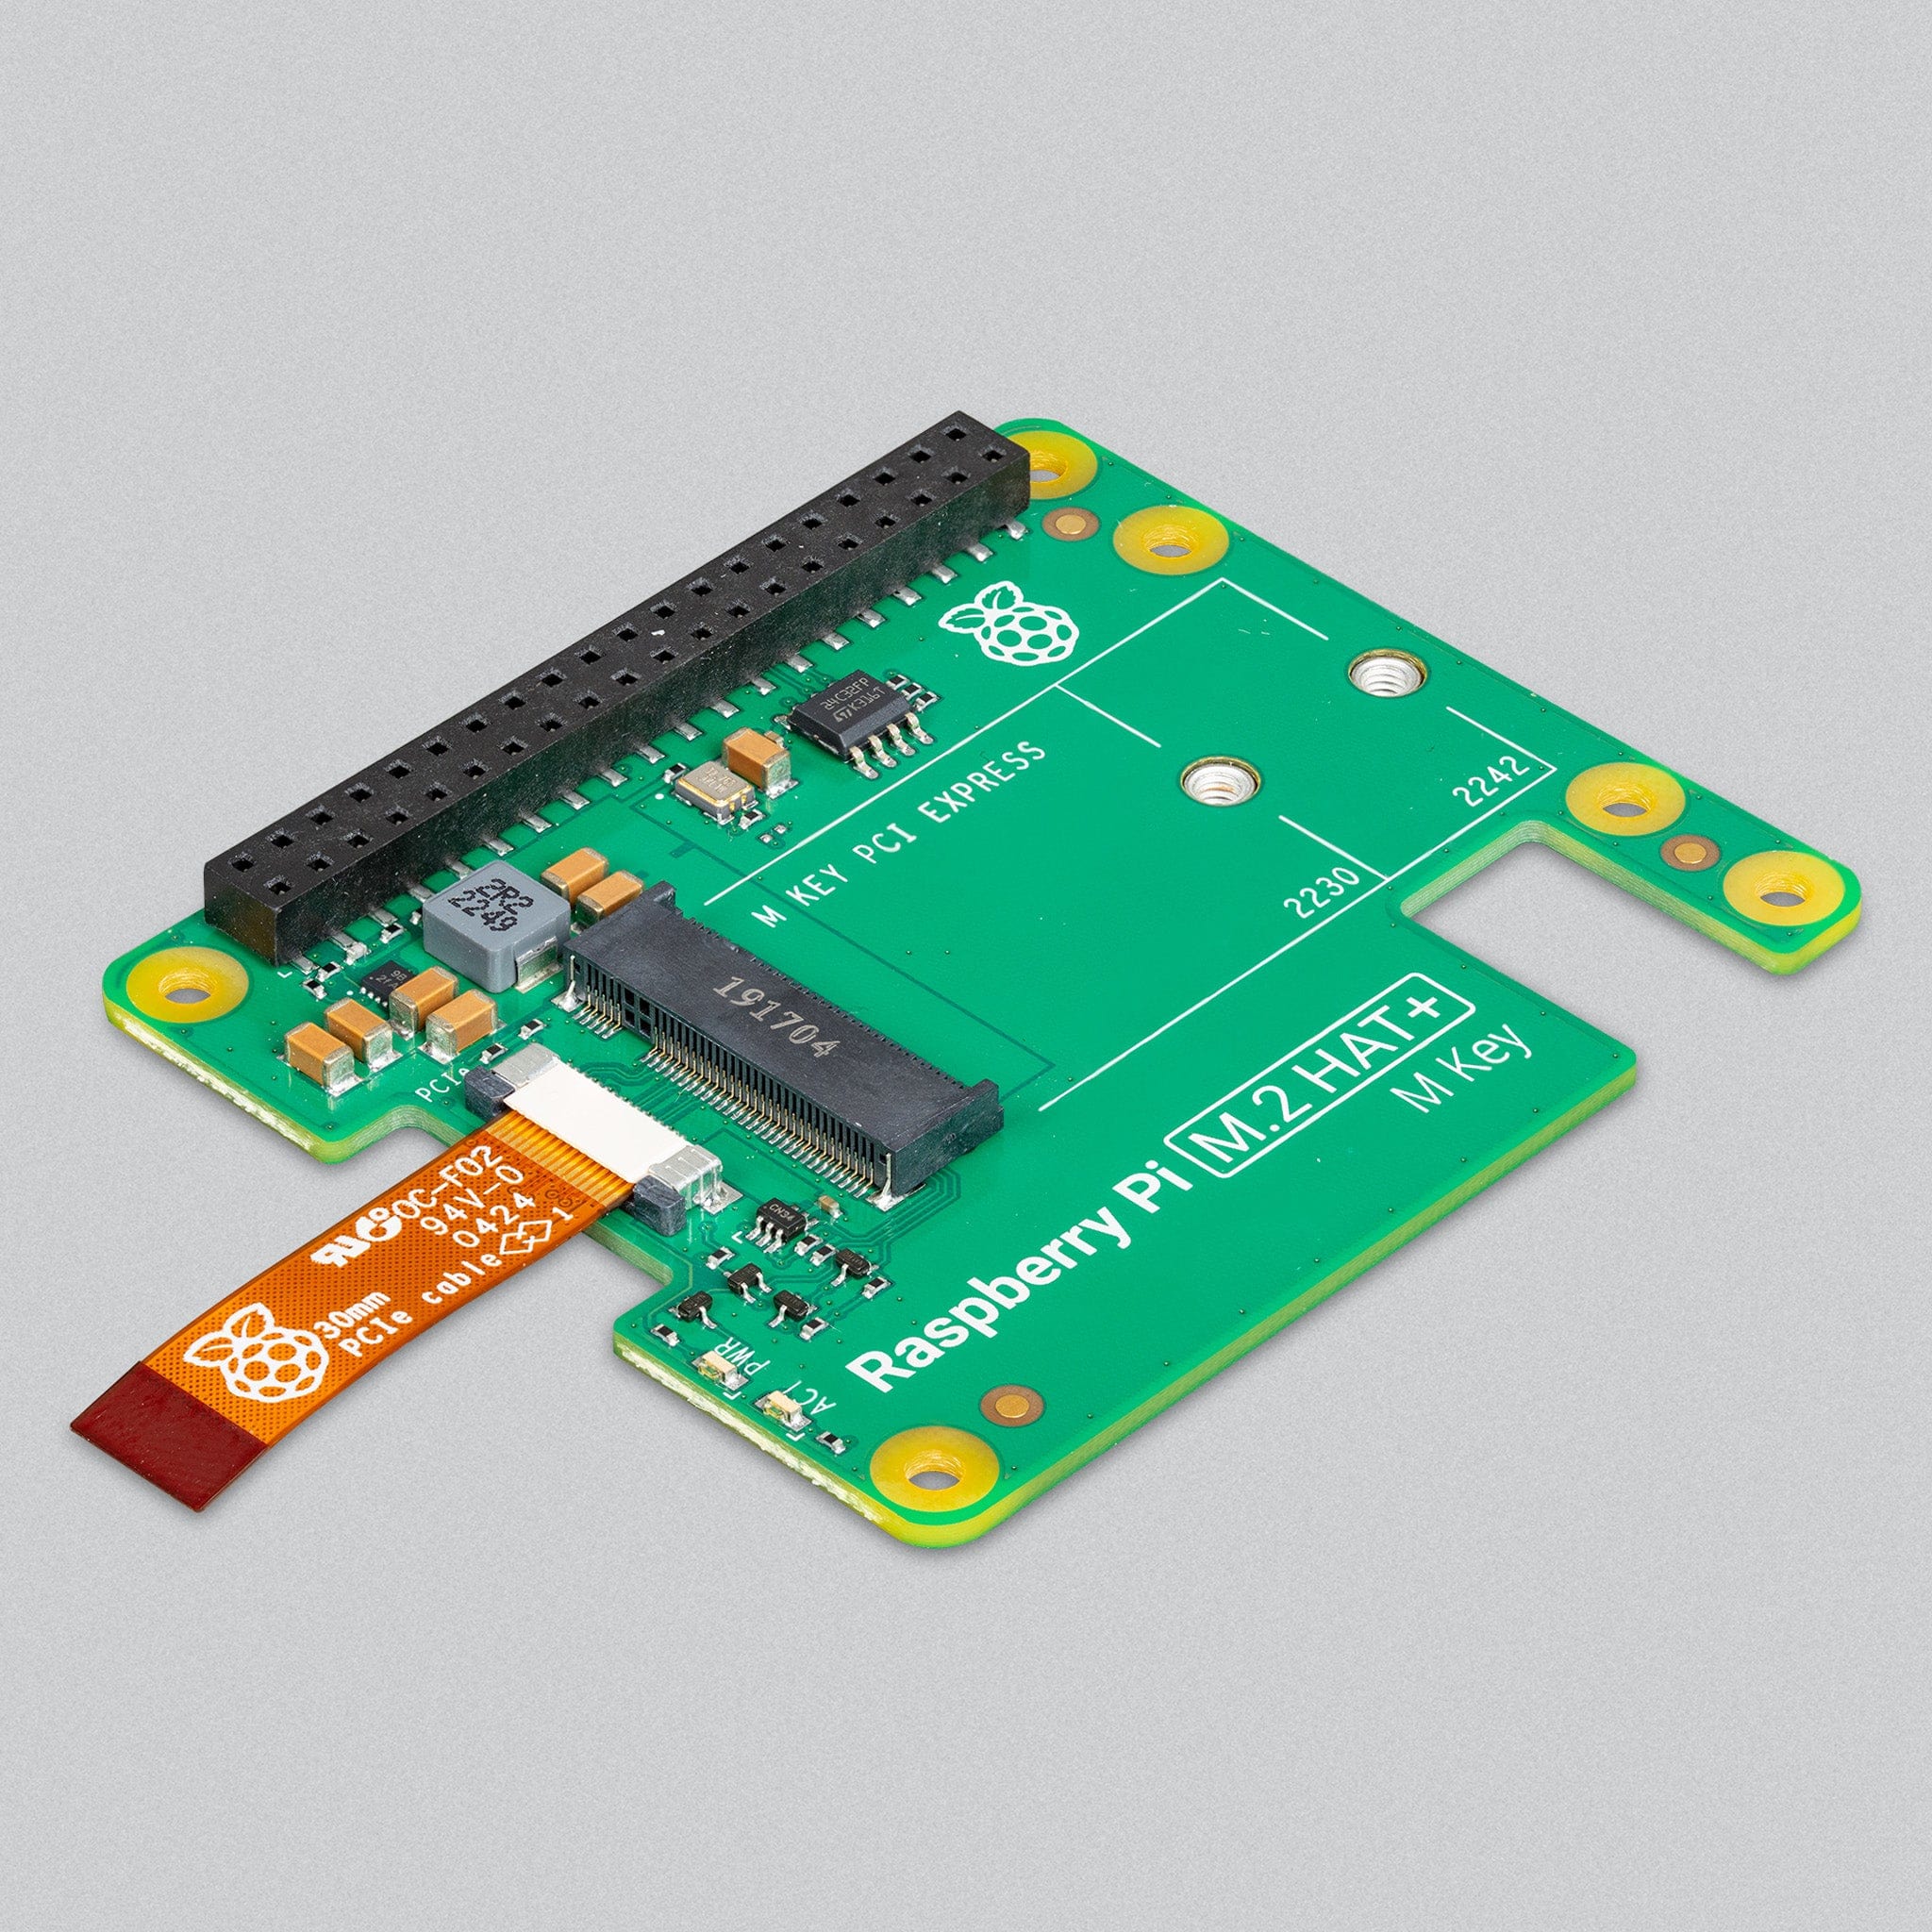
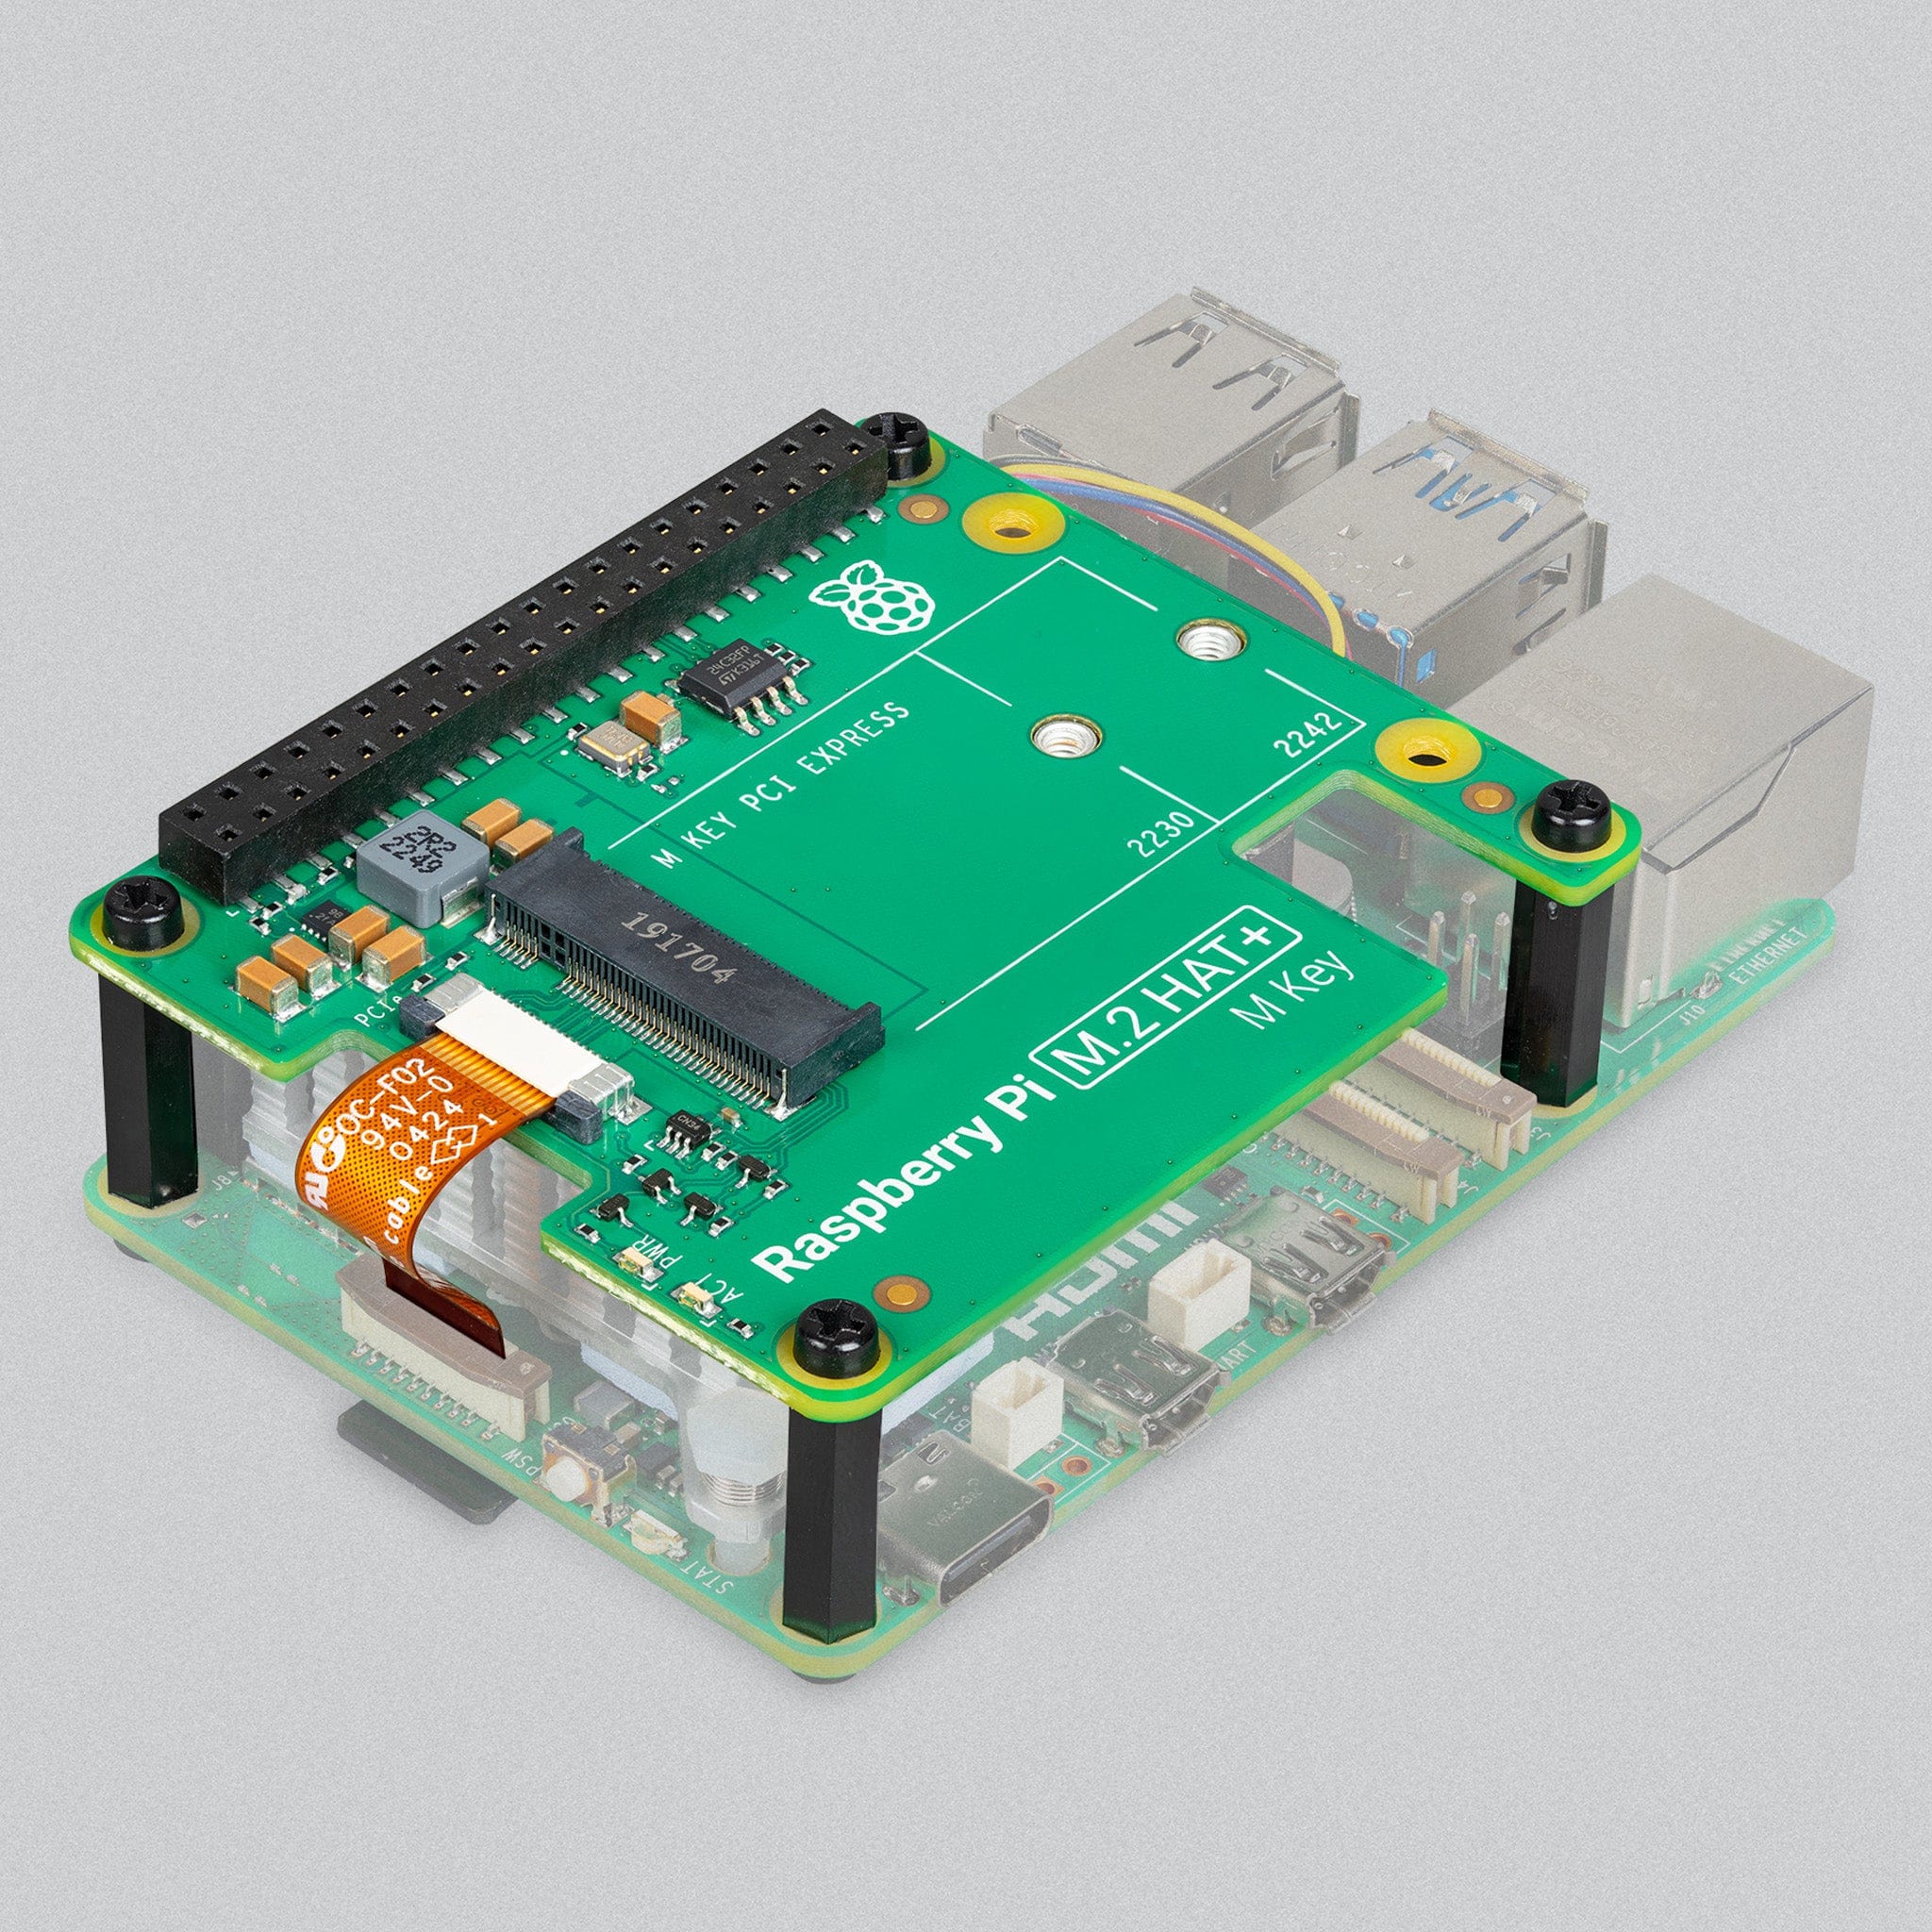
Step 5 - Now add your M.2 HAT+ (remember, your Pi needs the HAT's riser header fitted first) and then secure this by screwing the longer male/female standoffs down through the HAT and into the standoffs below:

Step 6 - Place the top Perspex panel on top of the standoffs, then secure this in place with the longer screws:

Step 7 - Last step - flip the case over and stick the four rubber feet to the underside of the base:

Job done, now go make cool stuff!


5 comments
Dave
Yes, absolutely needs to be stackable. Disappointed.
Yes, absolutely needs to be stackable. Disappointed.
The Pi Hut
@Nick Harvey – try running watch -n 5 vcgencmd measure_temp in a terminal window, it’ll show you your CPU temperature and update every 5 seconds.
The fan will start to spin at 60°C and will increase fan speed at 67.5°C, then go to full speed at 75°C to help avoid CPU throttling.
This should help you identify if something isn’t right with the fan (stuck on somehow) or whether it’s just a temperature thing.
Nick Harvey
I’ve just built my new Pi5 using the M.2 HAT+ Layer Case and notice that my Active Cooler is running all the time. Is this likely to be due to the M.2 HAT+ and NVMe SSD or indicative of an issue with the fan in the Active Cooler?
It’s a great little case by the way!
I’ve just built my new Pi5 using the M.2 HAT+ Layer Case and notice that my Active Cooler is running all the time. Is this likely to be due to the M.2 HAT+ and NVMe SSD or indicative of an issue with the fan in the Active Cooler?
It’s a great little case by the way!
Tim
Great case! Well made, ports accessible, looks beautiful :-)
Great case! Well made, ports accessible, looks beautiful :-)
Lars
Please make this case stackable («clusterize» it) :)
Please make this case stackable («clusterize» it) :)