
Assembly Guide for the Raspberry Pi 5 Active Cooler Case
This guide will show you how to assemble the Case for Raspberry Pi 5 and Active Cooler. Assembly is straight-forward (sometimes a little fiddly, but also rewarding!) and the only tool you'll need is a small cross-head screwdriver.
Note: The fixings and standoffs used in this product are made from nylon. Do not over-tighten them. Finger-tight is all you need, and avoids damaging the threads.
Parts check
You will need the contents of the case box (lid, base and four side pieces), the fixings pack (screws, standoffs and rubber feet) and, of course, your Raspberry Pi 5 and Active Cooler.

Assembly Steps
Step 1 - We first need to remove the protective film from both sides of the plastic parts.
Use your fingernail (not a tool - they scratch!) to start at one corner and try not to touch the clean faces from this point onwards:

Step 2 - Take the base panel (see the image below to identify it - make sure the engraved rubber feet markings - not pictured - are on the underside) and fit the four male-female standoffs using four of the screws fed from underneath - like this:

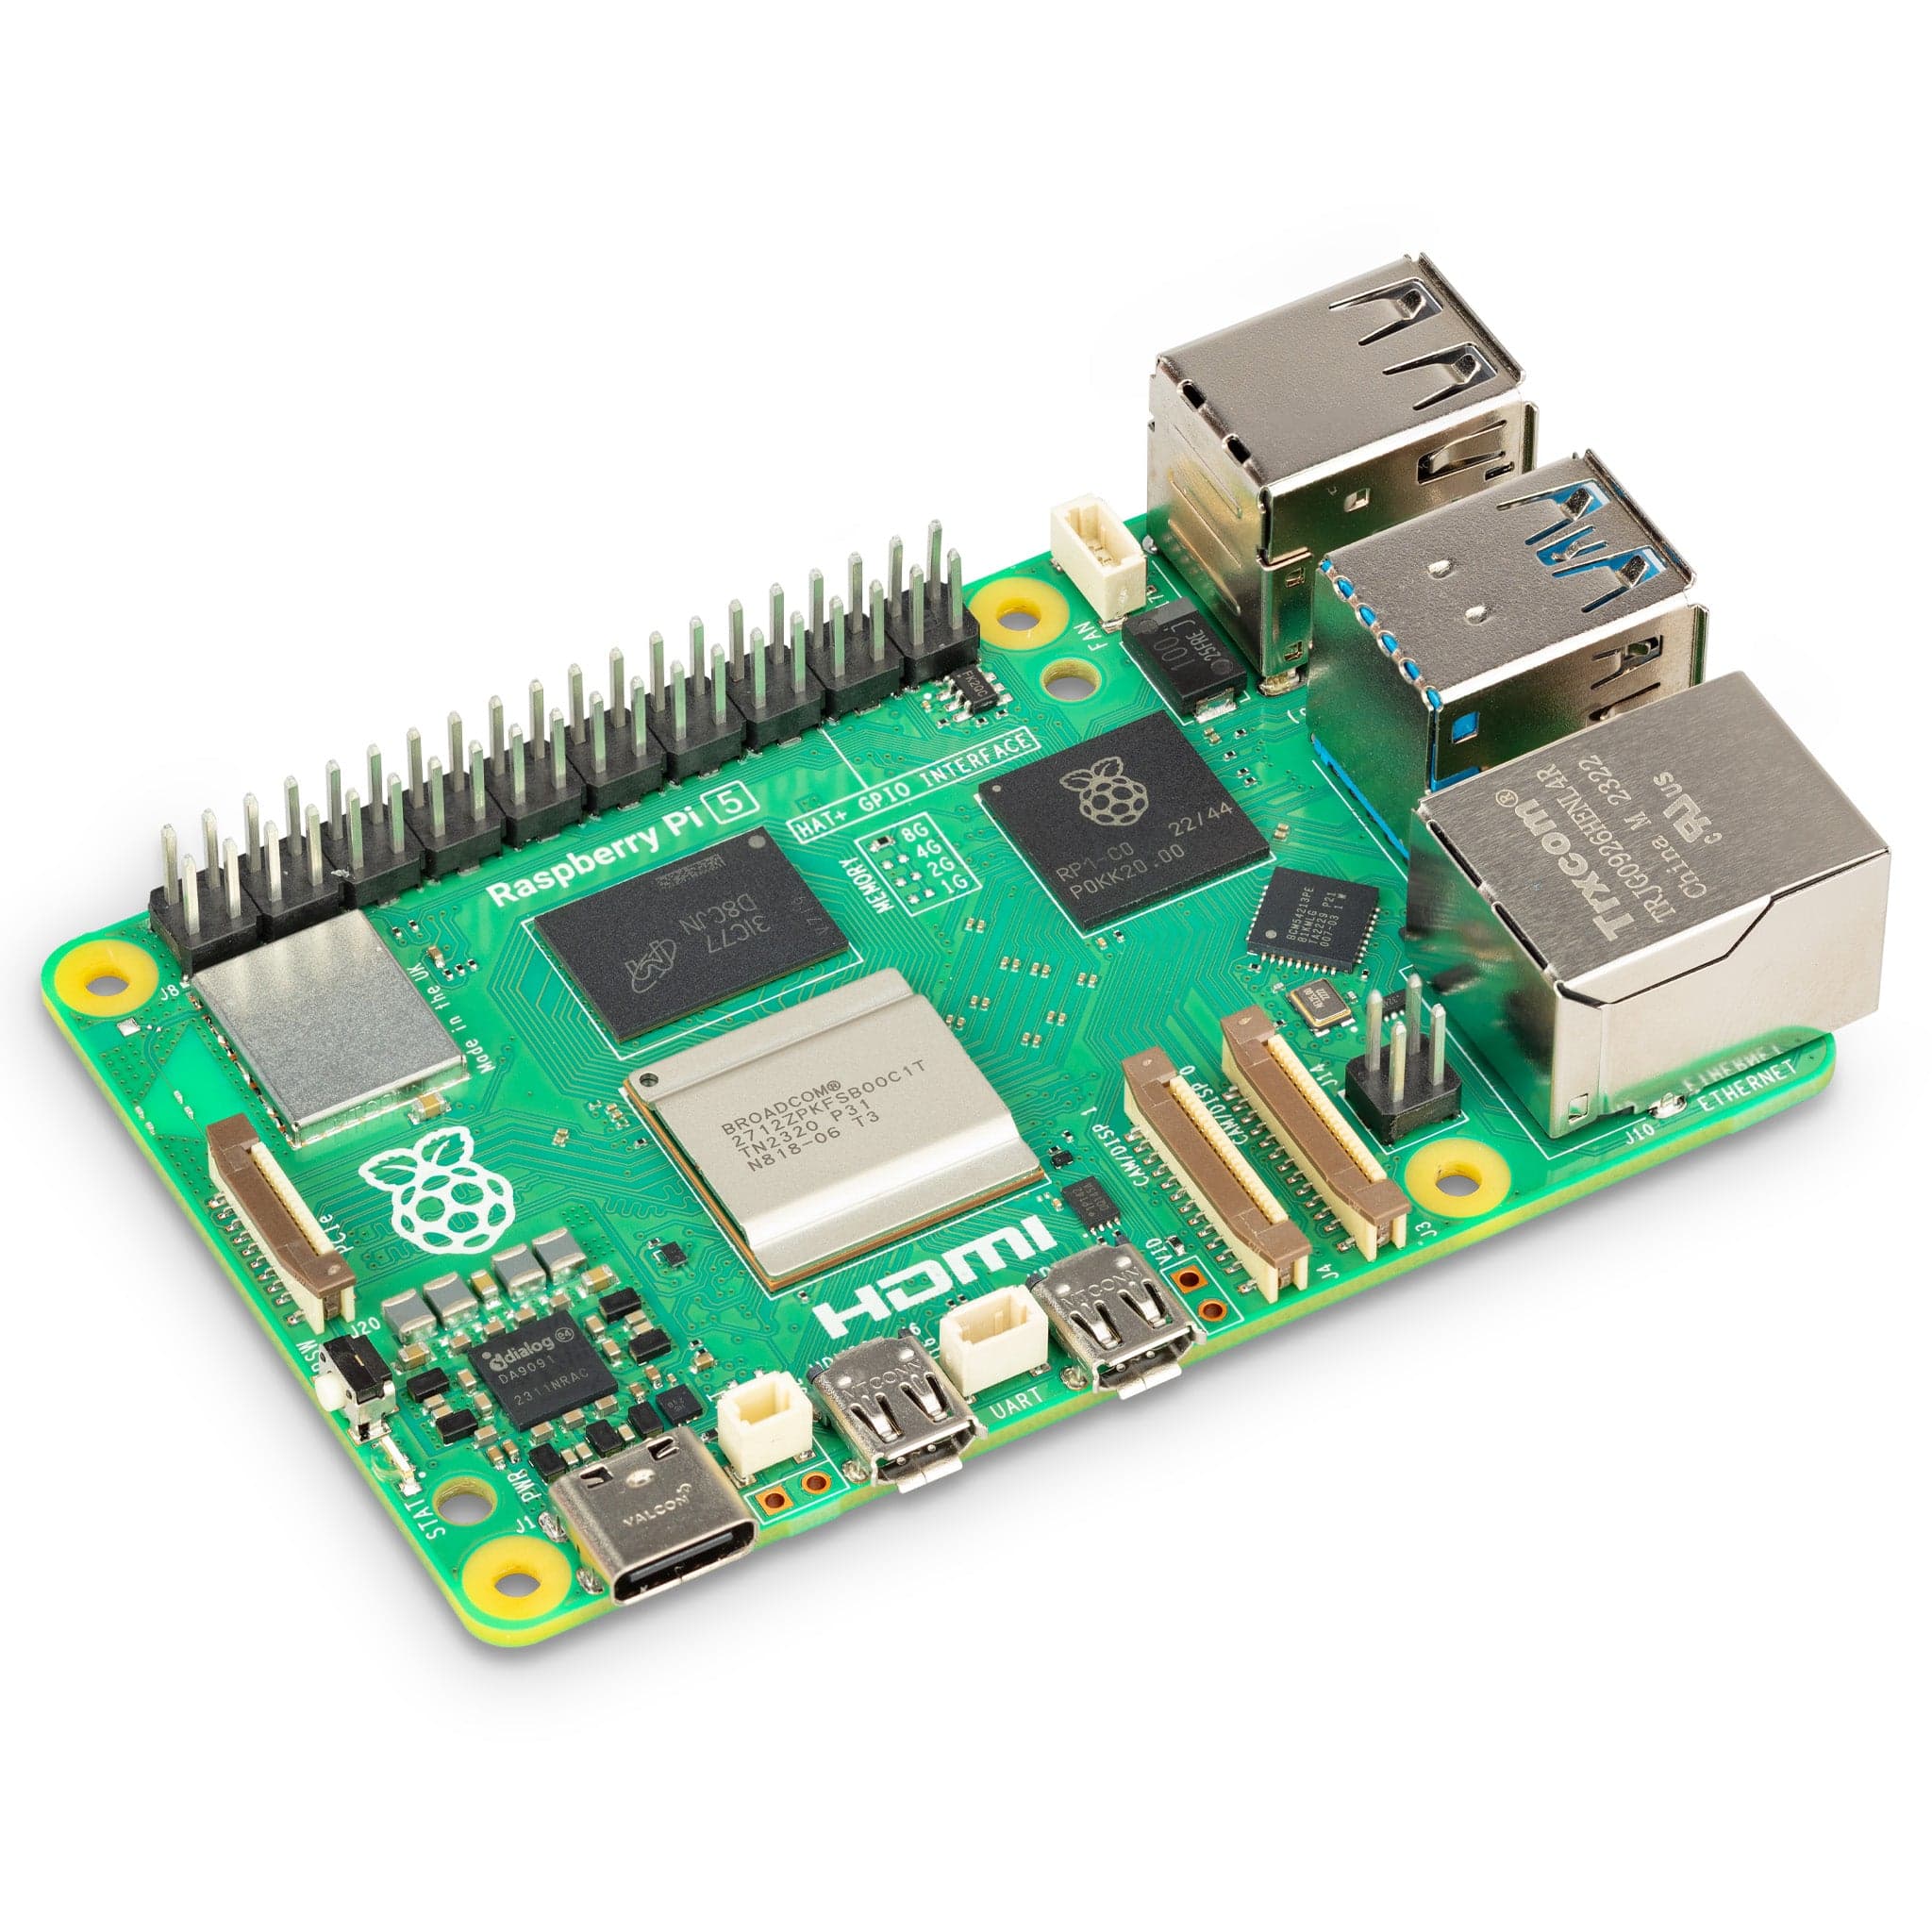
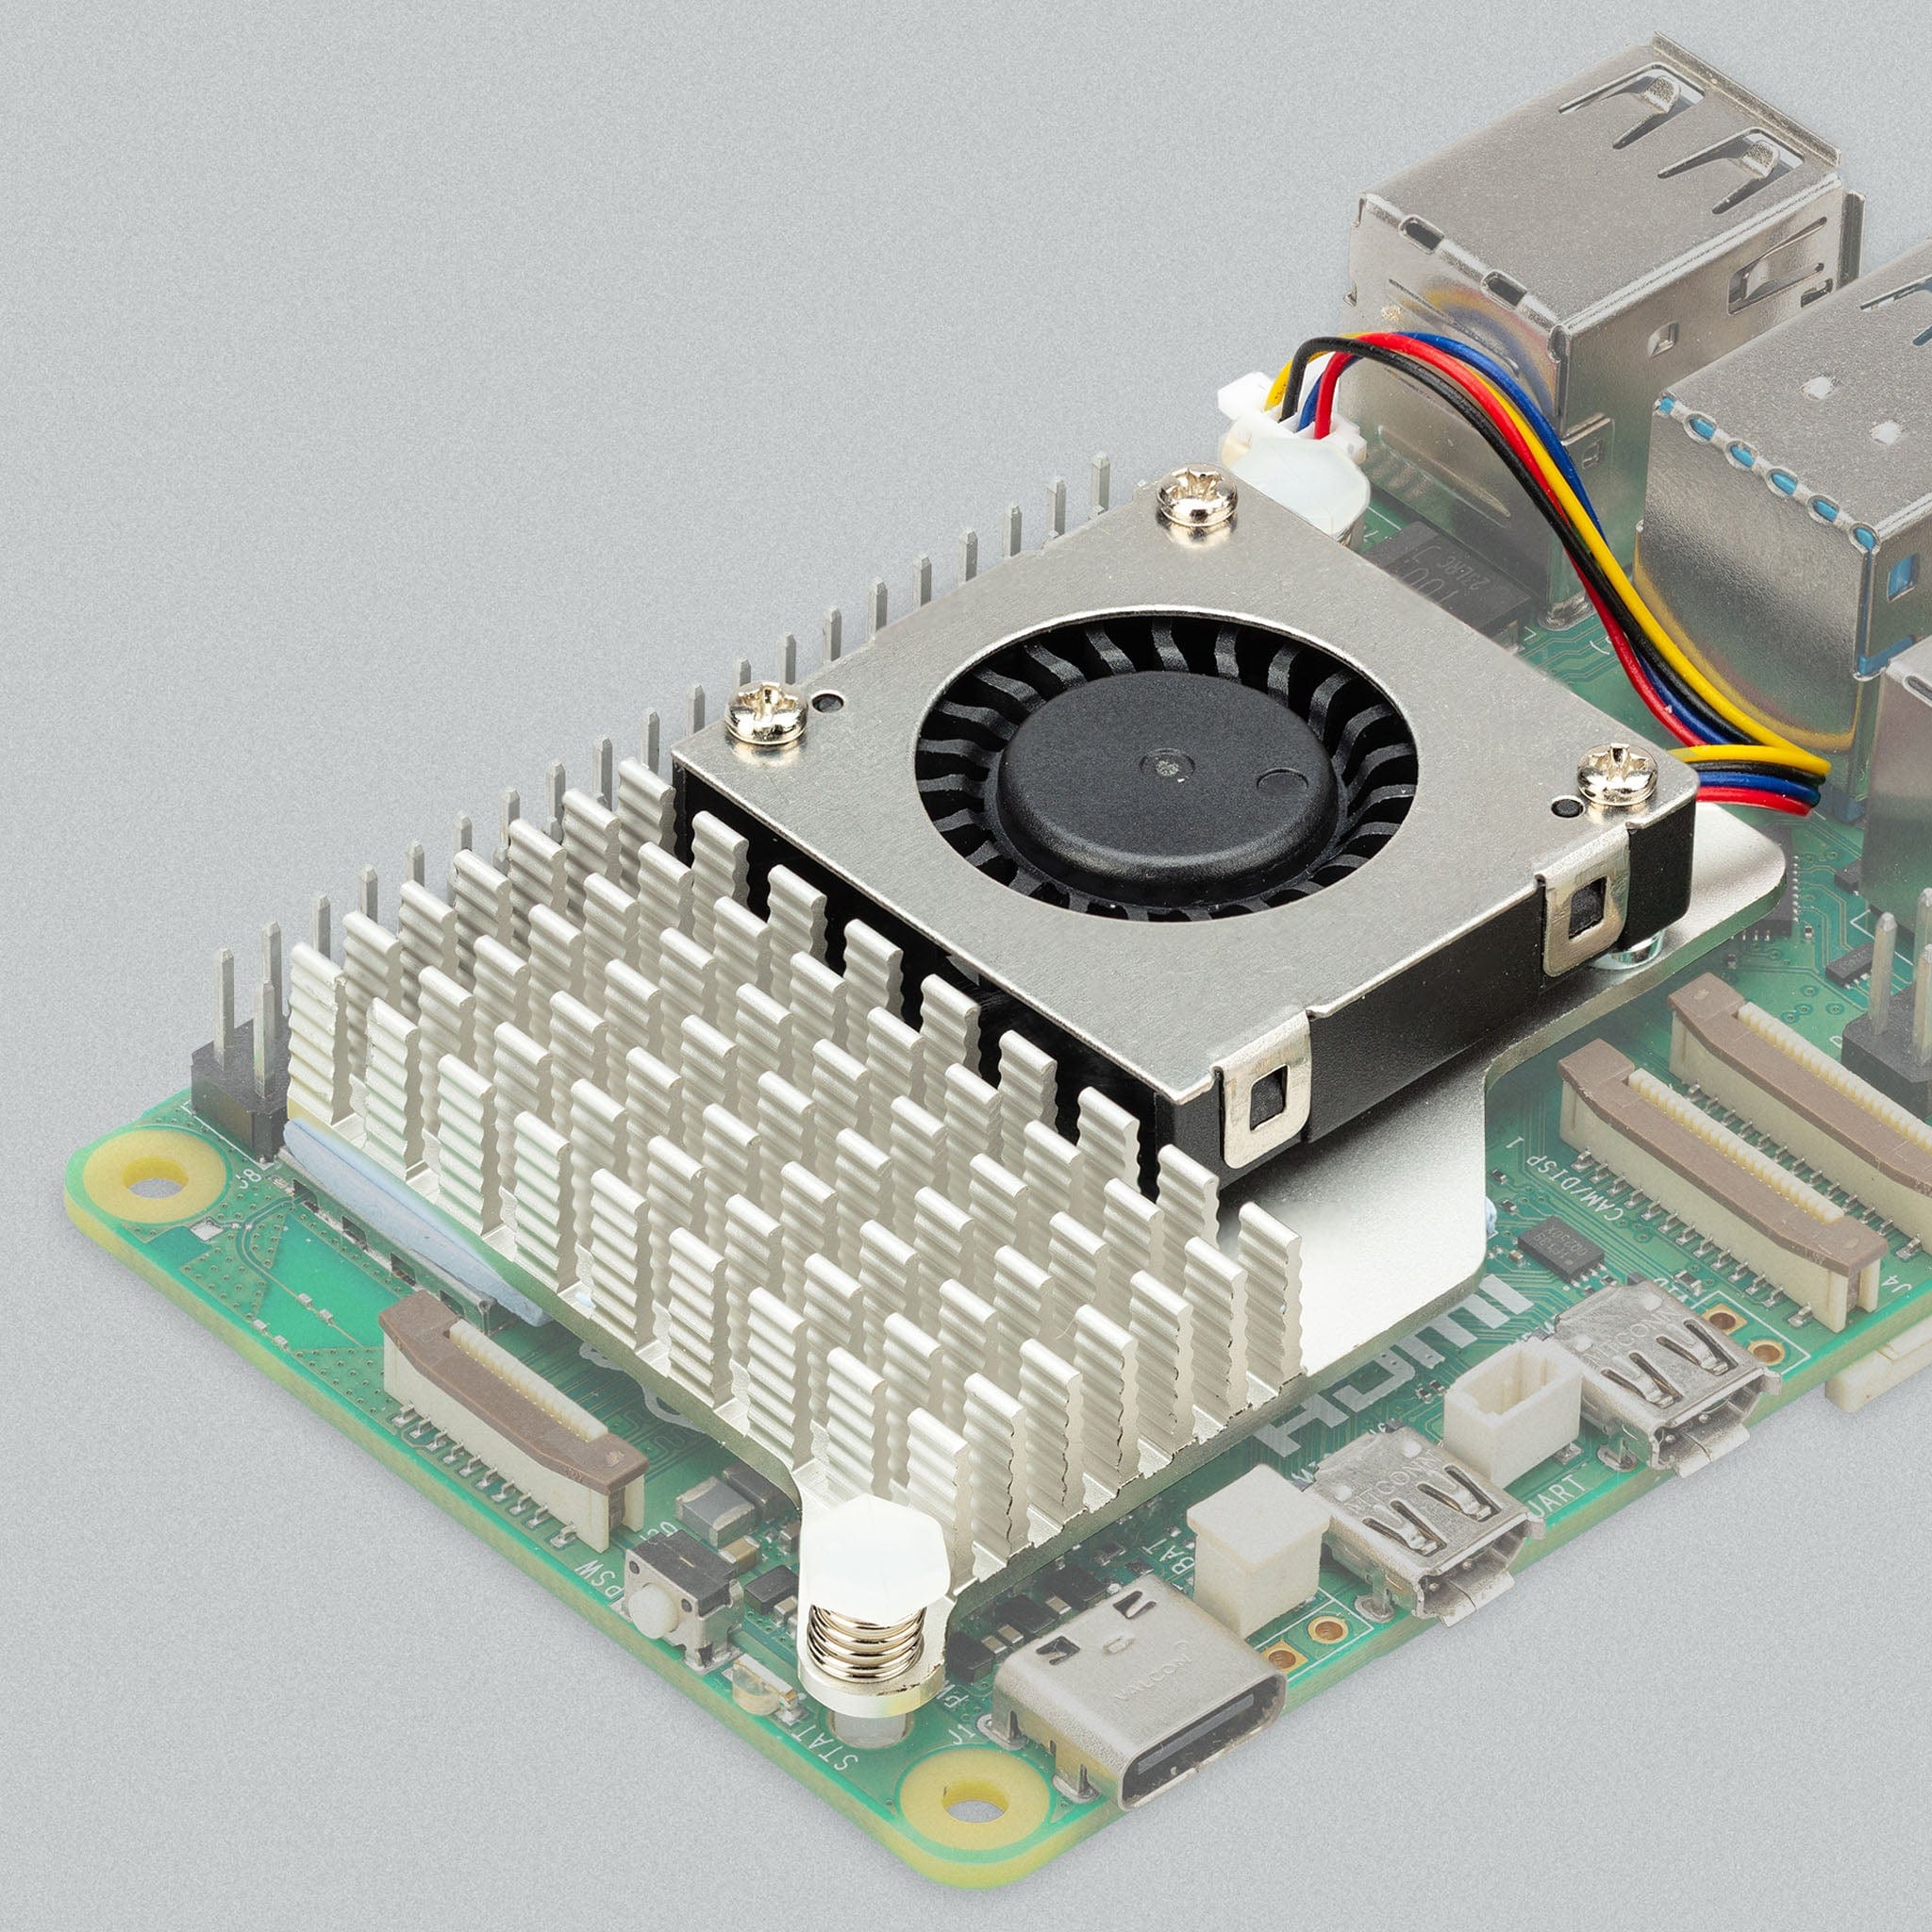
Step 3 - Grab your Raspberry Pi 5 (with Active Cooler already fitted) and fit it on to the base, making sure the standoff threads go through the four holes:

Step 4 - Half-screw/loosely fit the tall female-female standoffs on to the threads poking through the Raspberry Pi board, securing the Pi to the case. Only screw them on half way, we need to keep them loose for the next step:

Step 5 - Grab the USB side panel, then gently lift your Raspberry Pi to allow you to slot this panel into place.
If you struggle to fit this piece, loosen the standoffs some more.

Step 6 - With the USB side panel in place, you can now fully tighten the tall standoffs.
Now add the remaining side panels.
Note: The orientation is obvious on most of them (HDMI ports etc), however on the long back panel (no cut-outs), make sure the gap at the top for GPIO cables is at the same end as the GPIO pins).

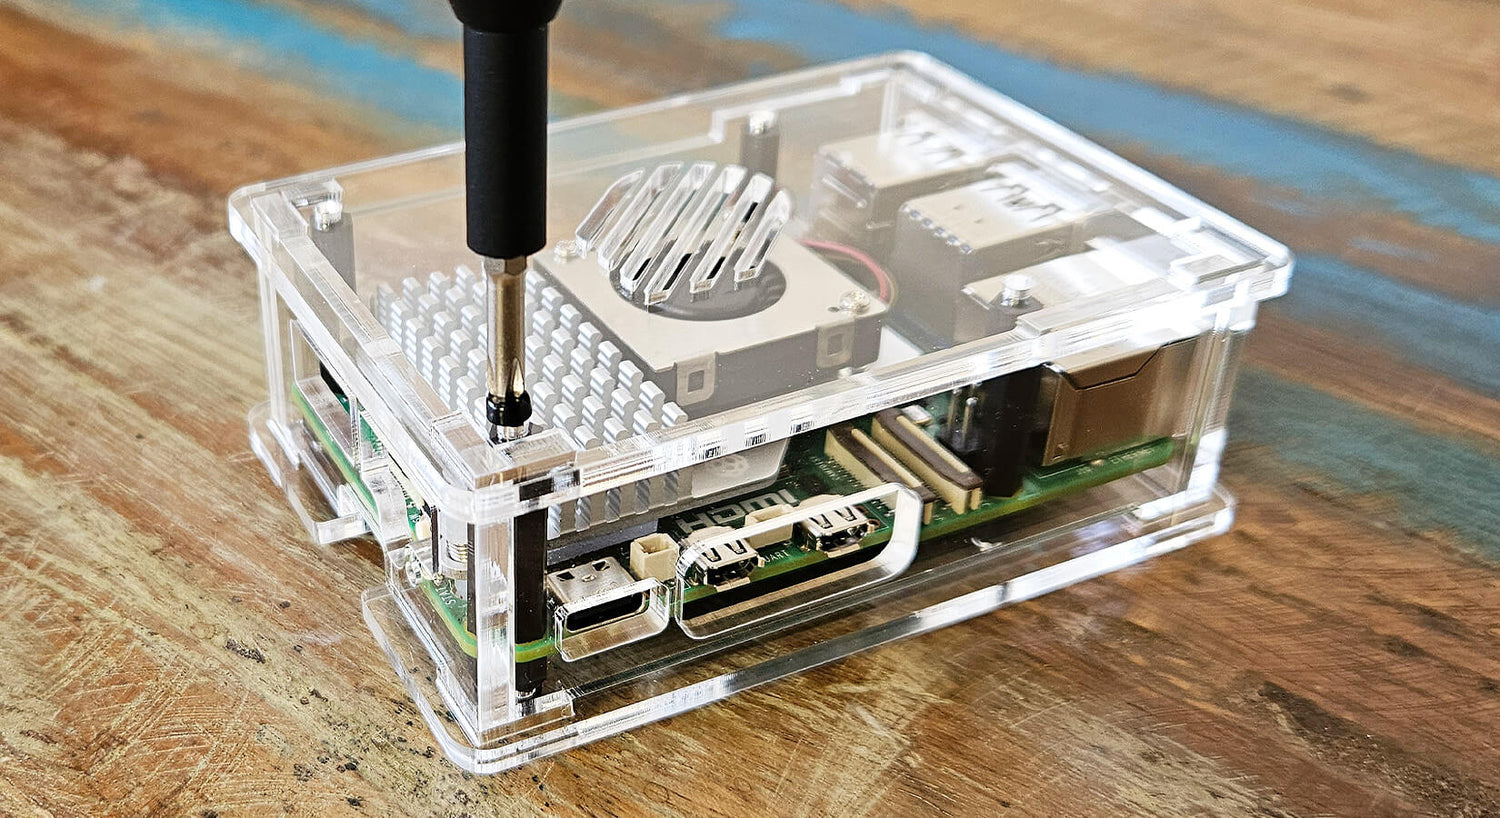
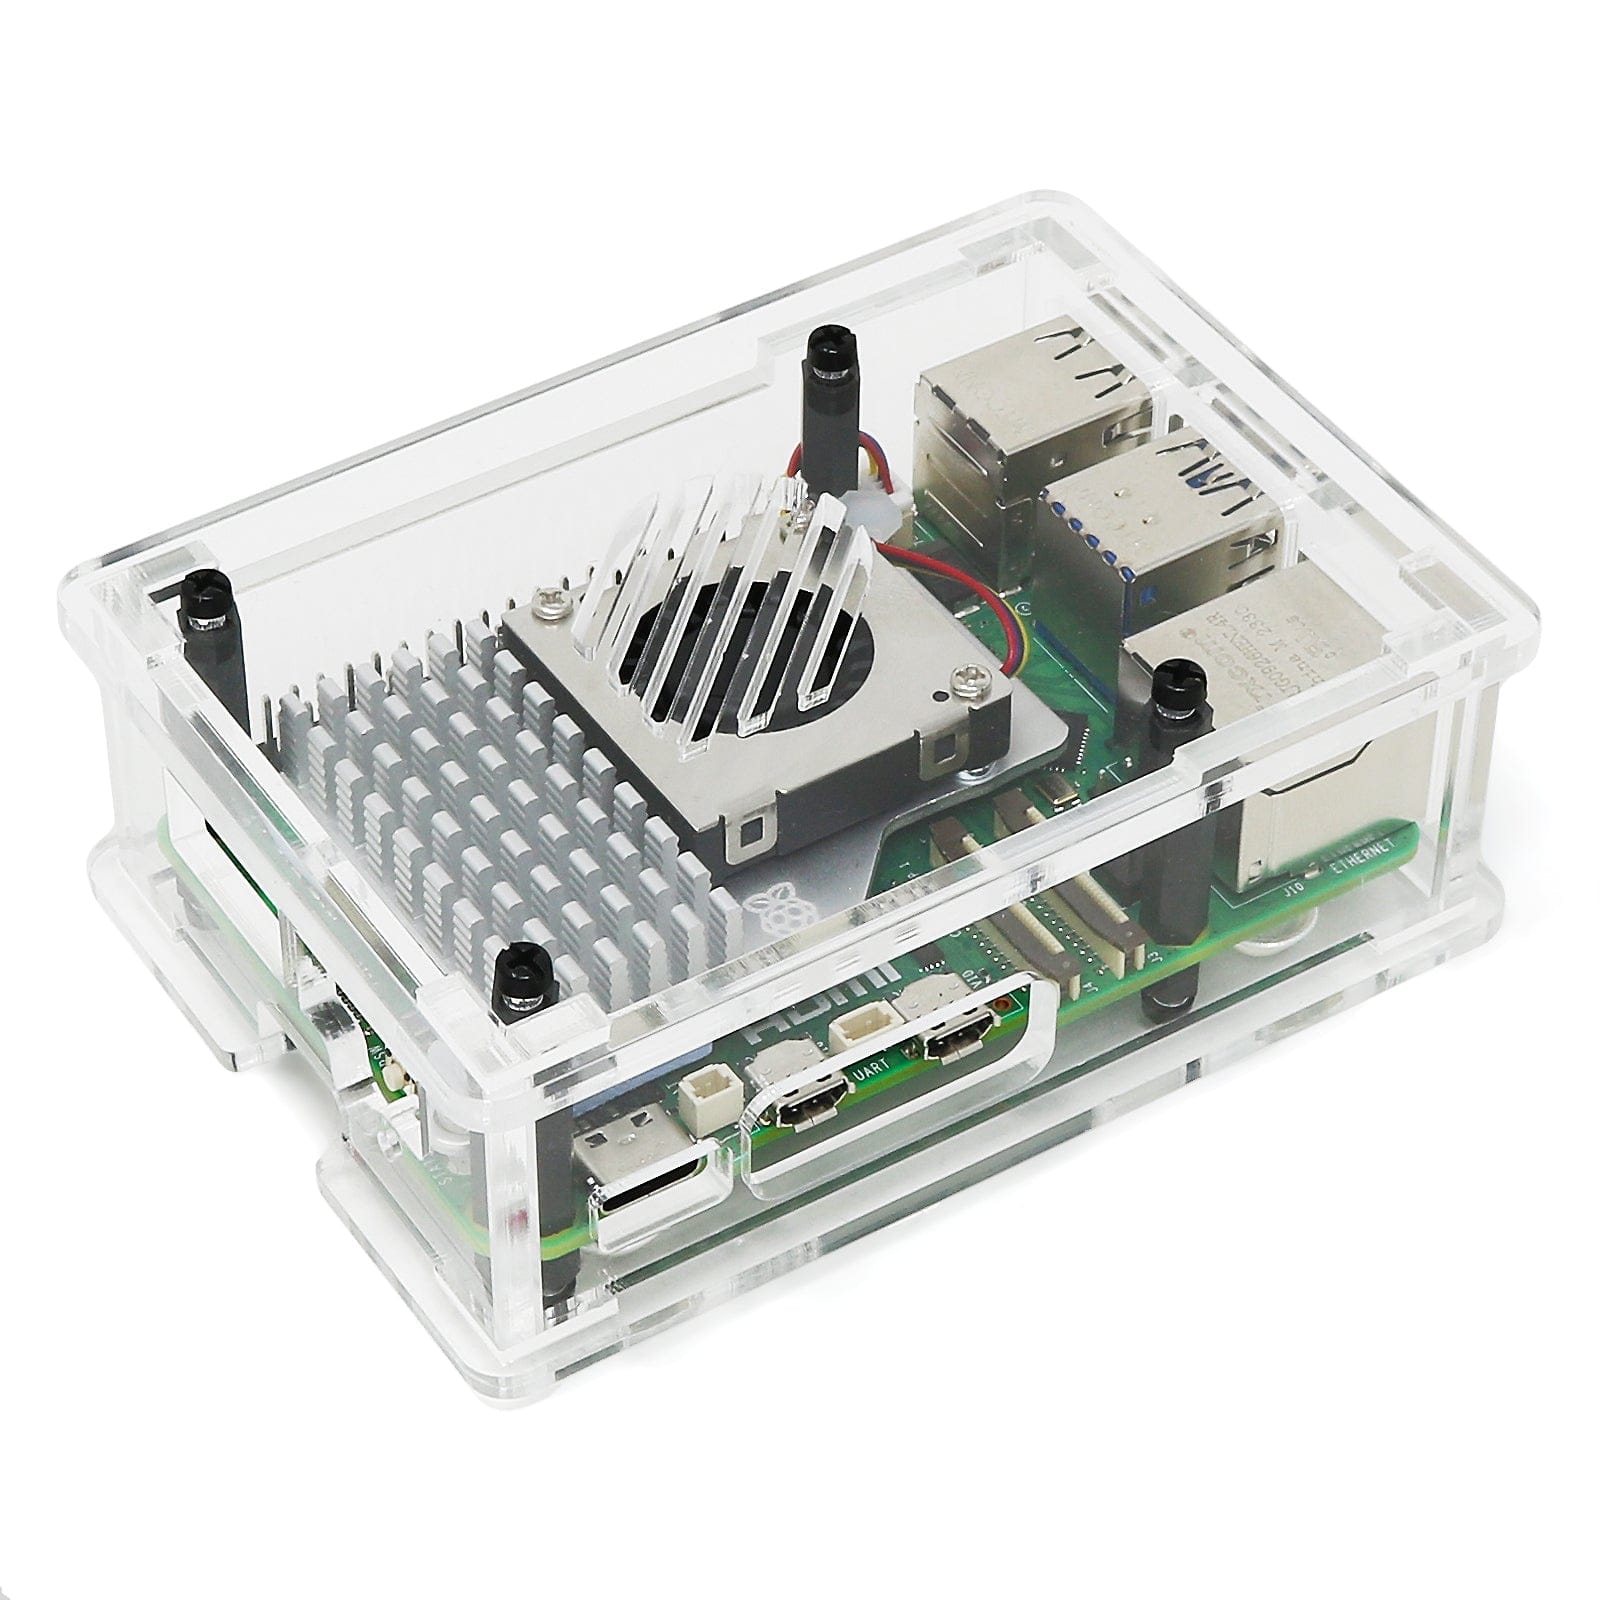
Step 7 - Now fit the lid, making sure the ventilation cut-outs are the correct way round (see the images below and/or the product page images for reference).
Once all panels have clicked into place (this can take a few tries), use the remaining screws to secure the lid to the case:

Step 8 - Almost done! Flip the case over (o0n something soft) and fit the rubber feet. There are handy engraved circles to help you position them neatly:

Job done, now go make awesome things with your well-cooled, well-protected Raspberry Pi 5!


2 comments
The Pi Hut
@Jarmo Mäkinen – You’re better off going for a dedicated case we made for those boards, which can be found here (check the compatible HATs list) – https://thepihut.com/products/layer-case-for-pineboards-hats
@Jarmo Mäkinen – You’re better off going for a dedicated case we made for those boards, which can be found here (check the compatible HATs list) – https://thepihut.com/products/layer-case-for-pineboards-hats
Jarmo Mäkinen
Small question: can I install for example pimoroni NVME base to the bottom of this case? Or pineboards Bottom NVME Hat? With perhaps longer cable?
Small question: can I install for example pimoroni NVME base to the bottom of this case? Or pineboards Bottom NVME Hat? With perhaps longer cable?