
6V 60RPM Motor, Wheel, Coupler & Mount Assembly Guide
So you've got your hands on our 6V 60RPM DC Motors and all the mounting gear (coupler, mount & wheel) but you have no idea how it all goes together?! Don't worry, we've put a nice pictorial guide on how it all goes together, so you'll be zooming around on your Raspberry Pi robot in no time!
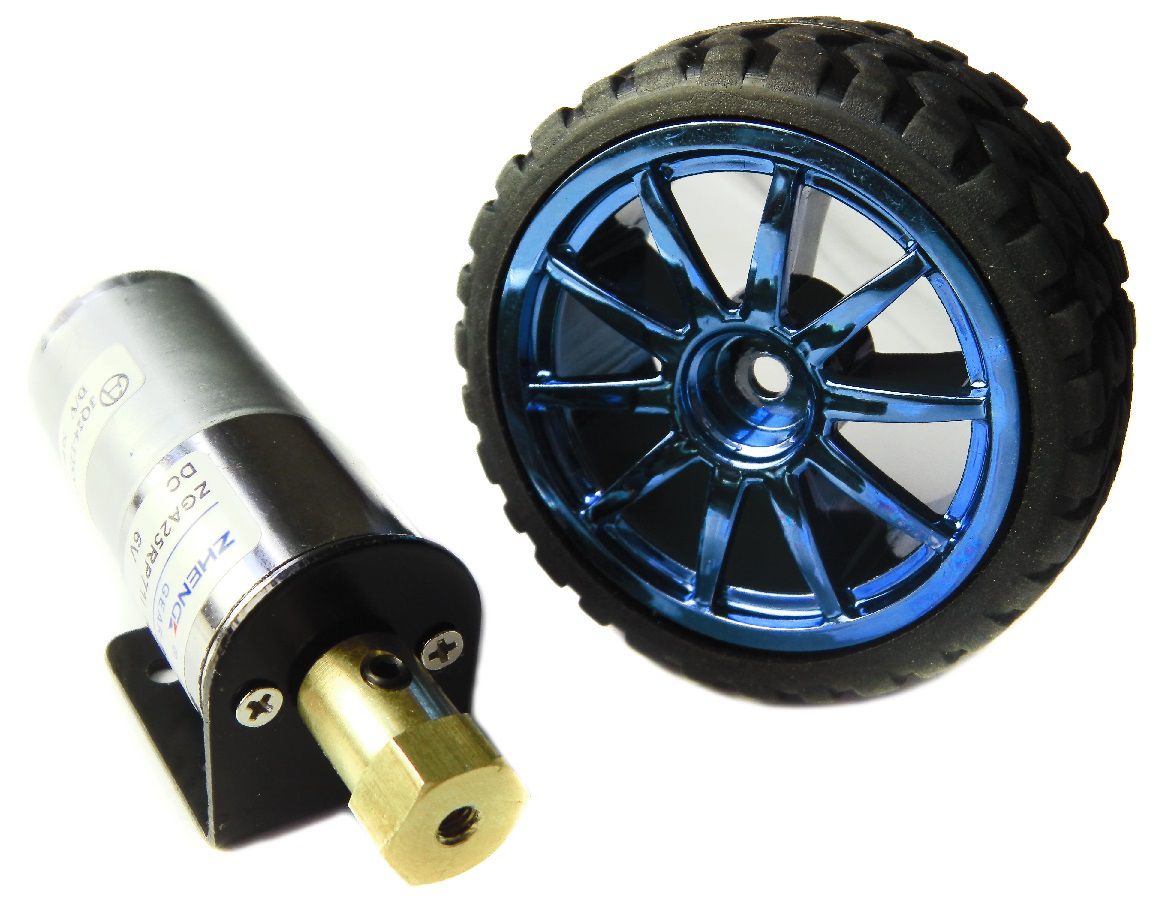
1.Check you've got all the kit required, each kit consists of the following:
- 1 x Wheel
- 1 x Gold Coupler
- 1 x Black Mounting Bracket
- 1 x 6V 60RPM Motor
- 1 x 4mm Bolt
- 2 x 4mm Set Screws
- 2 x 3mm Bolts

2. Grab the motor, the mount (the black bit) and the two 3mm bolts. Simply line the curved side of the mount up with the two empty holes on the top of the motor, and use the two M3 bolts to attached it. Ensure that you have the mount orientated the correct way!


3. Slide the gold coupler onto the motor's axle, and line up the flat part of the axle with one of the holes. Then, fix the coupler using the two M4 set screws.


4. Plug the coupler into the wheel - it's a tight fit, so give it a push to ensure it's seated correctly.


5. Use the M4 bolt to fix the wheel to the coupler!


That's all there is to it! The assembly is now ready to mount onto your Raspberry Pi Robot/Rover/Car/Boat project!


