Changing the Raspberry Pi Keyboard Layout
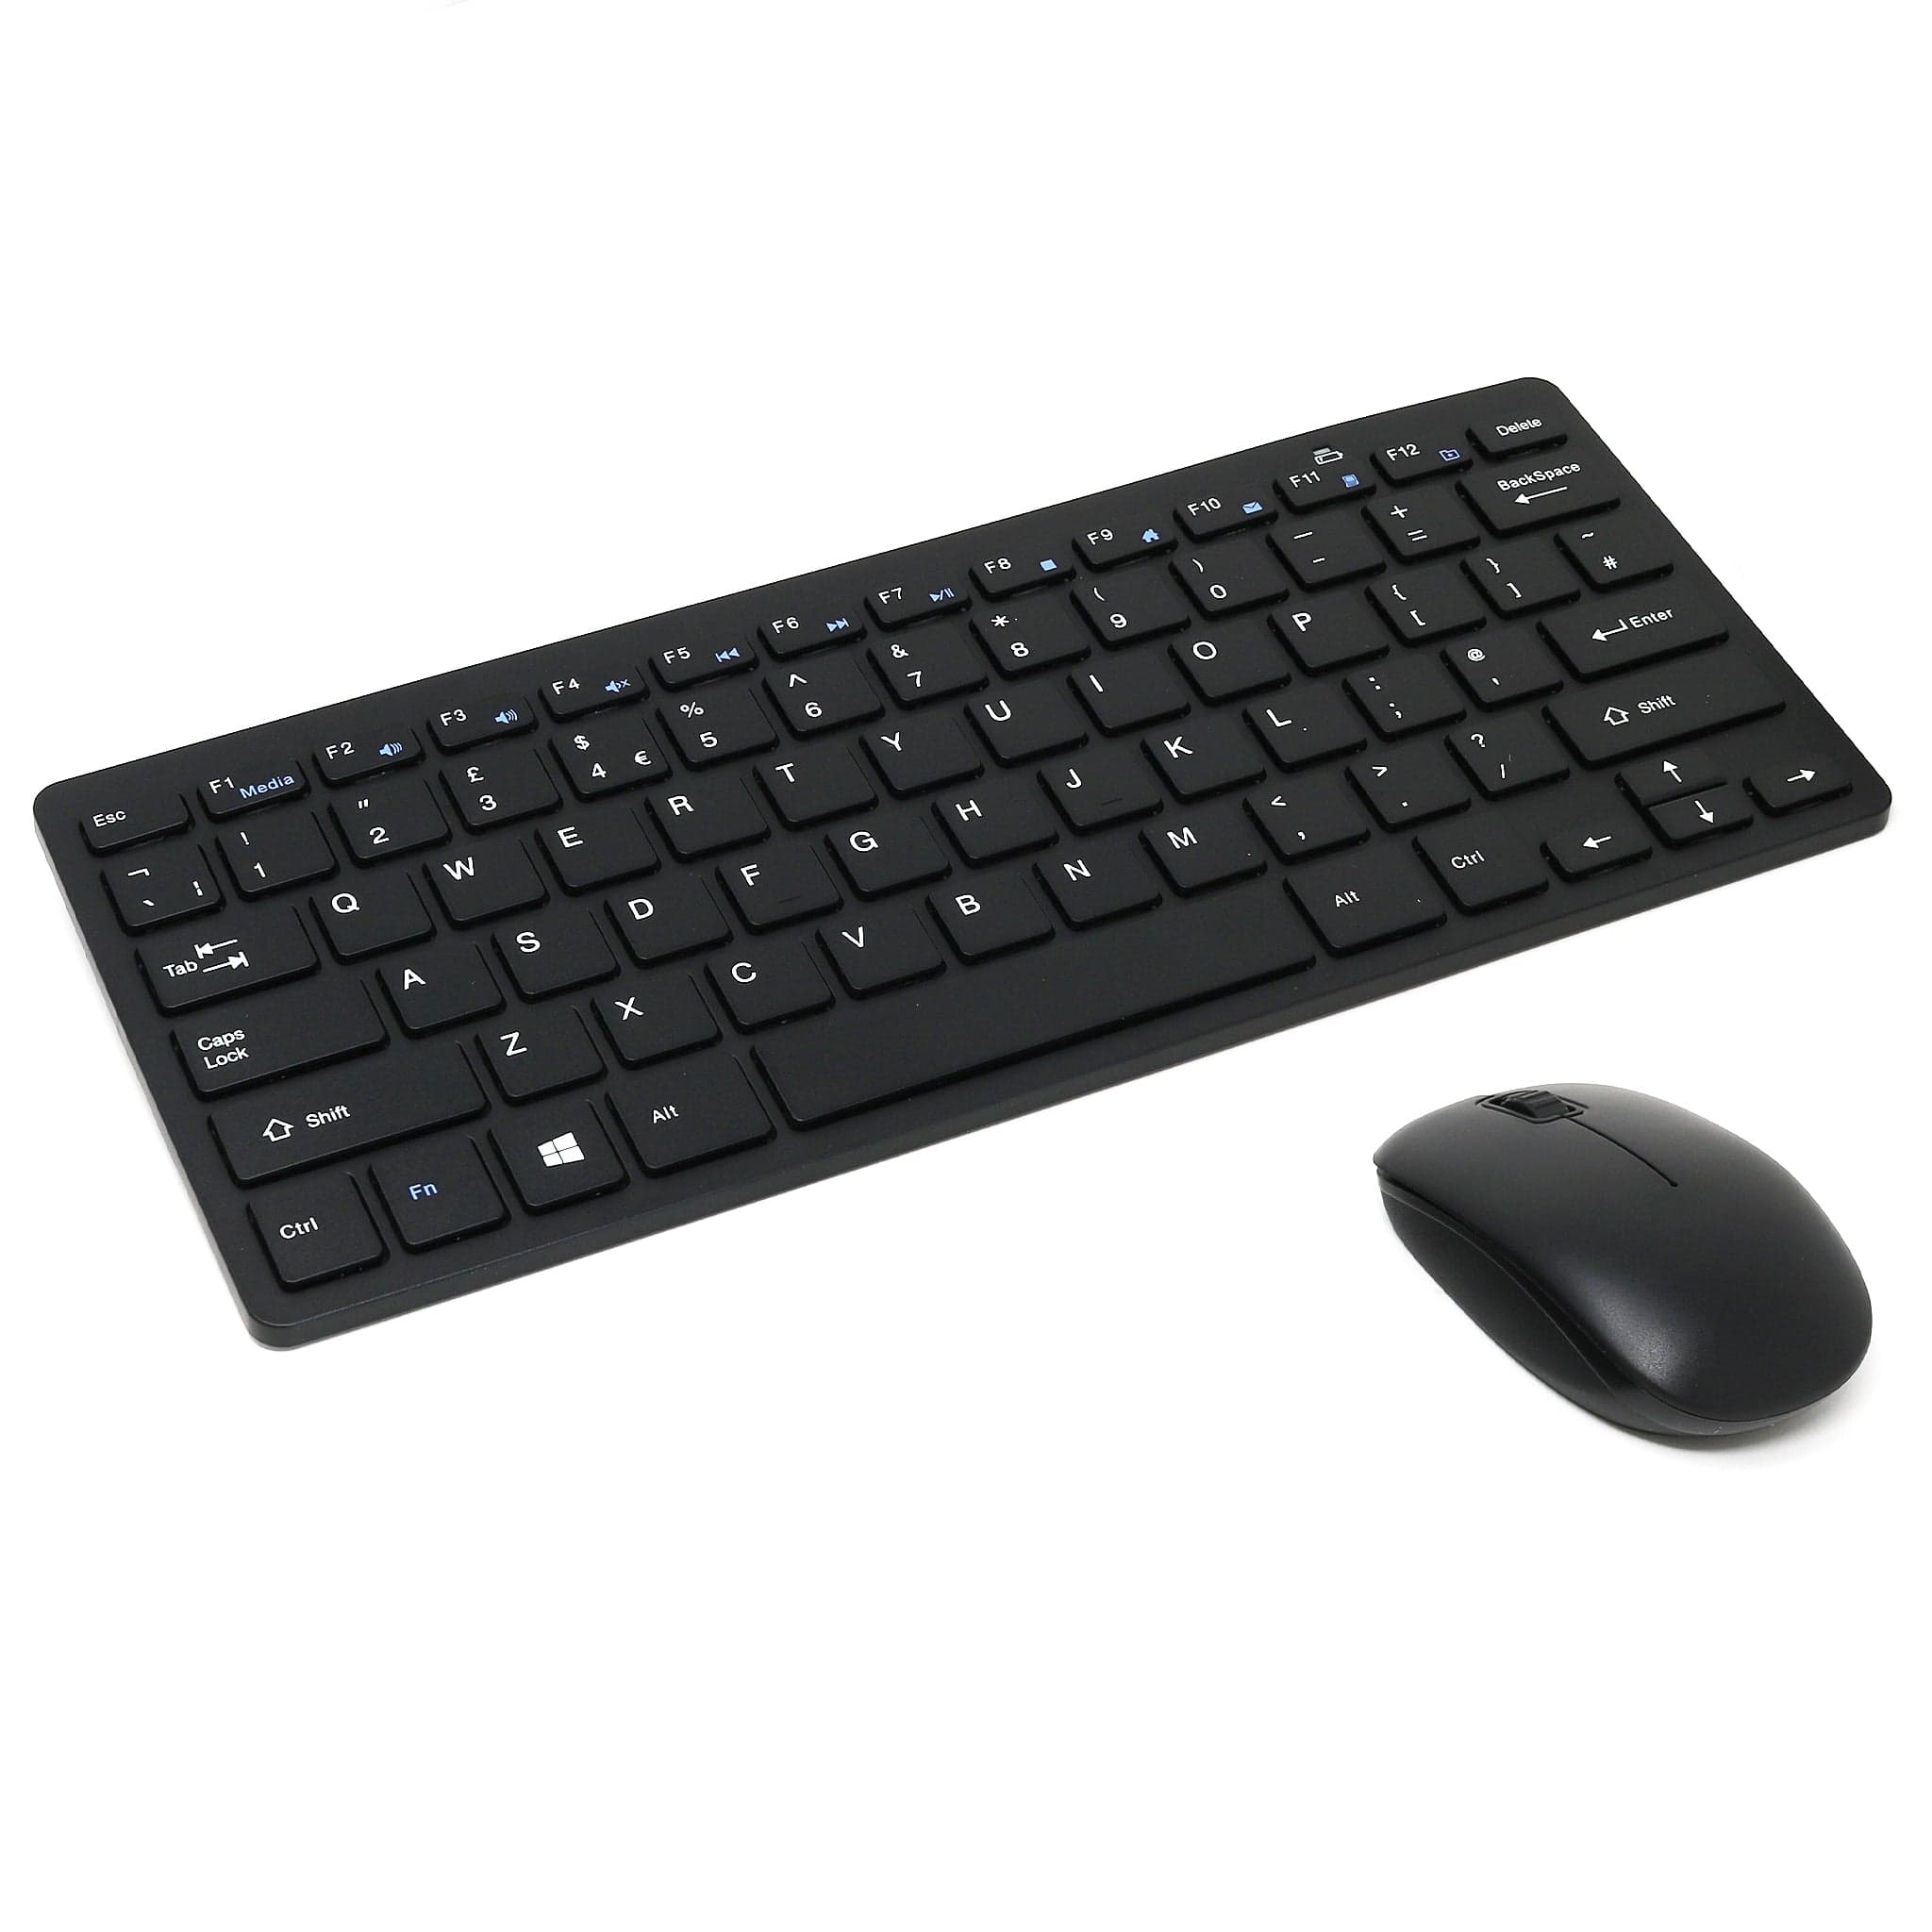
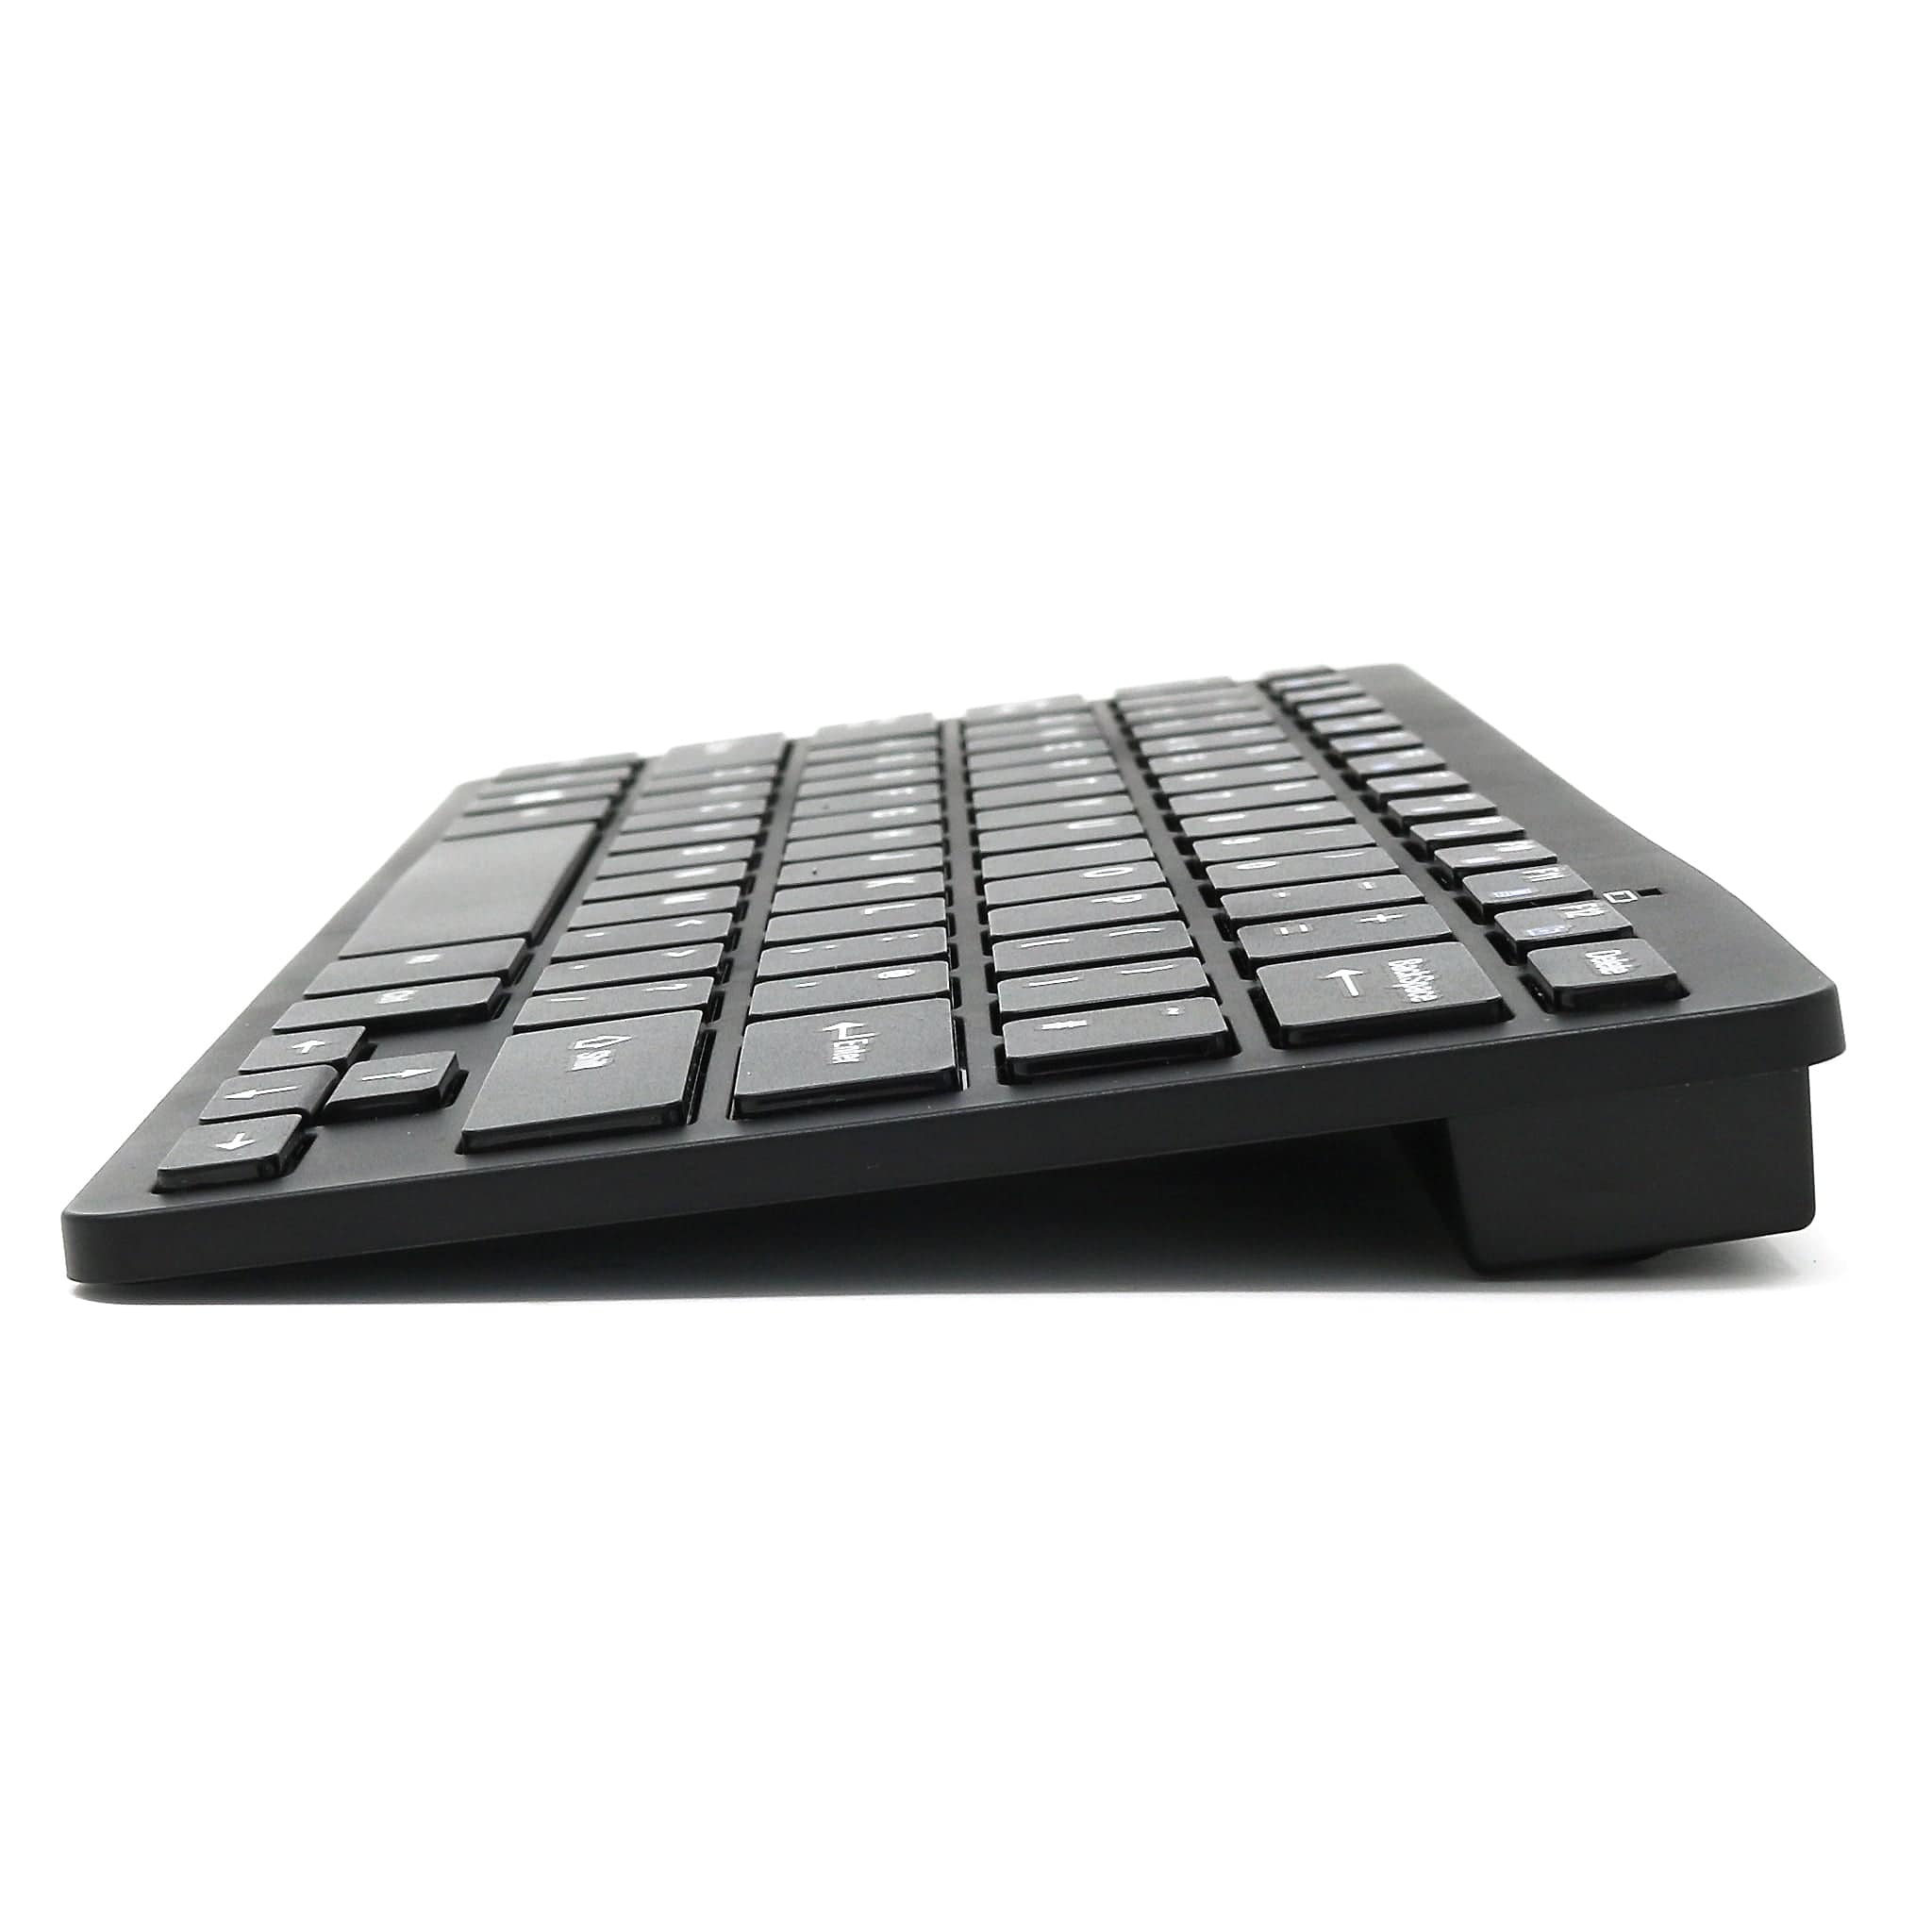
Many of the wireless keyboards available from eBay or other outlets have a different layout from the default Raspberry Pi. Often they are US layout (with the # above the 3 instead of the £). Therefore, you either have to ignore what is printed on the keyboard and remember that what you type is not what you see, or you can change the keyboard layout of the Raspberry Pi to match the keyboard.
For this, you need to open a terminal window and run the Raspberry Pi configuration tool with this command:
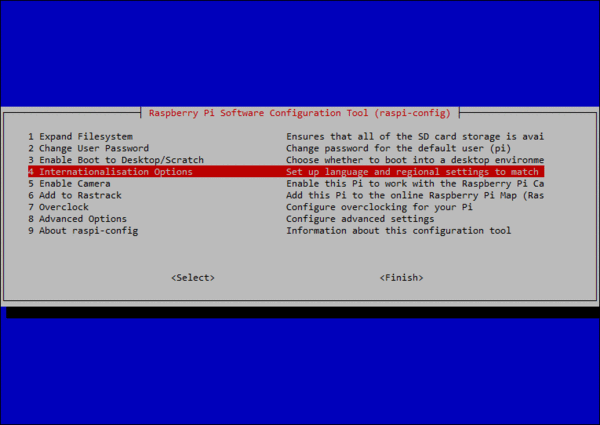
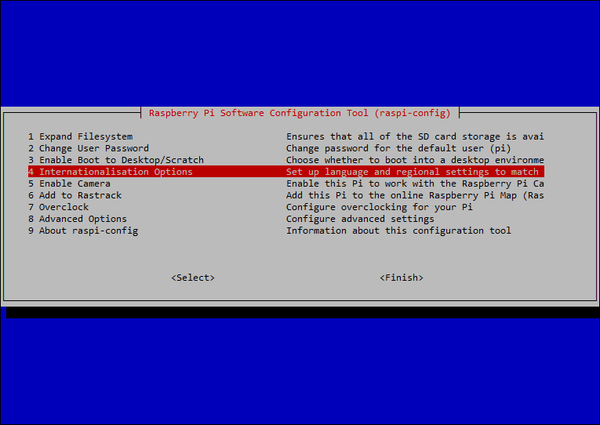
sudo raspi-configThis will open the configuration tool. Move down to and select Internationalisation Options:

On the next screen, choose 'Change Keyboard Options':

Unless you have one of the keyboards in the list shown on the next screen, choose one of the Generic keyboards:

On the next page you will be presented with the language choices for the current keyboard. If the language is not the one you have, choose 'Other':

Then choose the country of origin of the keyboard:

Followed by the keyboard layout:

Then the key to be used as the AltGr key (used by some keyboards to enter alternative characters. At this stage it is best to choose the default for the keyboard layout:
 #
#
And unless you need a compose key, set 'no Compose key':

And finally you should choose NOT to terminate the X server (GUI) if you press Control-Alt-Backspace, as it's annoying to accidentally close the GUI when you are in the middle of using it!

You will be returned to the main configuration menu. Use the right cursor key to select Finish, and press return to go back to the terminal window.
To complete the keyboard configuration, you need to reboot by typing:
sudo rebootIf you have chosen the right options, you should see the correct characters as you type. If not, then try again with different options.


