
Adding a Real Time Clock to your Raspberry Pi
When you switch on your PC or Mac, do you have to change its time? Highly unlikely! Do you have to on your Raspberry Pi? Possibly.
Each time your Raspberry Pi boots, if it has an internet connection, it connects to what is called an NTP server (Network Time Protocol), and asks it for the current, up-to-date the time - but what happens if your Pi is not connected to the internet? Your Pi has no way of knowing what time it is.
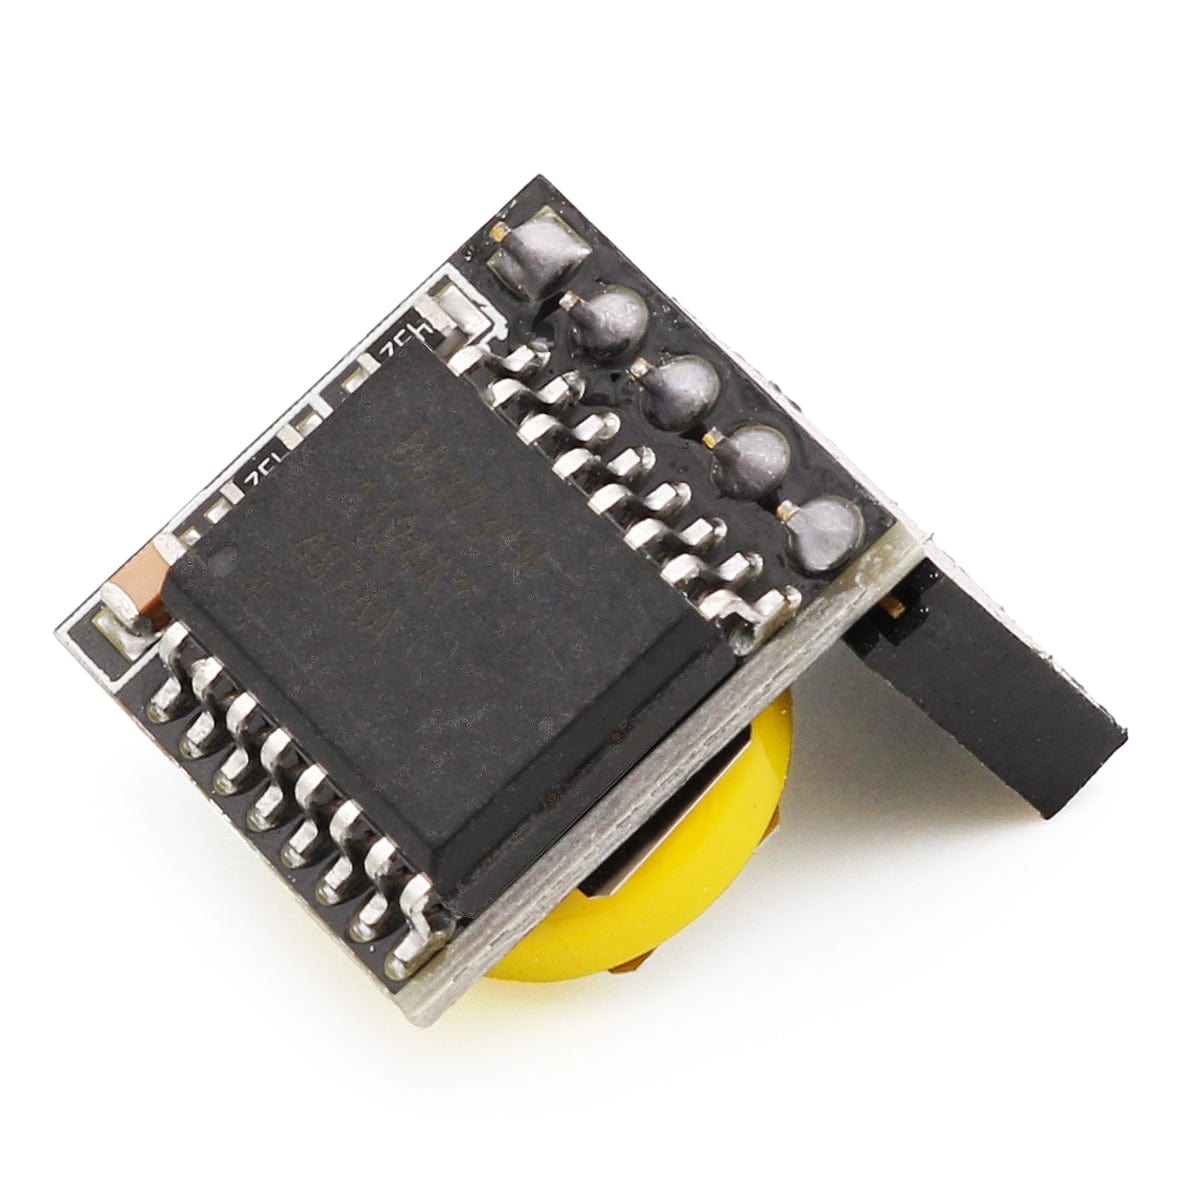
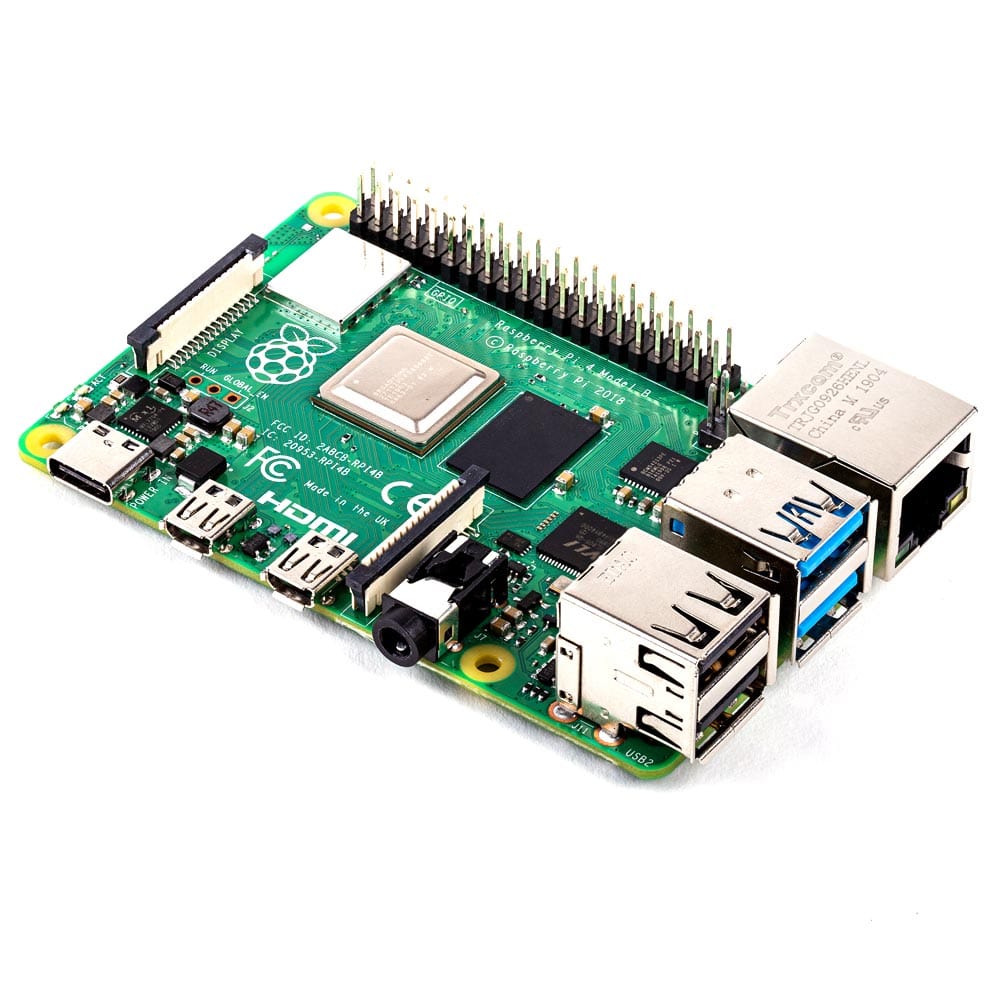
Luckily, there is a solution in the form of a Real Time Clock board. These inexpensive add-on boards plug on top of your Pi's GPIO pins and contains a clock chip and a tiny battery that tell the Raspberry Pi what time it is.
Note: the Raspberry Pi 5 has a Real Time Clock built in, with an official battery option. You can still opt to use an external RTC if you prefer, however the RTC add-ons are mostly intended for Pi 4 and earlier boards.
This guide is based on using Raspberry Pi OS Bookworm (but should work fine with Trixie), updated in October 2025 to use the more robust Device Tree Overlay method.
Enable I2C
The RTC board uses what is known as the I2C (pronounced 'eye squared see') protocol to communicate with the Raspberry Pi. I2C allows the Raspberry Pi to communicate with a lot of different devices at the same time that are also connected to the same I2C pins on the Raspberry Pi.
You’ll need to enable I2C on your Raspberry Pi, as it’s usually disabled by default. You can either:
- Use the Control Centre interface if you’re using the OS Desktop (Preferences > Control Centre > Interfaces > select I2C)
- Use the raspi-config tool in a terminal window
- Enter the command sudo raspi-config
- Select ‘Interface Options’ then ’I2C’ to enable it.

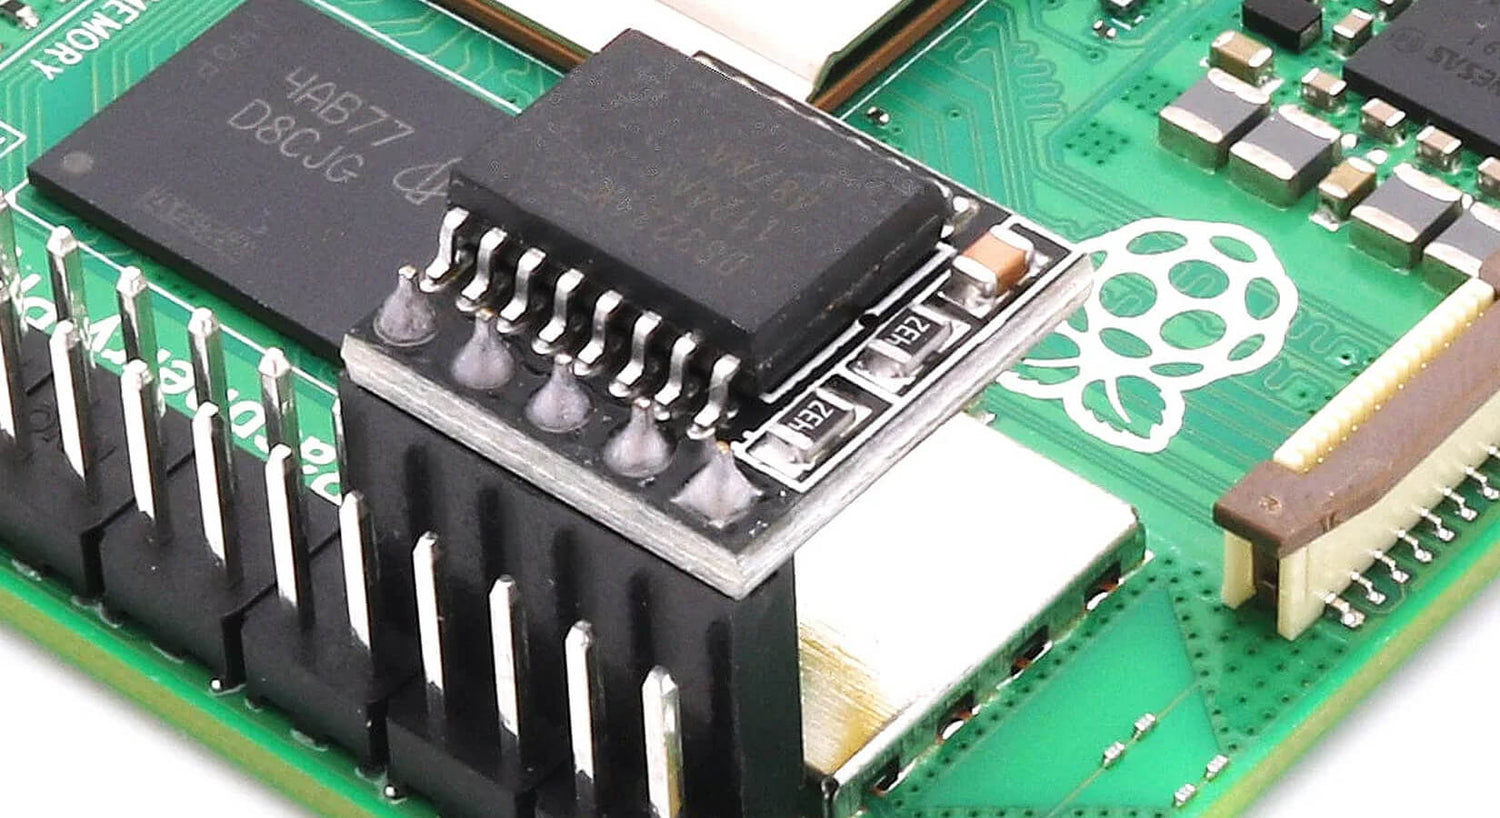
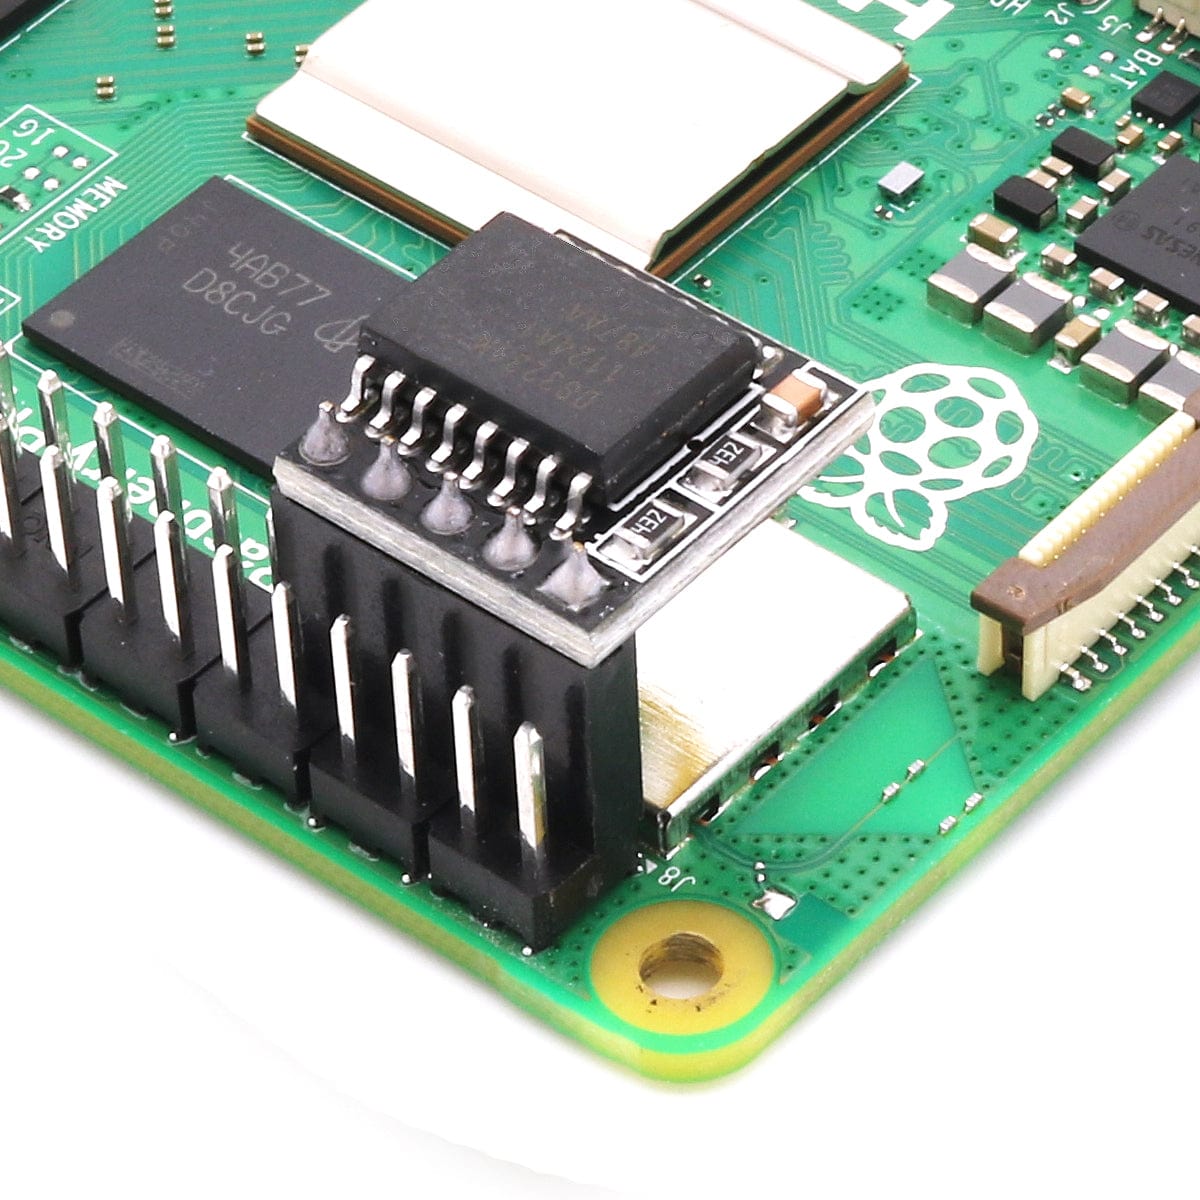
Fitting the Board
It is always best to turn your Raspberry Pi off before plugging anything onto the GPIO pins. Always do this using sudo halt or the power off commands from the desktop.
Once your Raspberry Pi is turned off, plug the board onto your GPIO pins on the inside corner with the RTC board pointing inwards, as shown below:

Setting up the RTC
We have updated this part of the guide as of October 2025, as the best way to set up an RTC is now using the Device Tree Overlay. It’s the official, persistent, and kernel-native way to tell the Raspberry Pi OS that your hardware exists – and loads automatically at boot!
Edit the active boot config
In a new terminal window, enter the following command:
sudo nano /boot/firmware/config.txt
At the bottom of this file, add this on a new line, which will bind the I2C RTC at boot:
dtoverlay=i2c-rtc,ds3231
Save and exit the file using Ctrl+X, selecting ‘Y’ when asked if you want to save the changes.

Important! Reboot
To apply the changes, reboot your Raspberry Pi using:
sudo reboot
Check the I2C device is recognised
Once your Raspberry Pi has rebooted, verify that the RTC board is recognised by running the following command:
i2cdetect -y 1
You should see UU show up between row 60 and column 8, indicating an address of 0x68 (UU means “address in use by a driver”).
Note: if you have an original Raspberry Pi 1, you may need to use i2cdetect -y 0).

Check the RTC is registered
In your terminal window, run:
ls -l /dev/rtc*
You should see /dev/rtc0 which means the driver has successfully registered the RTC.

It's also worthwhile running:
dmesg | grep -i rtc
You should see a line similar to rtc-ds1307 1-0068: registered as rtc0 (the ds1307 driver also handles the ds3231 chip).

Initialise and set the RTC time
Once you’re set up, we need to tell your RTC the current time. Simply run the following commands one after the other:
sudo hwclock -w
sudo hwclock -r
After running that last one, the terminal should return a timestamp like this:
2025-10-30 16:41:44.084188+00:00

That’s it, your RTC is now set up on your Raspberry Pi!
16 comments
Tim
I wrote these instructions over 10 years ago! We need to update them. I just happening to be adding the RTC to a Pi4 at the moment.
I wrote these instructions over 10 years ago! We need to update them. I just happening to be adding the RTC to a Pi4 at the moment.
John
I have just run through this tutorial and had a couple of issues but found a way through.
Thought I’d share.
I downloaded the latest version of Raspberry Pi OS Lite (64-bit) using the imager.
It all went well up to the point i2cdetect -y 1
I got a command not found message.
I ran
sudo apt update and sudo apt full-upgrade
I then ran
sudo apt-get install i2c-tools
but when I ran i2cdetect I got the reply
Error: I2C bus name doesn’t match any bus present!
Did a reboot and it worked.
Next problem came when I tried to run
sudo hwclock -w
and got
sudo: hwclock: command not found
did
sudo apt-get install util-linux-extra
and this made sudo hwclock -w work fine.
hope this helps.
Dave Jesse
Using Trixie, I found it necessary to run “$ sudo apt-get install util-linux-extra” to add the hwclock command.
Using Trixie, I found it necessary to run “$ sudo apt-get install util-linux-extra” to add the hwclock command.
The Pi Hut
@Everyone – we have finally (long, long overdue!) updated this blog post with a much simpler, much more robust method of setting up our RTC modules on your Raspberry Pi. Thanks for the nudge folks 👍
@Everyone – we have finally (long, long overdue!) updated this blog post with a much simpler, much more robust method of setting up our RTC modules on your Raspberry Pi. Thanks for the nudge folks 👍
Samuel Hood
I’m not sure if I’m doing something wrong but when I type in echo ds1307 0×68 > /sys/class/i2c-adapter/i2c-1/new_device it says that there is no such file or directory. I have a raspberry pi 4 and the mini rtc module for raspberry pi by the pi hut. If anyone can help it would be appreciated.
I’m not sure if I’m doing something wrong but when I type in echo ds1307 0×68 > /sys/class/i2c-adapter/i2c-1/new_device it says that there is no such file or directory. I have a raspberry pi 4 and the mini rtc module for raspberry pi by the pi hut. If anyone can help it would be appreciated.
Dave Jesse
Hi,
I installed the real time clock with no problems, but the software installation has me foxed. Here are the $commands I used, and the …consequences I see. Any help gratefully received.
Thanks
Dave
$ sudo i2cdetect -y 1
…I see ID #68
$ sudo modprobe rtc-ds1307
…runs without any issue
$ sudo bash
echo ds1307 0×68 > /sys/class/i2c-adapter/i2c-1/new_device…responds with “bash: /sys/class/i2c-adapter/i2c-1/new_device: No such file or directory” exit
$ sudo hwclock -r
…hwclock: Cannot access the Hardware Clock via any known method.
hwclock: Use the —verbose option to see the details of our search for an access method.
$ sudo hwclock —verbose
…hwclock from util-linux 2.38.1
System Time: 1761036060.114659
Trying to open: /dev/rtc0
Trying to open: /dev/rtc
Trying to open: /dev/misc/rtc
No usable clock interface found.
hwclock: Cannot access the Hardware Clock via any known method.
Geoffrey
What is all this talk of DS1307? Aren’t we here because we want to use the more accurate DS3231??
the board is called DS3231 on PI, after all
What is all this talk of DS1307? Aren’t we here because we want to use the more accurate DS3231??
the board is called DS3231 on PI, after all
Philip Male
If you are installing this on a pi running ubuntu – the above basically works fine with some minor tweaks:
- Enable i2c in raspi-config (interface options)
Phil – hack for no rc.local- Install i2c-tools and util-linux-extra
- Probe the i2c bus with i2cdetect -y 1 (RTC is device 68)
- Load RTC module: sudo modprobe rtc-ds1307
Initialise driver with echo ds1307 0×68 > /sys/class/i2c-adapter/i2c-1/new_device
Check you can read it with hwclock -r
If you need to write the system time to the clock: hwclock -w
Add module to /etc/modules:
Add the line: rtc-ds1307
Create a /usr/local/sbin/sync-rtc script:
#!/bin/sh
echo ds1307 0×68 > /sys/class/i2c-adapter/i2c-1/new_device
/usr/sbin/hwclock -s
exit 0
Then make it run at reboot time using root crontab:
@reboot /usr/local/sbin/sync-rtc
The Pi Hut
@David – What happens if you enable I2C, does this not work?
@David – What happens if you enable I2C, does this not work?
David
Is there an update to this rtc setup for BULLSEYE and BOOKWORM?
Using this and others that were patterned after it when using those versions of software I get:
“please enable I2C interface in the Raspberry Pi configuration and try again” It seems to work
fine for Buster. But I need my Real Time Clock for BULLSEYE to be able to run advanced software
versions of WSJTX in my EMERGENCY radio DIGITAL setup using both BULLSEYE or BOOKWORM.
Thanks for your outstanding help file. 73 Dave
J Jones
Hello All, I enjoyed reading the instructions on adding and using a RTC on the Raspberry Pi, I have a question what are the instructions for adding the DS3231 RTC, will the same information apply for that installation?
Thank in advanced for any and all help with this question.
Hello All, I enjoyed reading the instructions on adding and using a RTC on the Raspberry Pi, I have a question what are the instructions for adding the DS3231 RTC, will the same information apply for that installation?
Thank in advanced for any and all help with this question.
Robert
Thanks for the tutorial! After i2c enable all working fine,
Thanks for the tutorial! After i2c enable all working fine,
Roland
First step: If you get:
sudo i2cdetect y 1
Error: Could not open file `/dev/i2c-1’ or `/dev/i2c/1’: No such file or directory
do
sudo raspi-config
—> interface options // I5 I2C —> enable
:)
First step: If you get:
sudo i2cdetect y 1
Error: Could not open file `/dev/i2c-1’ or `/dev/i2c/1’: No such file or directory
do
sudo raspi-config
—> interface options // I5 I2C —> enable
:)
Russell
Great module and tutorial. It just worked out the box.
Great module and tutorial. It just worked out the box.
The Pi Hut
@Hugh Burnham You’re absolutely right, it does now use a CR927 battery but it seems we didn’t update the page and specs when that change was made. Poor show from us! We’ll get it all updated today. Thanks for the nudge.
@Hugh Burnham You’re absolutely right, it does now use a CR927 battery but it seems we didn’t update the page and specs when that change was made. Poor show from us! We’ll get it all updated today. Thanks for the nudge.
Hugh Burnham
We bought a couple of these to use in a project at work. I was trying to work out how long the supercapacitor would hold the date and time for. It is an important parameter and should be in the spec. If, for example the super cap is 0.1F, then at the discharge rate specified in the I.C. datasheet then it would last only about 4 or 5 days. However I notice that the dimensions of the “supercapacitor” on the board are exactly the same as a CR927 lithium cell, and I suspect that is actually what is fitted. In which case it will last about 4.5 years. (35mAh, 0.84uA). Much better.
Perhaps the misleading reference to supercapacitor should be removed from the advertising?