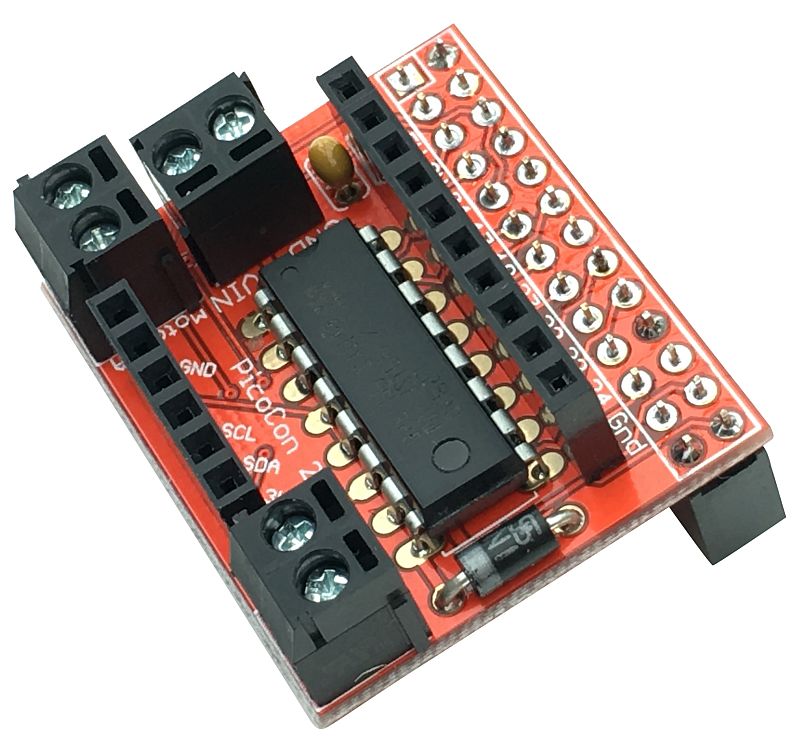
How to program the PicoCon Motor Controller
There are two ways to program/use your new PicoCon motor controller:
1. Basic python software
- Each motor is directly controlled by two pins, each of which drives one side of the motor
- To make the motor go forwards, you make one pin high and the other pin low
- To make it reverse, you make the first pin low and the second pin high
- For the robot to go forwards both motors should be set to forwards
- Similarly to go backwards, both motors should be set to reverse
- If you set the left motor to forwards and the right motor to backwards, the robot will spin right
- The (physical) pins for the left motor are 19 and 21
- The (physical) pins for the right motor are 24 and 26
- So to make the left motor go forwards, set pin19 high and pin21 low. You can do this in python with: GPIO.output(19, 1) # pin 19 is left motor A GPIO.output(21, 1) # pin 21 is left motor B
This is covered in a complete python program picoTest01.py covered below.
2. Using the supplied python library
- You need to import the library at the start of your python program import picocon
- Then you can use the pre-defined functions for moving the motors:
- init(). Initialises GPIO pins, switches motors off, etc
- cleanup(). Sets all motors off and sets GPIO to standard values
- stop(): Stops both motors
- forward(speed): Sets both motors to move forward at speed. 0 <= speed <= 100
- reverse(speed): Sets both motors to reverse at speed. 0 <= speed <= 100
- spinLeft(speed): Sets motors to turn opposite directions at speed. 0 <= speed <= 100
- spinRight(speed): Sets motors to turn opposite directions at speed. 0 <= speed <= 100
- turnForward(leftSpeed, rightSpeed): Moves forwards in an arc by setting different speeds. 0 <= leftSpeed,rightSpeed <= 100
- turnReverse(leftSpeed, rightSpeed): Moves backwards in an arc by setting different speeds. 0 <= leftSpeed,rightSpeed <= 100
- To use these functions, you need to preface them with the name of module, picocon.
- You need to call the function init() at the start of your program to setup all the input and output pins picocon.init()
- You must call the cleanup() function at the end to put all the input and output pins back to where they were picocon.cleanup()
- In between you can do whatever you want, so to make the robot go forwards at a medium speed: picocon.forward(50)
- to spin left at a fast speed picocon.spinLeft(100)
Downloading the Software Library and Examples
- Make sure the Raspberry Pi is connected to the internet
- From a terminal window on your Raspberry Pi type the following lines exactly: wget http://4tronix.co.uk/picocon.sh -O picocon.sh bash picocon.sh
- This will create a new folder on your Raspberry Pi called picocon
- Go into this folder and then you can run the examples like this: sudo python picoTest01.py
- picotest01.py simply goes forwards, backwards, spins right and left in a loop. Press Ctrl-C to exit
- picotest02.py does the same thing but using the library (see how much simpler the code is)
- picotest03.py uses the arrow keys on your keyboard to move the robot. You can also use . or , to speed up and slow down the robot. Also use space to stop.


