Login / Signup
Cart
Your cart is empty
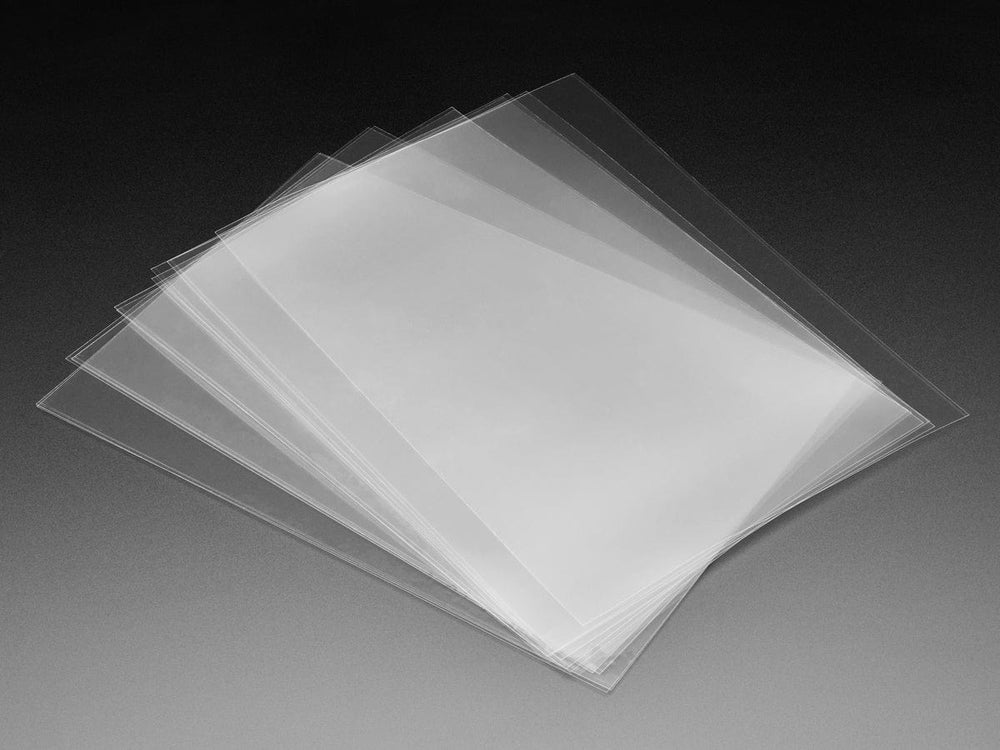
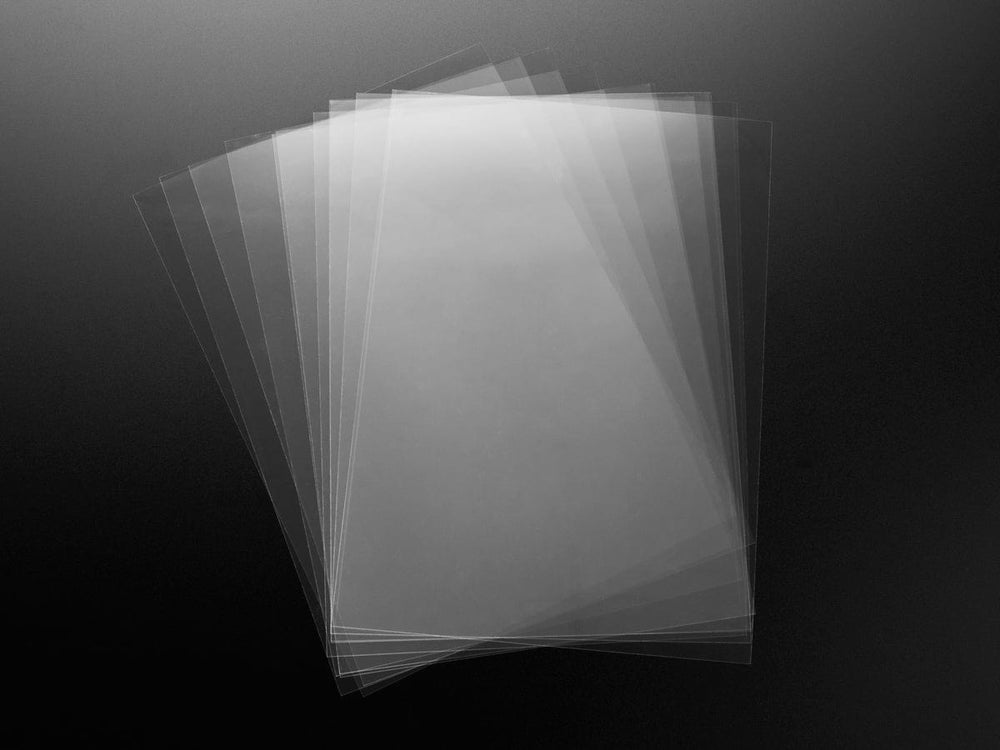
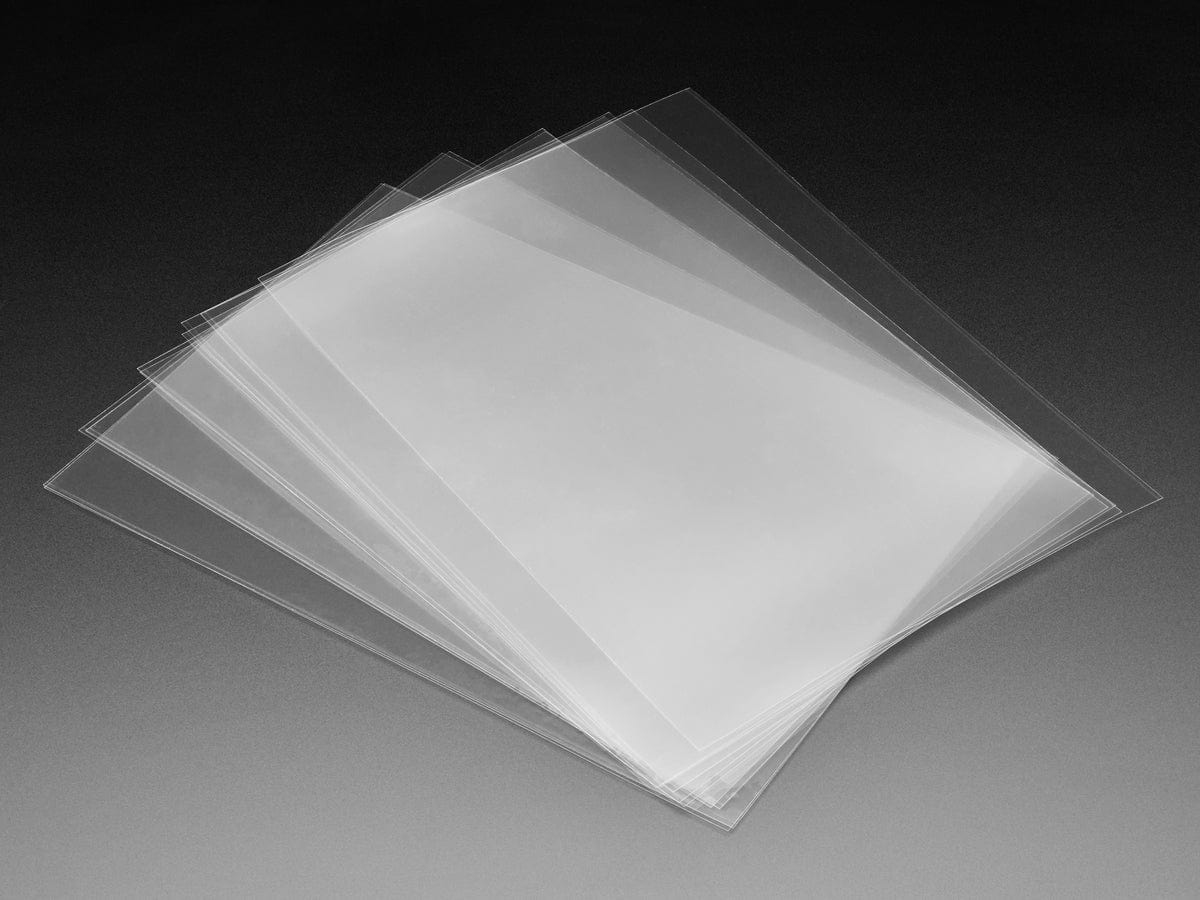
Hydro dipping is a fun, hands-on way of adding printed designs to any surface! This process can be done on any material that can hold the base coat and can be submerged into water. Works really well with any 3D printed project, but molded and cast parts also benefit. You've probably seen cool videos of motorcycle helmets and ceramic statues being dipped - when done right you can cover an entire shape with colorful ink.
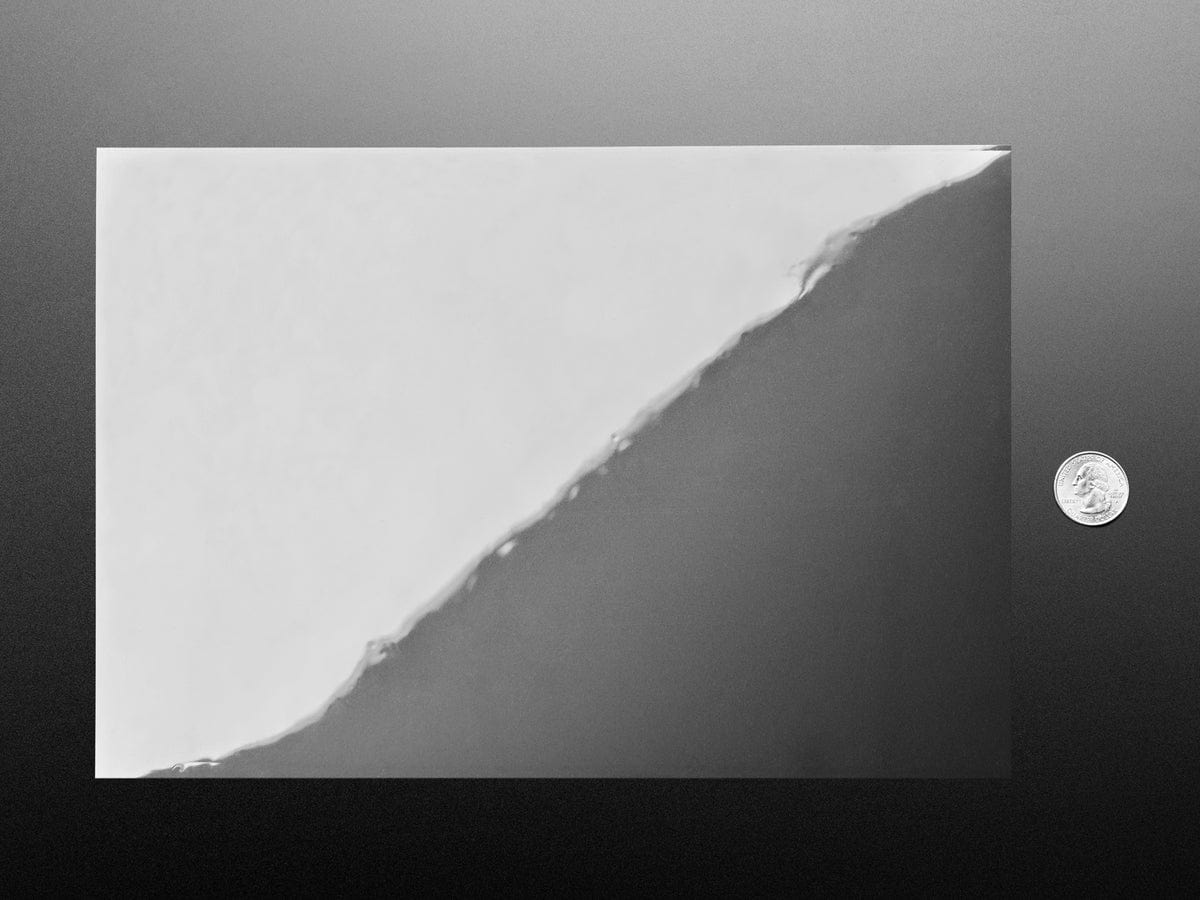
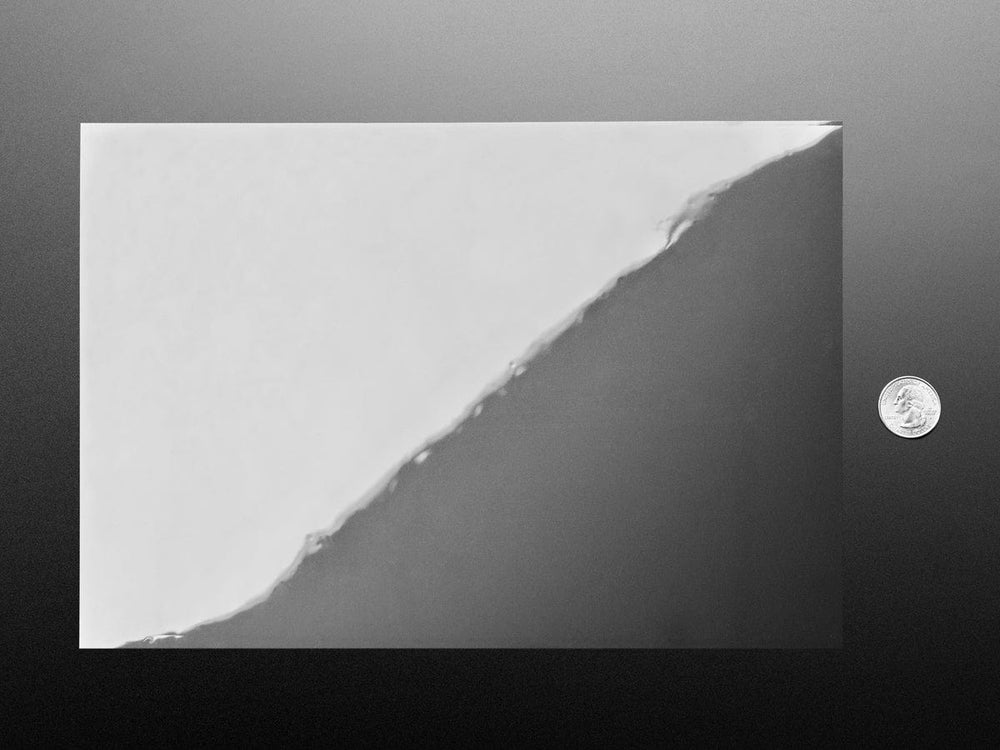
Note: you need to peel off the clear backing film before use! It's clear and hard to see - but it's there!
Start by using an ink-jet printer (laser printers wont work!) and print on your design. Solid, abstract and repeating patterns work best because it can be challenging to line up the artwork when you're doing the dip. After printing a pattern or design, the thermal paper is floated on top of a vat of hot water. The ink will float, held together by a thin clear polymer layer on the top. Prepare and slowly dip your piece at a 45 degree angle into the water, the image is transferred onto your project. If it doesn't quite turn out, you can scrub it off before the ink sets.
Note it does take a little practice to get good at this technique, but we have a handy DIY video that takes you through the process with lots of tips!
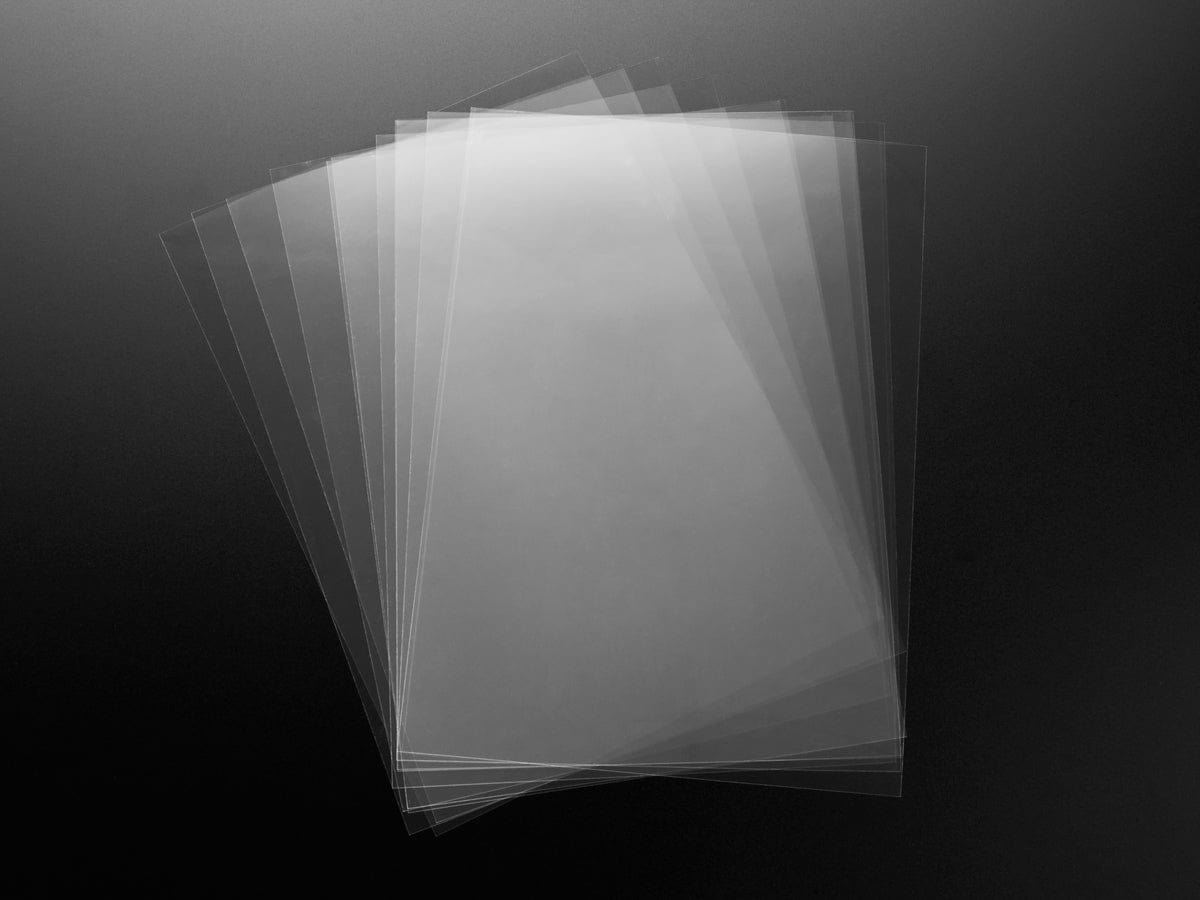
This thermal paper is A4 size and works best with water-based pigment ink. Comes in a pack of 10 sheets you can cut the sheets down and/or reuse un-printed parts as long as you have enough border space.
Product Dimensions: 300.0mm x 210.0mm x 0.2mm / 11.8" x 8.3" x 0.0"
Product Weight: 8.0g / 0.3oz


