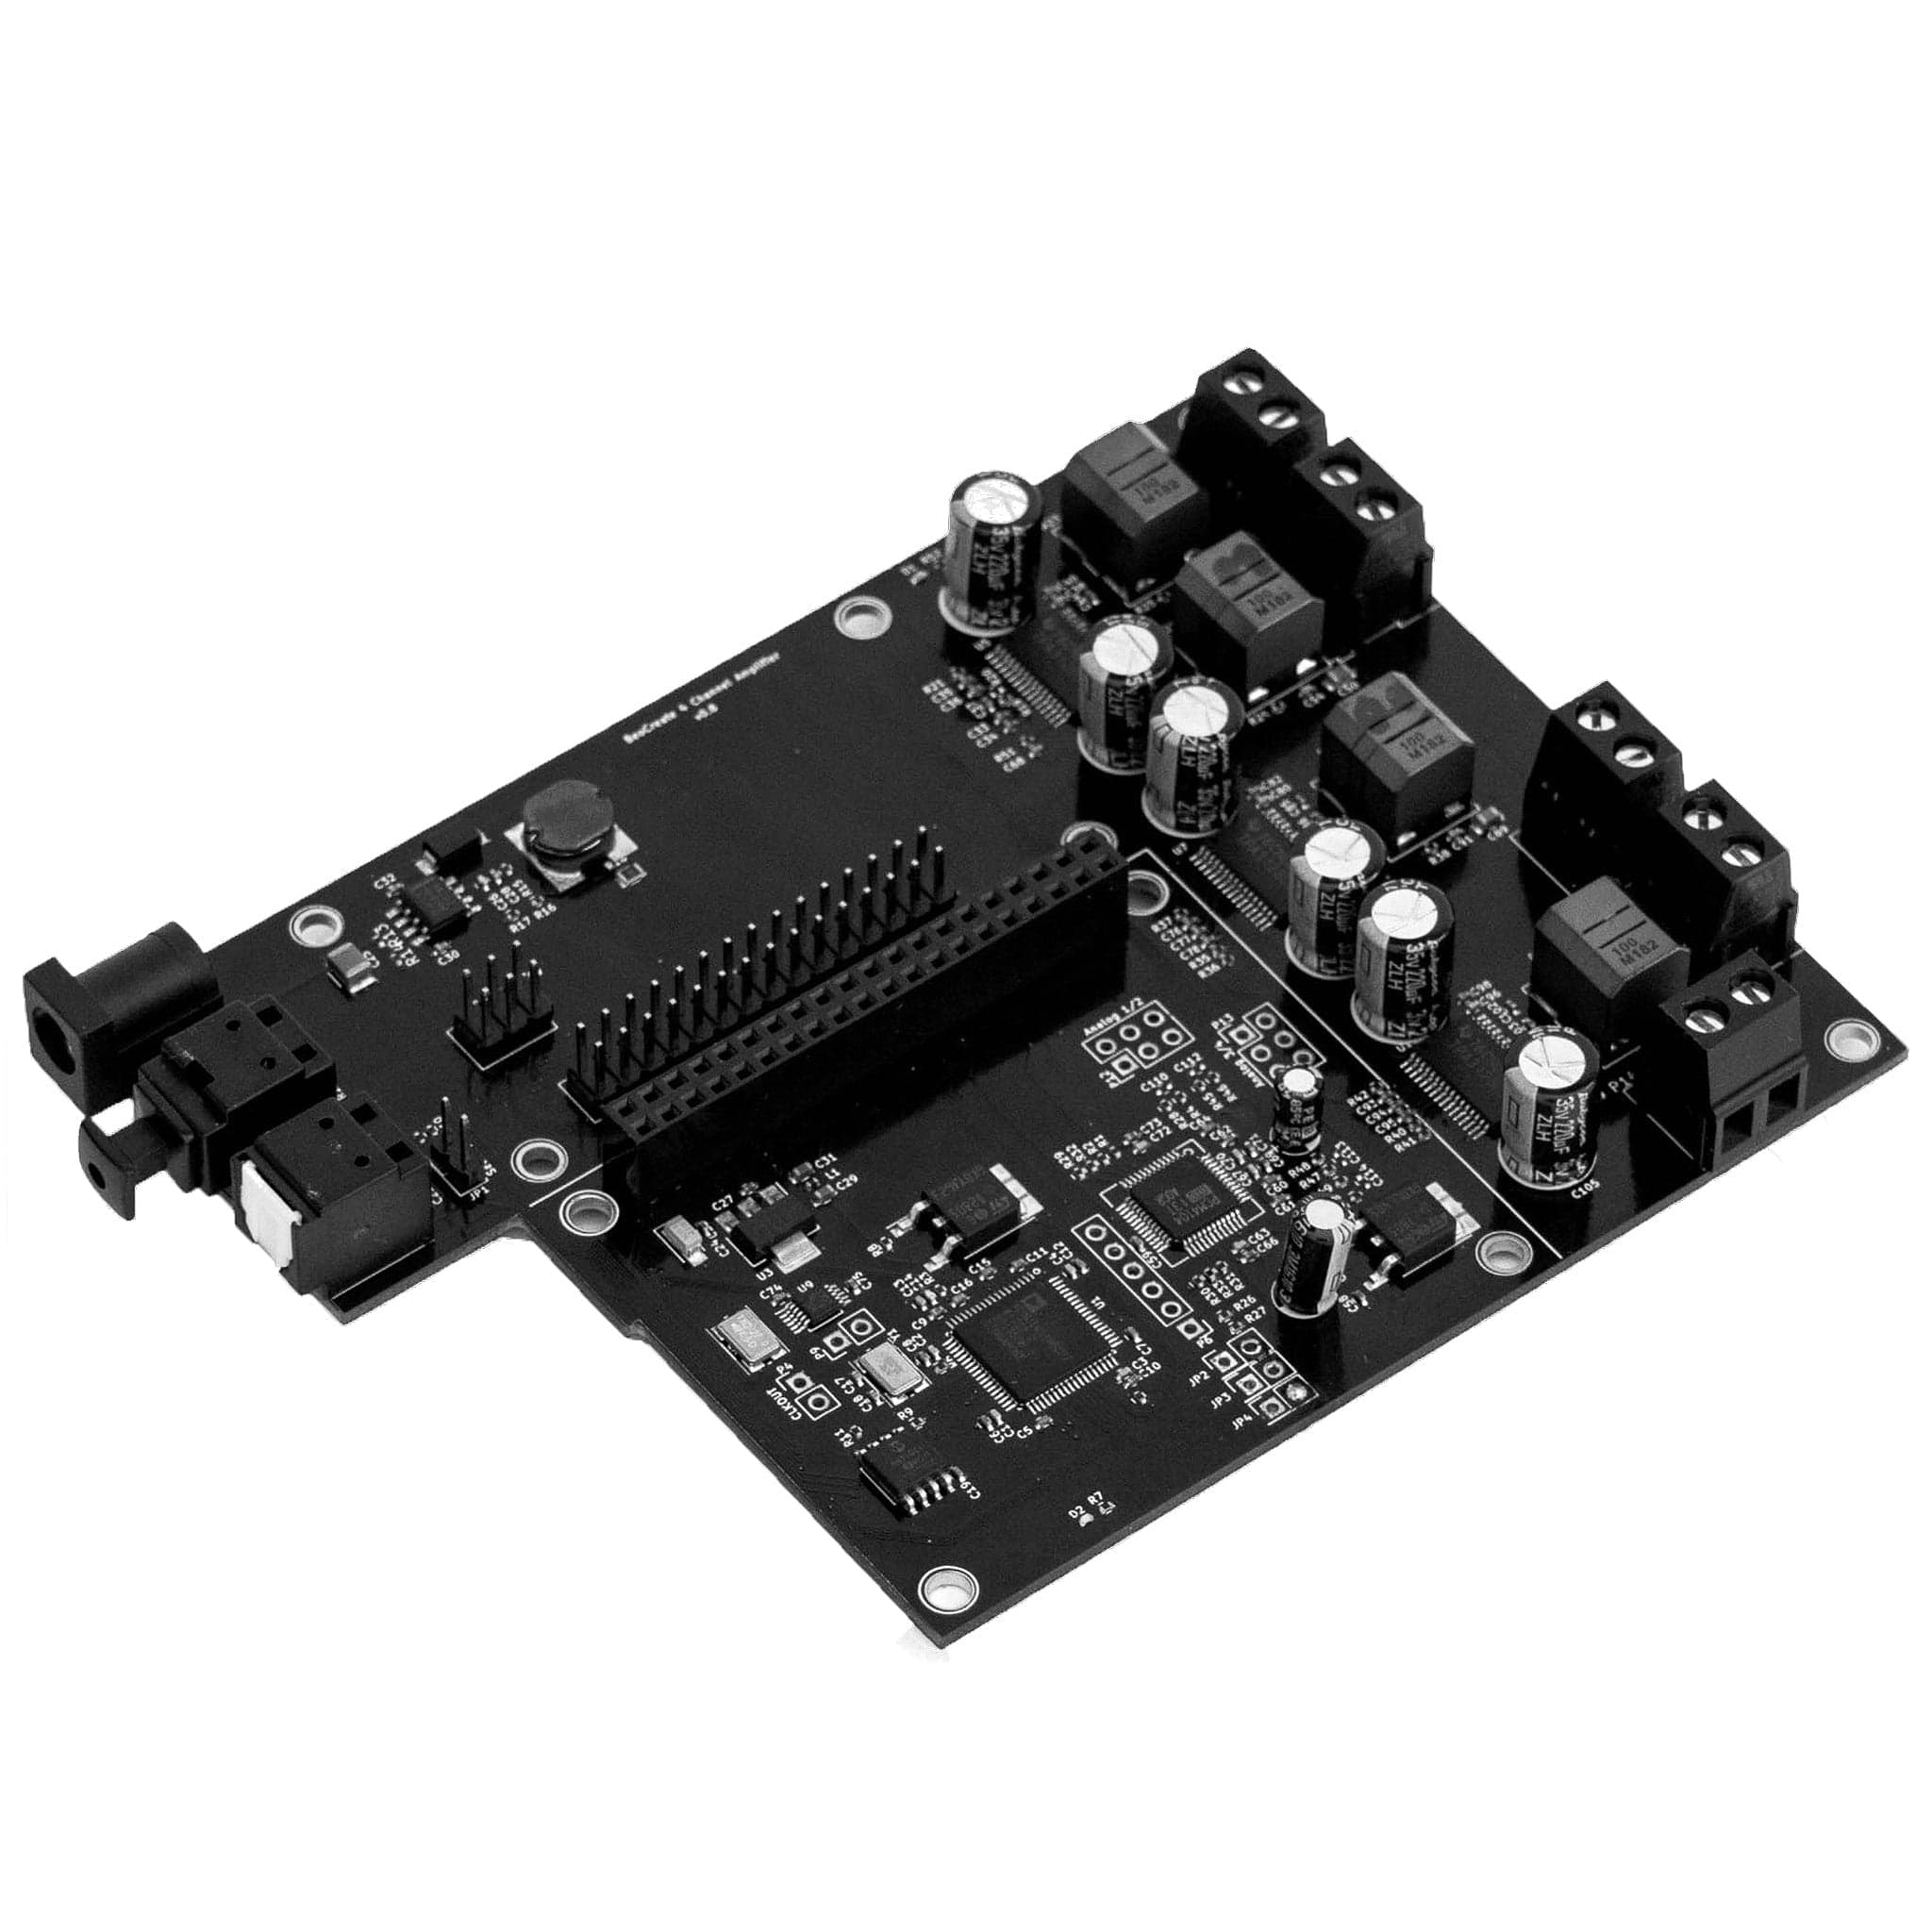
Here it is: the DAC+ DSP! It is the board you always wanted but were afraid to ask for!
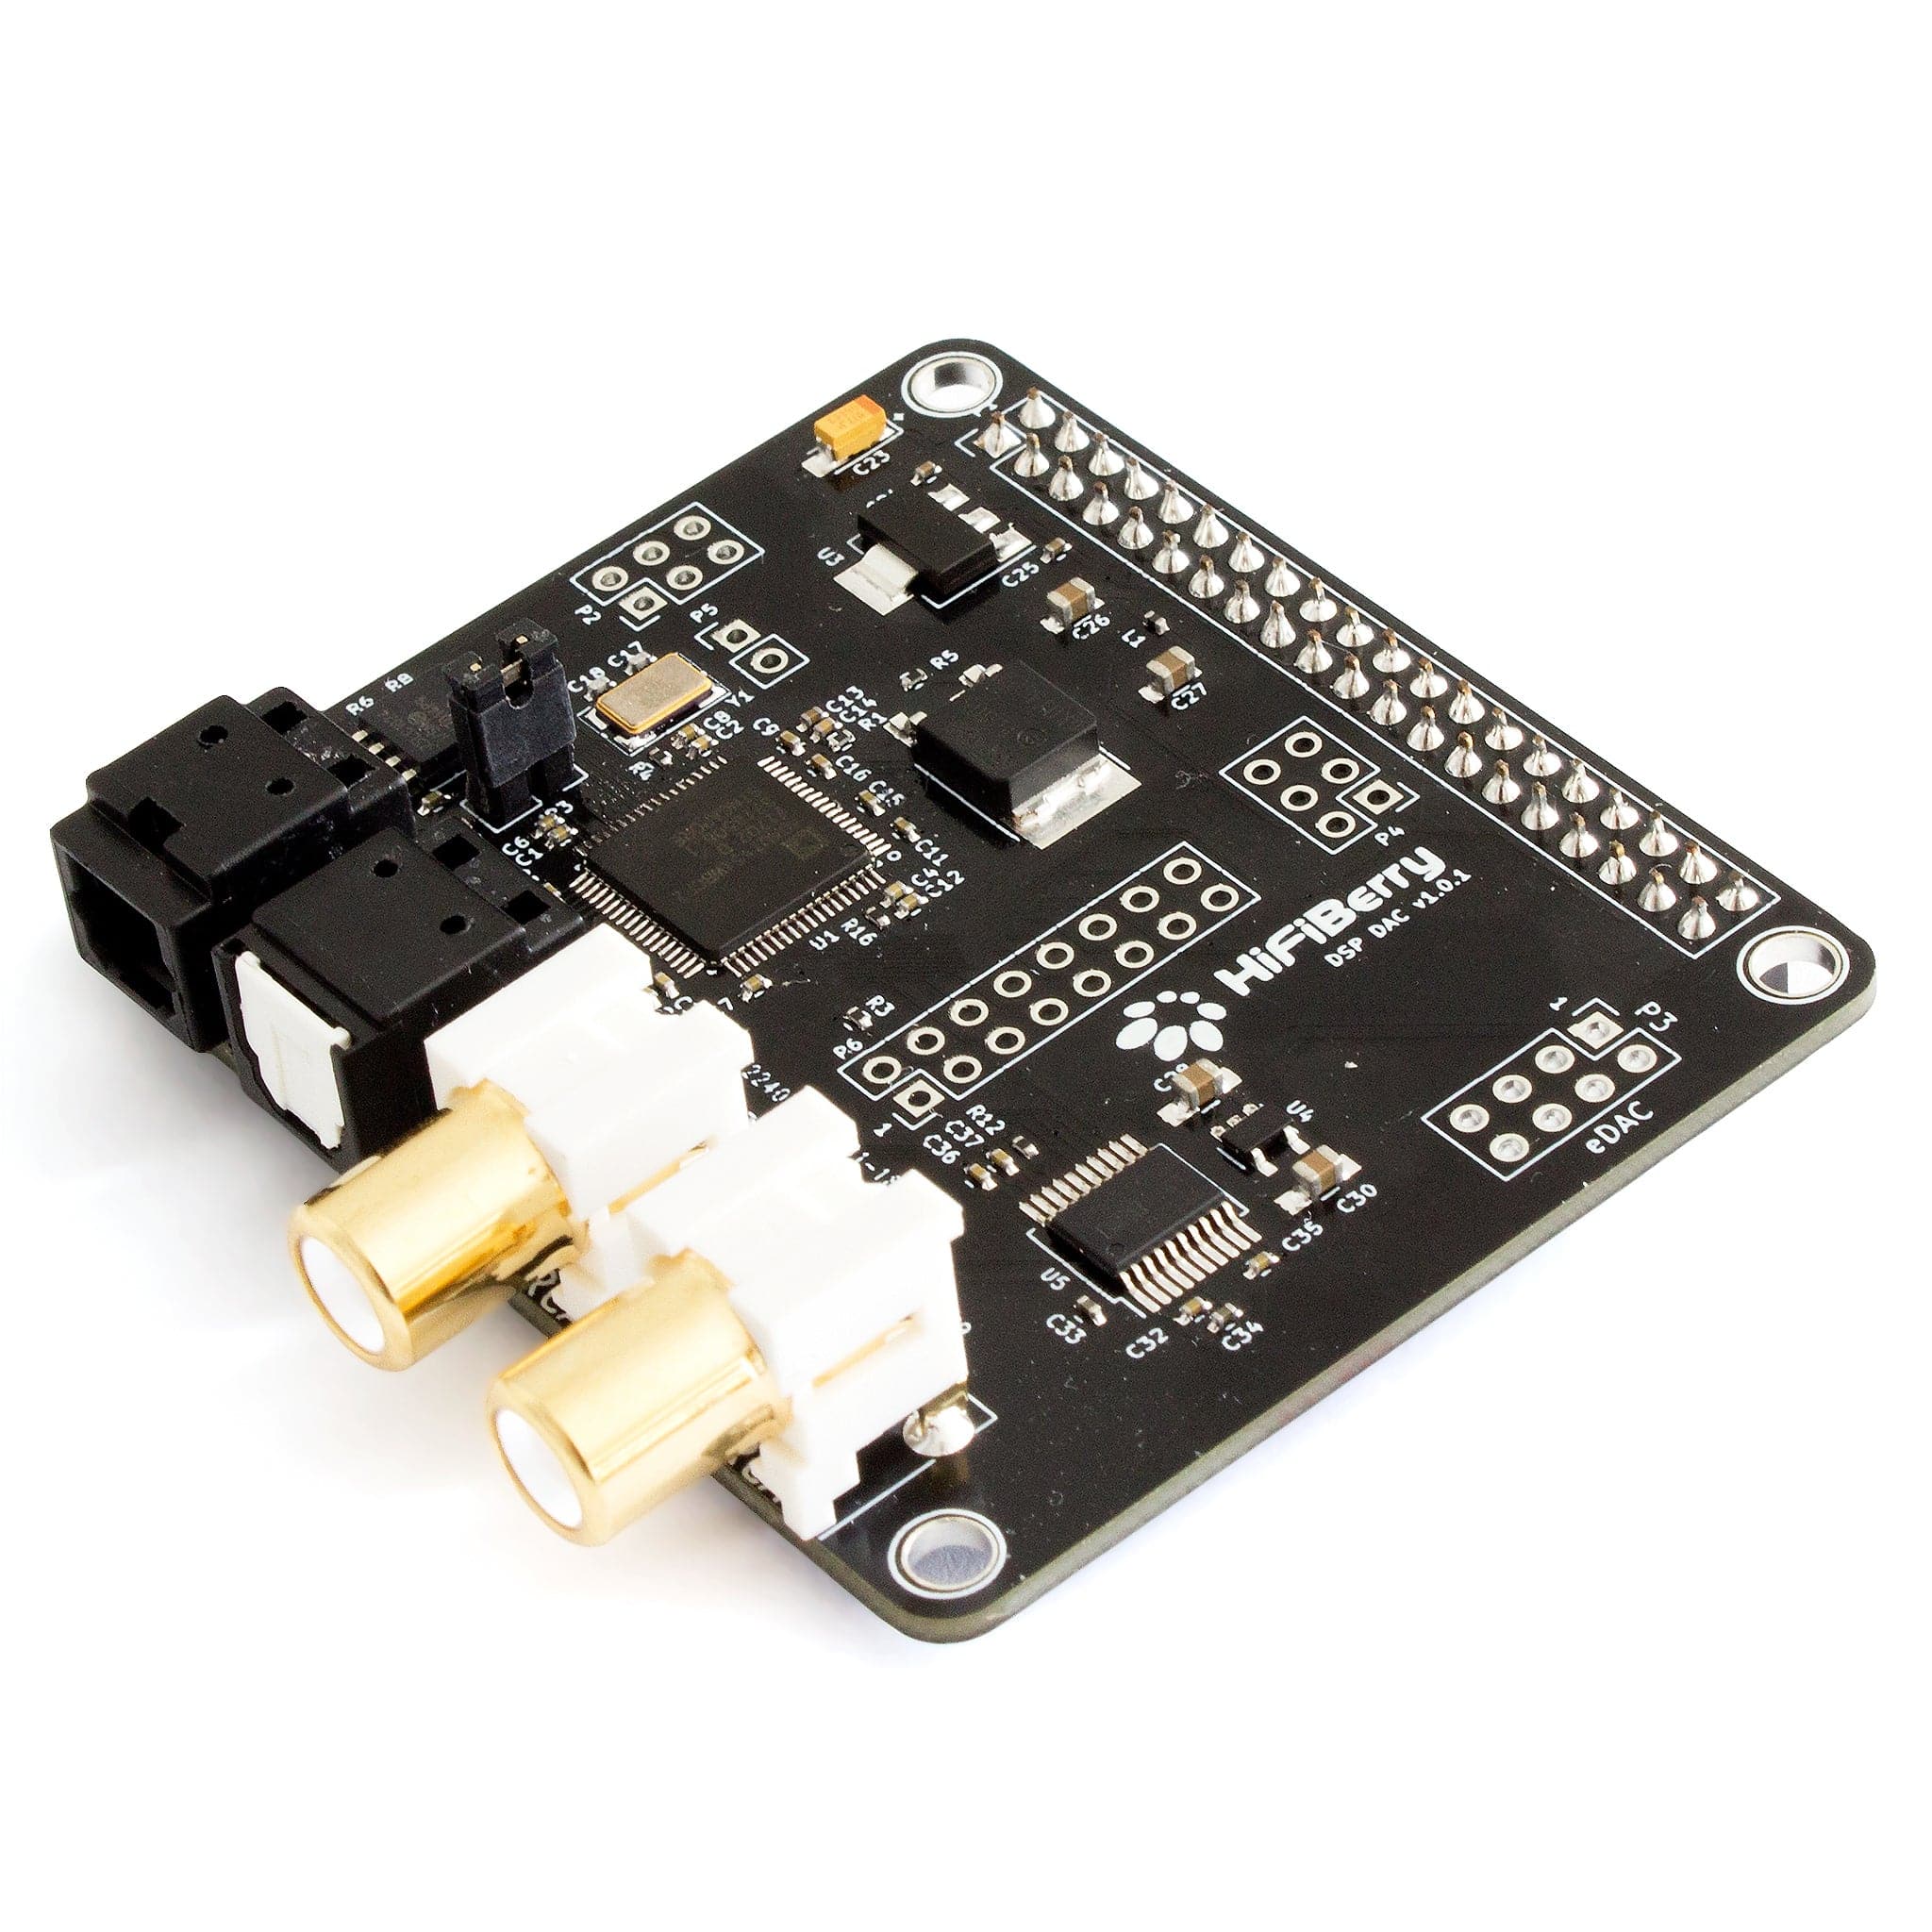
The HiFiBerry DAC+ DSP is a high-resolution digital-to-analogue converter for the Raspberry Pi (newer models with 40 pin GPIO connector). It combines a Burr-Brown DAC used on the HiFiBerry DAC+ with digital input and output - and also comes with a powerful digital signal processor.
The DAC+ DSP uses the same full-featured DSP that is used on the Beocreate 4-channel amplifier and combines it with digital inputs and outputs and a stereo analogue output.
We wanted to offer the maker community a DSP that they can use in any way they like, without pre-defined filter setups or “applications”, but full access to the DSP. This allows you to create DSP programs for all kinds of applications – not just simple crossovers or equalisers.
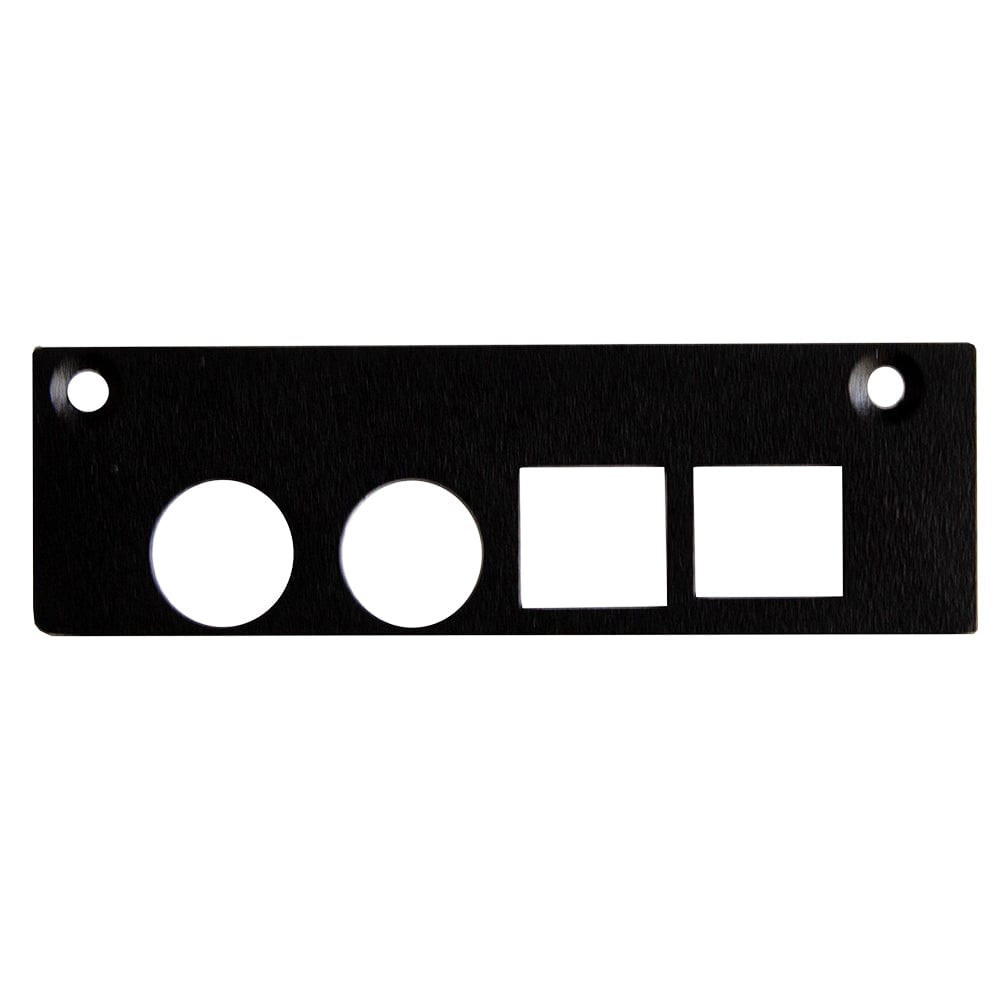
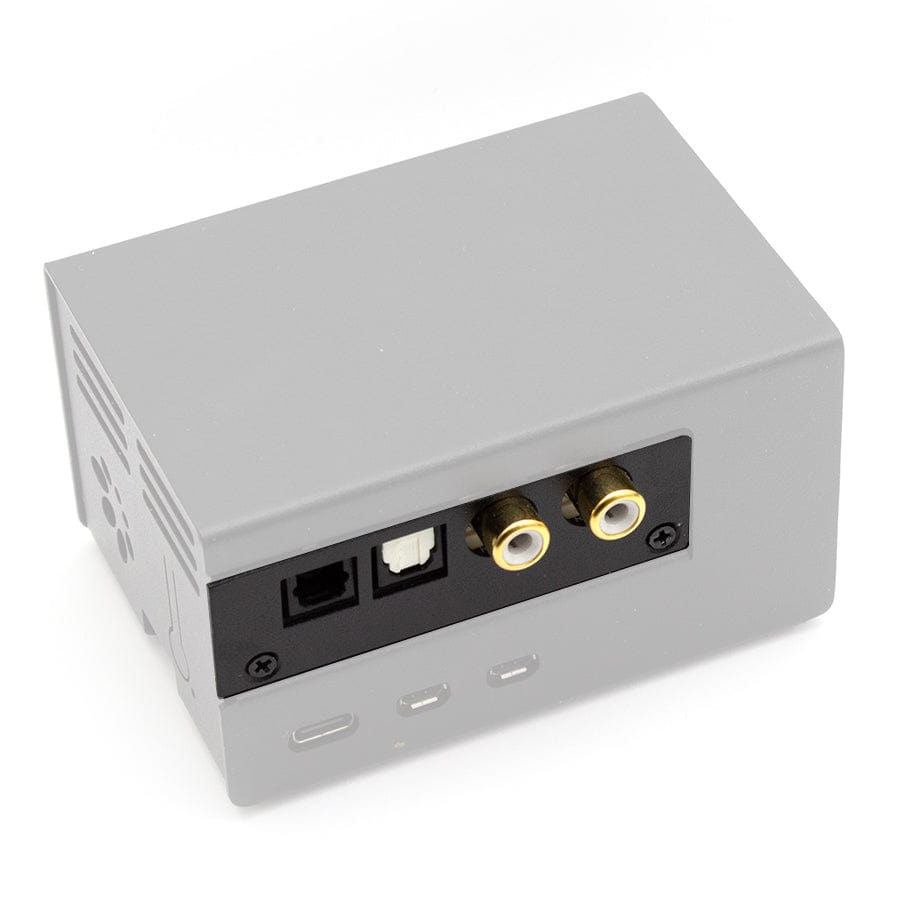
We now stock the DAC+ DSP Backplate, allowing you to fit this HAT into the HiFiBerry Universal Steel Case for Raspberry Pi 5 and the Pi 4 version!
Features
- Stereo analog output (sample rates up to 192kHz/24bit)
- Stereo digital input and output (input up to 96kHz, output up to 192kHz)
- 300 MHz Digital Signal Processor (6144 instructions per sample incl. FFT and FIR accelerators)
- Dedicated 192kHz/24bit high-quality Burr-Brown DAC
- High-quality asynchronous sample rate converter that can upsample/downsample/mix audio sources
- Onboard EEPROM allows to board to boot and run even without the Raspberry Pi
- Users can upload programs developed with Analog’s SigmaStudioStereo input and output
- Connects directly to the Raspberry Pi, no additional cables needed
- No soldering, comes as a pre-fabricated kit. You just plug it onto the Raspberry Pi, it is conform to the Raspberry Pi hardware-attached-on-top (HAT) specification.
- Compatible with all Raspberry Pi models with a 40-pin GPIO connector
- Directly powered from the Raspberry Pi, no additional power supply
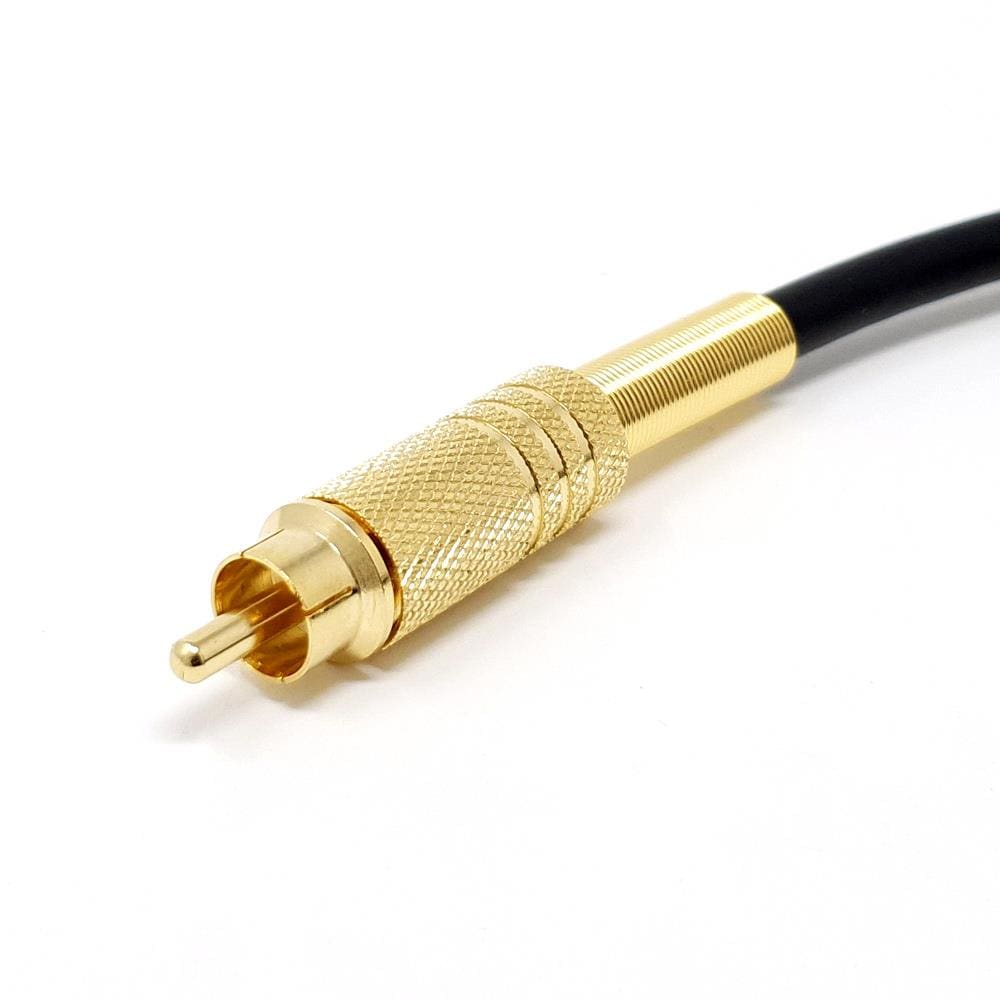
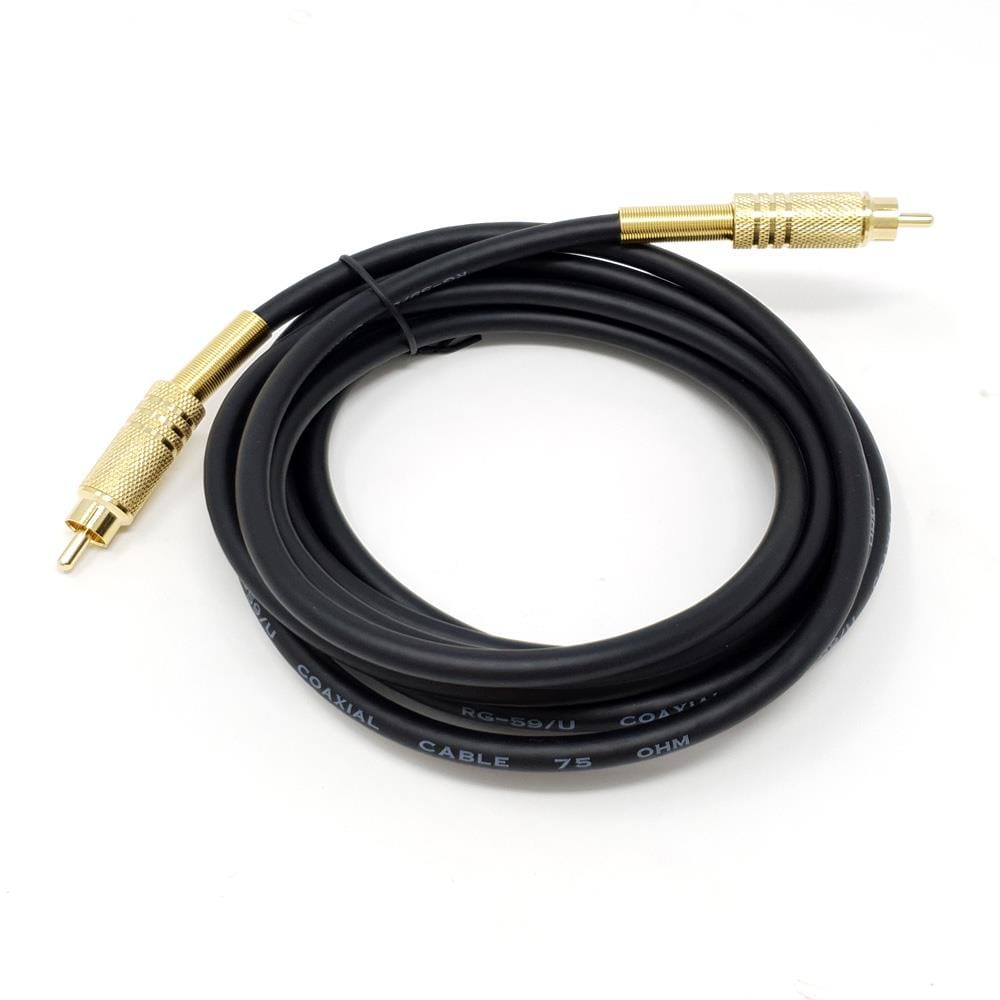
- Gold-plated RCA output connectors
- Comes with all components required to mount it. We include 4 M2.5x12mm spacers to fix the board onto the Raspberry Pi
Specifications
| DAC Maximum Output Voltage |
2.1Vrms |
| DAC Signal-to-Noise Ratio |
112dB (typical) |
| DAC THD+N |
-93dB (typical) |
| Power Consumption |
< 3W (depends on the program running on the DSP) |
| Sample Rates |
44.1–192kHz |
| DSP Processing Capabilities |
Full DSP functionality with DSP program development in Analog’s SigmaStudio |
| Max IIR Filters |
> 1000 |
| Max FIR Filter Taps |
Approx. 8000 |
| Internal Sample Size for DSP Calculations |
32-bit decimal |
Resources
Use Cases
What can you do with it? A lot – just get creative! Here are some example use cases:
Use it as a ‘DAC on steroids’
The easiest thing to do is to use the DSP/DAC as a DAC for the Raspberry Pi to play back music – as you would do this with our “normal” DAC+ boards. But in this case, you have the added benefit of a high-performance DSP to adjust for your particular needs.
Use it as a standalone DAC
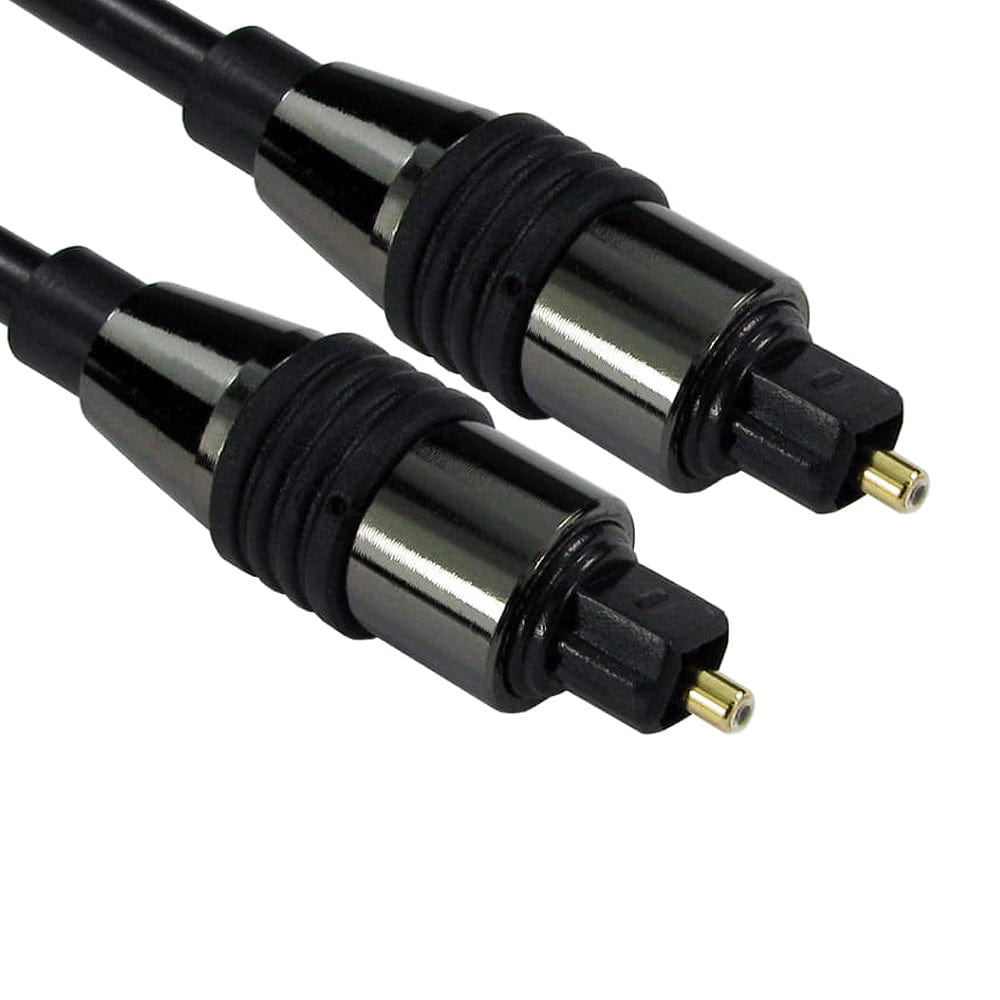
For those of you who have an old CD player or TV to play back music, just connect the TOSLink output of your CD player or TC to the TOSLink input of the board and get the analogue signal on the RCA output. You can even do this without the Raspberry Pi. However, you need to feed 5V to the board as it would normally be powered by the Raspberry Pi.
Upsample/downsample digital music sources
Many audiophiles fear sample rate conversions! There are a lot of discussions about “being bit-perfect”, however it’s a simple fact that basically all DACs on the market do not perform equally well on all sample rates.
Some people might prefer 48kHz playback, others want to use the highest available sample rate of 192kHz (that’s the limit of SPDIF).
Do you have any preferences? With different DSP settings, you can try by yourself to see what works best for you. The performance parameters of the integrated asynchronous sample rate converters (dynamics, distortions) are better than the analogue performance of your DAC. Don’t be afraid to try it out.
Room equalisation
The major challenges in audio playback aren’t the electronics. While different components can have an impact on audio performance – there is one component that definitely will have a huge impact – the room that you’re listening in.
The same electronics and speakers can sound very different in different rooms. Not only the walls of a room, but every piece of furniture in it will reflect parts of the sound waves and absorb other parts. Especially in the low-frequency range, where there is a lot of absorption which can create all kinds of problems.
Some frequencies might be very loud, others might be almost inaudible. This is normal and you can’t completely eliminate the effects of rooms acoustics. However, you can improve the performance of your setup. The easiest way to do this is to find room resonances and reduce the volume of the sound at these specific resonance frequencies.
Sounds complicated? Luckily there are tools like REW that do a lot of the measurements and calculations for you already. We’ve already created a guide how to use REW with our DSP toolkit.
Change DSP parameters on the fly
Do you have some cool ideas to change the parameters of a DSP program on the fly? What about dynamic reduction that automatically gets activated at night? Yes, we all love high dynamics, but sometimes our neighbours don’t. Or you want to use a different equaliser set for TV playback than for music playback?
Everything is possible. The DSP can be programmed directly from the Raspberry Pi. You can change parameters with simple command-line tools.
Connect your I2S DAC
We already see a lot of users using our DAC+ Pro to connect external I2S DACs. With the DAC+ DSP this will be much easier. The reason for this is the fact that you can select specific I2S output formats with the DSP/DAC.
Note: This is really something for advanced users. You should know a lot about I2S and you should also be able to debug this with an oscilloscope.
And many more!
With Analog’s SigmaStudio, you can create your own DSP program and implement whatever you like. What about an adaptive loudness function? Check out this project. Want to run FIR filters? You can easily run two 4000-tap FIR filters on this powerful DSP.
