Espressif ESP32-S3-EYE - ESP32-S3 Camera Board

AdafruitSKU: ADA5955
Price:
Sale price £52.40
incl. VAT
excl. VAT
Stock:
Only 5 units left
Quantity:

Awesome Extras

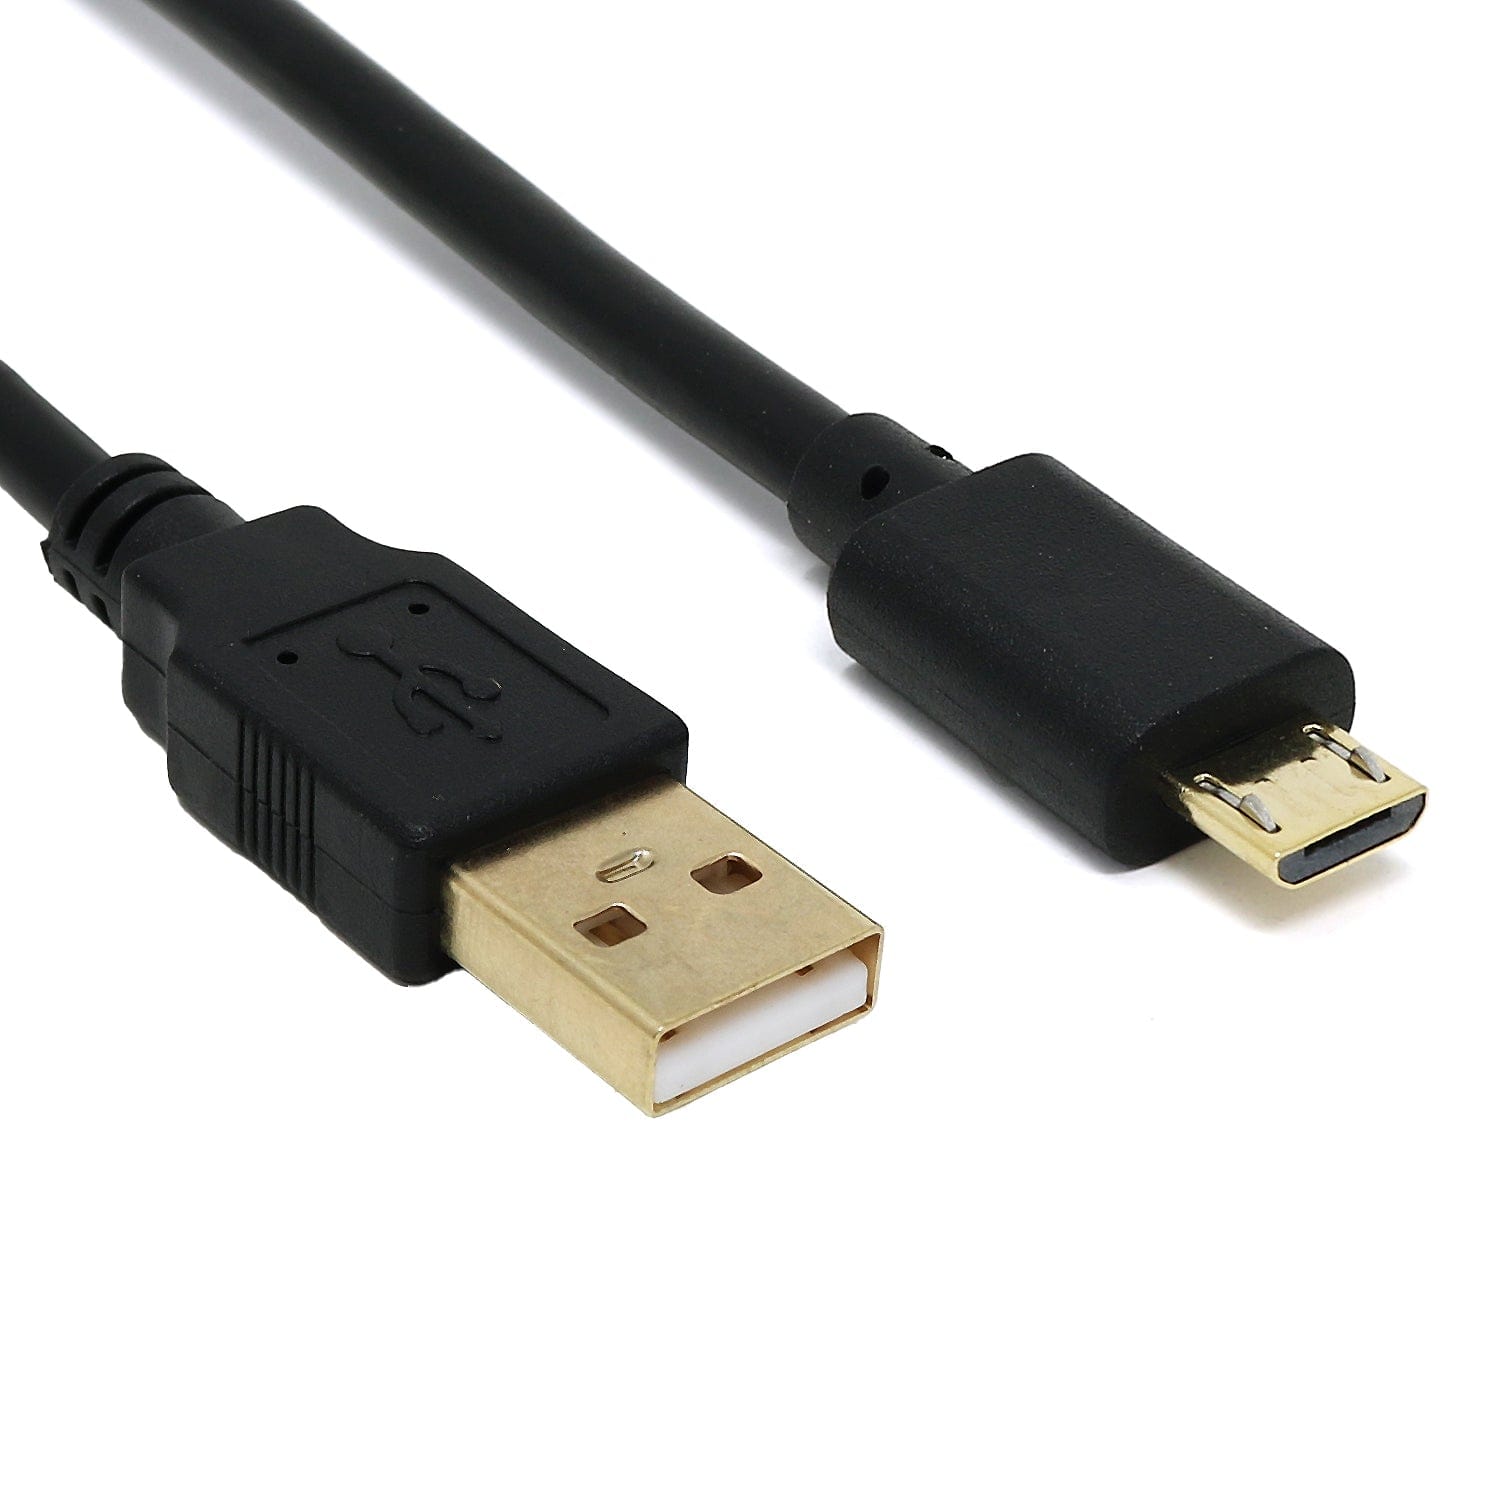
USB-A to Micro-USB Cable - The Pi Hut
The Pi HutUSB-A to Micro-USB Cable
Sale priceFrom £1.50 incl. VAT excl. VAT
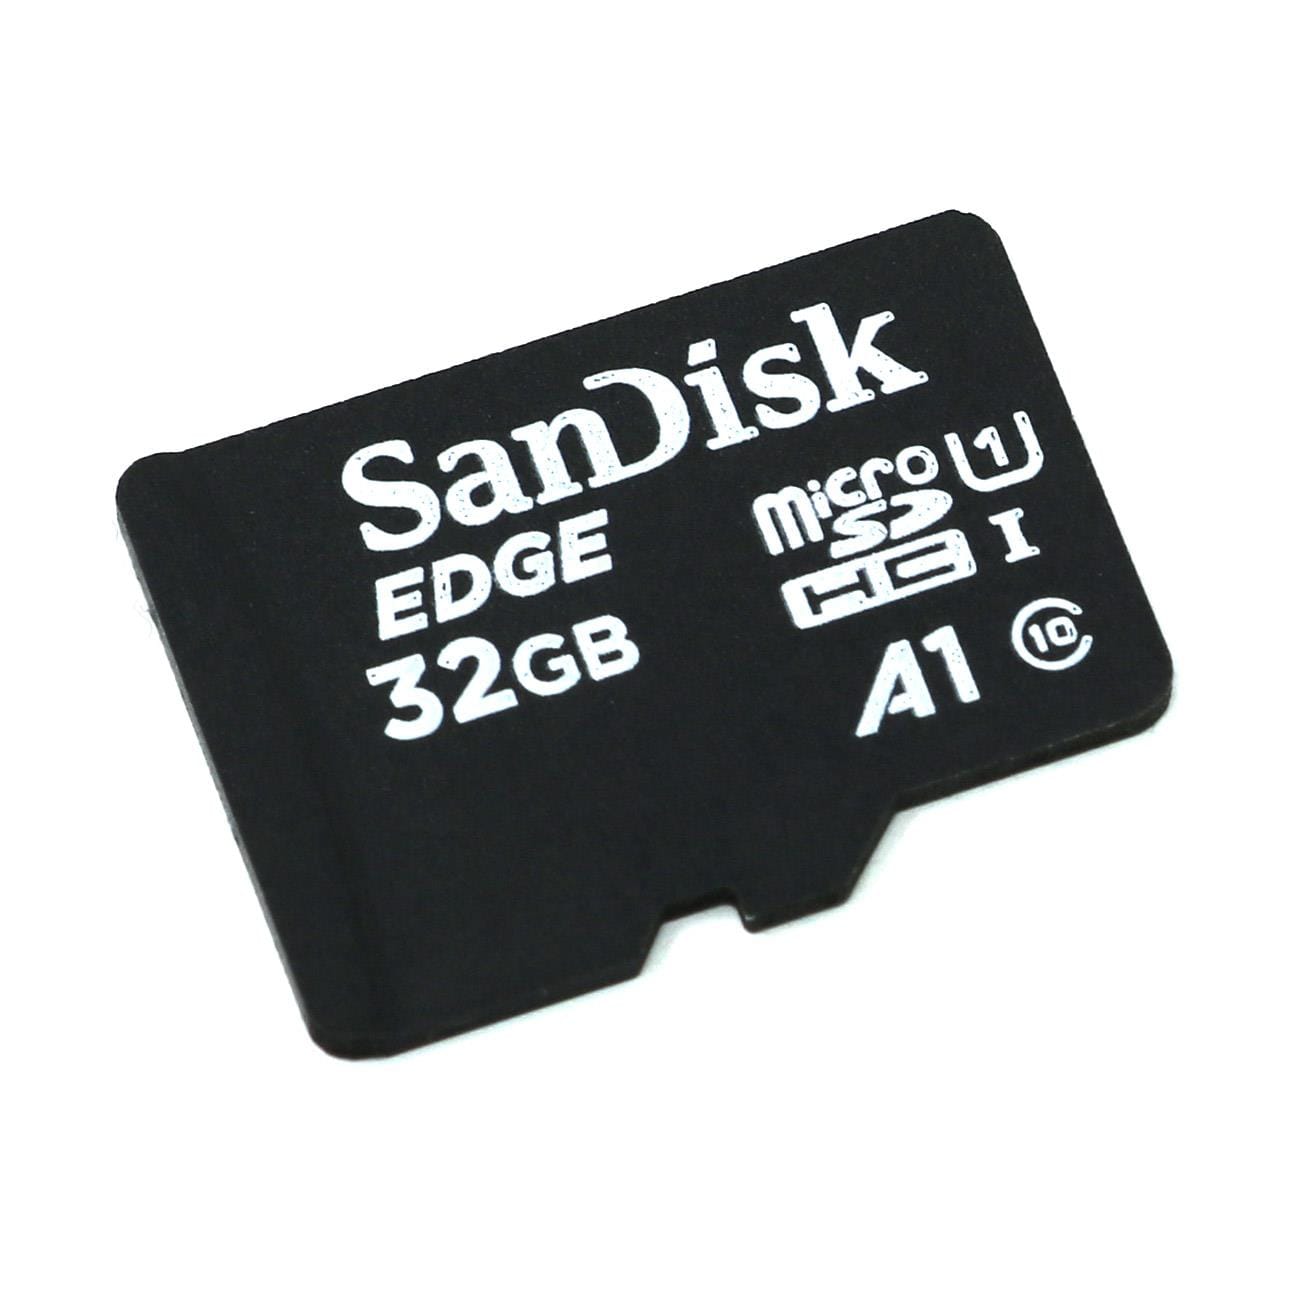
SanDisk MicroSD Card (Class 10 A1) - The Pi HutSanDisk MicroSD Card (Class 10 A1) - The Pi Hut
SanDiskSanDisk MicroSD Card (Class 10 A1)
Sale priceFrom £6 incl. VAT excl. VAT
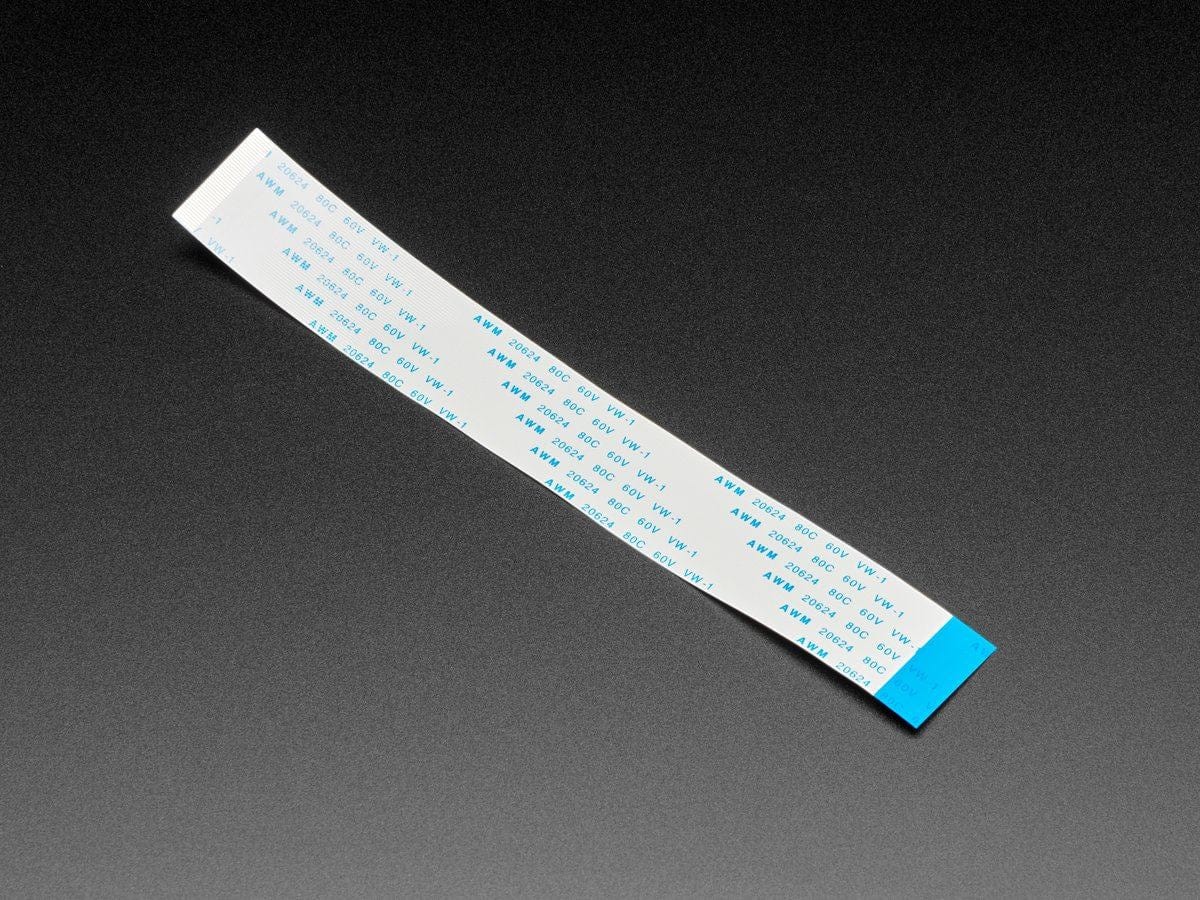
40-pin 0.5mm pitch FPC Flex Cable with A-B Connections (25cm long) - The Pi Hut40-pin 0.5mm pitch FPC Flex Cable with A-B Connections (25cm long) - The Pi Hut

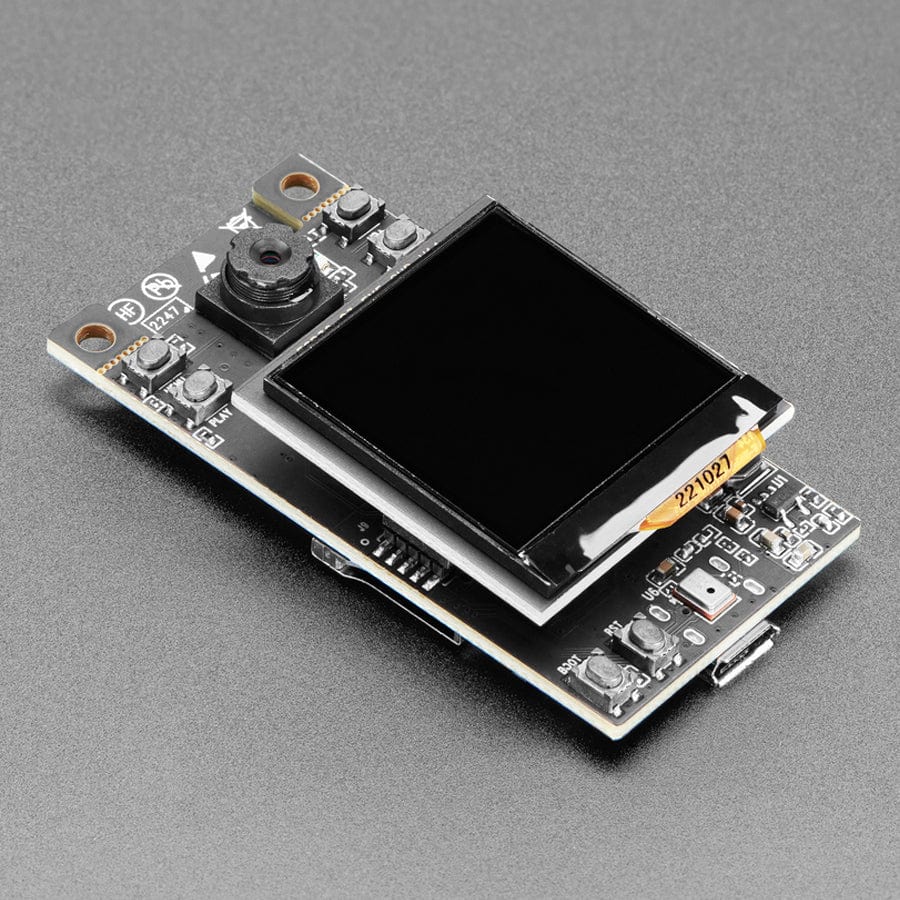
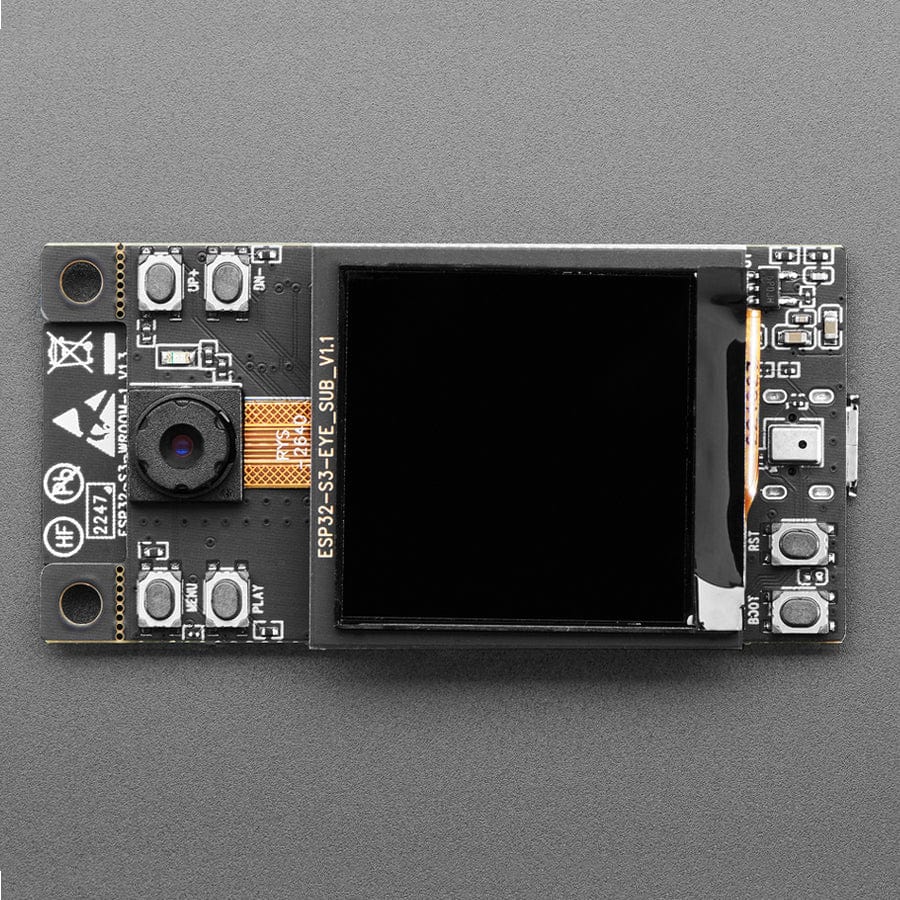
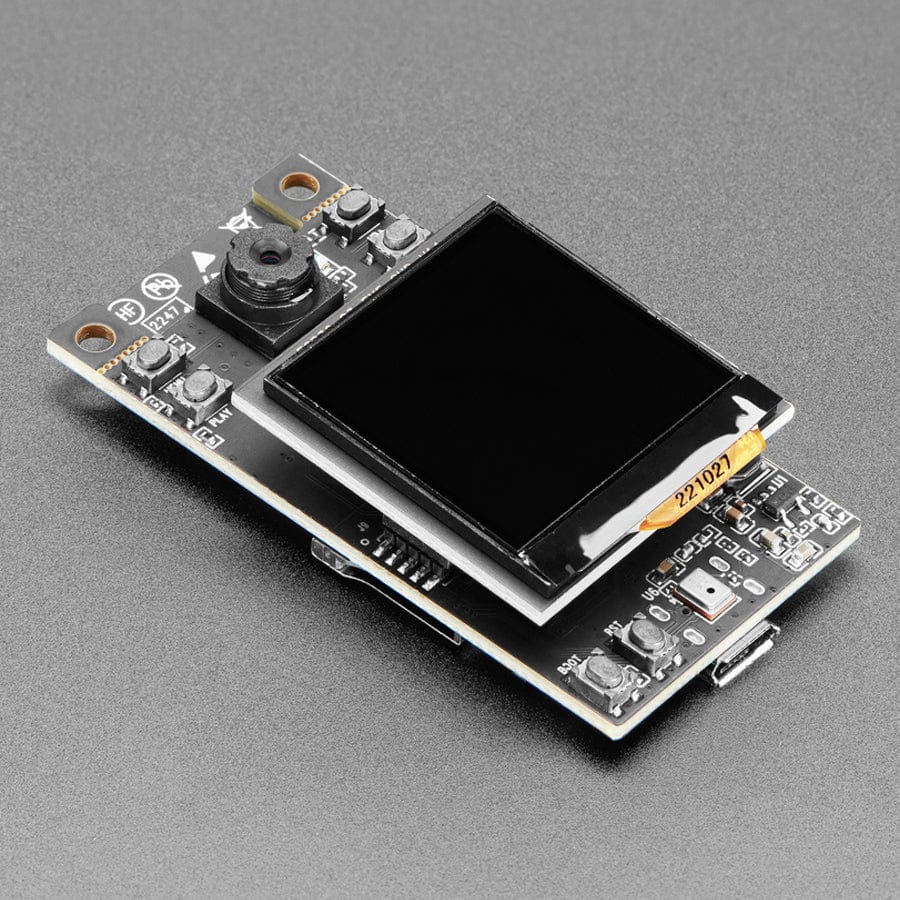
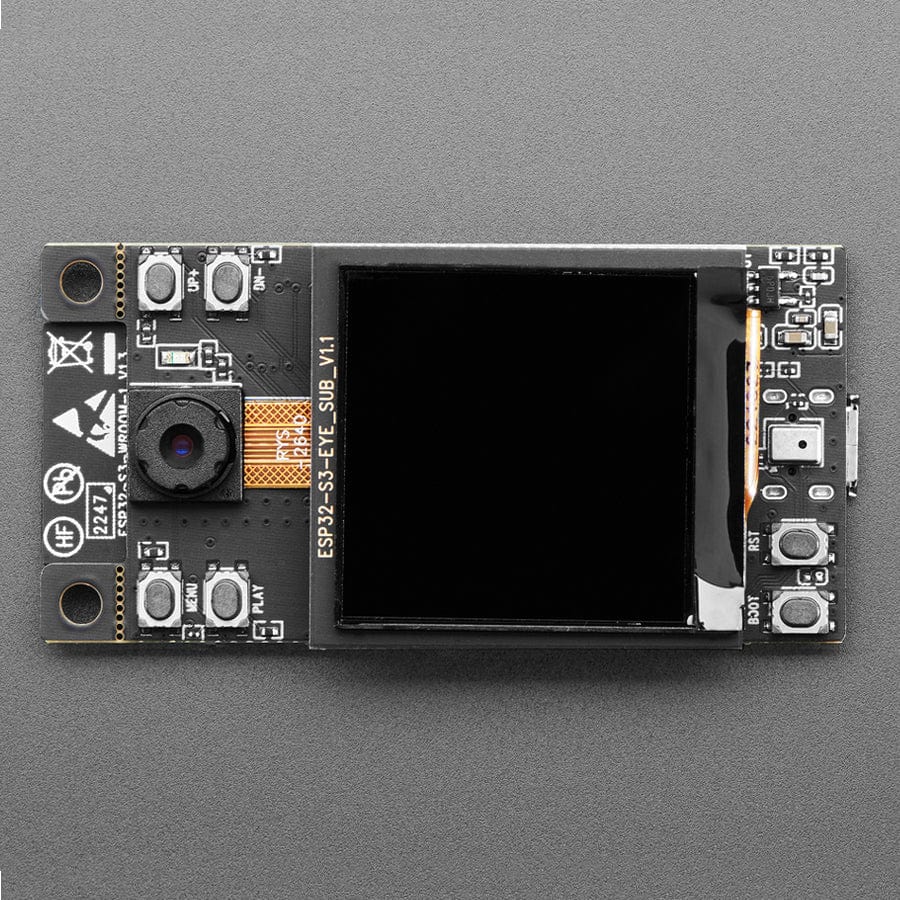
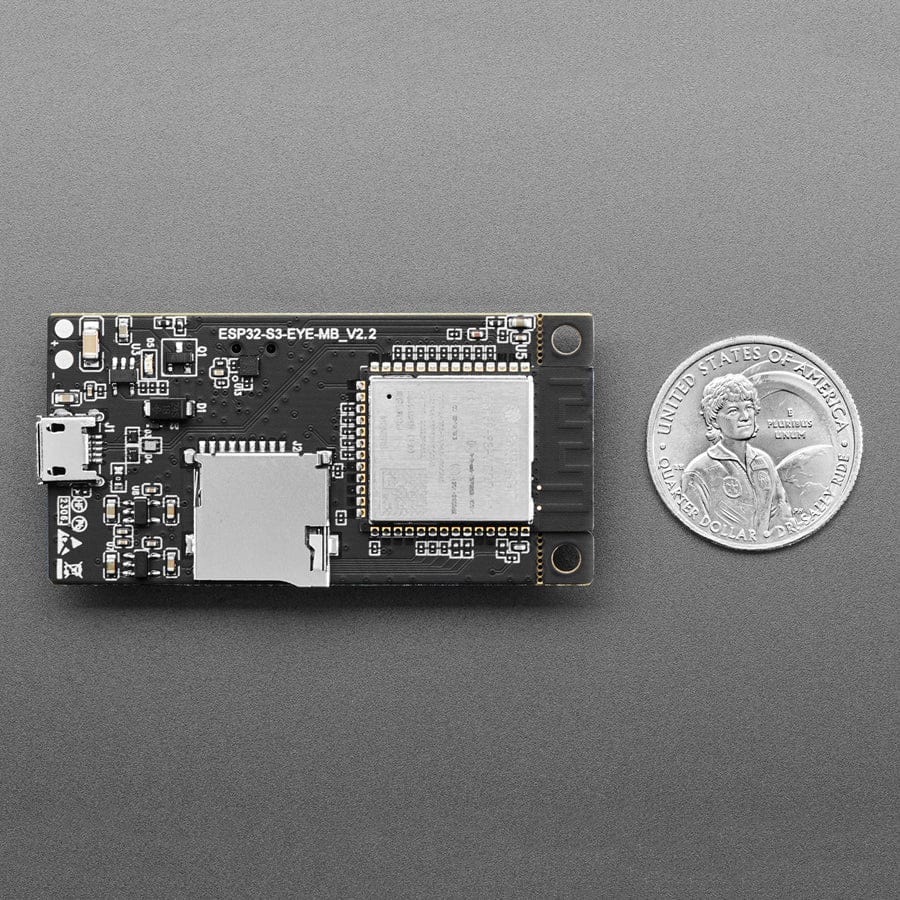
Ever wanted to dabble in face and/or speech recognition? Espressif's ESP-S3-EYE is a miniature AI development board. It is based on the ESP32-S3 SoC and ESP-WHO, Espressif’s AI development framework. It features a 2-megapixel camera, an LCD display, and a microphone, which are used for image recognition and audio processing.

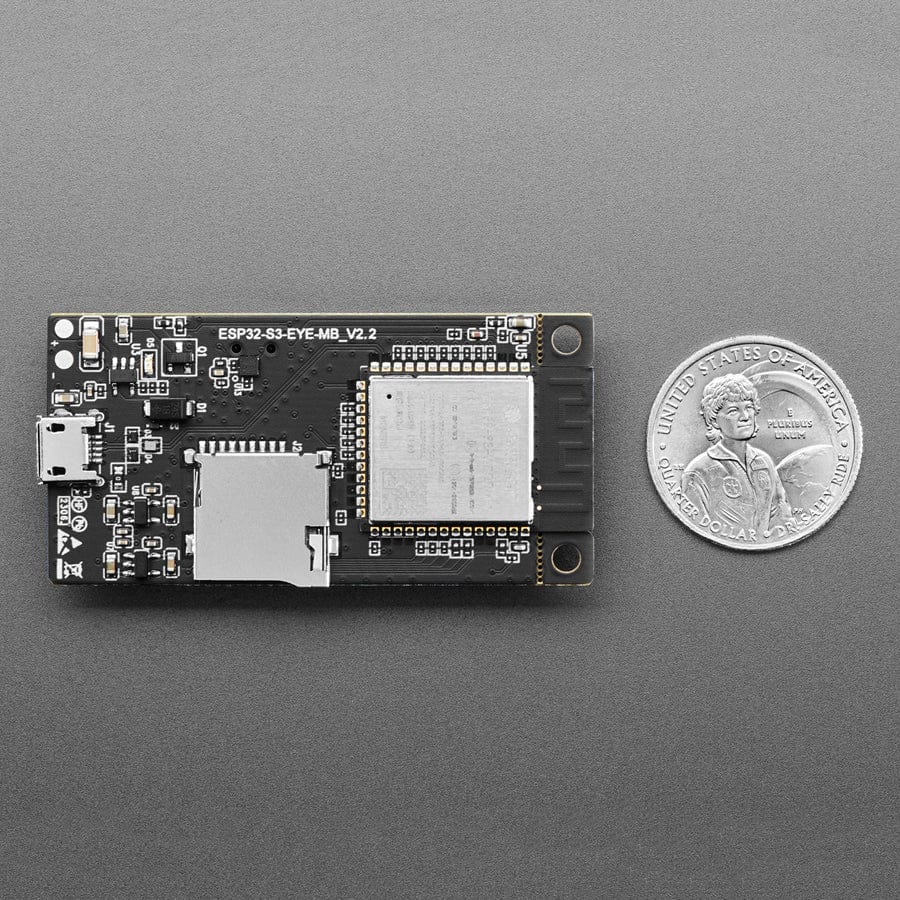
ESP32-S3-EYE offers plenty of memory for image management, with an 8 MB Octal PSRAM and an 8 MB flash. It also supports image transmission via Wi-Fi and debugging through a Micro-USB port. With ESP-WHO, you can develop various AIoT applications, such as smart doorbells, surveillance systems, facial recognition time clocks, etc.

Unlike some boards, this codebase does not require internet connectivity - you don't have to send video or audio data to 'the cloud' - it's all processed on-chip! The built-in demo shows off what it can do:

Before powering up your board, please ensure it is in good condition with no obvious signs of damage. Both the main board and the sub-board should be firmly connected together. Then, follow the instructions described below:

  • Connect the board to a power supply through the USB Port using a USB cable. While the board is powered up, you will notice the following responses:
  • The Module Power LED turns on for a few seconds, indicating that the default firmware is being loaded.
  • The Module Power LED turns off, indicating the default firmware has been loaded. The board enters human face recognition mode by default.
  • The LCD display shows live video streaming.

At this point, the board is ready for further instructions. You can control the board with either function buttons or voice commands. Function button control is described first:

  • Face the camera so a whole human face is visible on the screen for the board to detect. Once a human face is detected, the board displays a blue rectangle.
  • Press MENU so the board enters an ID (starting from 1) for a detected human face.
  • Press UP+ so that the board starts face recognition. Once a face is recognized, the board displays the entered face ID. If it doesn’t know the face, it displays “WHO?”.
  • Press PLAY to delete the latest face ID. The board displays "XXX ID(S) LEFT".

To control the board with voice commands, follow the instructions below:

  • Complete step 1 described previously and notice responses from the board.
  • Activate the board with the default English wake word “Hi ESP”. When the wake word is detected, the Module Power LED will turn on, indicating that the board is ready for a speech command.
  • Say an English speech command to control the board. Once a speech command is recognized, the Module Power LED will blink.

Once you get the demo going, check out the source code and ESP development platform to customize your very own DIY voice/speech recognition project.

Resources

Payment & Accreditations

Payment methods
Visa Mastercard Maestro PayPal Amazon Klarna

Your payment information is processed securely. We do not store credit card details nor have access to your credit card information.

Accreditations