Login / Signup
Cart
Your cart is empty
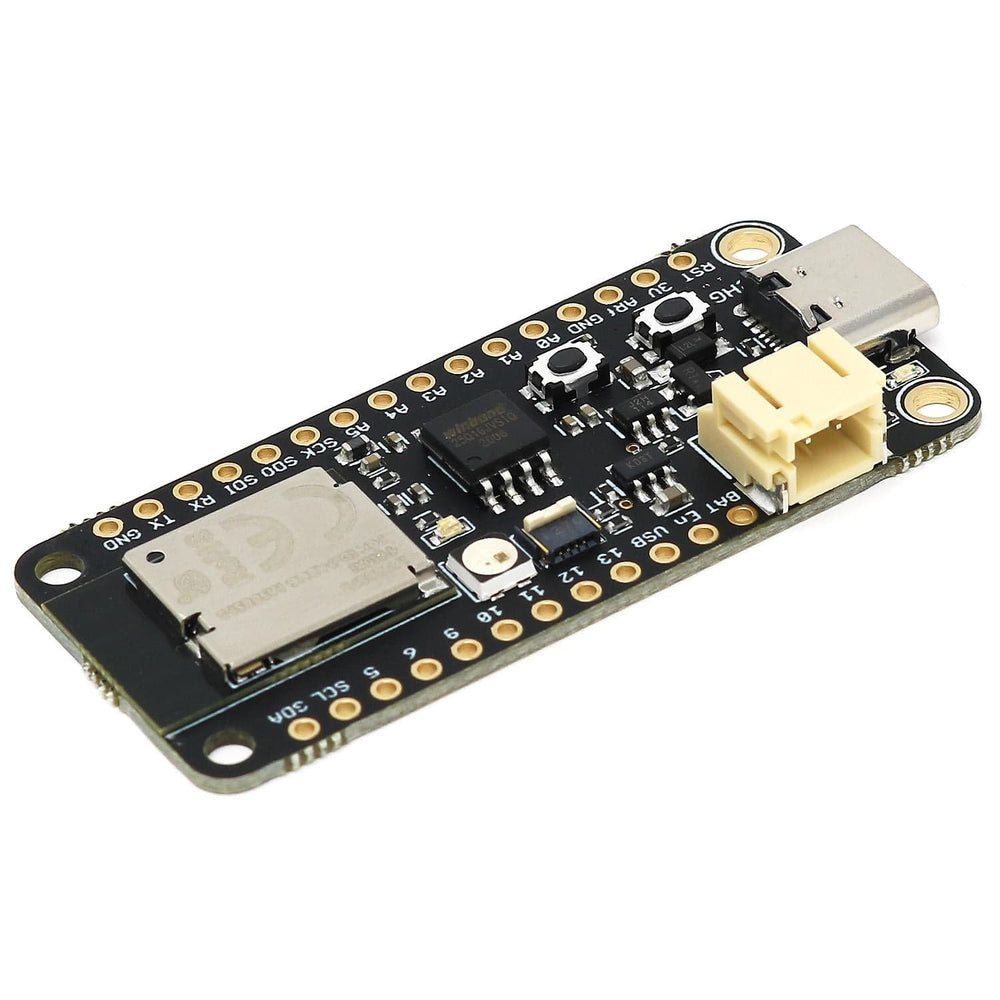
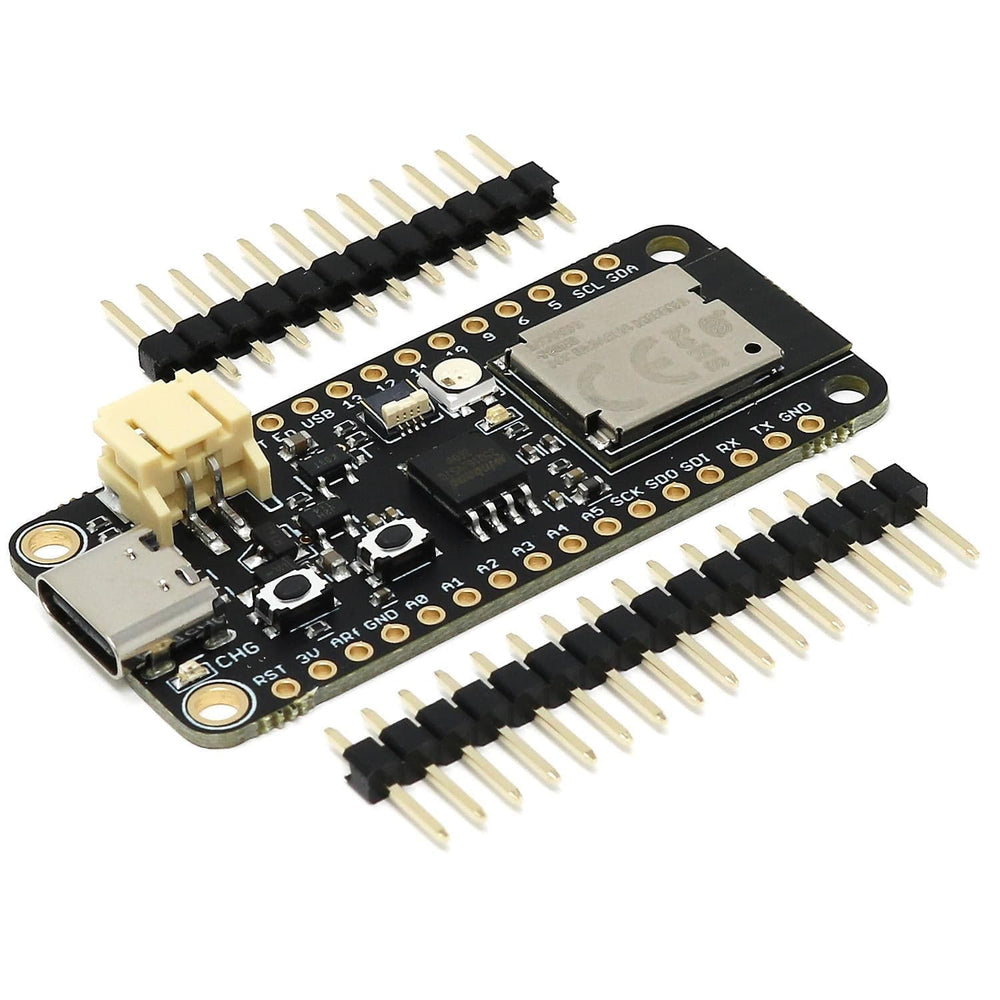
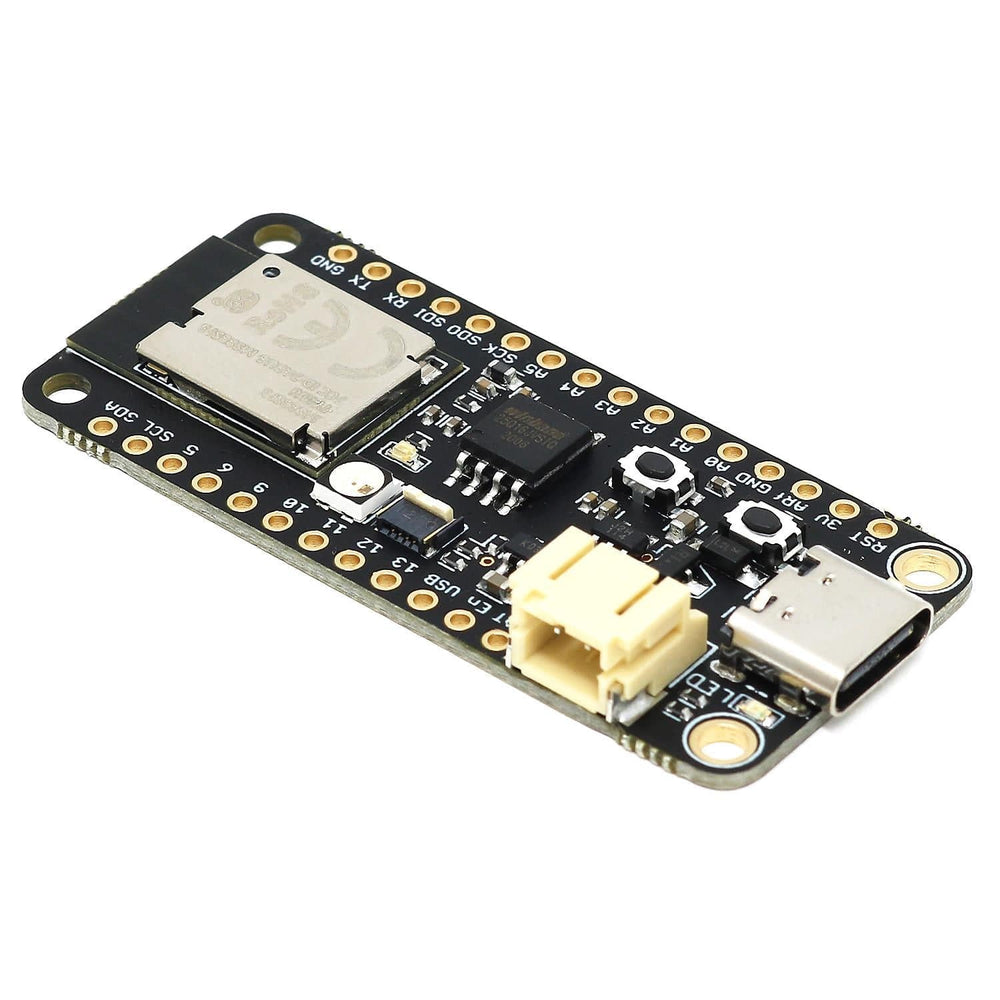
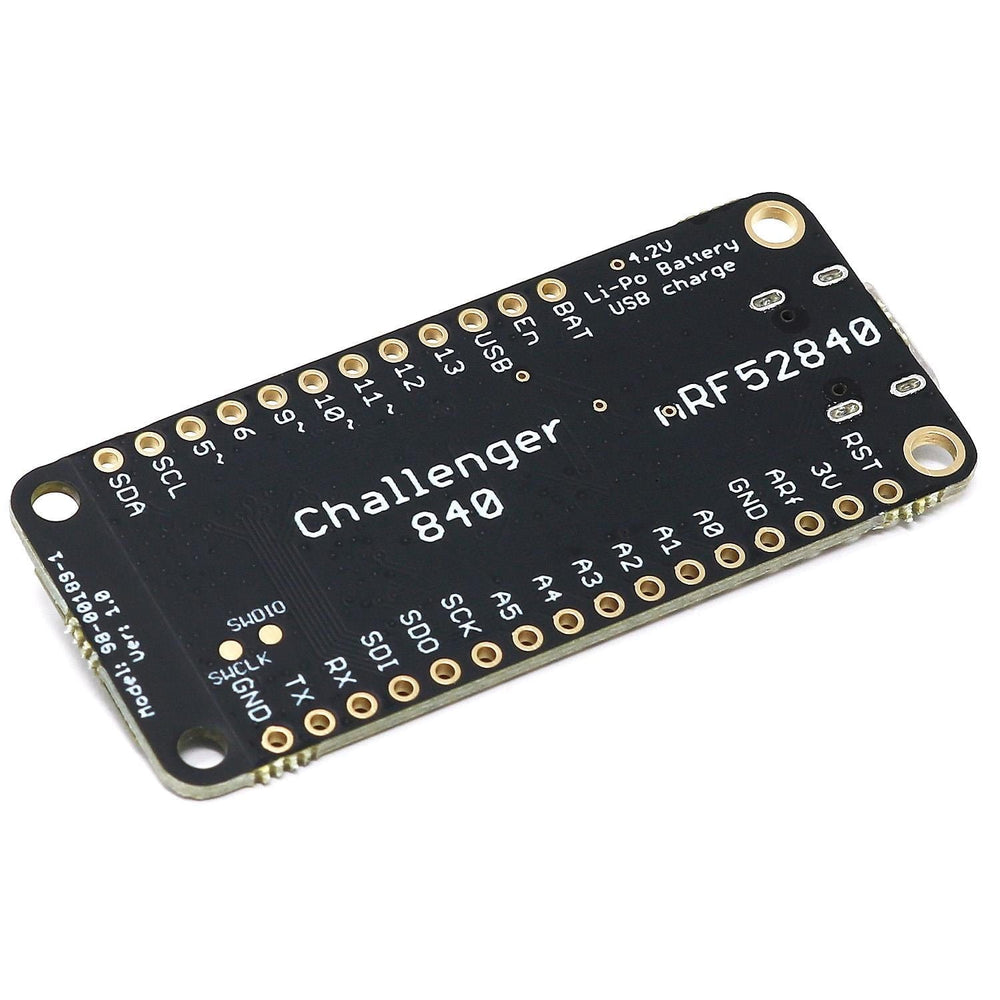
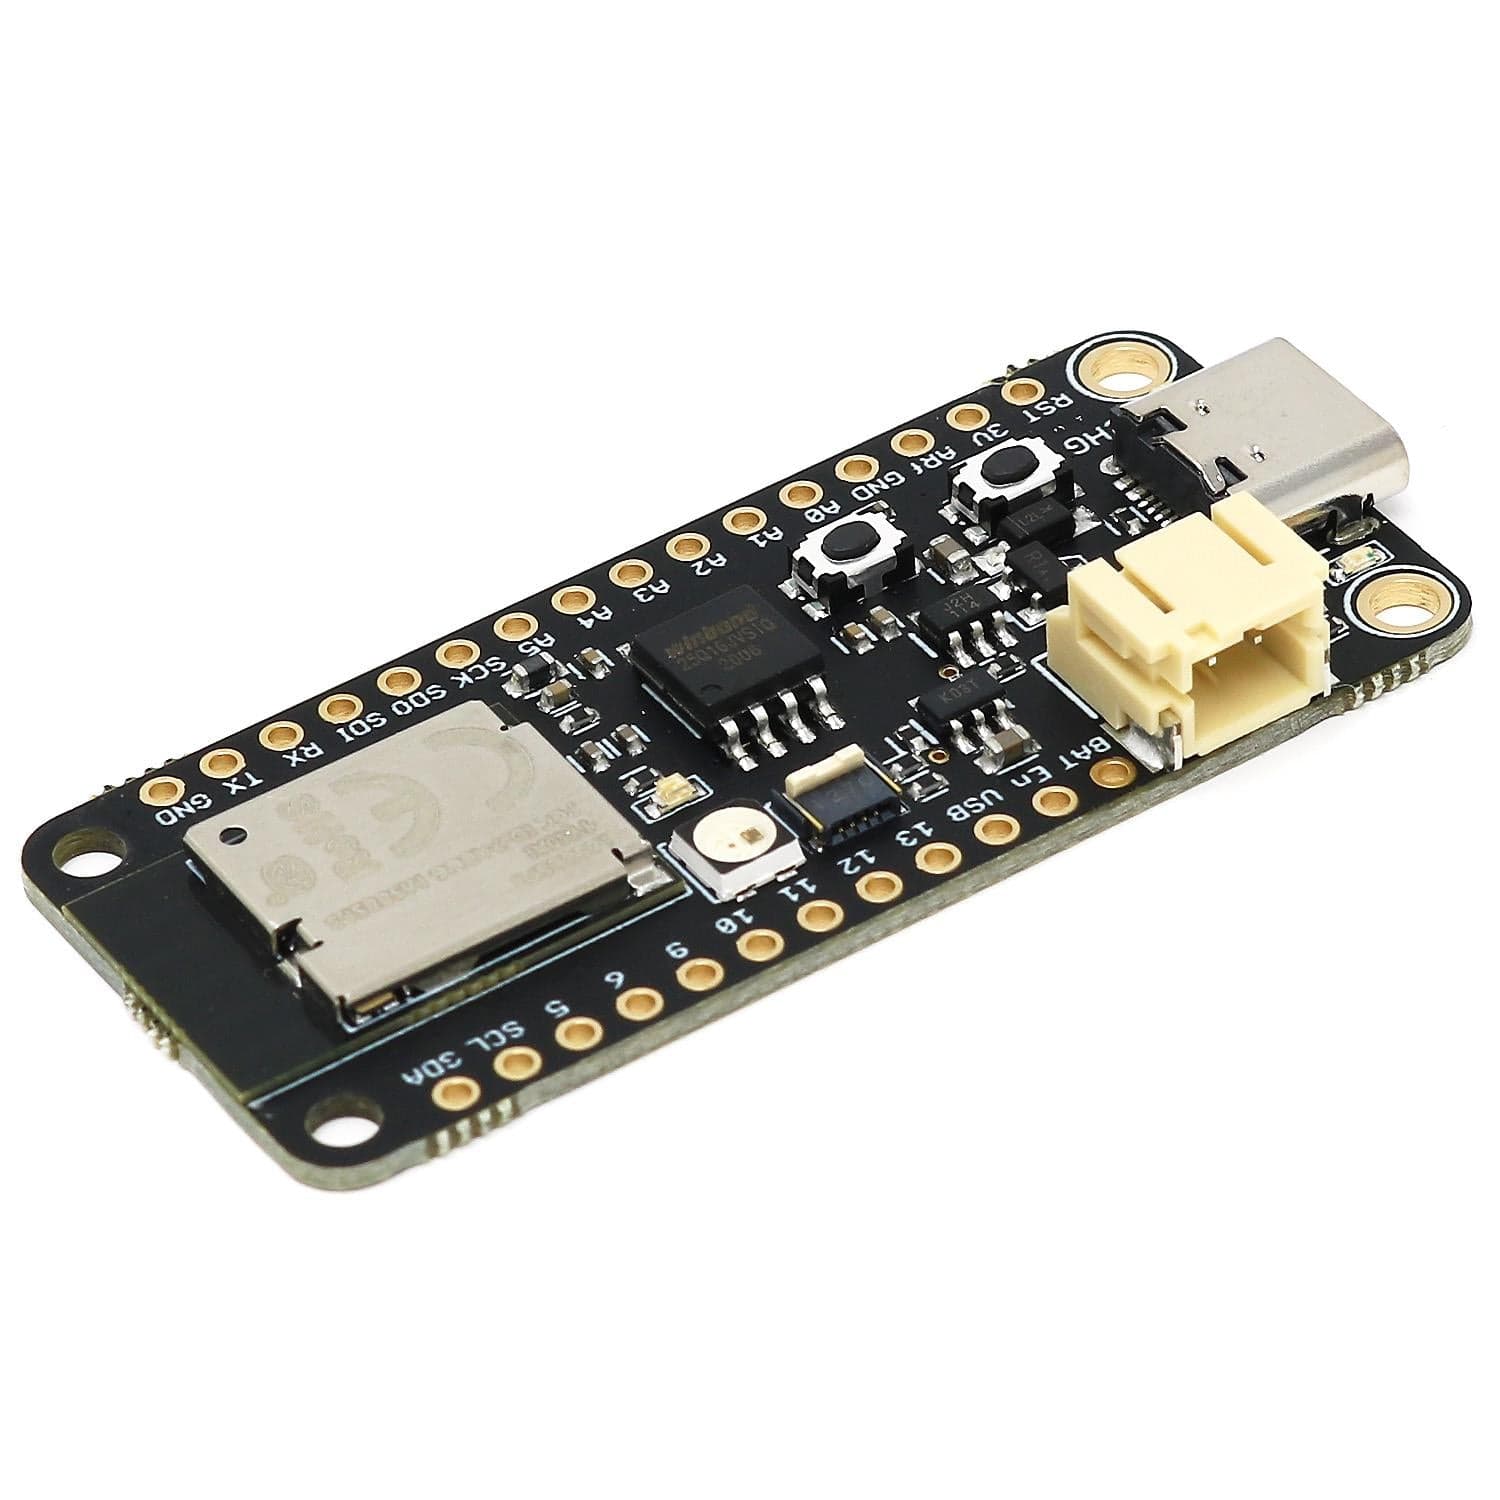
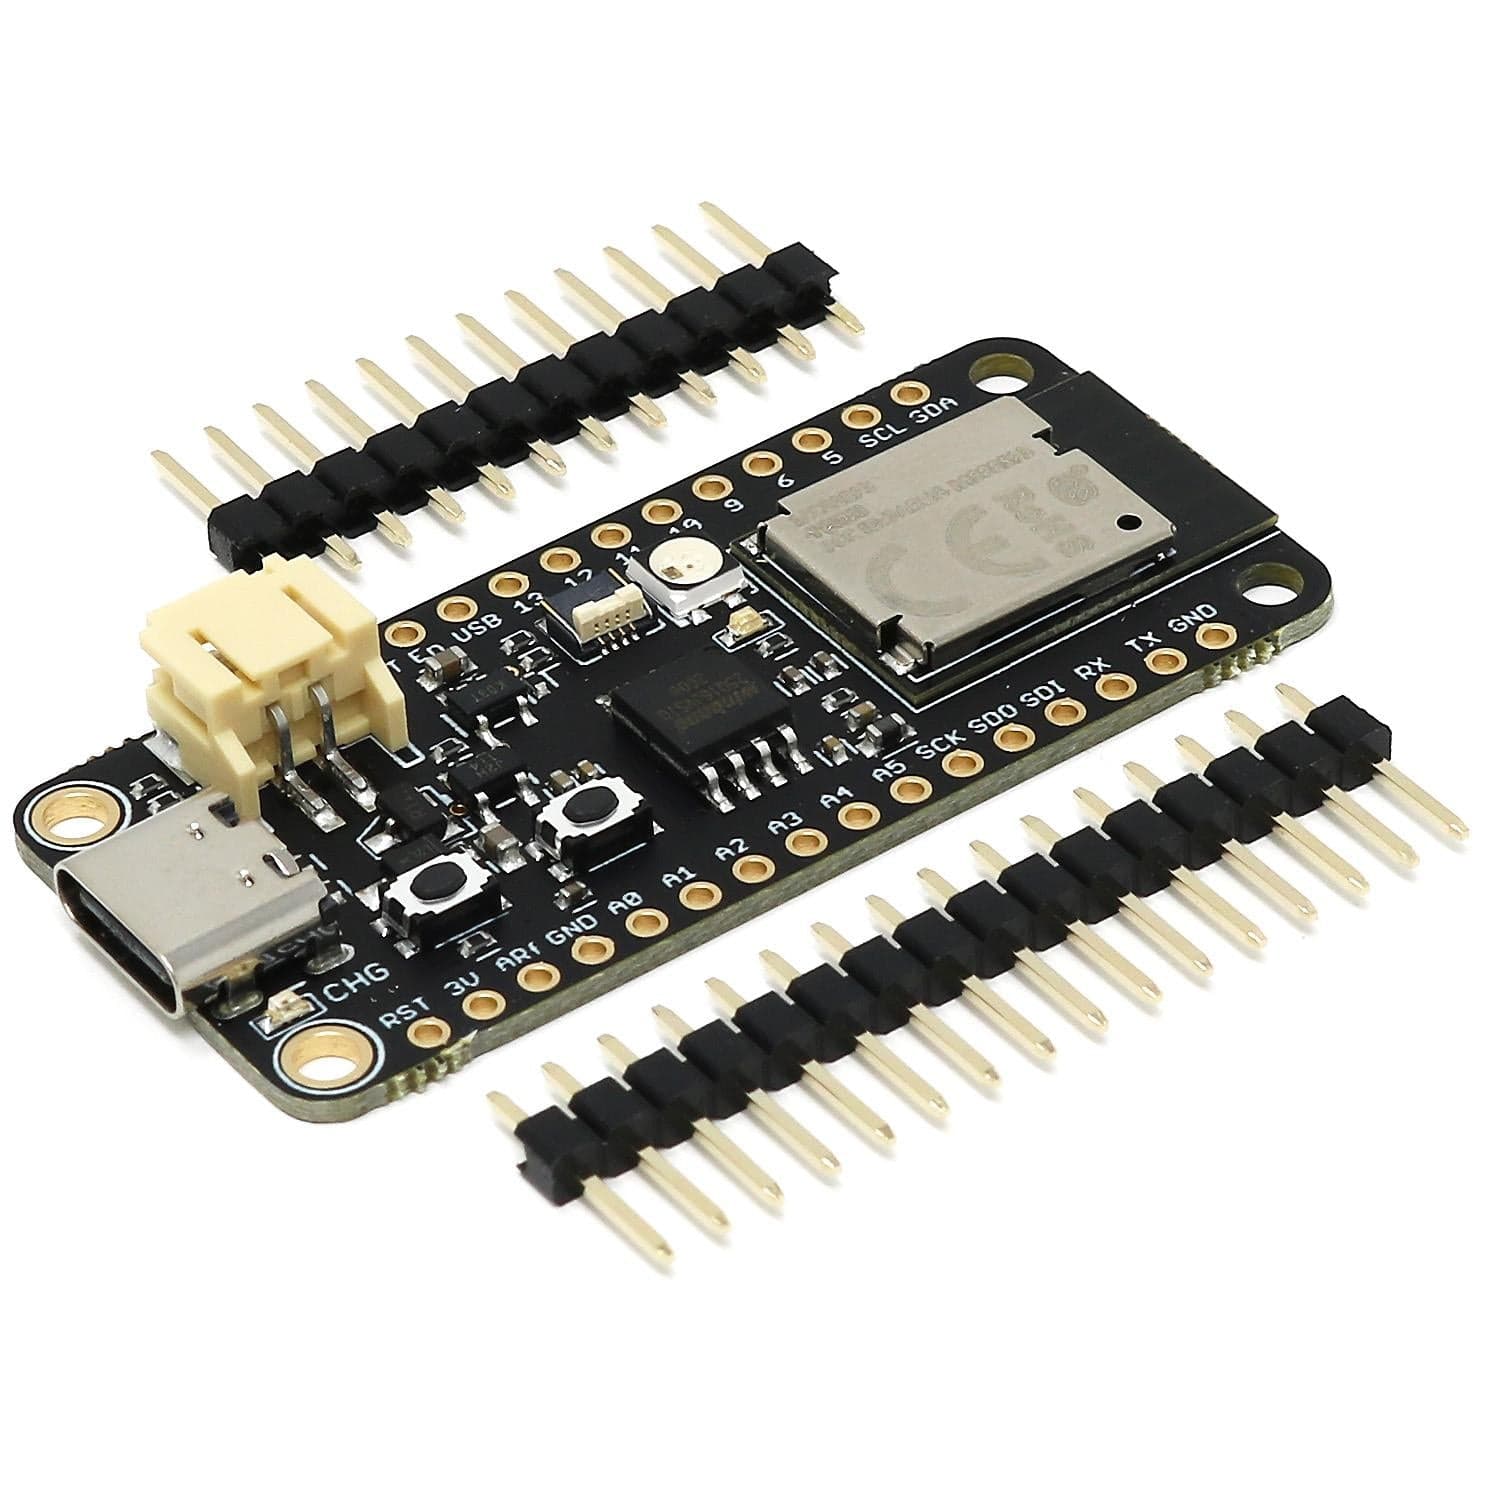
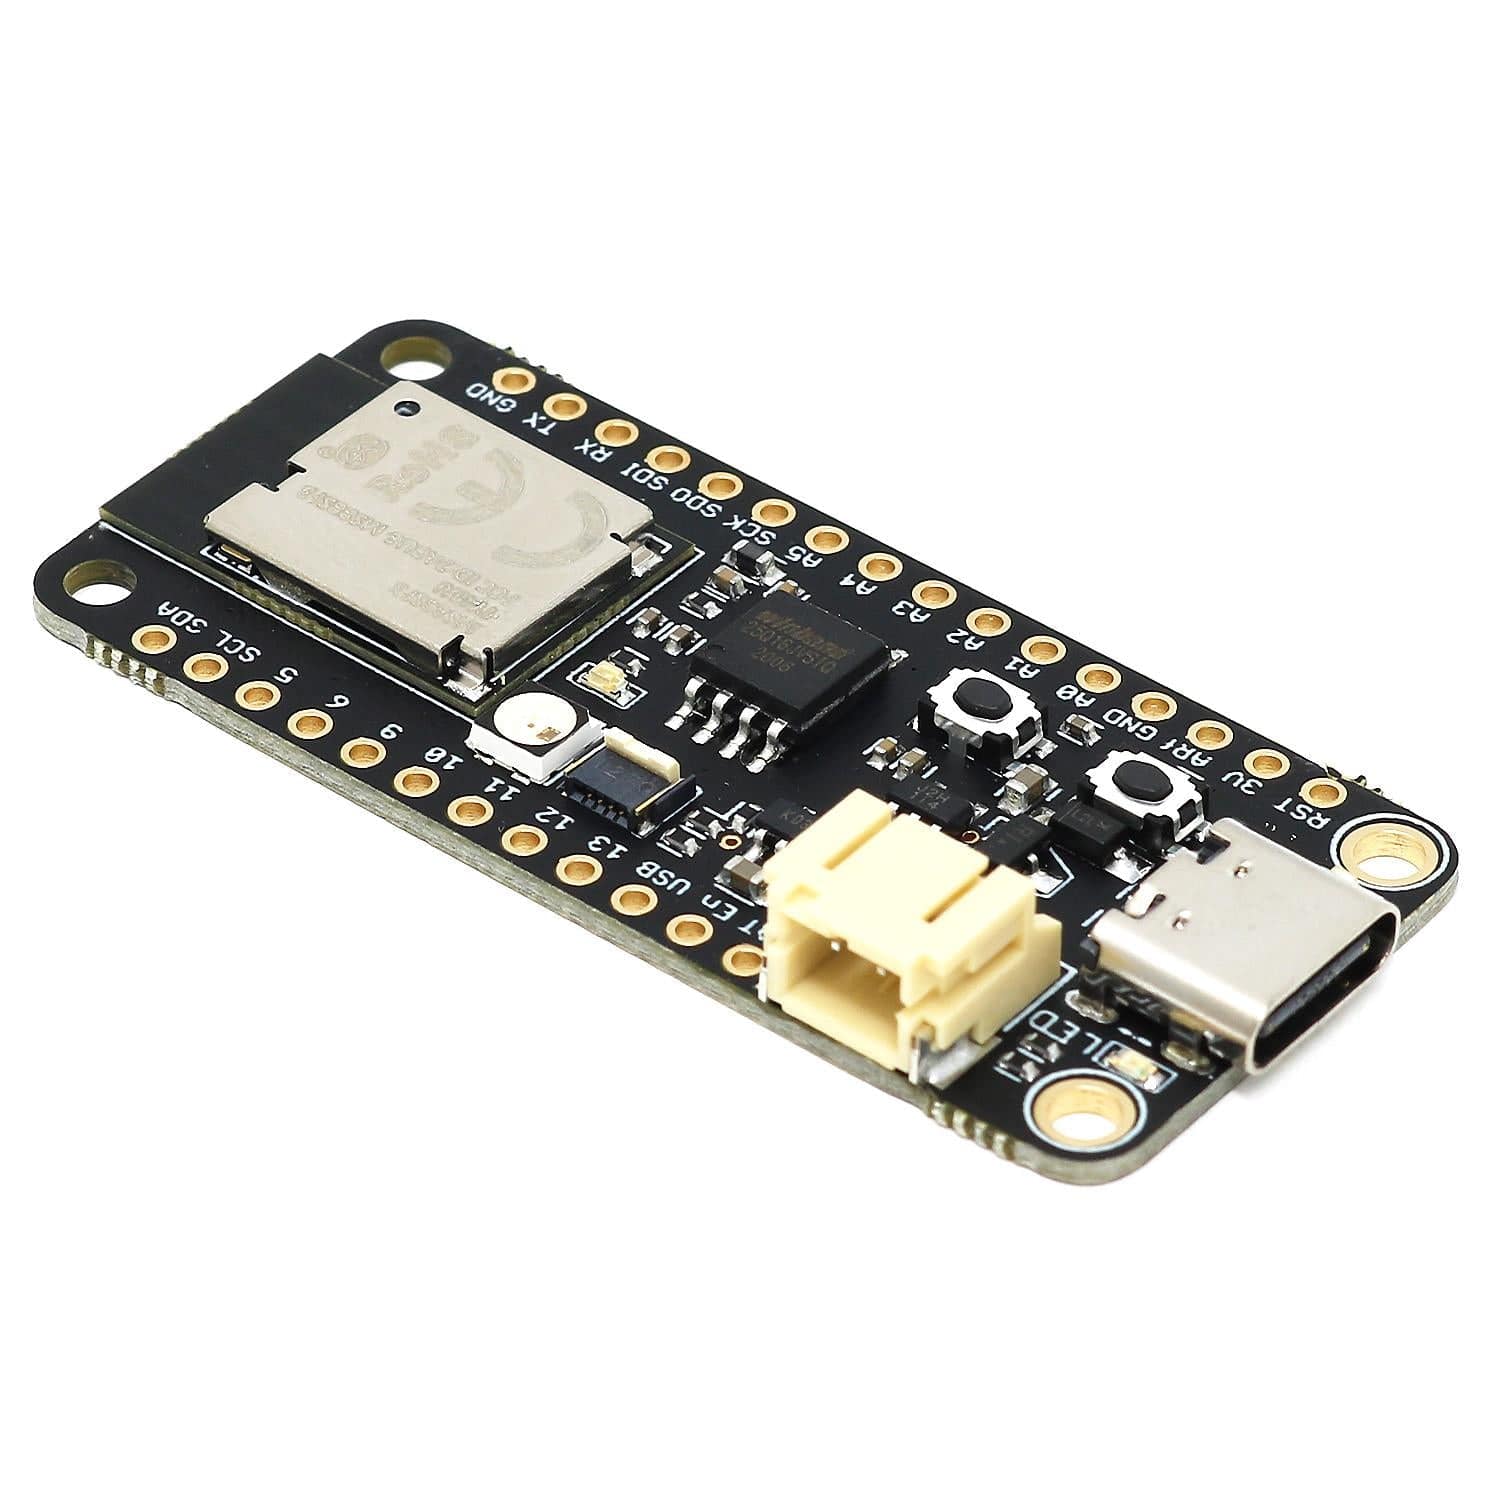
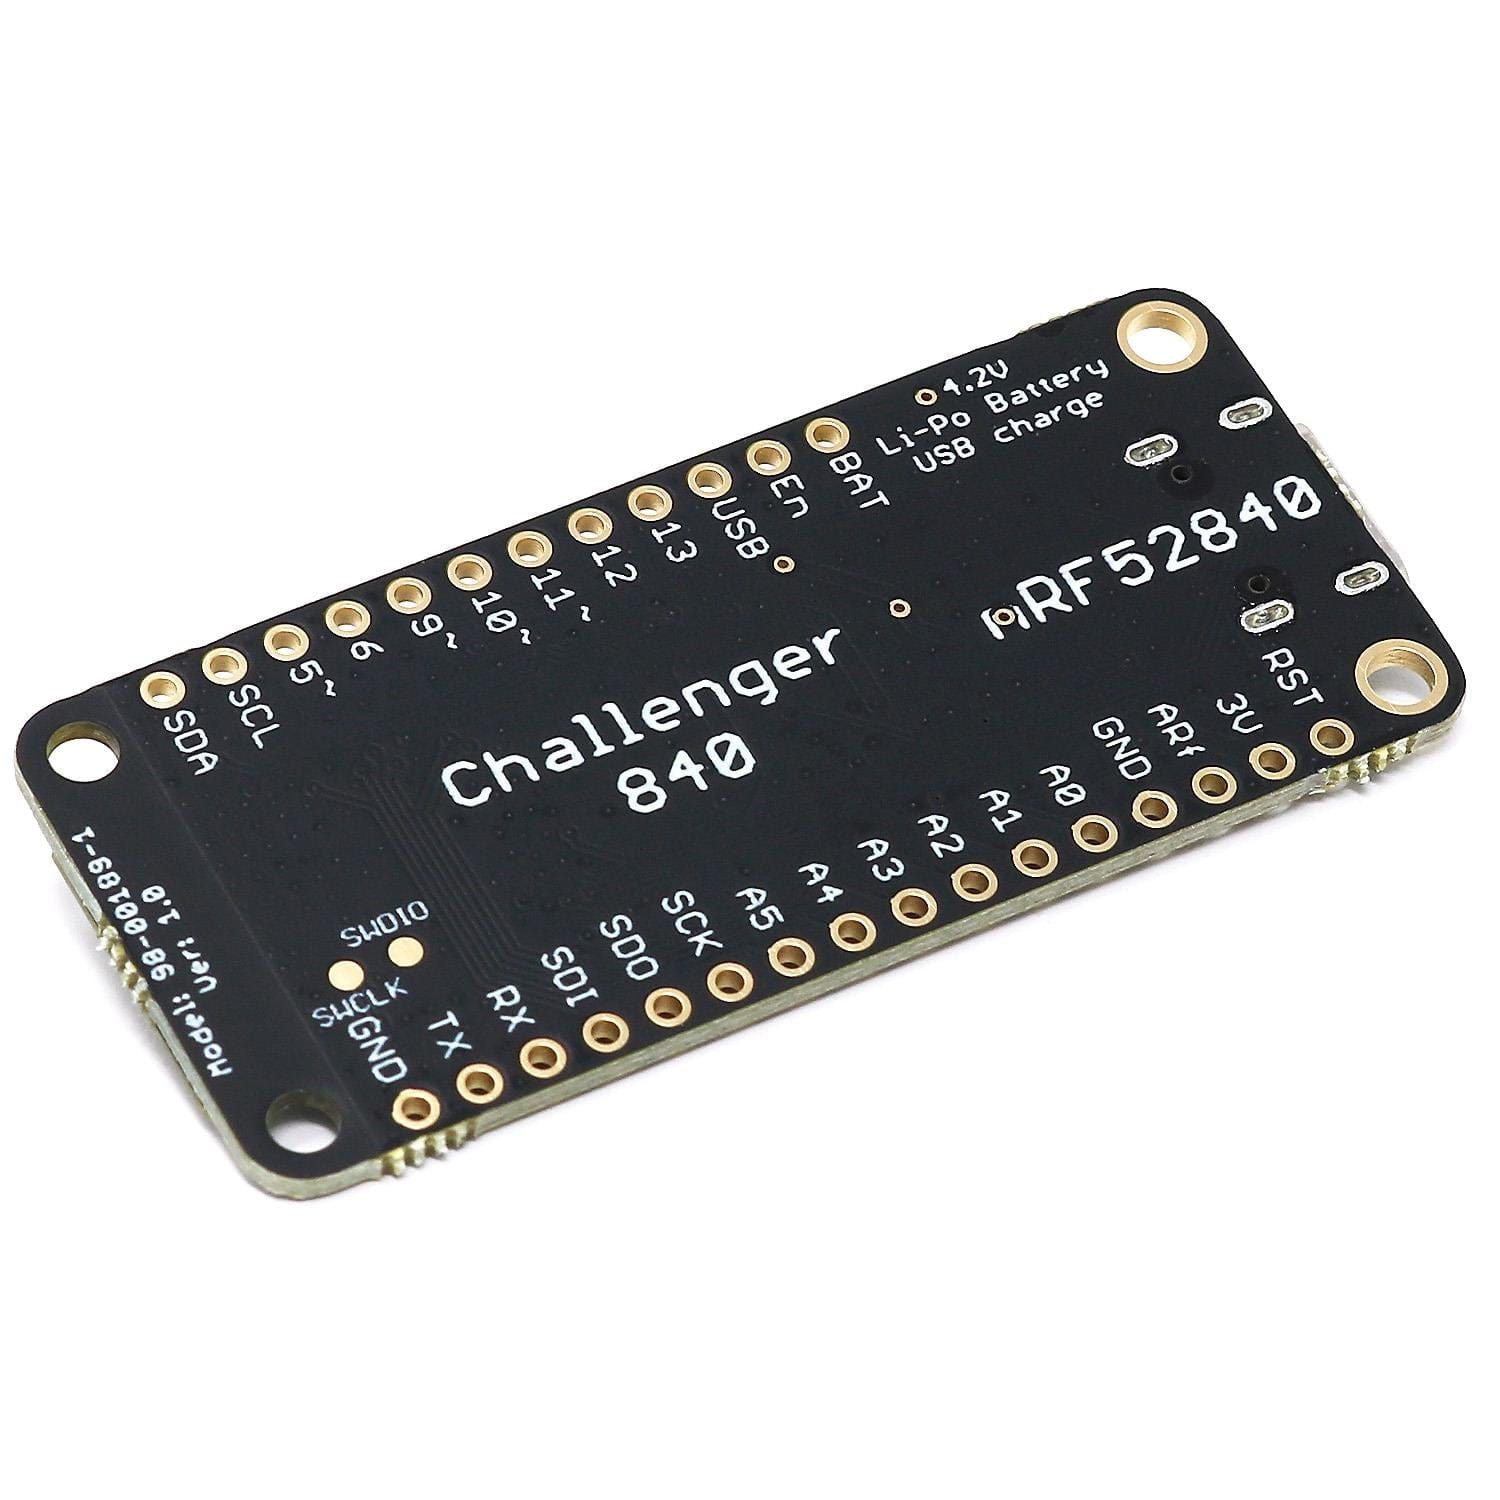
The iLabs Challenger 840 BLE board is an Arduino/Circuitpython compatible Adafruit Feather format microcontroller board packed with loads of functionality for your projects that require low power consumption and a BLE connection.
The main controller of this board is the Nordic Semiconductor nRF52840 with 1MByte of FLASH memory and 256KByte of SRAM. The nRF52840 SoC is the most advanced member of the nRF52 Series. It meets the challenges of sophisticated applications that need protocol concurrency and a rich and varied set of peripherals and features. It offers generous memory availability for both Flash and RAM, which are prerequisites for such demanding applications.
The nRF52840 is in itself very impressive but we wanted to add a few features to create a useful little module that can be used in all sorts of applications - and of course, we wanted it to support CircuitPython for all the CP fans playing along at home!
We also wanted to make it super low power so you could run it forever on a battery, so we used the lowest Iq LDO that we could find and at ~1.5uA you will struggle to find a better solution.
The device can be powered by a Lithium Polymer battery connected through a standard 2.0mm connector on the side of the board. An internal battery charging circuit allows you to charge your battery safely and quickly. The device is shipped with a programming resistor that sets the charging current to ~500mA. this resistor can be exchanged by the user to either increase or decrease the charging current, depending on the battery that is being used.
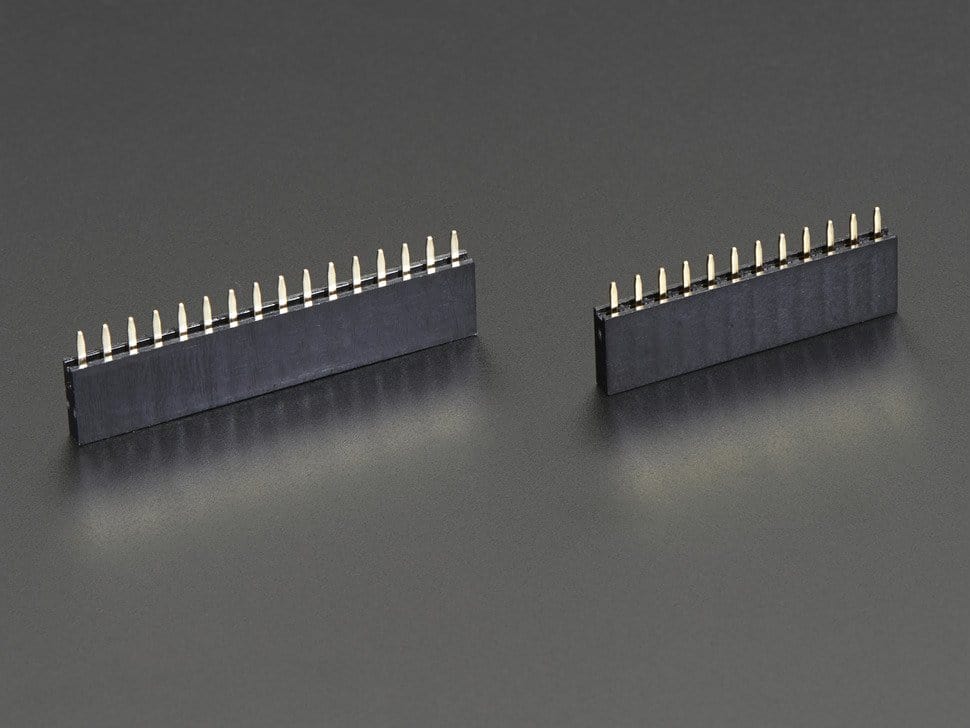
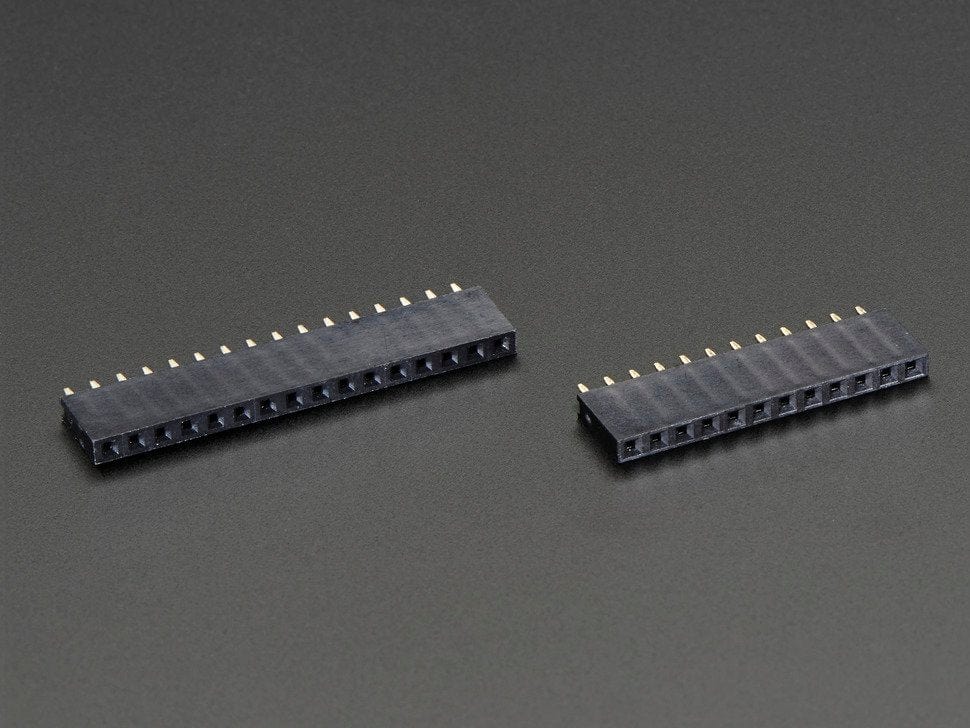
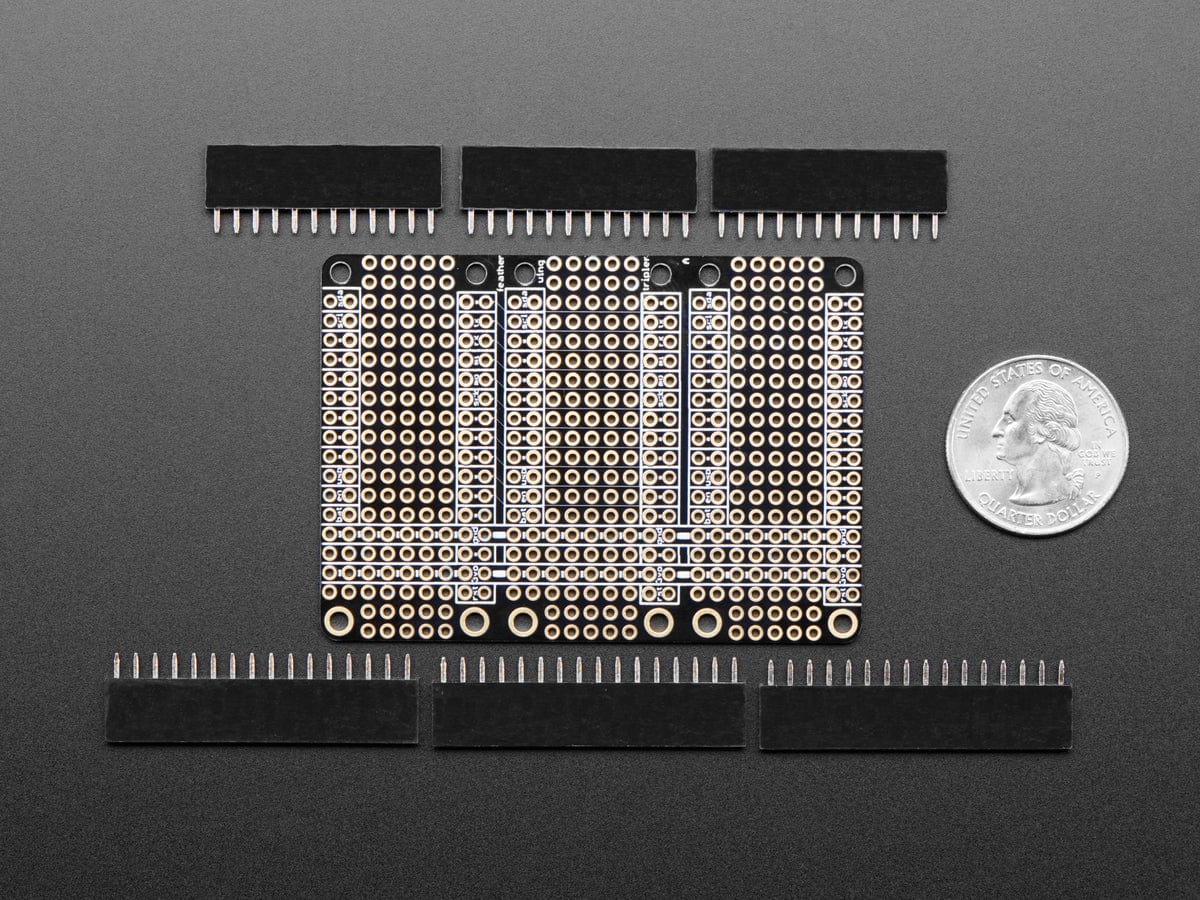
The board comes with a set of loose headers that can be soldered to the board if your application requires it.
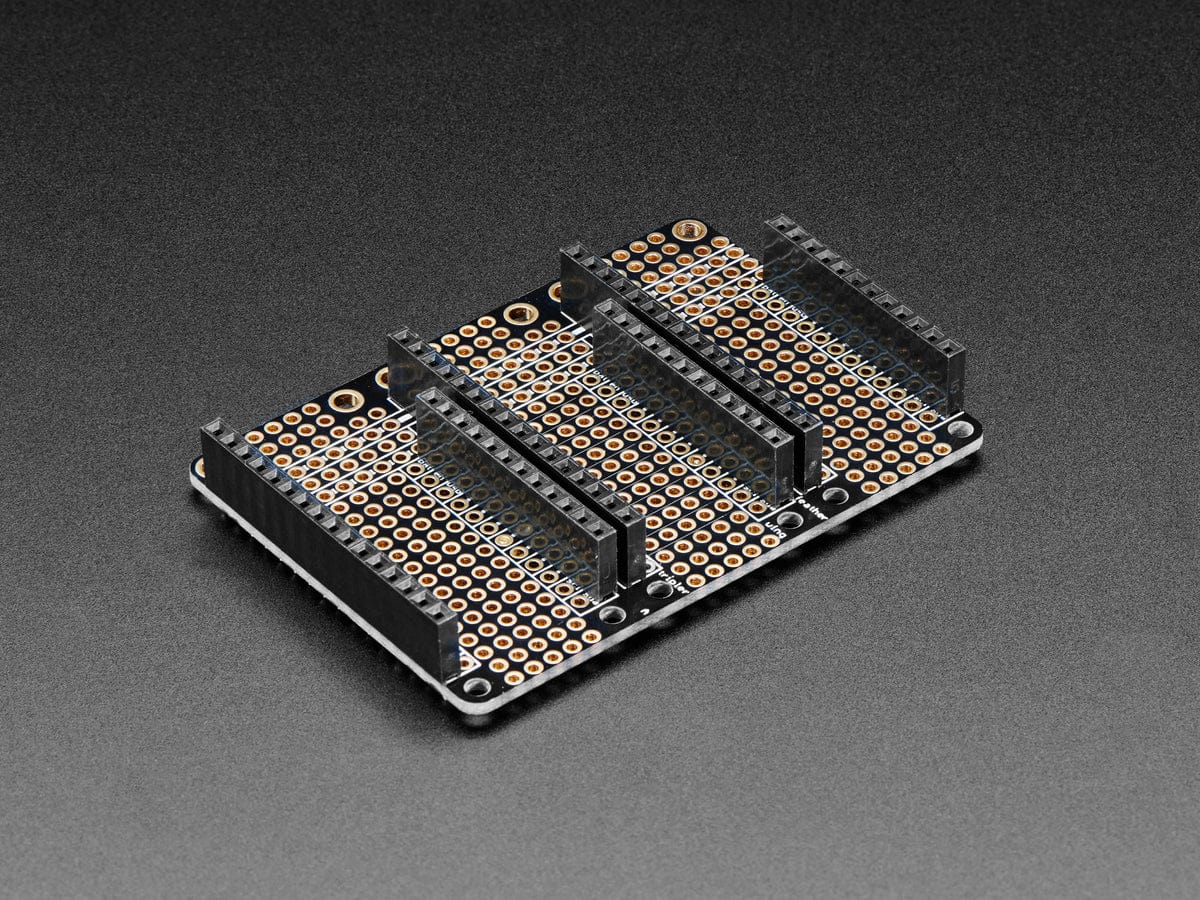
The board is based on a popular Feather form factor which is created and maintained by Adafruit. This allows you to use most Feather accessories (such as Featherwings) with this board.
The nRF52840 is fully multiprotocol capable with full protocol concurrency. It has protocol support for Bluetooth LE, Bluetooth mesh, Thread, Zigbee, 802.15.4, ANT and 2.4 GHz proprietary stacks.
On the opposite end of the USB connector, you will find the antenna. This is an integrated meandered planar inverted-F antenna (PIFA) and as always you should keep it away as far as possible from enclosure walls, wires running in the enclosure and big ground planes.
On each side of the USB connector, there is a small indicator LED. The LED marked CHG is the charge control indicator. This red LED will light up whenever the connected battery is being charged, and when the battery is fully charged the LED will turn off again. If you haven’t connected a battery to the board this LED will not come on at all.
On the other side of the USB connector, there is a user-programmable green LED. This LED is connected to pin D15 and can easily be controlled by the user program. There's also a NeoPixel-compatible LED onboard for indicating the board status.
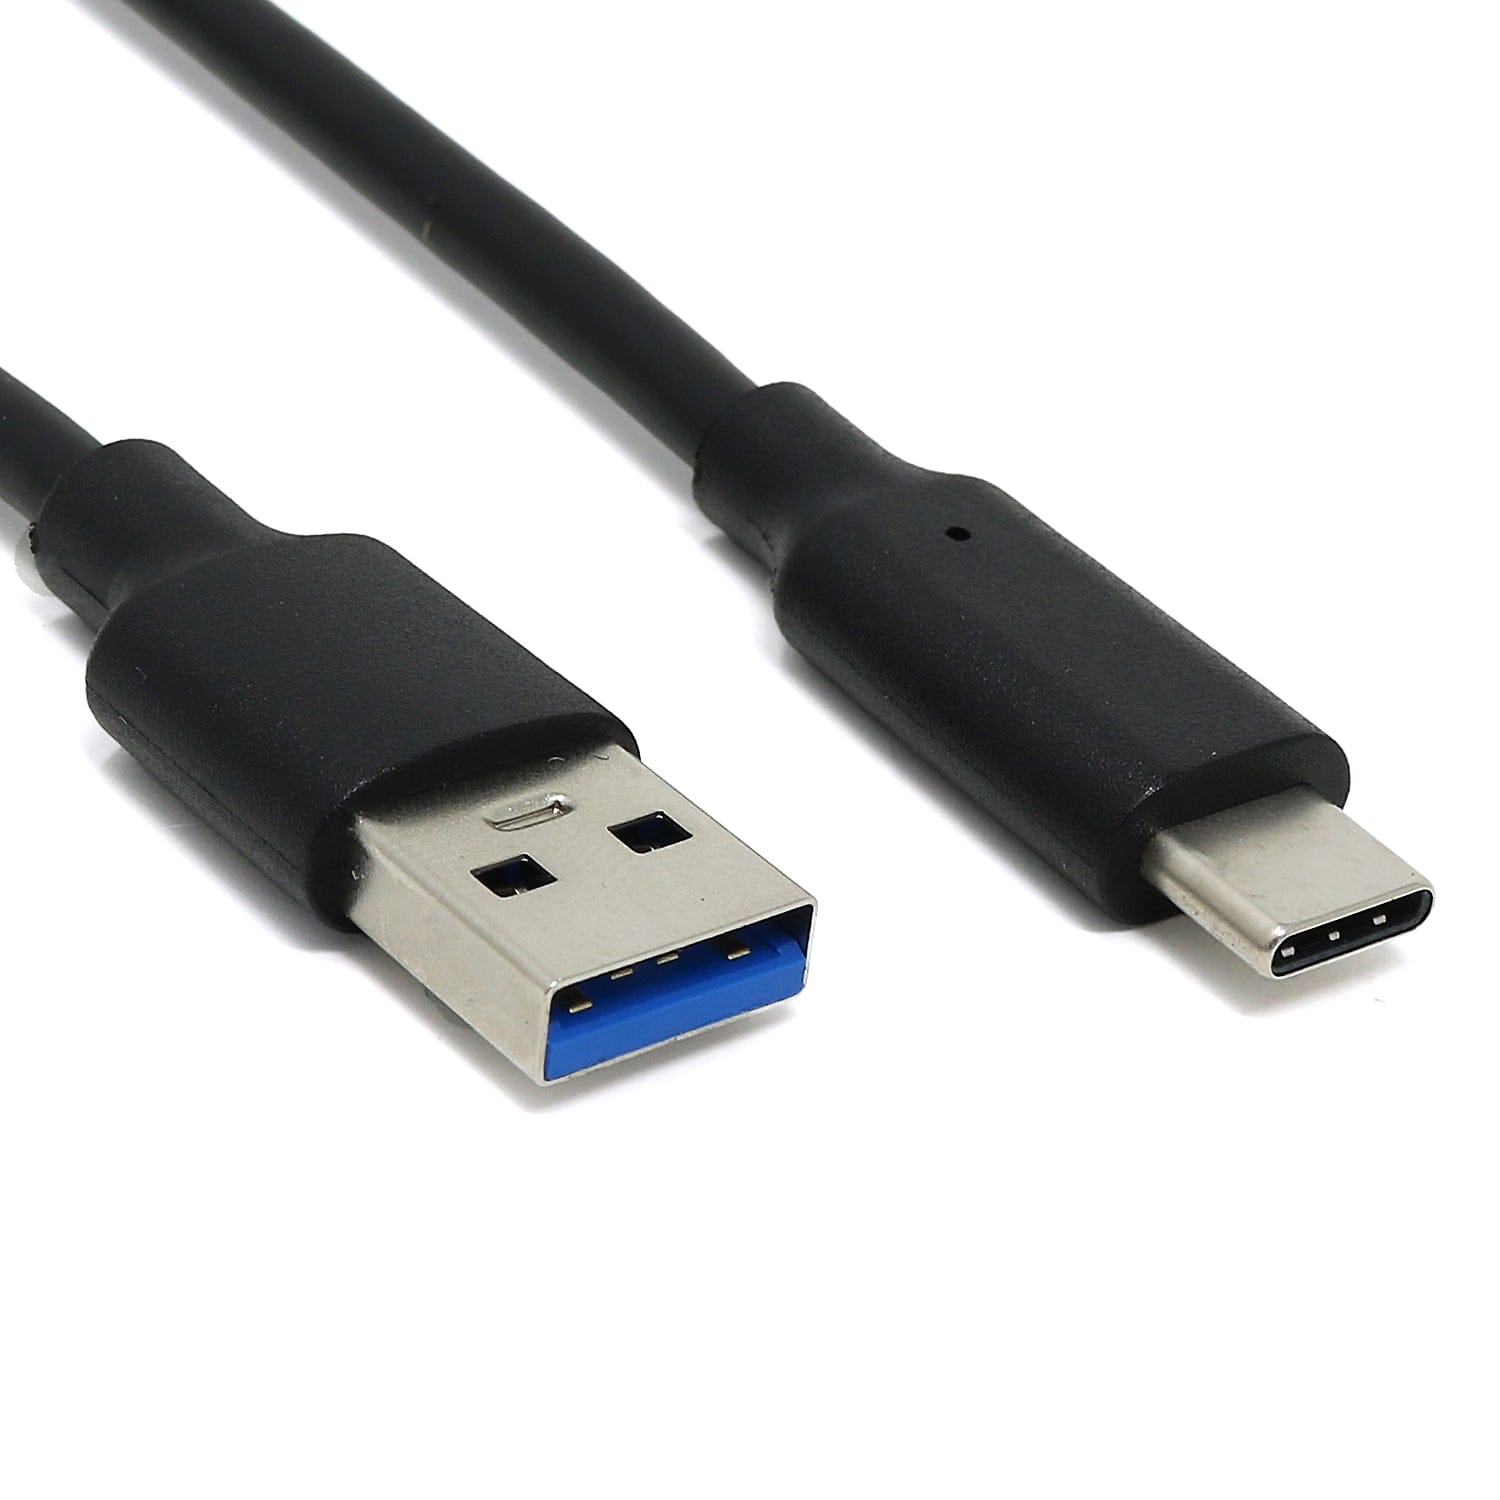
In recent years we have noticed that we are seeing more and more USB Type-C cables laying around the lab due to the fact that most new phones and accessories use them. So iLabs decided to go for a USB Type-C connector for this board. A bonus of this is that they are more durable and you don’t have to fiddle with the cable before plugging it in!
The Challenger 840 BLE board will be 100% compatible with the Arduino framework (forked repo coming soon!). It will have a unique forked board support package that fully support all the features of the board. You can also install and run CircuitPython on the board if you wish.
In order to be able to program it using the Arduino environment, you need to install an Arduino board support package. This is currently being finalised as a fork of the Adafruit-Nrf52 repo and will be available soon.
| Description | Value | Comment |
| Board Size | 50,80 mm x 22,86 mm x 3,20 mm | USB ~1mm outside PCB |
| Main microcontroller | nRF52840 from Nordic Semi | 64MHz Cortex M4 with FPU |
| SPI | One SPI channels configured | |
| I2C | One I2C channel configured | |
| UART | One UART channel configured | |
| Analog inputs | 6 analog input channels | |
| Radio functions | Bluetooth Low Energy Bluetooth mesh ANT, 802.15.4, Thread, Zigbee |
|
| FLASH Memory | 1MByte | |
| SRAM Memory | 256KByte | |
| USB 2.0 controller | Up to 12MBit/s full speed | Integrated USB 1.1 PHY |
| JST Battery connector | 2.0mm pitch | |
| Onboard LiPo charger | 500mA standard charge current |
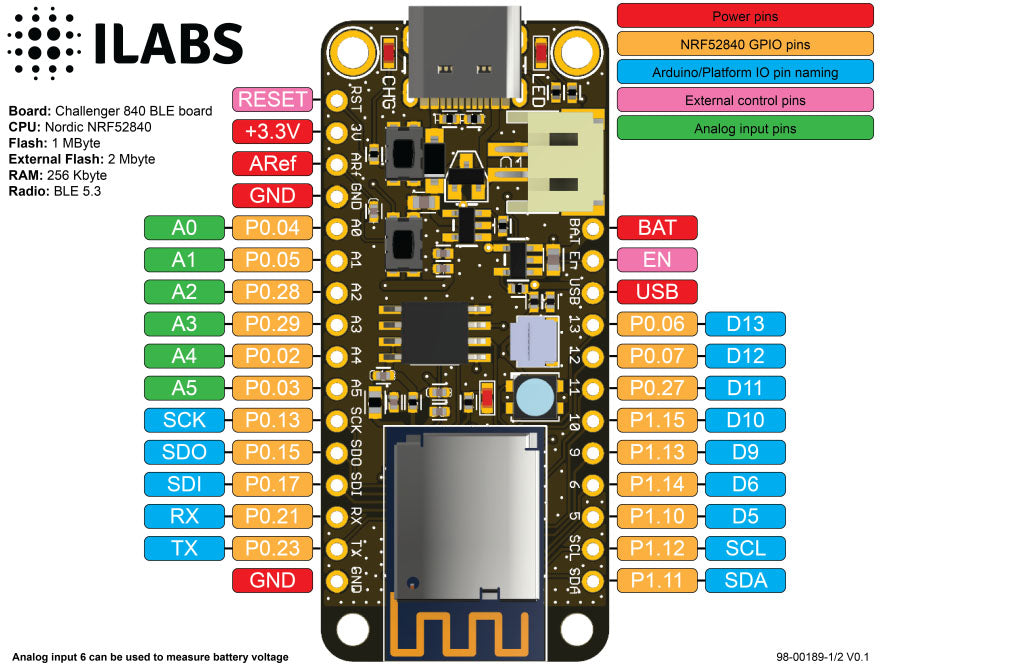
The micro has a number of communication channels that have been routed out to the side (header connector) connectors.
The pin chart below shows the placement of all pins and their respective functions:
The board support package is full of exciting examples on how to use the Challenger 840 BLE board. Once you have selected the correct board you can go to “Examples” in the File menu to find examples that are targeted to the Challenger 840 BLE board. You will find BLE radio examples as well as examples on how to use the different onboard peripherals.
To make it easy to get something going we have included a simple code snippet that will create an Eddystone beacon that advertises a URL:
#include
#define URL "https://www.ilabs.se"
// Create an EddyStone URL with rssi at 0m = -40 and URL as defined above
EddyStoneUrl eddyUrl(-40, URL);

void setup()
{
  Serial.begin(115200);
  while ( !Serial ) delay(10); // for nrf52840 with native usb
  pinMode(LED_GREEN, OUTPUT);
  digitalWrite(LED_GREEN, 1);

  Serial.println("Bluefruit52 EddyStone URL Example");
  Serial.println("---------------------------------n");

  Bluefruit.begin();
  Bluefruit.setTxPower(4); // Check bluefruit.h for supported values

  // Setup the advertising packet
  startAdv();
  Serial.println("Broadcasting EddyStone URL, open Google Physical Web app to test");
}

void startAdv(void)
{
  // Advertising packet
  // Set the beacon payload using the BLEBeacon class populated
  // earlier in this example
  Bluefruit.Advertising.setBeacon(eddyUrl);

  // Secondary Scan Response packet (optional)
  // Since there is no room for 'Name' in Advertising packet
  Bluefruit.ScanResponse.addName();

  /* Start Advertising
   * - Enable auto advertising if disconnected
   * - Timeout for fast mode is 30 seconds
   * - Start(timeout) with timeout = 0 will advertise forever (until connected)
   *
   * Apple Beacon specs
   * - Type: Non connectable, undirected
   * - Fixed interval: 100 ms -> fast = slow = 100 ms
   */
  //Bluefruit.Advertising.setType(BLE_GAP_ADV_TYPE_ADV_NONCONN_IND);
  Bluefruit.Advertising.restartOnDisconnect(true);
  Bluefruit.Advertising.setInterval(160, 160); // in unit of 0.625 ms
  Bluefruit.Advertising.setFastTimeout(30); // number of seconds in fast mode
  Bluefruit.Advertising.start(0); // 0 = Don't stop advertising after n seconds
}

void loop()
{
  // Toggle both LEDs every second
  digitalToggle(LED);
  delay(1000);
}
This is just an example of how easy it is to start an advertisement but most things are just as simple. Check out the examples and if something is unclear get in touch with iLabs and they will try to help you out.


