
Login / Signup
Cart
Your cart is empty


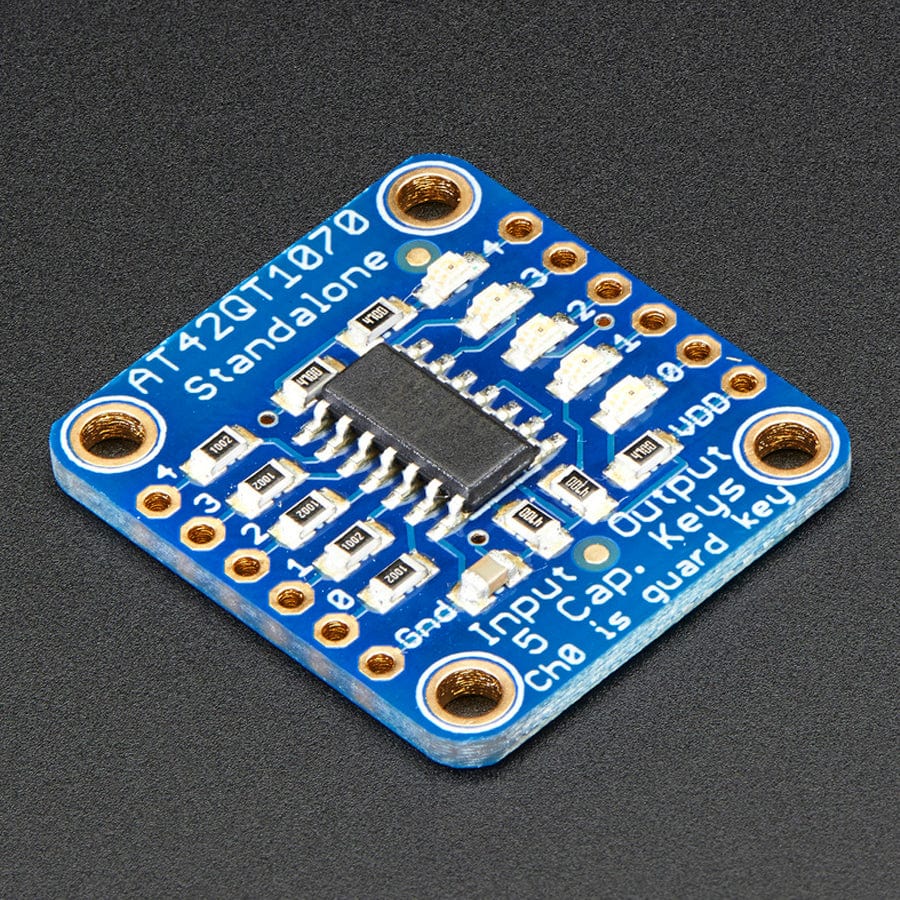
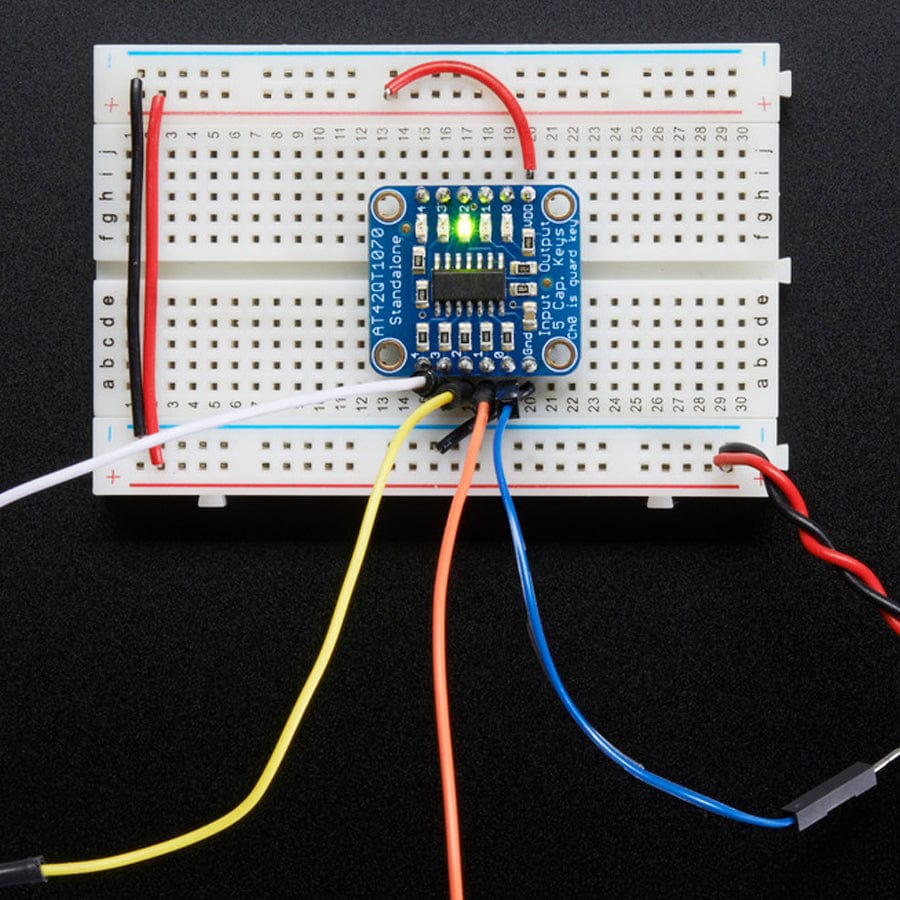
This breakout board is the simplest way to create a project with multiple capacitive touch sensors. No microcontroller is required here - just power with 1.8 to 5.5VDC and connect up to 5 conductive pads to the 5 left-hand pins. When a capacitive load is detected (e.g. a person touches one of the conductive contacts) the corresponding LED on the right lights up and the output pin goes low. You can use this to update an existing normal-button project where buttons connect to the ground when pressed.
Note that only one contact will be detected at once (this is to protect against having a hand brush against two or more contacts at once.
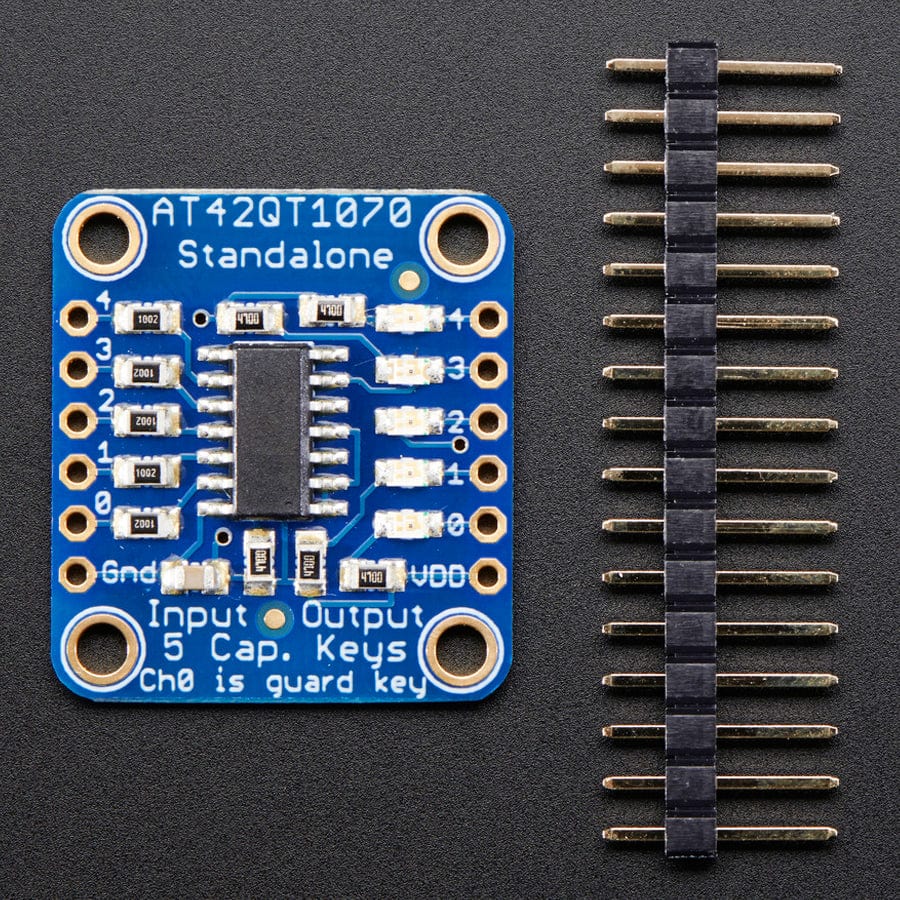
Comes with a fully assembled board, and a stick of 0.1" header so you can plug it into a breadboard. For contacts, we suggest using copper foil, then solder a wire that connects from the foil pad to the breakout.
The datasheet has many details on sensitivity, power usage, etc. - note that this board uses the chip in 'standalone' mode only, it cannot be used in I2C mode.


