Login / Signup
Cart
Your cart is empty
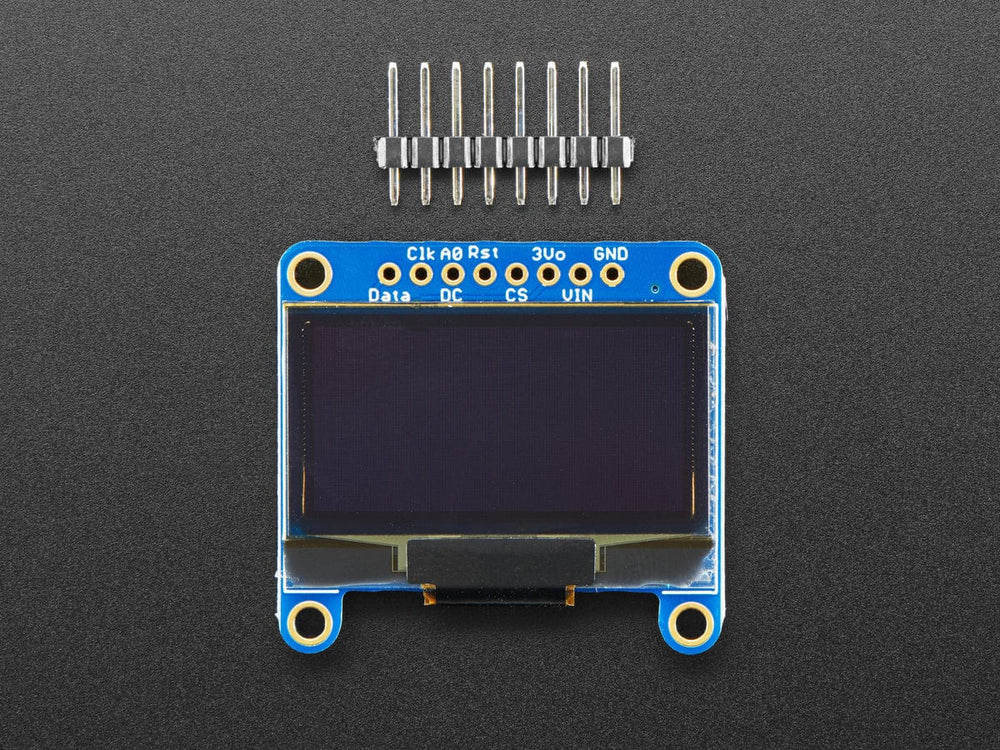
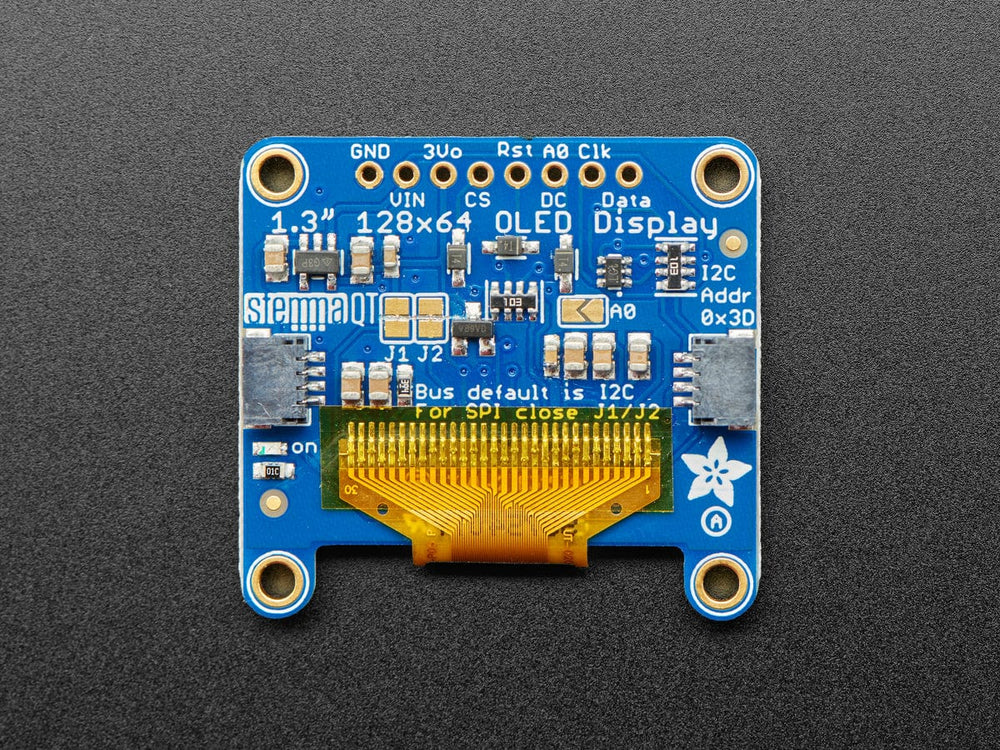
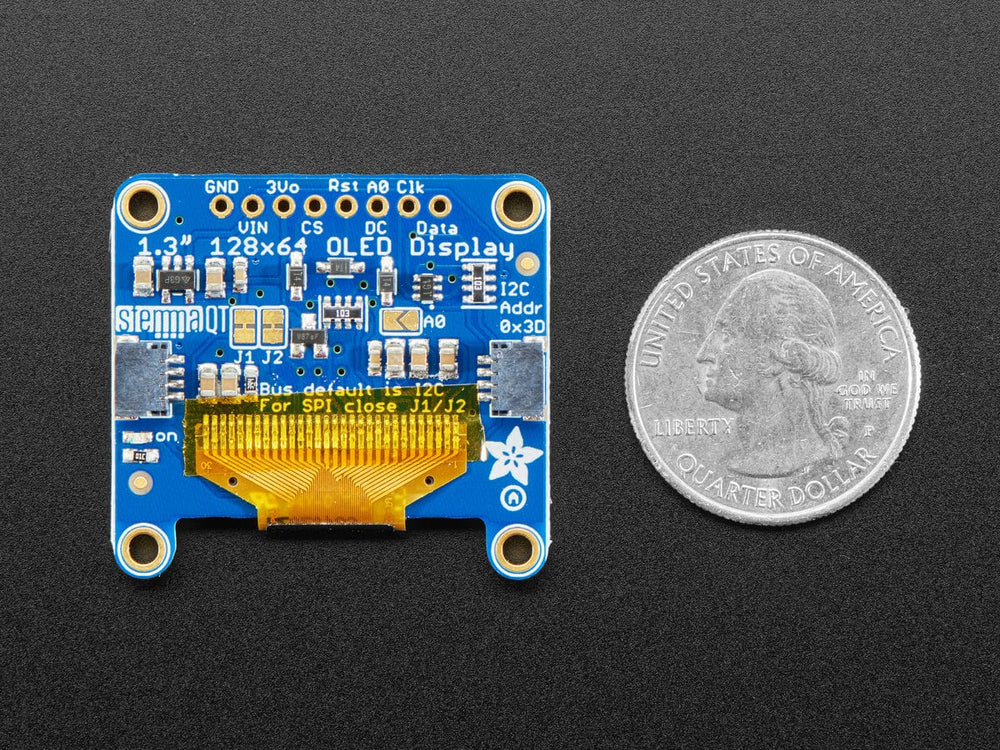
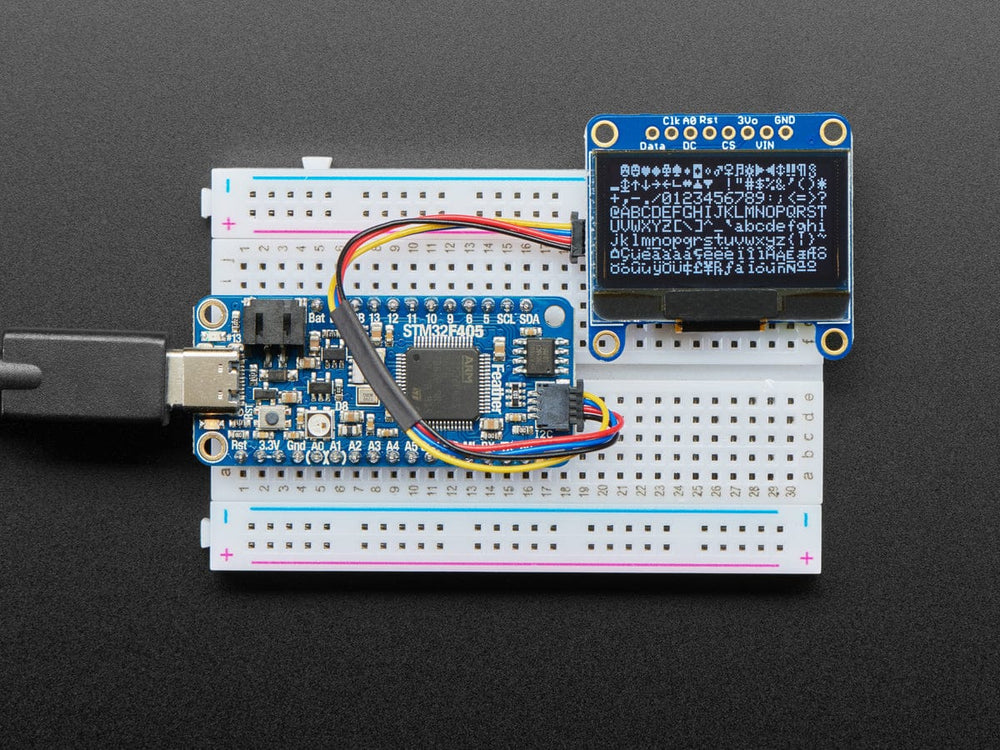
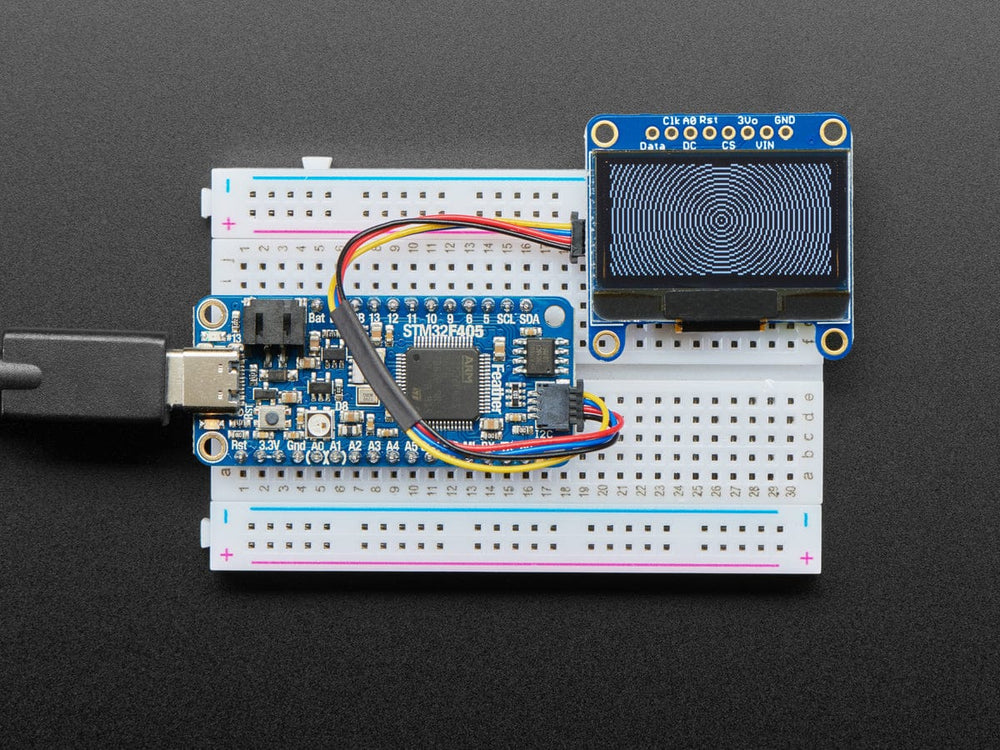
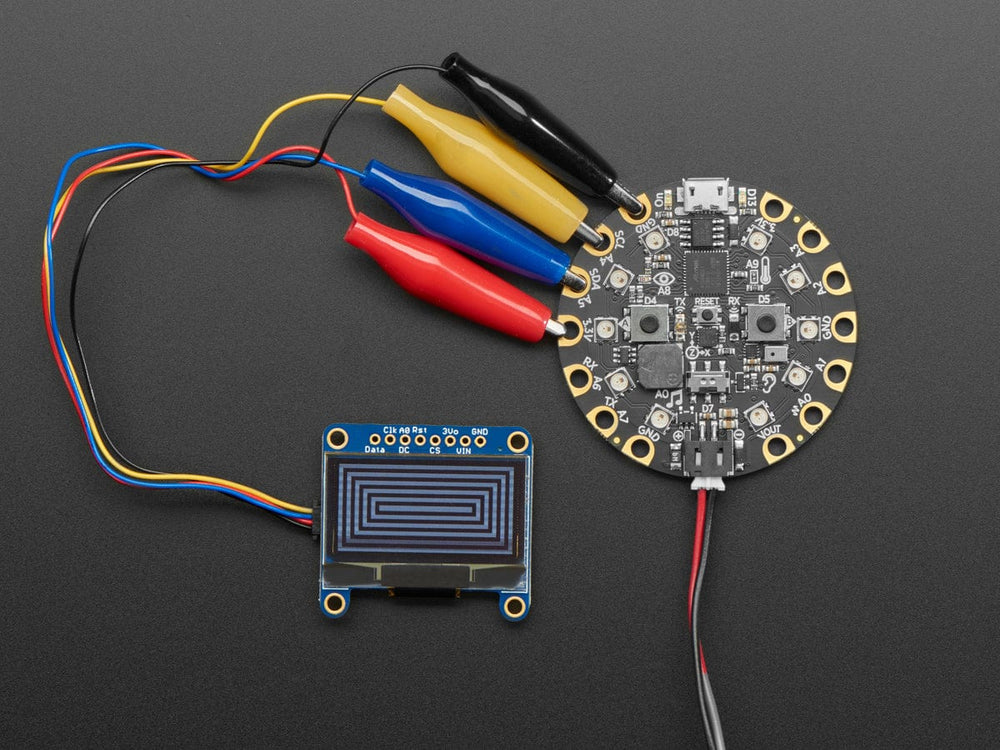
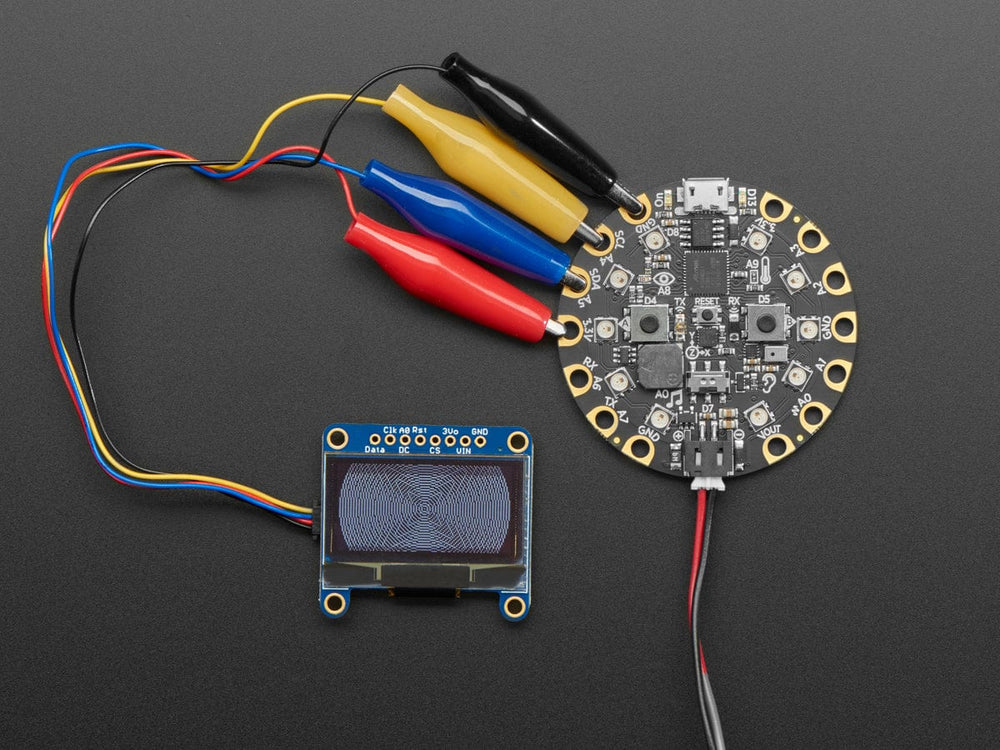
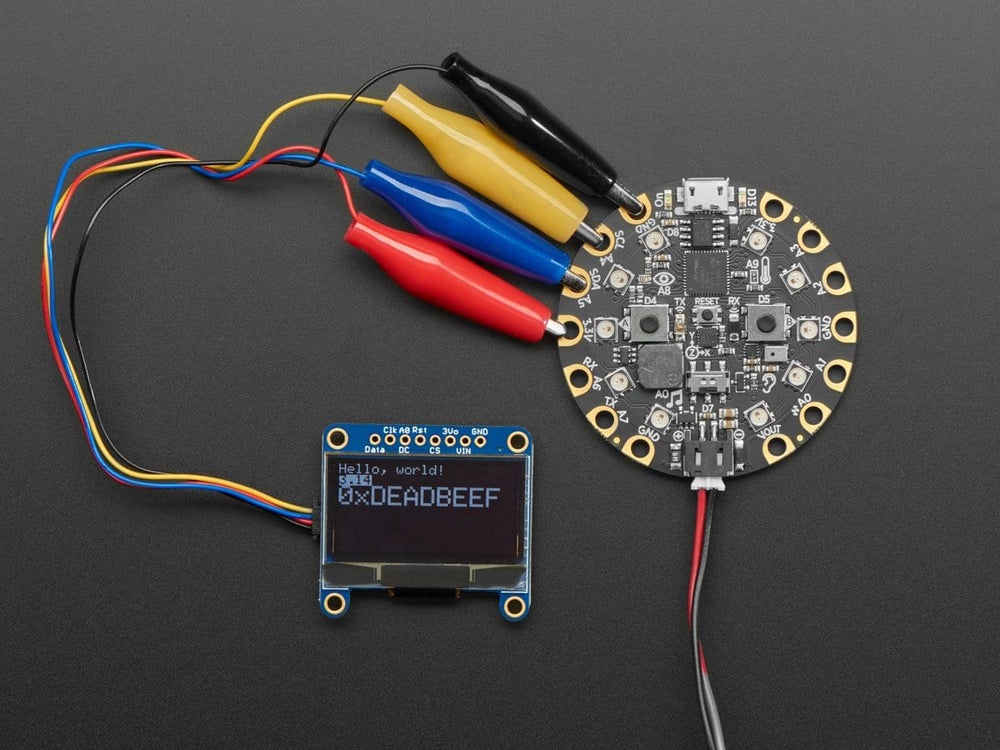
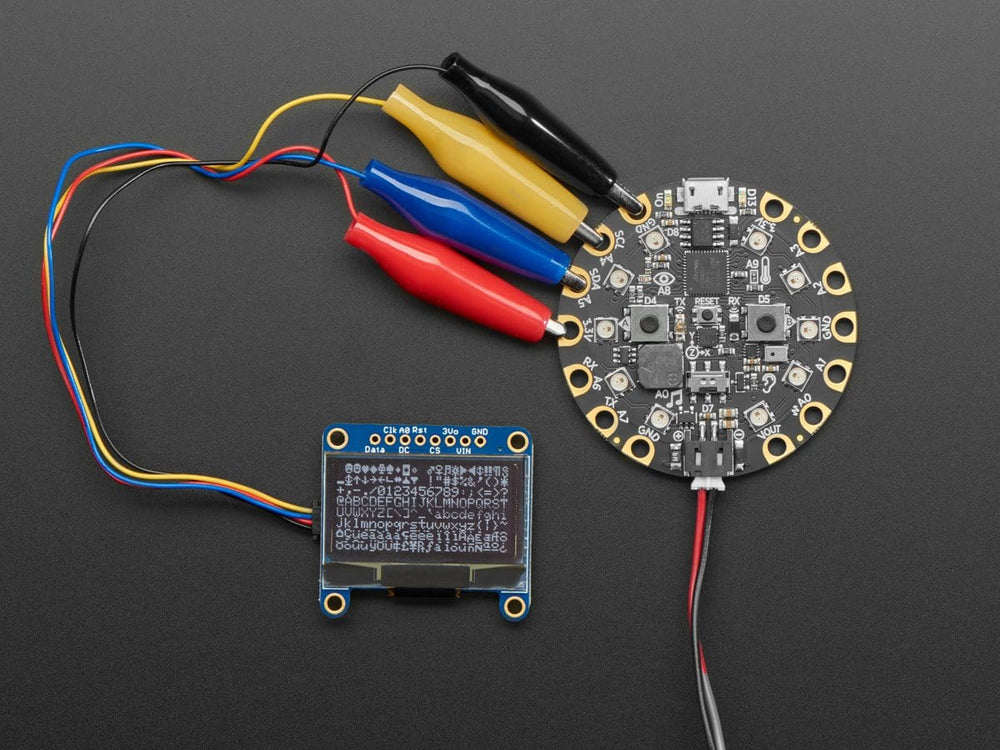
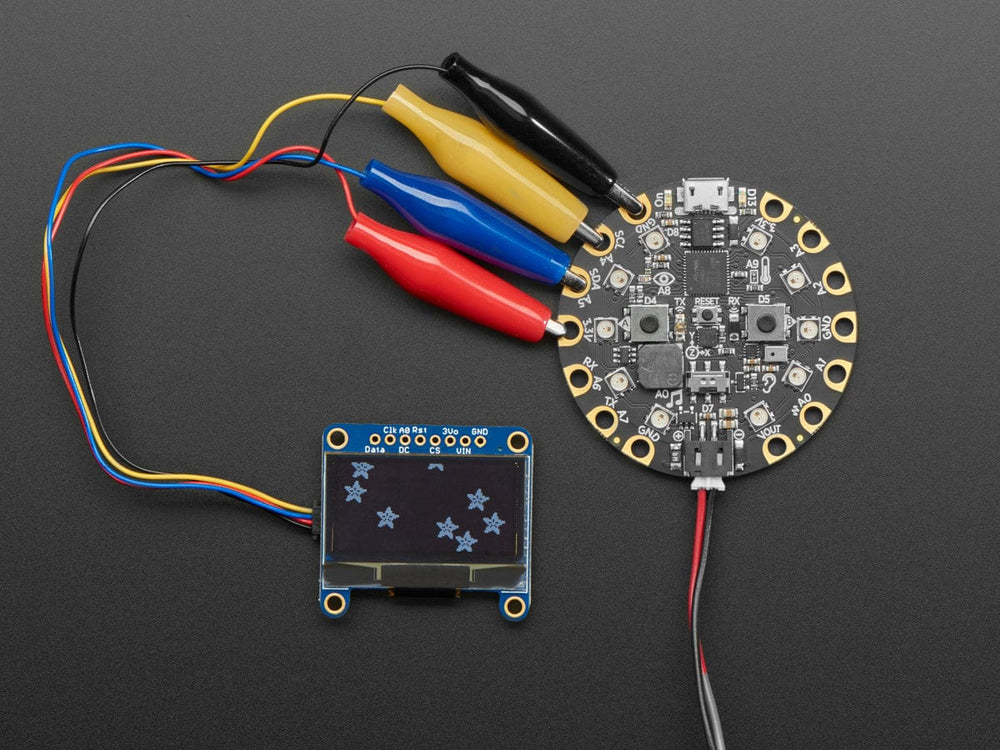
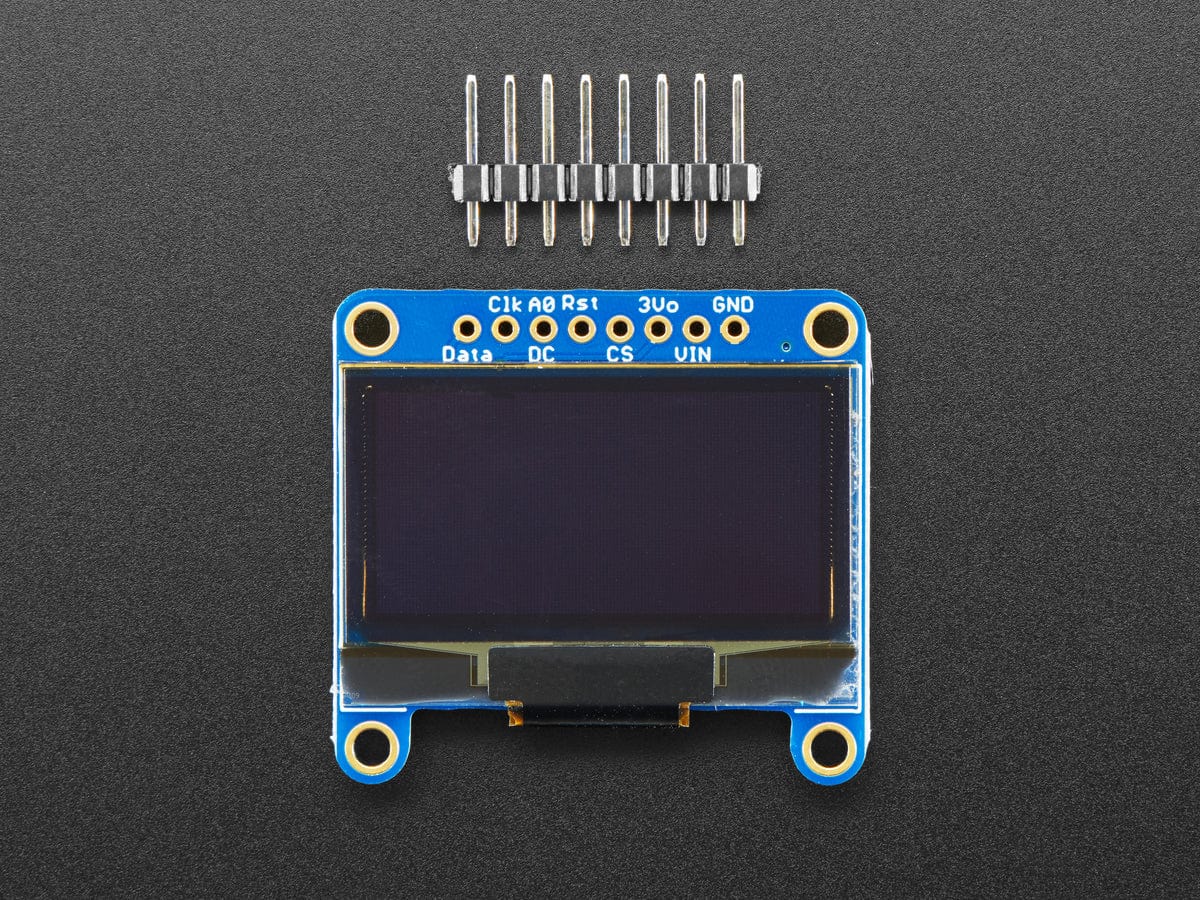
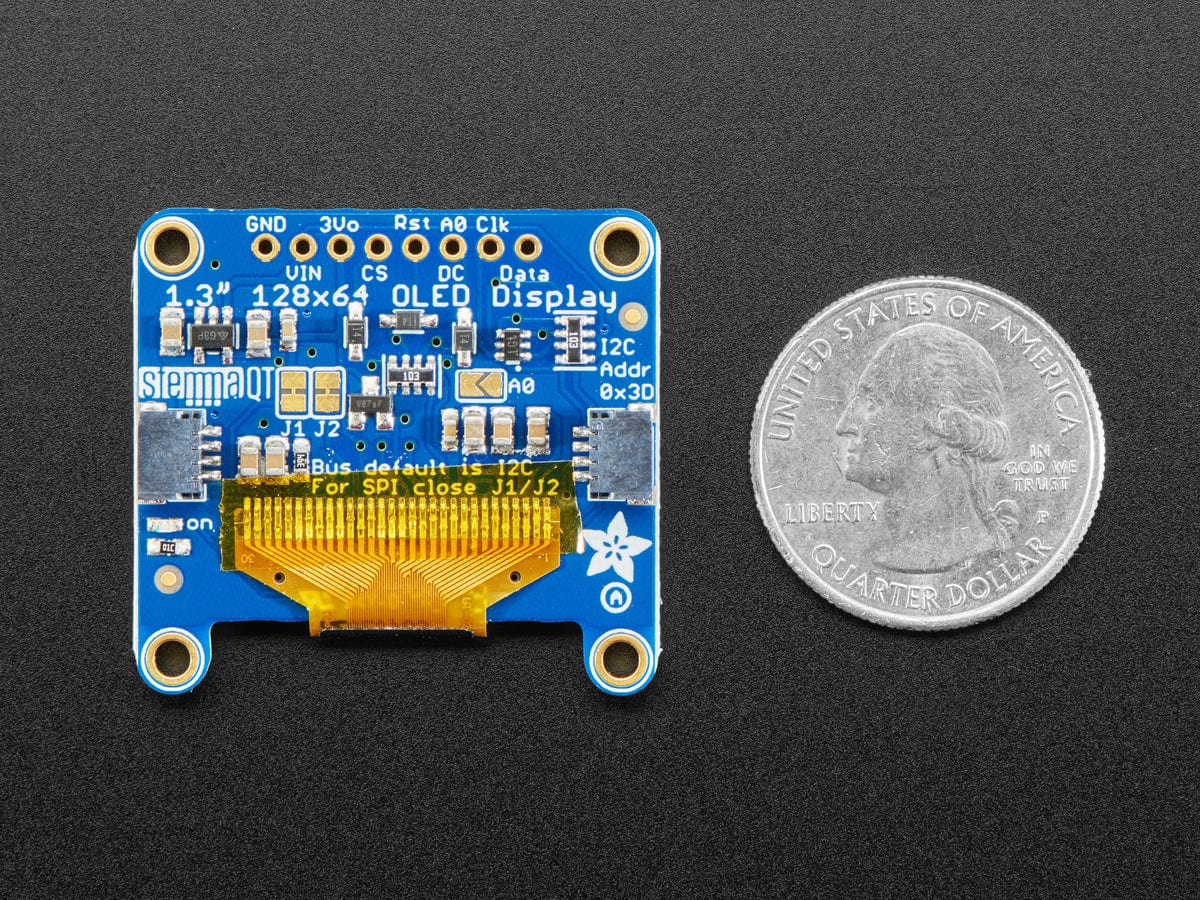
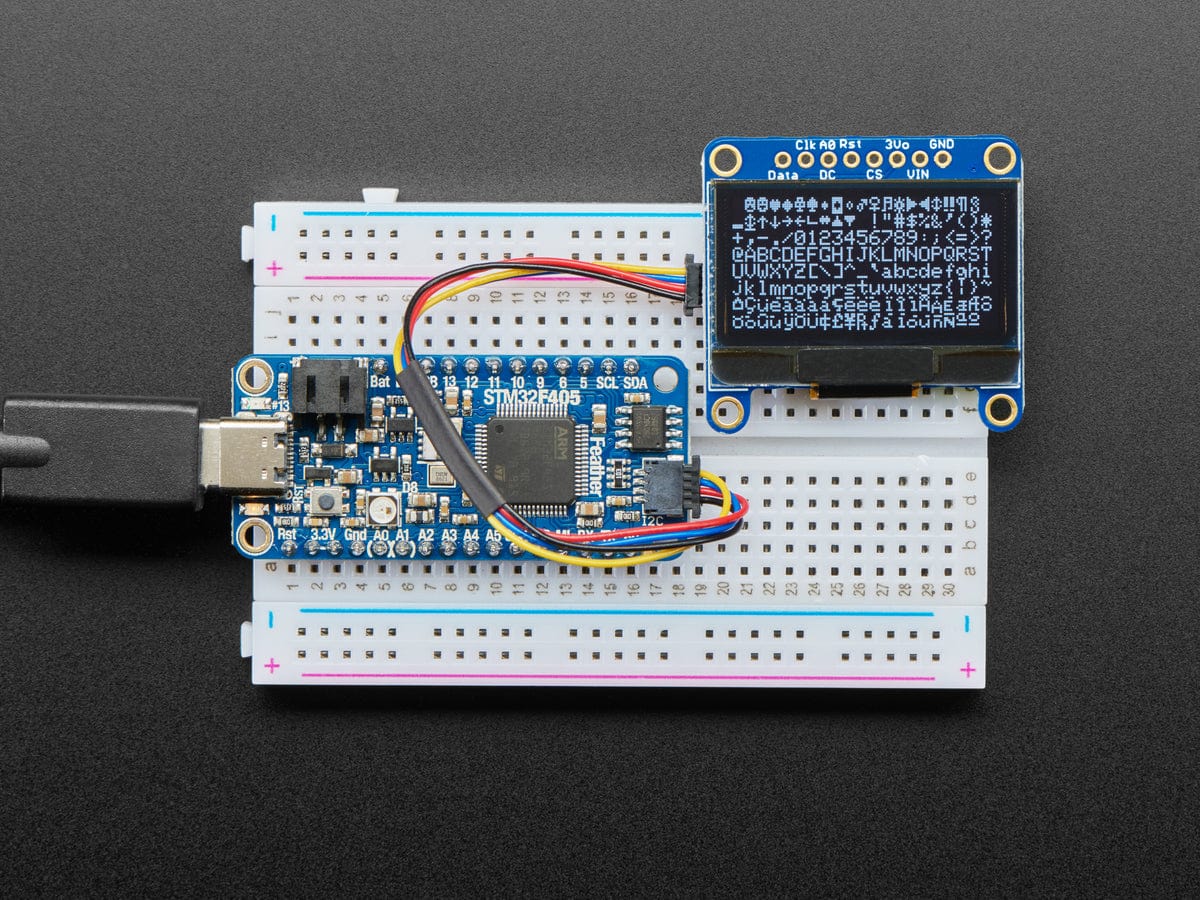
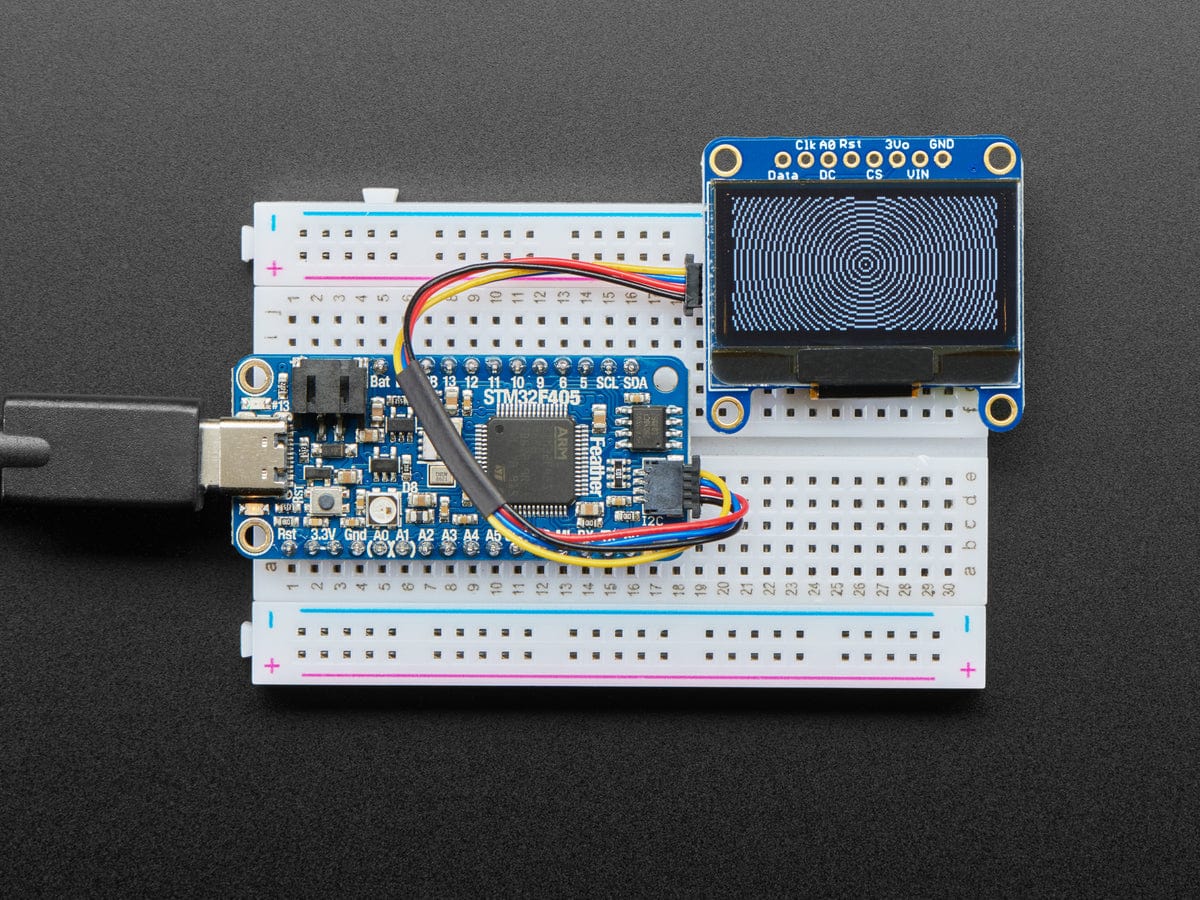
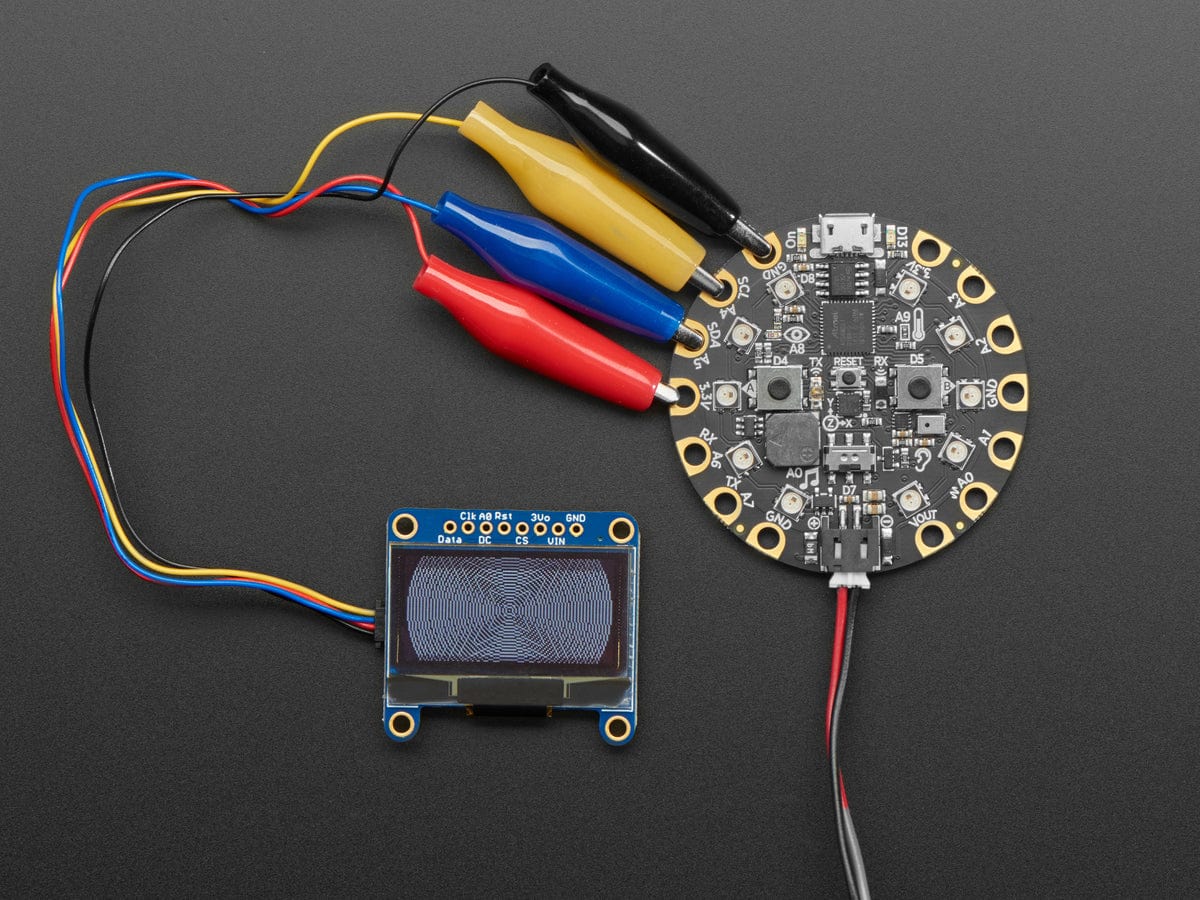
These displays are small, only about 1.3" diagonal, but very readable due to the high contrast of an OLED display. This display is made of 128x64 individual white OLED pixels, each one is turned on or off by the controller chip. Because the display makes its own light, no backlight is required. This reduces the power required to run the OLED and is why the display has such high contrast; we really like this miniature display for its crispness!
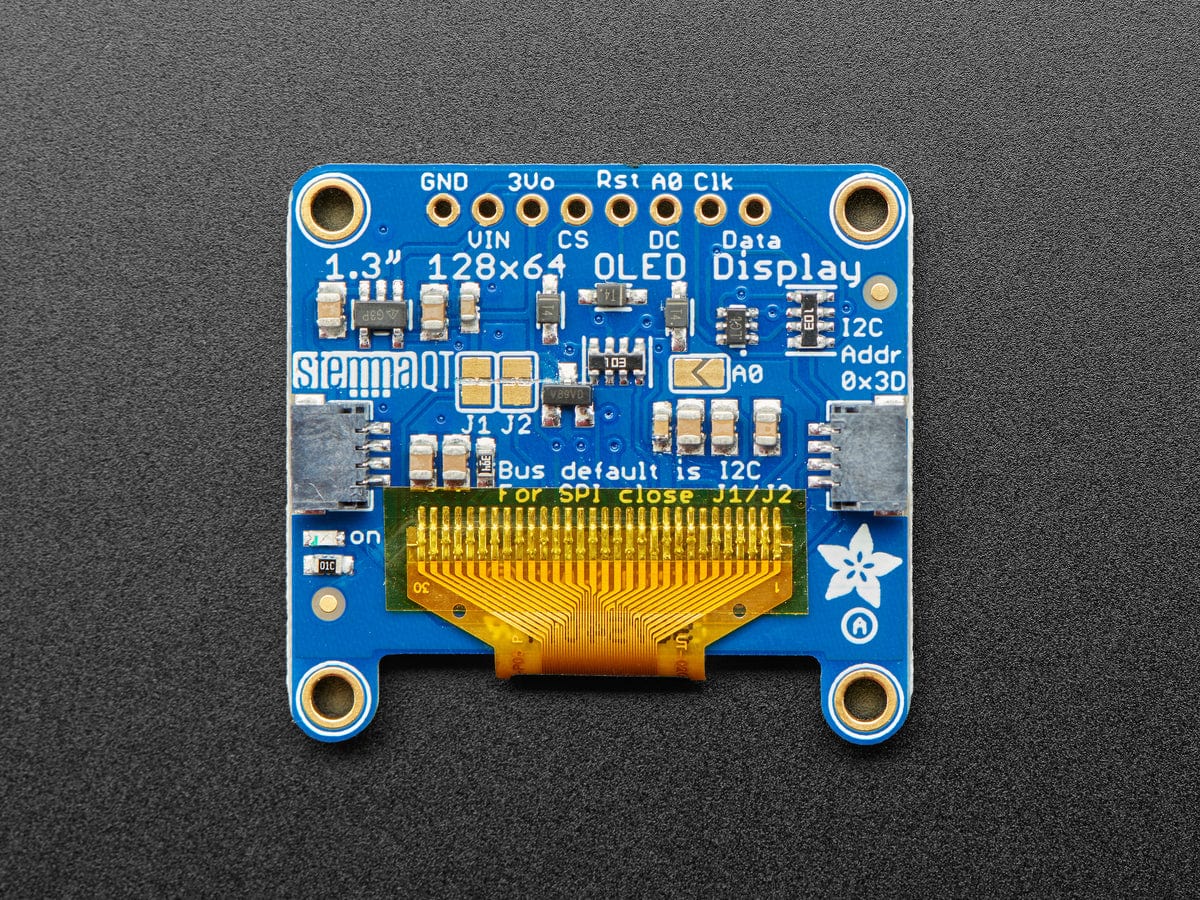
The driver chip, SSD1306 can communicate in two ways: I2C or SPI. The OLED itself requires a 3.3V power supply and 3.3V logic levels for communication, but we include a 3.3V regulator and all pins are fully level shifted so you can use with 3V or 5V devices!
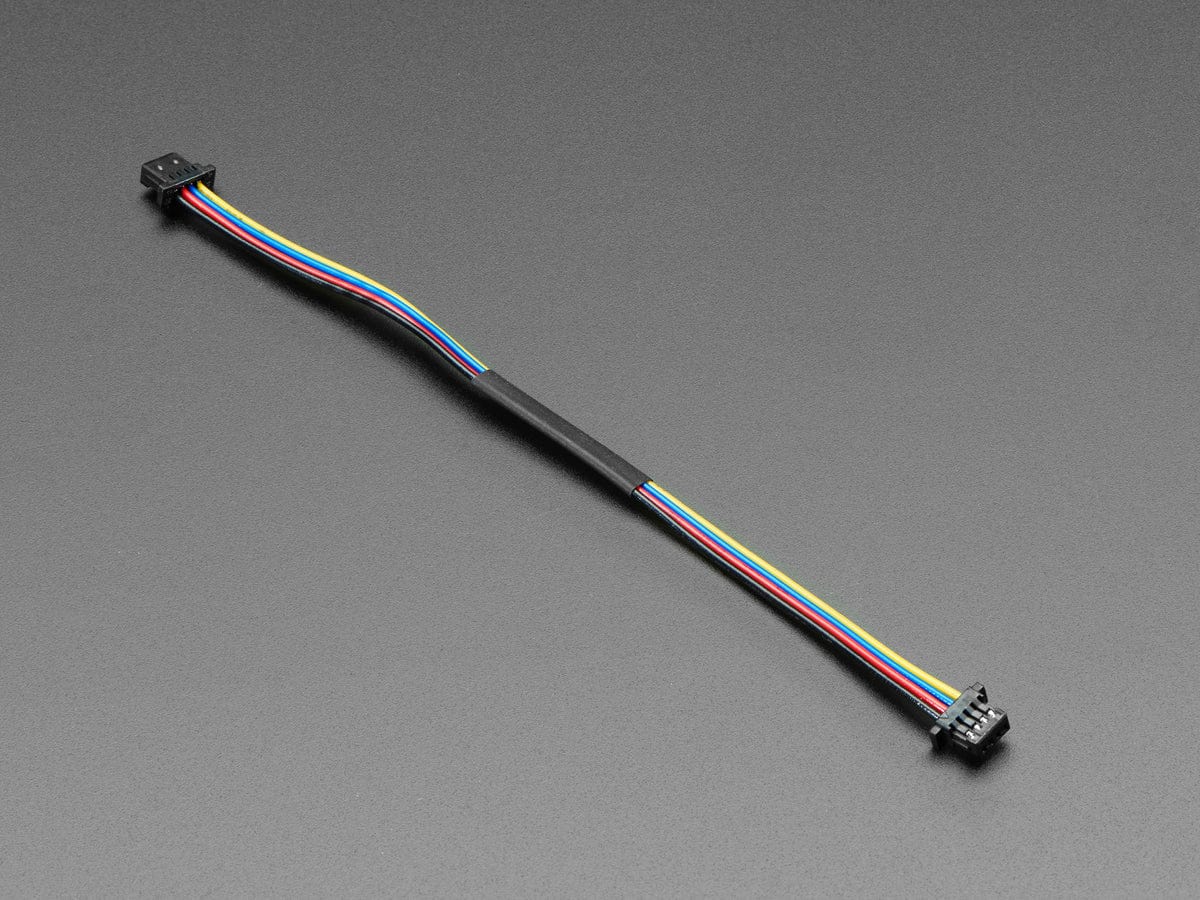
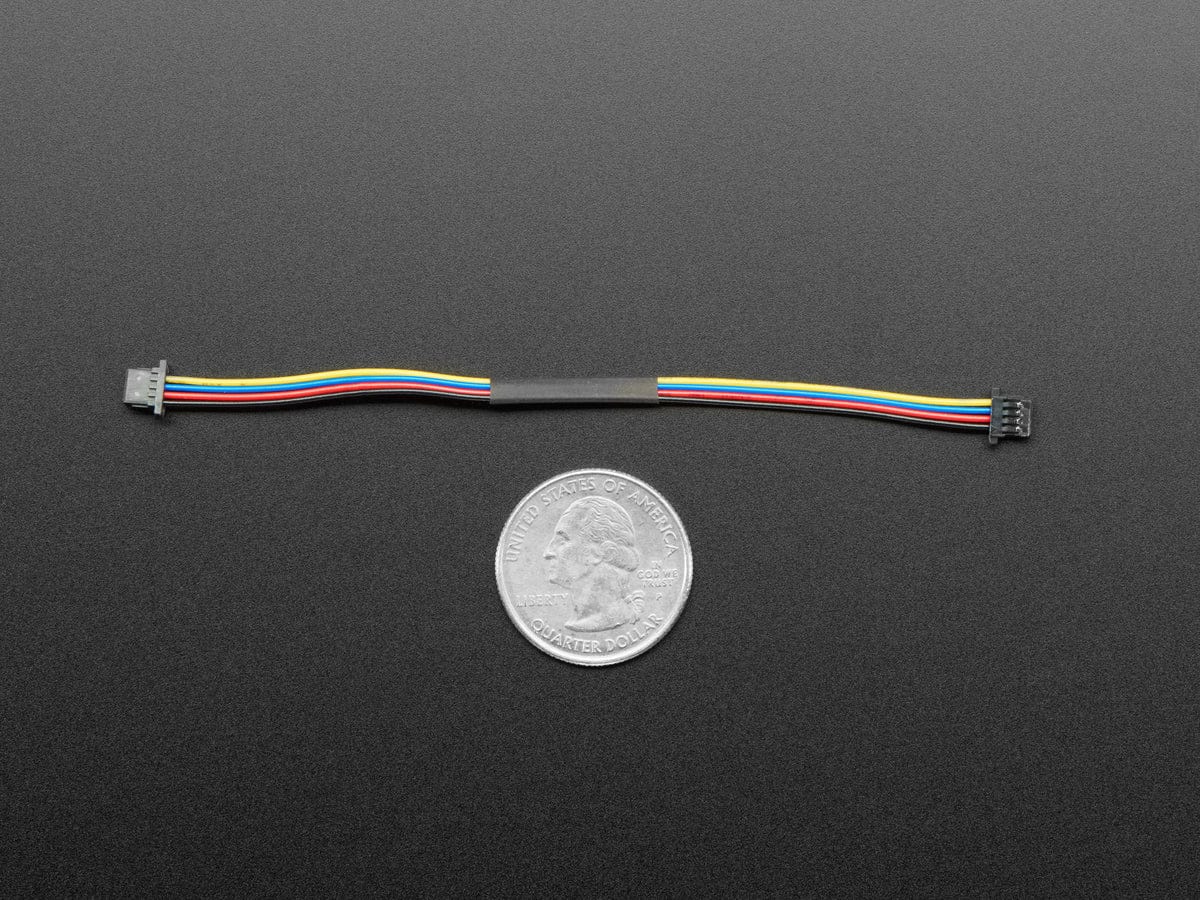
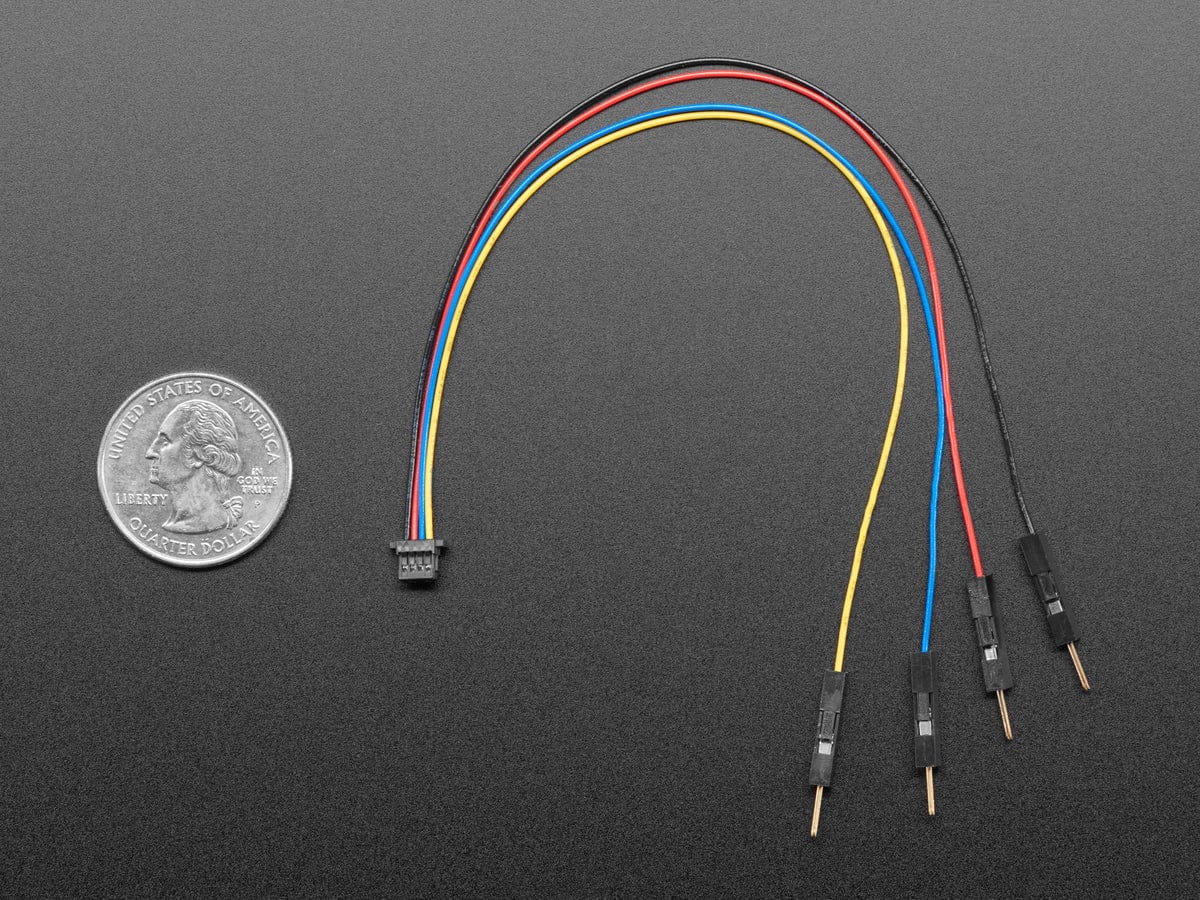
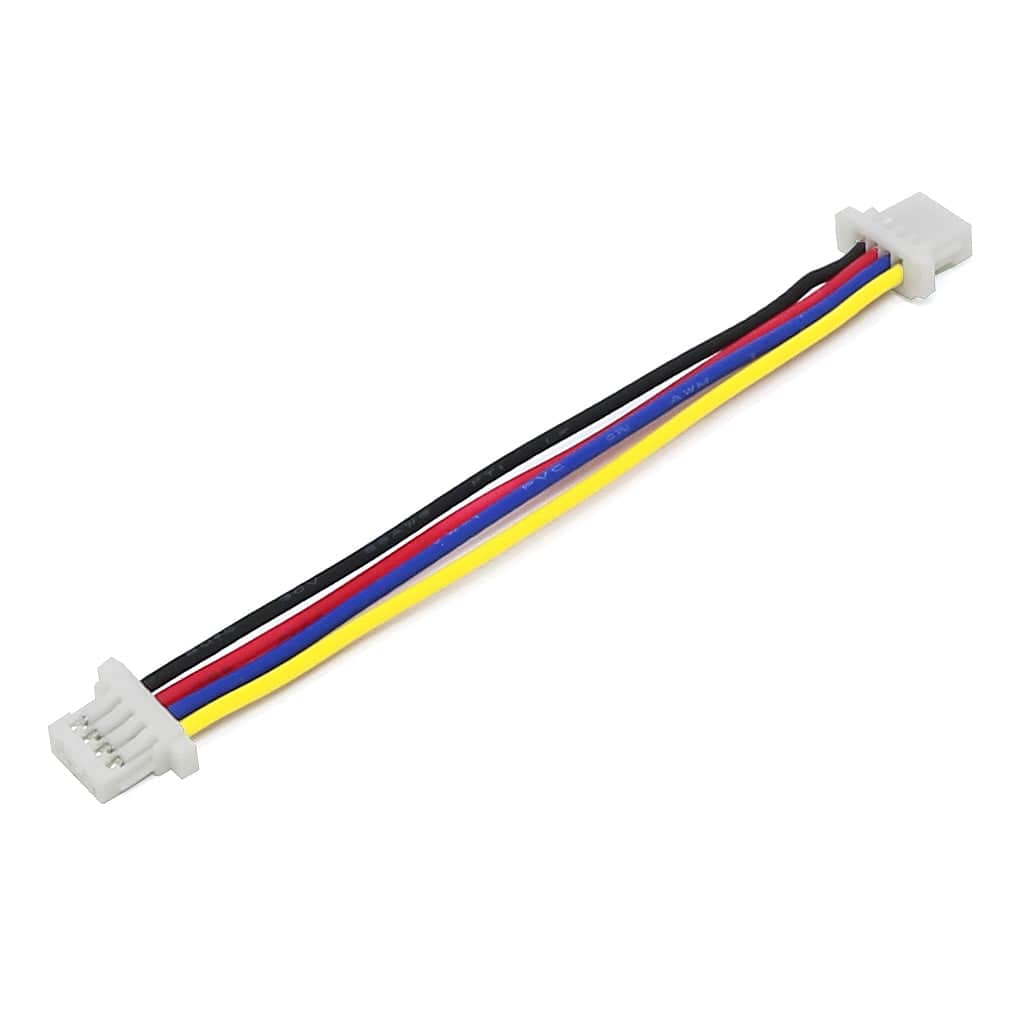
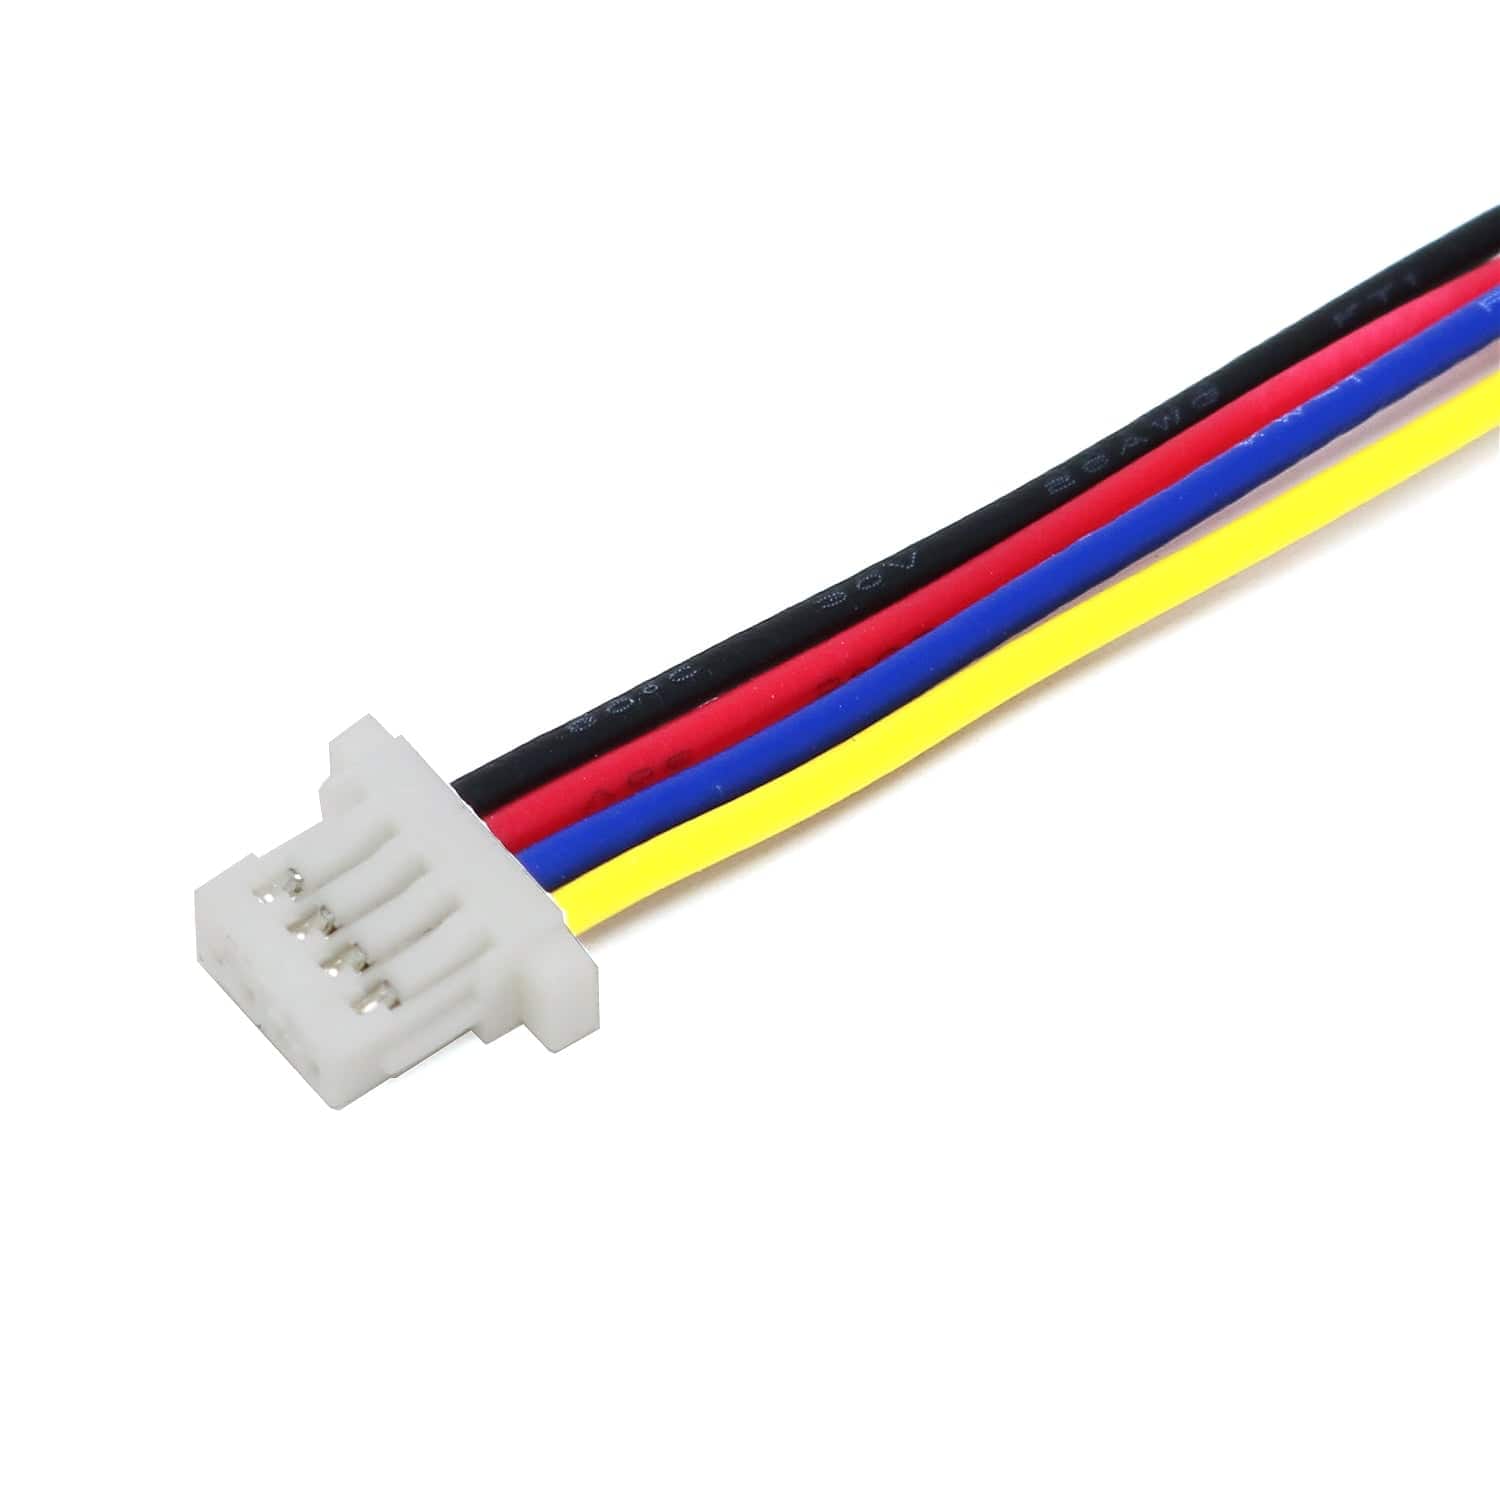
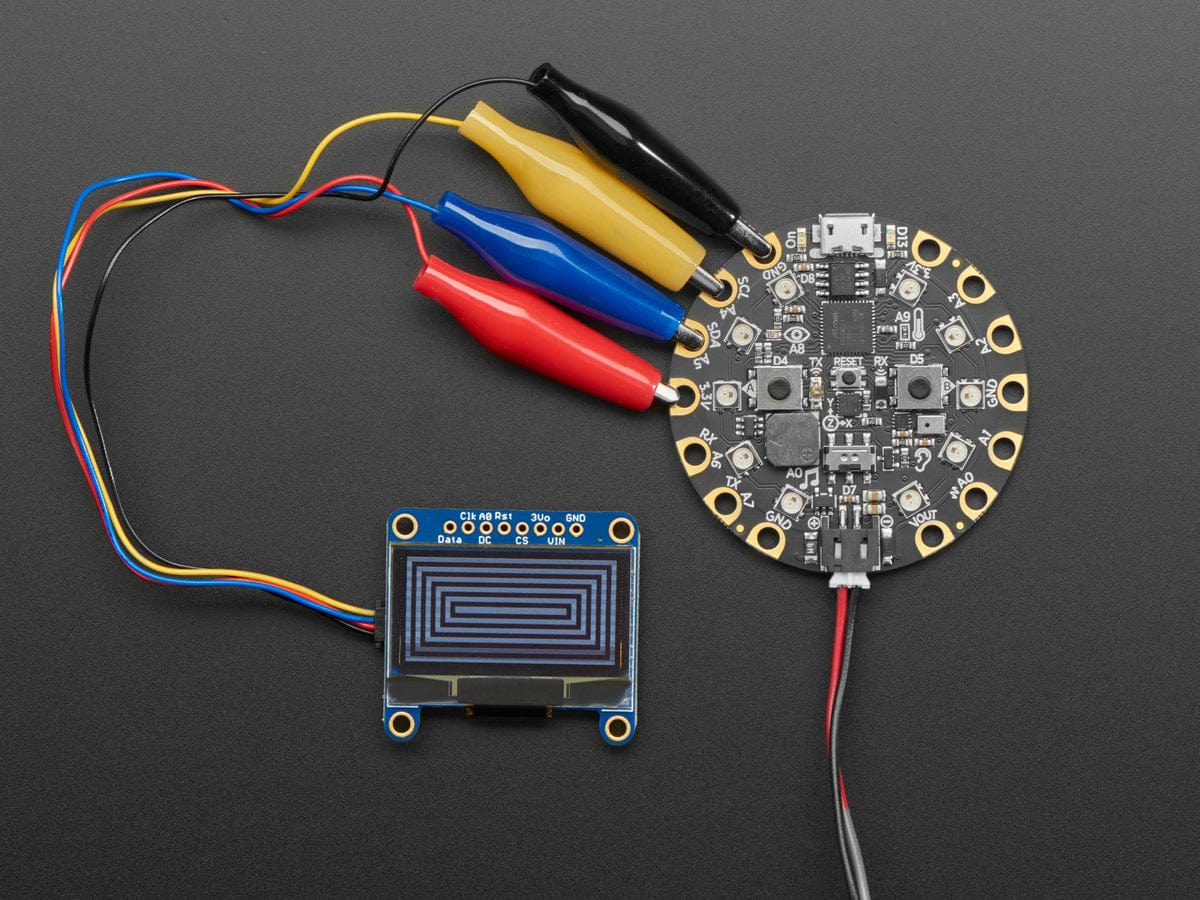
We've updated the design to add auto-reset circuitry so that the reset pin is optional. The default interface is now I2C, not SPI - since it speaks I2C you can easily connect it up with just two wires (plus power and ground!). We've even included SparkFun qwiic compatible STEMMA QT connectors for the I2C bus so you don't even need to solder! QT Cable is not included, but we have a variety in the shop.
The power requirements depend a little on how much of the display is lit but on average the display uses about 40mA from the 3.3V supply. Built into the OLED driver is a simple switch-cap charge pump that turns 3.3v-5v into a high voltage drive for the OLEDs.
We have a detailed tutorial and example code for Arduino and Python/CircuitPython for text and graphics. You'll need a microcontroller with more than 1K of RAM since the display must be buffered. The library can print text, bitmaps, pixels, rectangles, circles, and lines. It uses 1K of RAM since it needs to buffer the entire display but it's very fast! The code is simple to adapt to any other microcontroller.
Please note that OLED displays are made of hundreds of... OLEDs! That means each pixel is a little organic LED, and if it's kept on for over 1000 hours it'll start to dim. If you want to keep the display uniformly bright, please turn off the display (set the pixels off) when it isn't needed to keep them from dimming.
Revision History:
Breakout Board Dimensions:
OLED Display Details:
Datasheets, EagleCAD PCB files, Fritzing object and more in the tutorial


