Login / Signup
Cart
Your cart is empty
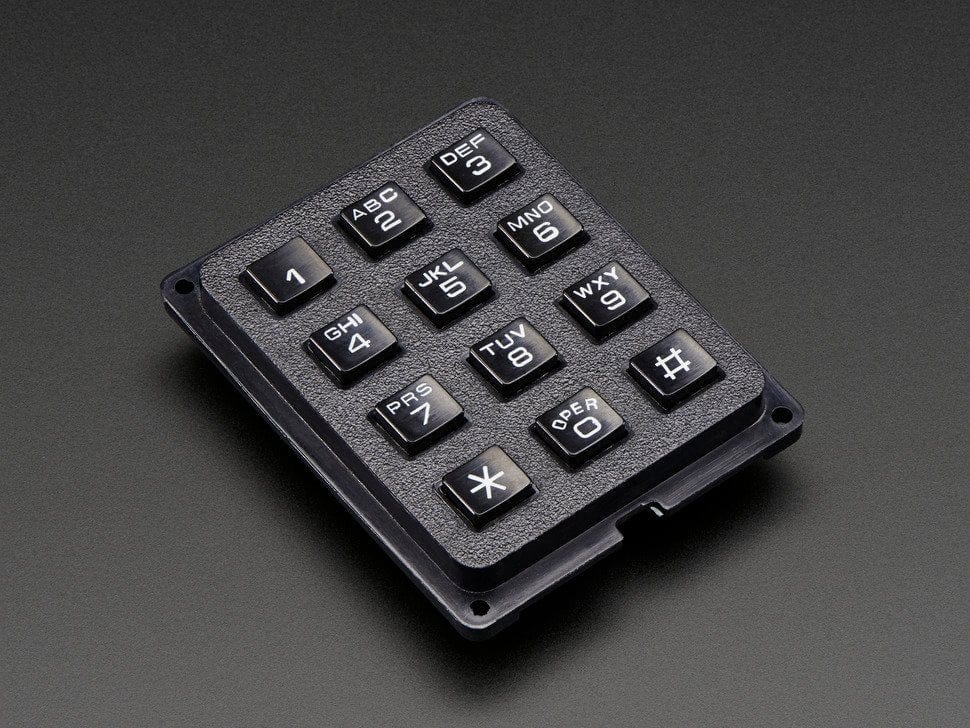
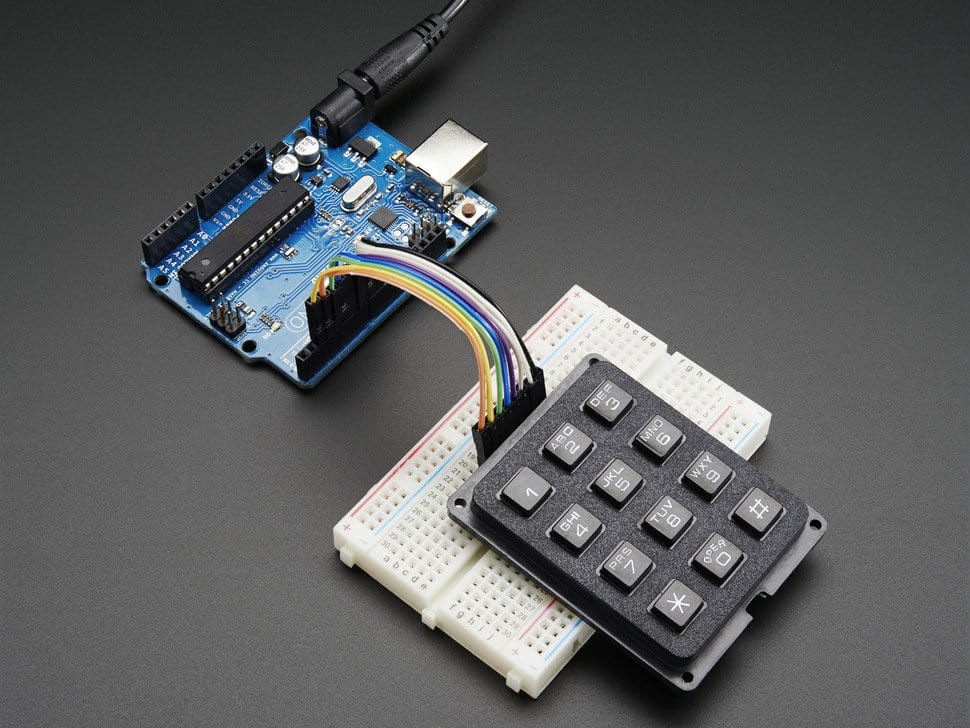
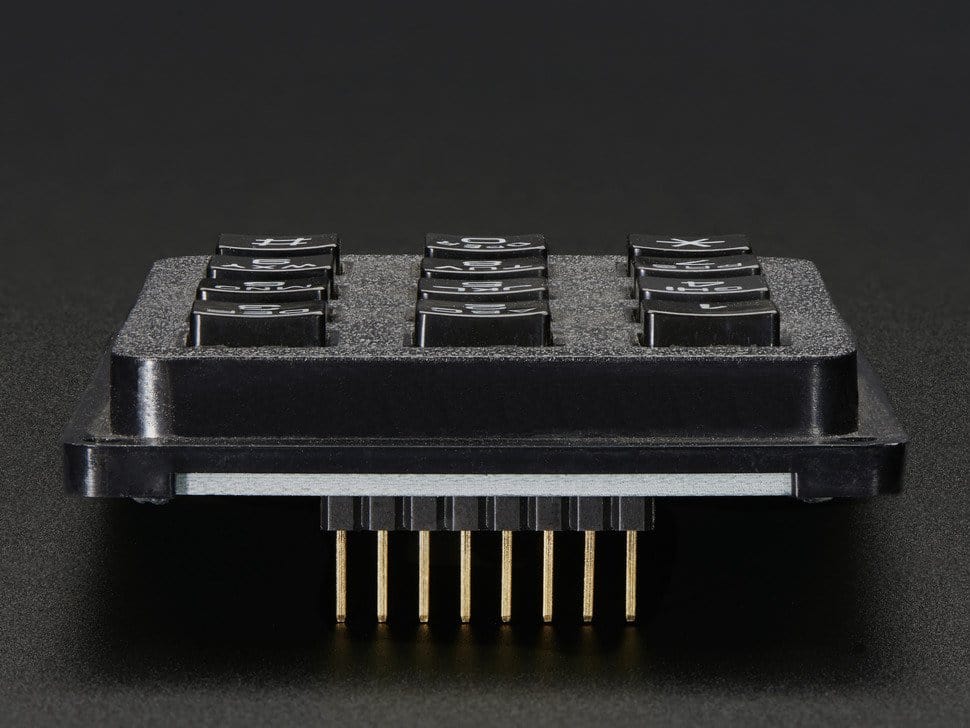
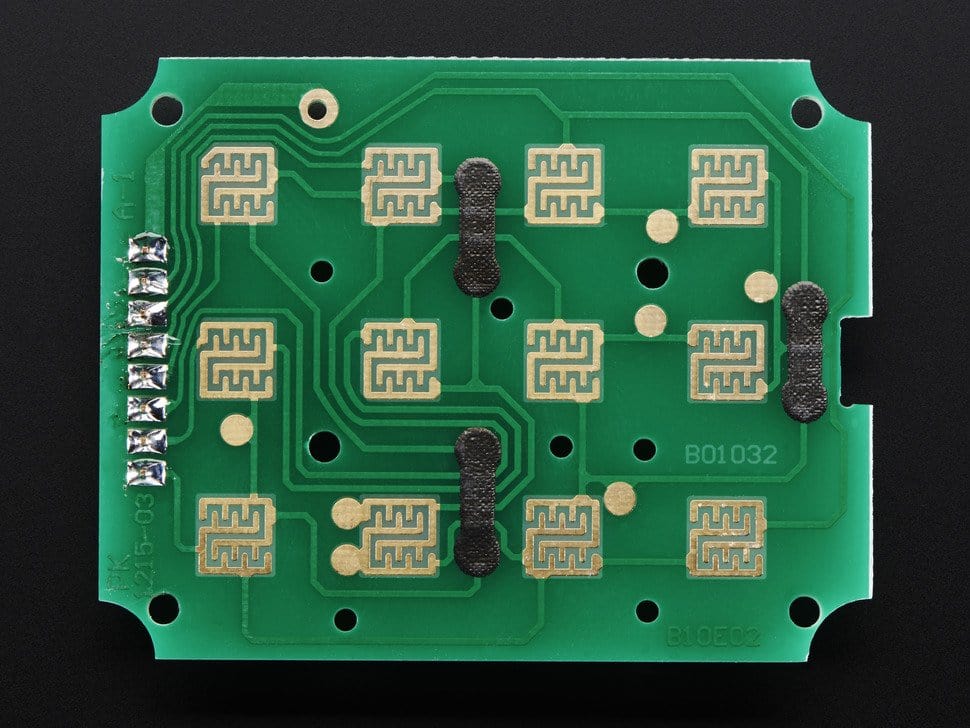
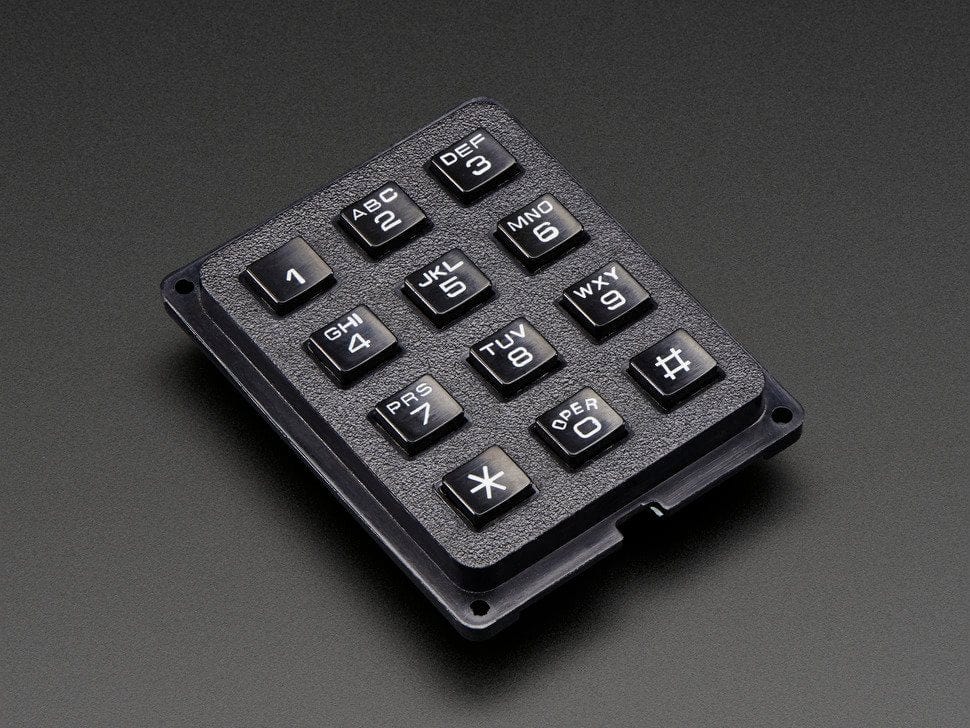
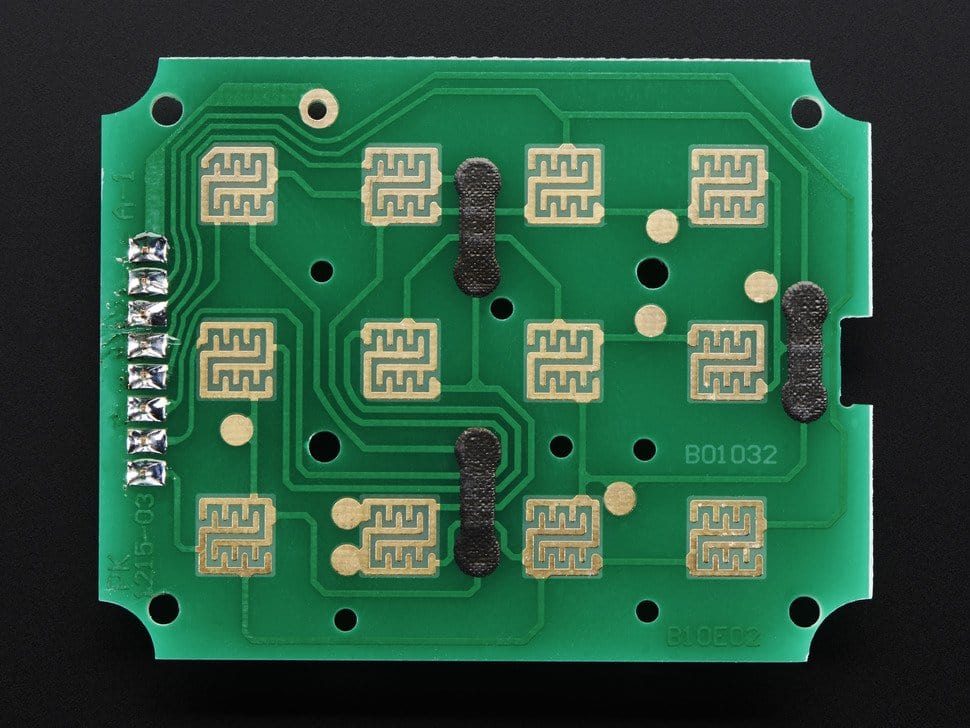
Hey, Jenny, I've got your number! And I'm going to dial 867-5309 into this very nice phone-style matrix keypad. This keypad has 12 buttons, arranged in a telephone-line 3x4 grid. It's made of plastic with sturdy plastic buttons. The keys are connected to a matrix so you only need 7 microcontroller pins (3-columns and 4-rows) to scan through the pad.
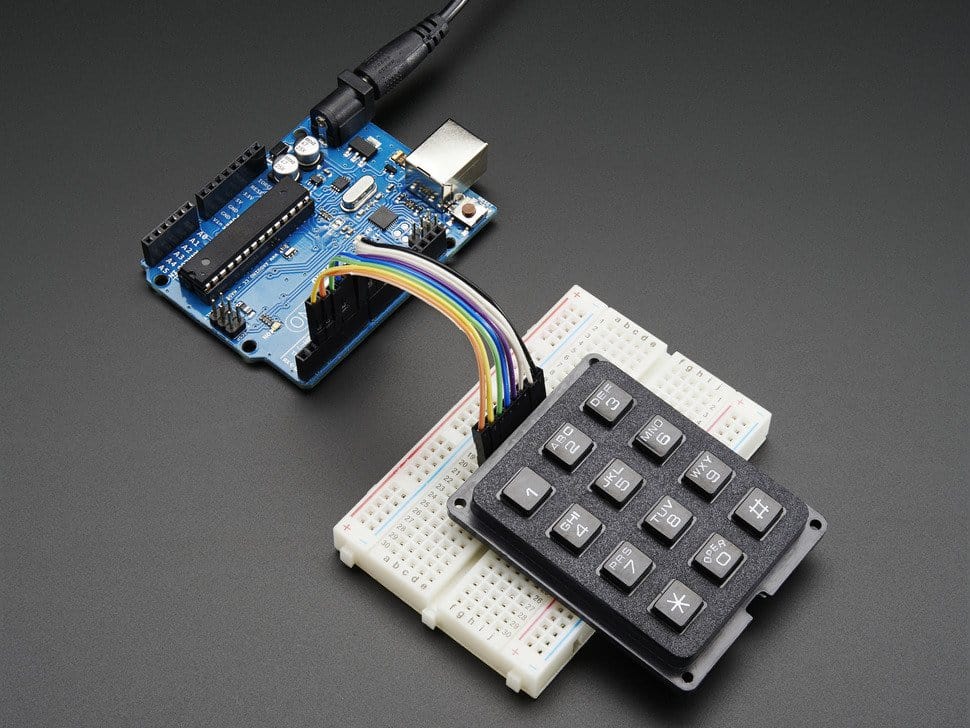
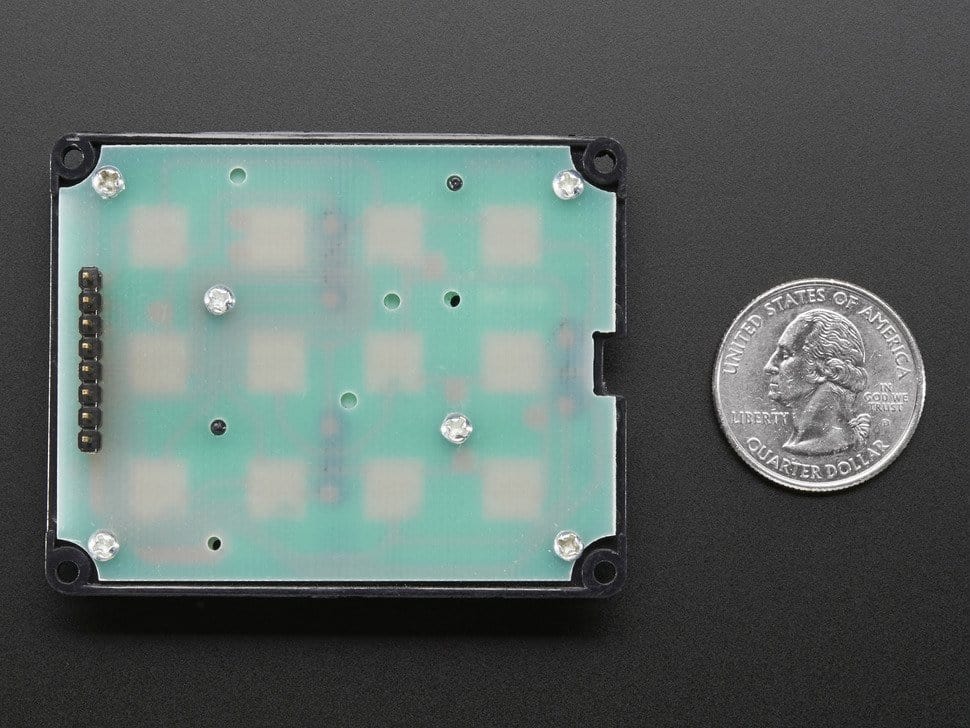
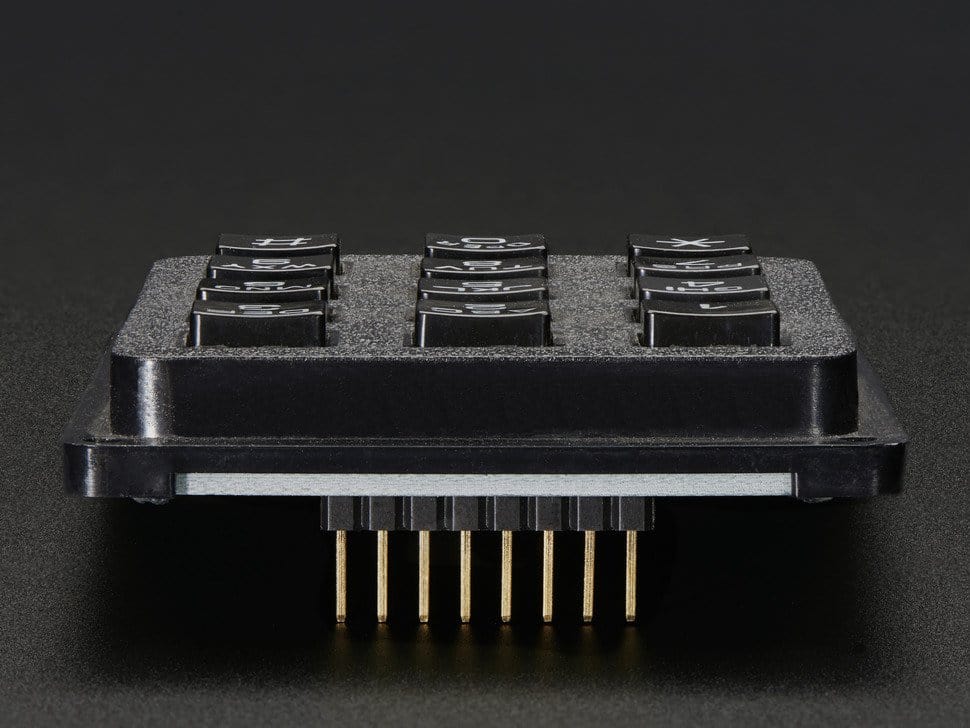
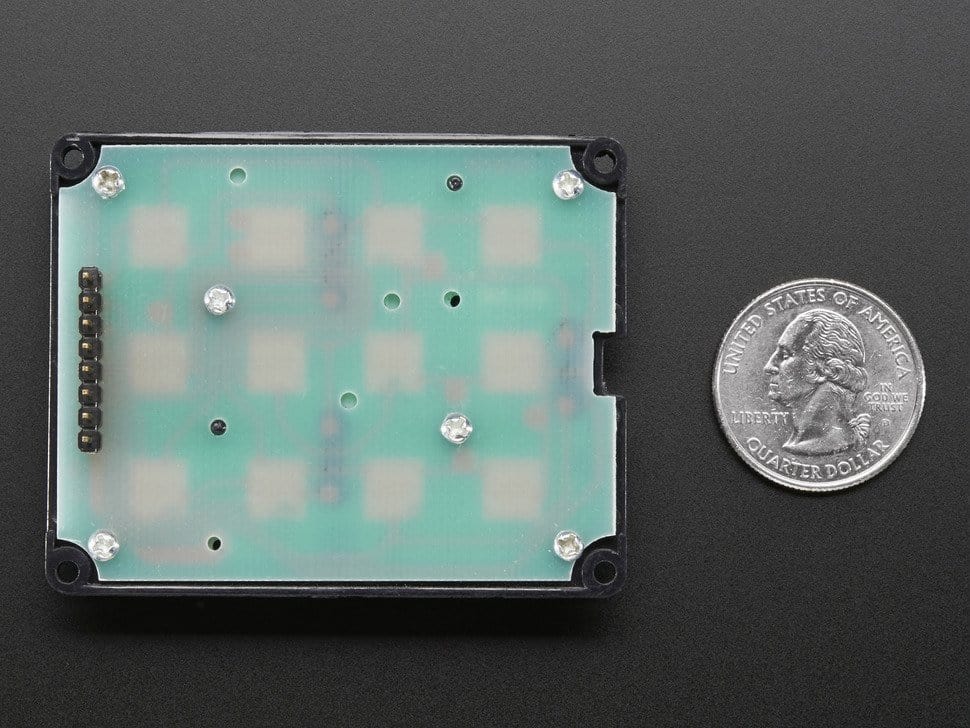
There's a great Matrix Keypad Arduino library that should work great with this item with minor adjustments. It's basically a sturdier version of our Membrane 3x4 Matrix Keypad and comes with 7 or 8 header pins pre-soldered on for easy plugging. Starting from the left there are three column pins, and then to the right are the four row pins. If yours has an 8th pin, its not used and you can just leave it disconnected

There is a very nice Matrix Keypad Arduino library that works great with this item. The only thing we suggest is to change the initialization code in the examples to this:
#include "Arduino.h"
#include "Keypad.h"

const byte ROWS = 4; //four rows
const byte COLS = 3; //three columns
char keys[ROWS][COLS] = {
  {'1','2','3'},
  {'4','5','6'},
  {'7','8','9'},
  {'*','0','#'}
};
byte rowPins[ROWS] = {5, 6, 7, 8}; //connect to the row pinouts of the keypad
byte colPins[COLS] = {2, 3, 4}; //connect to the column pinouts of the keypad

Keypad keypad = Keypad( makeKeymap(keys), rowPins, colPins, ROWS, COLS );

void setup(){
  Serial.begin(9600);
}

void loop(){
  char key = keypad.getKey();

  if (key != NO_KEY){
    Serial.println(key);
  }
}
This will swap the * and # keys and also let you connect to the Arduino with all the pins in order/in a row starting from digital 2 thru digital 9


