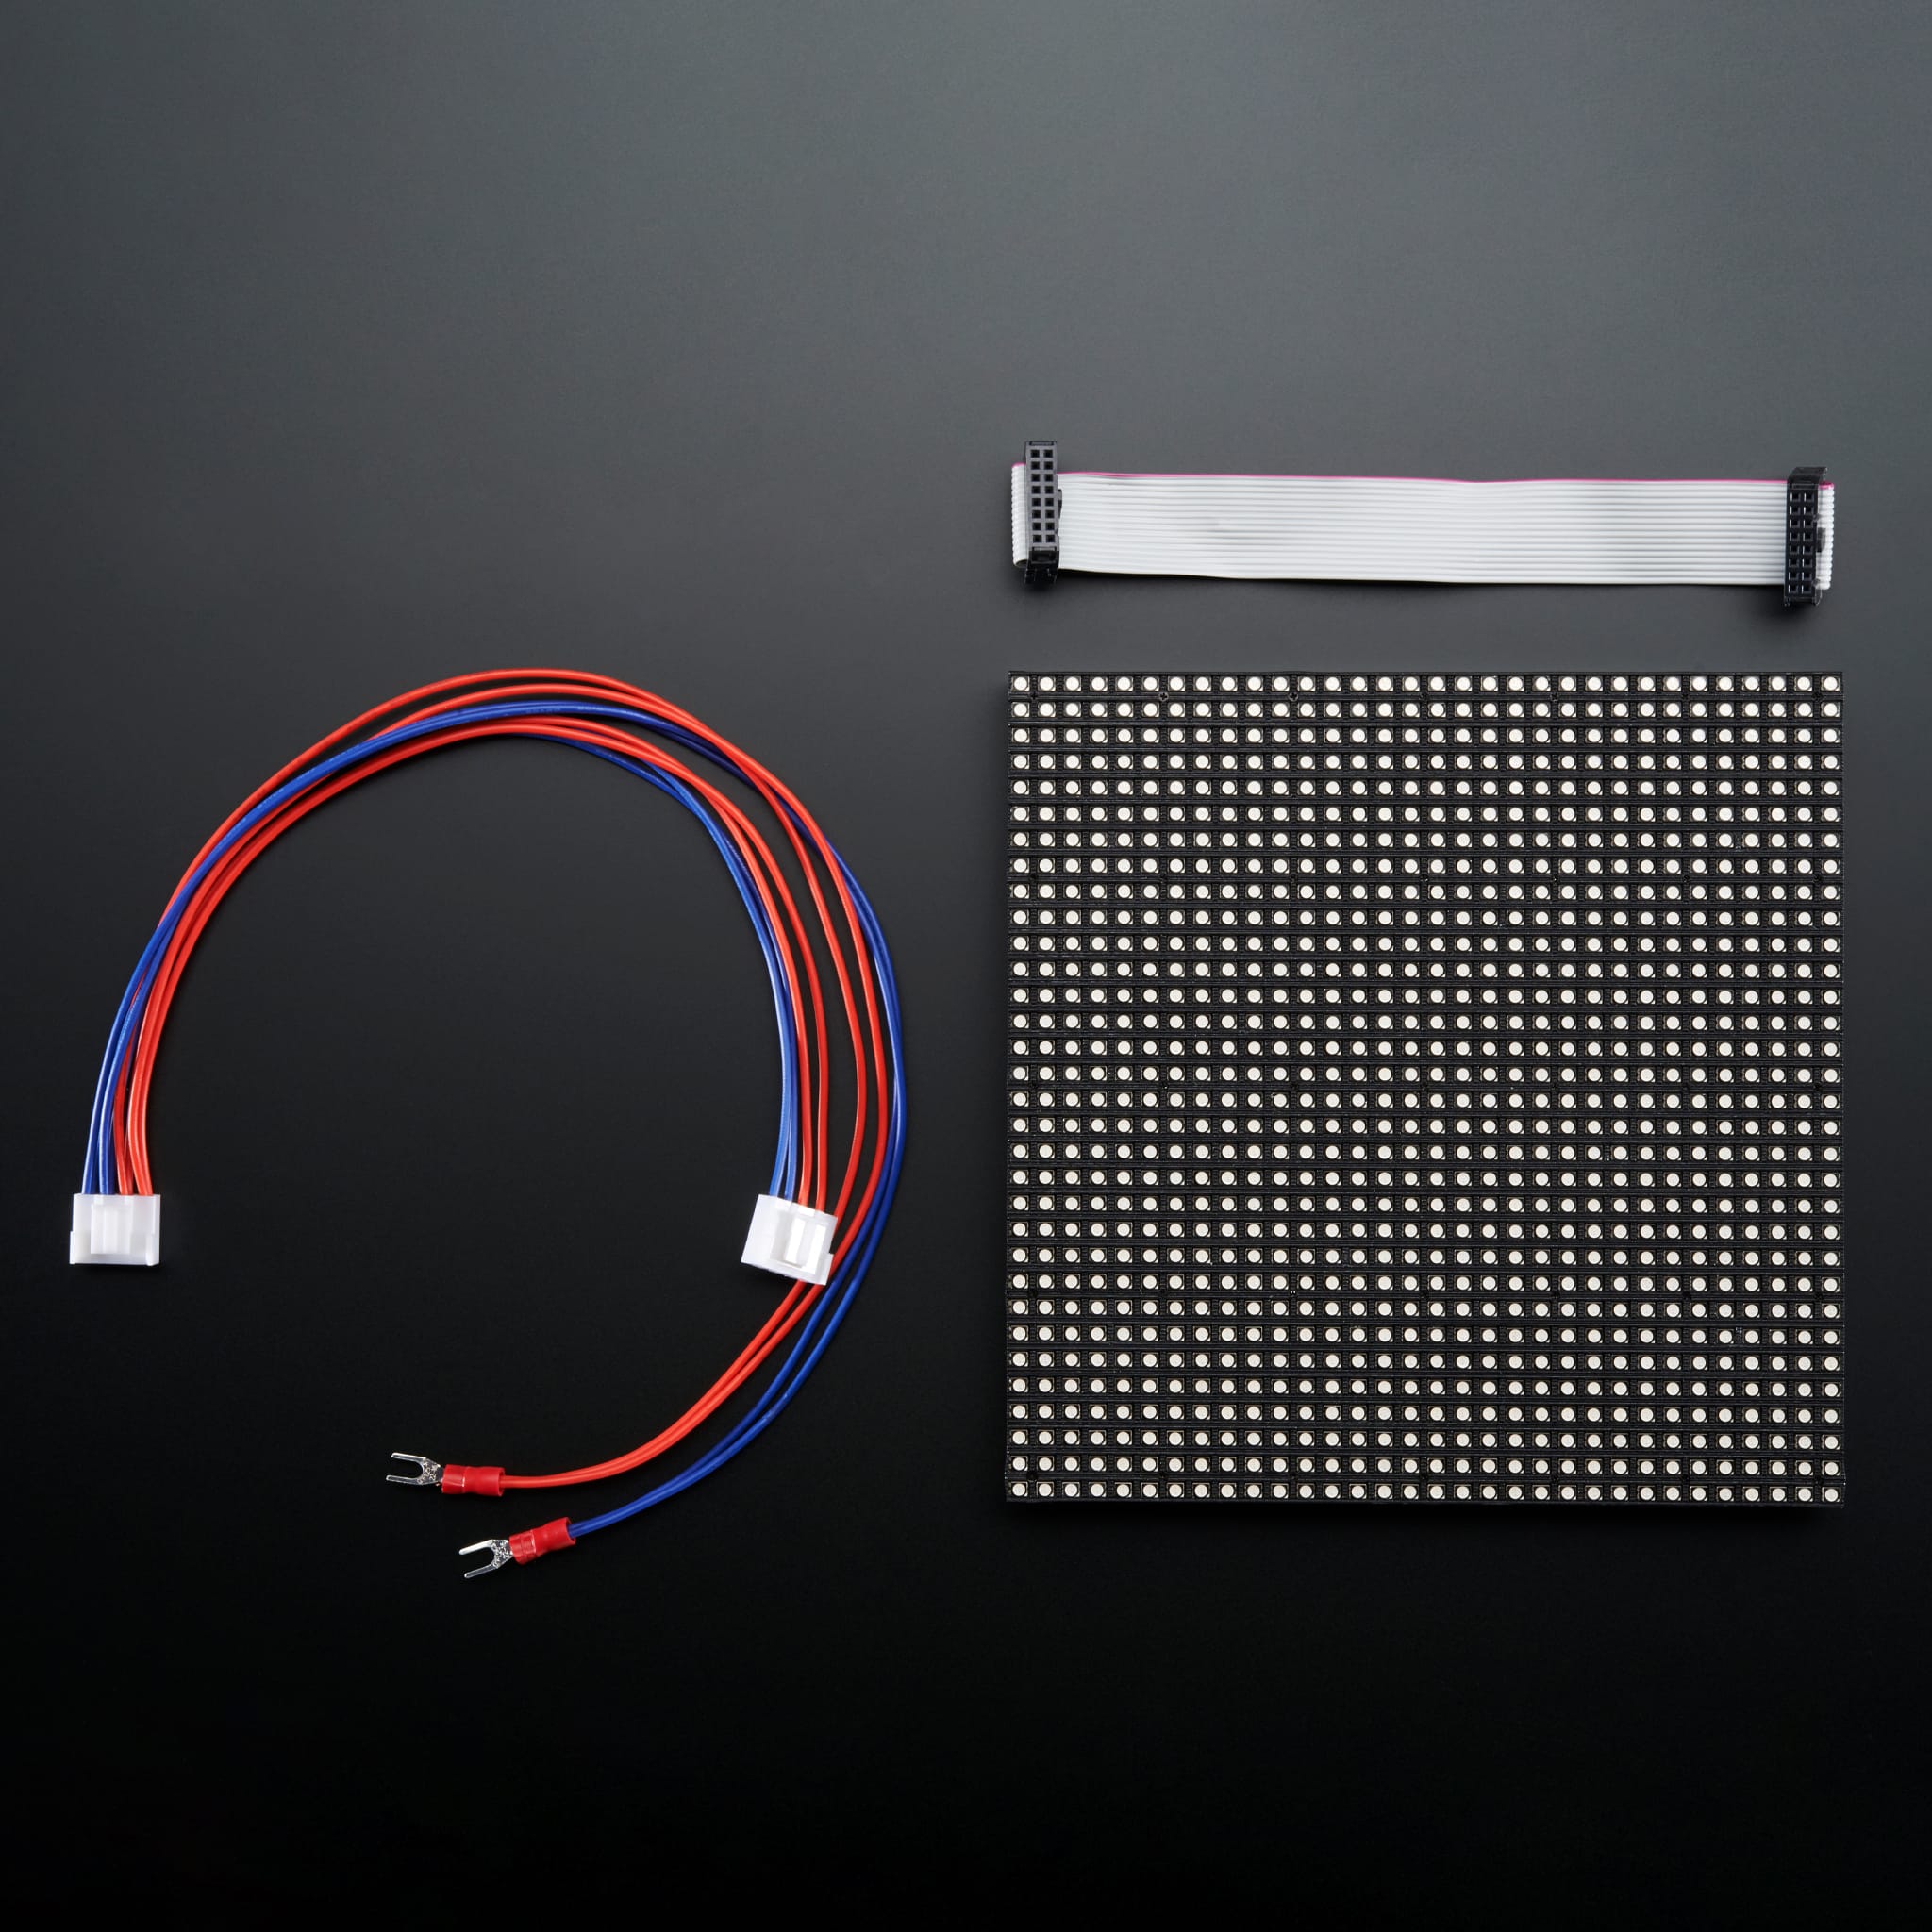
32x32 RGB LED Matrix Panel - 5mm Pitch
Price:
Sale price
£33.60
Stock:
Quantity:
Login / Signup
Cart
Your cart is empty


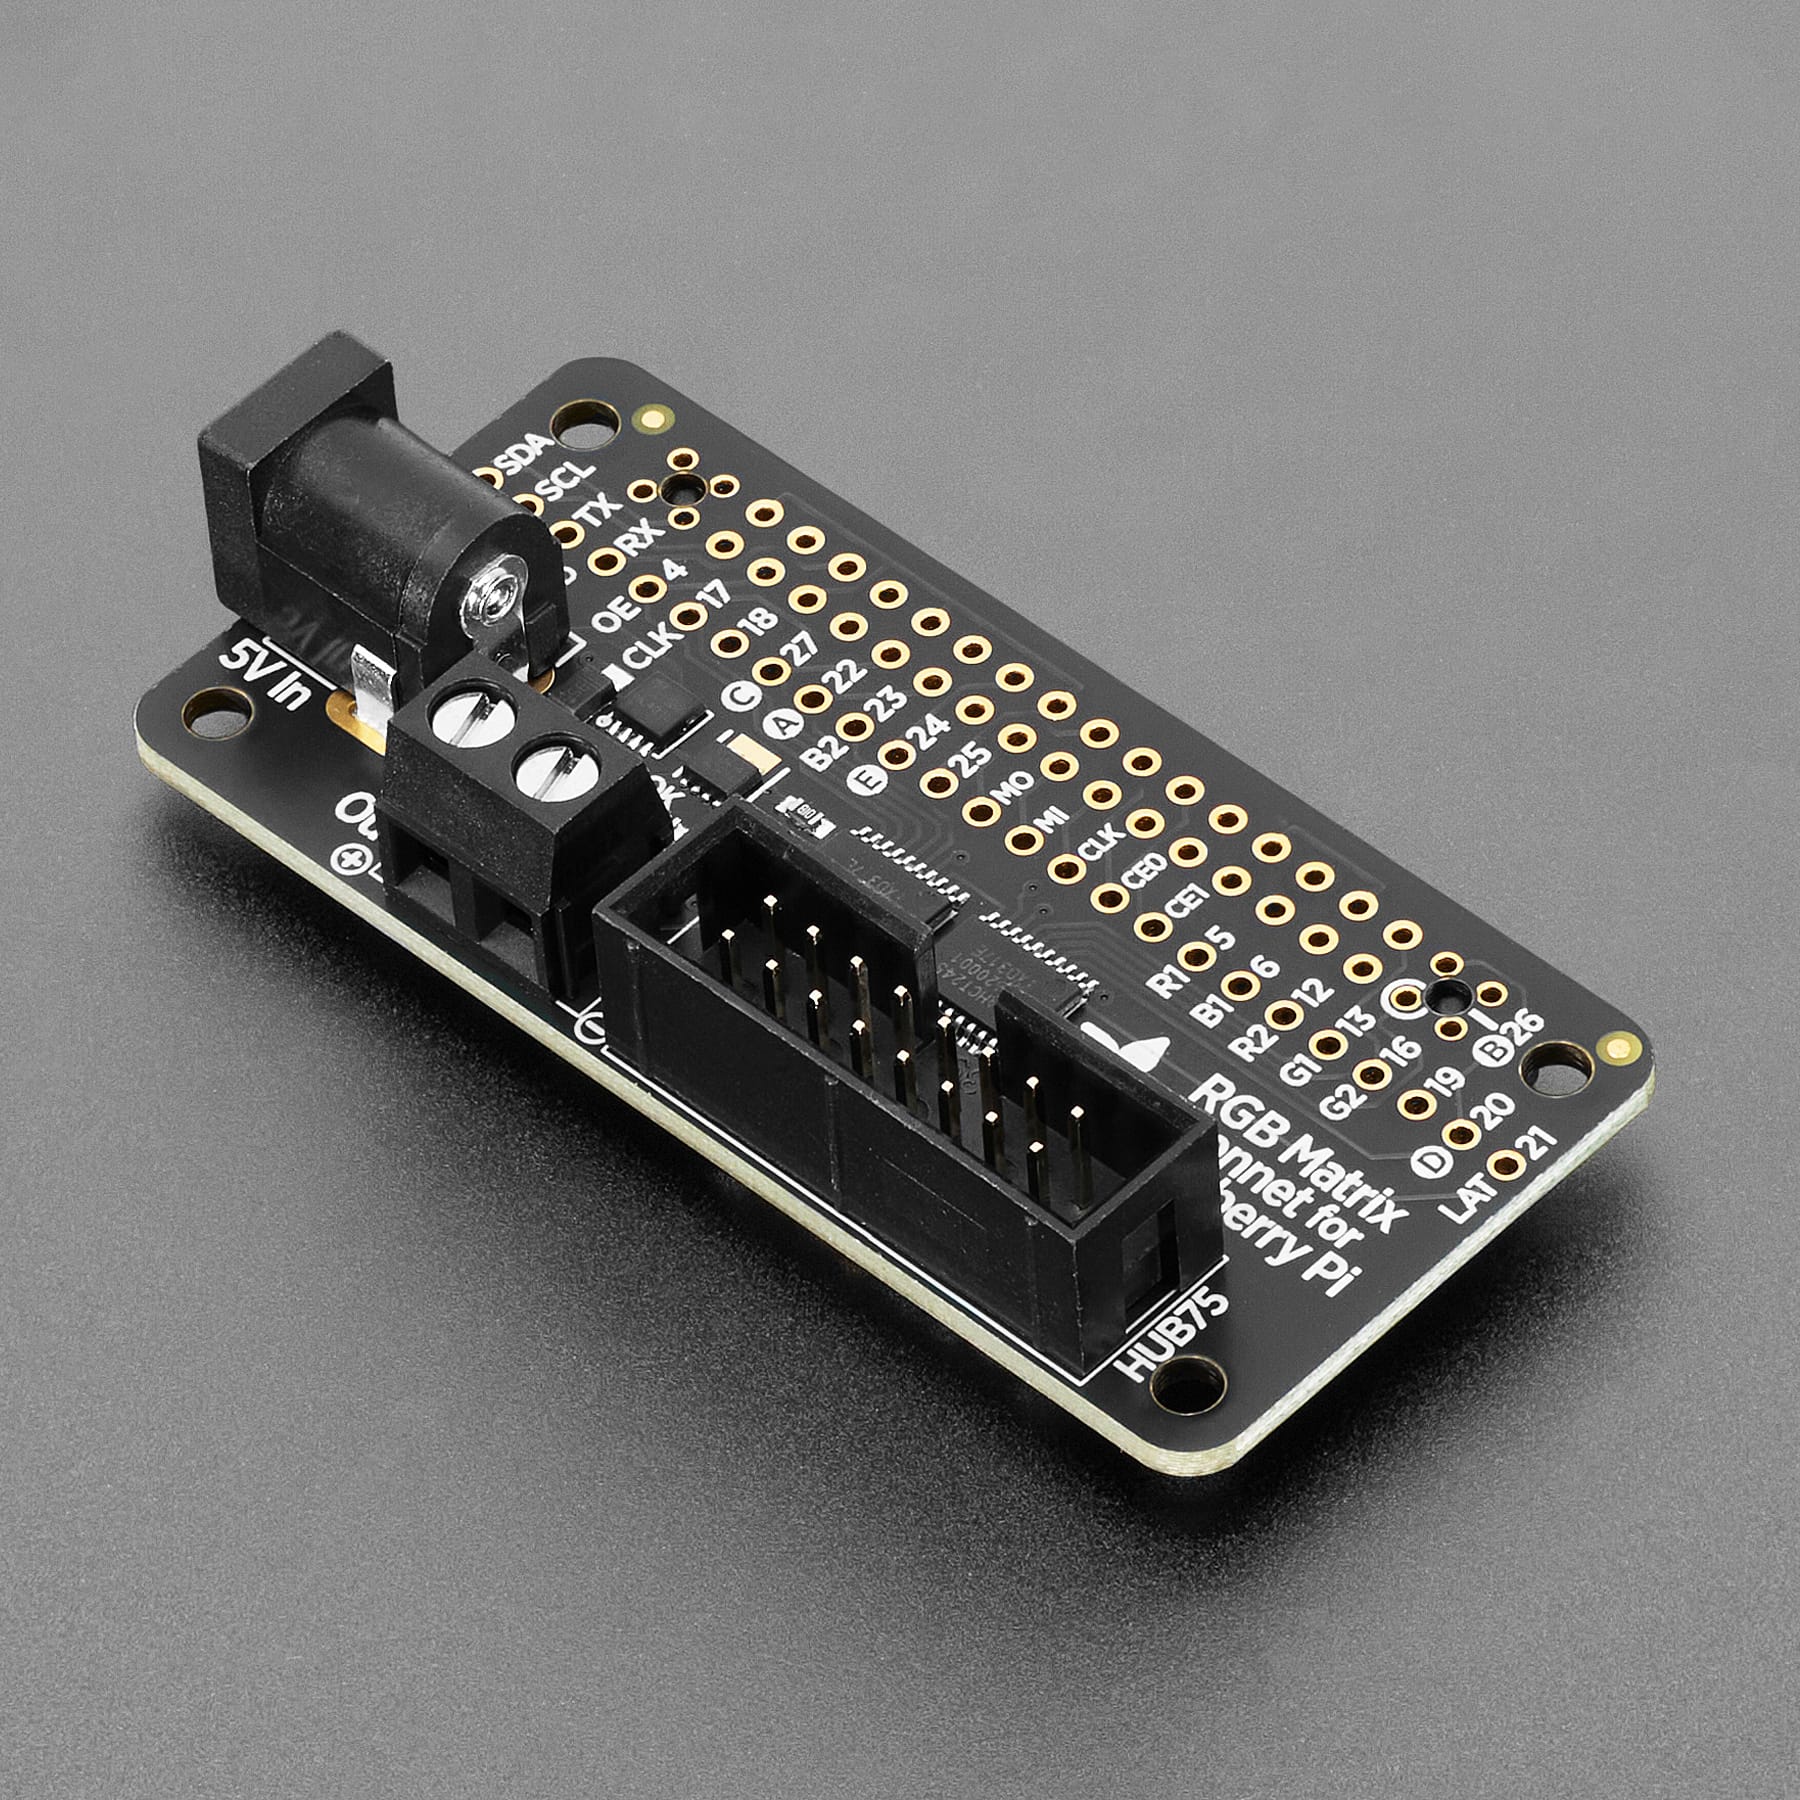
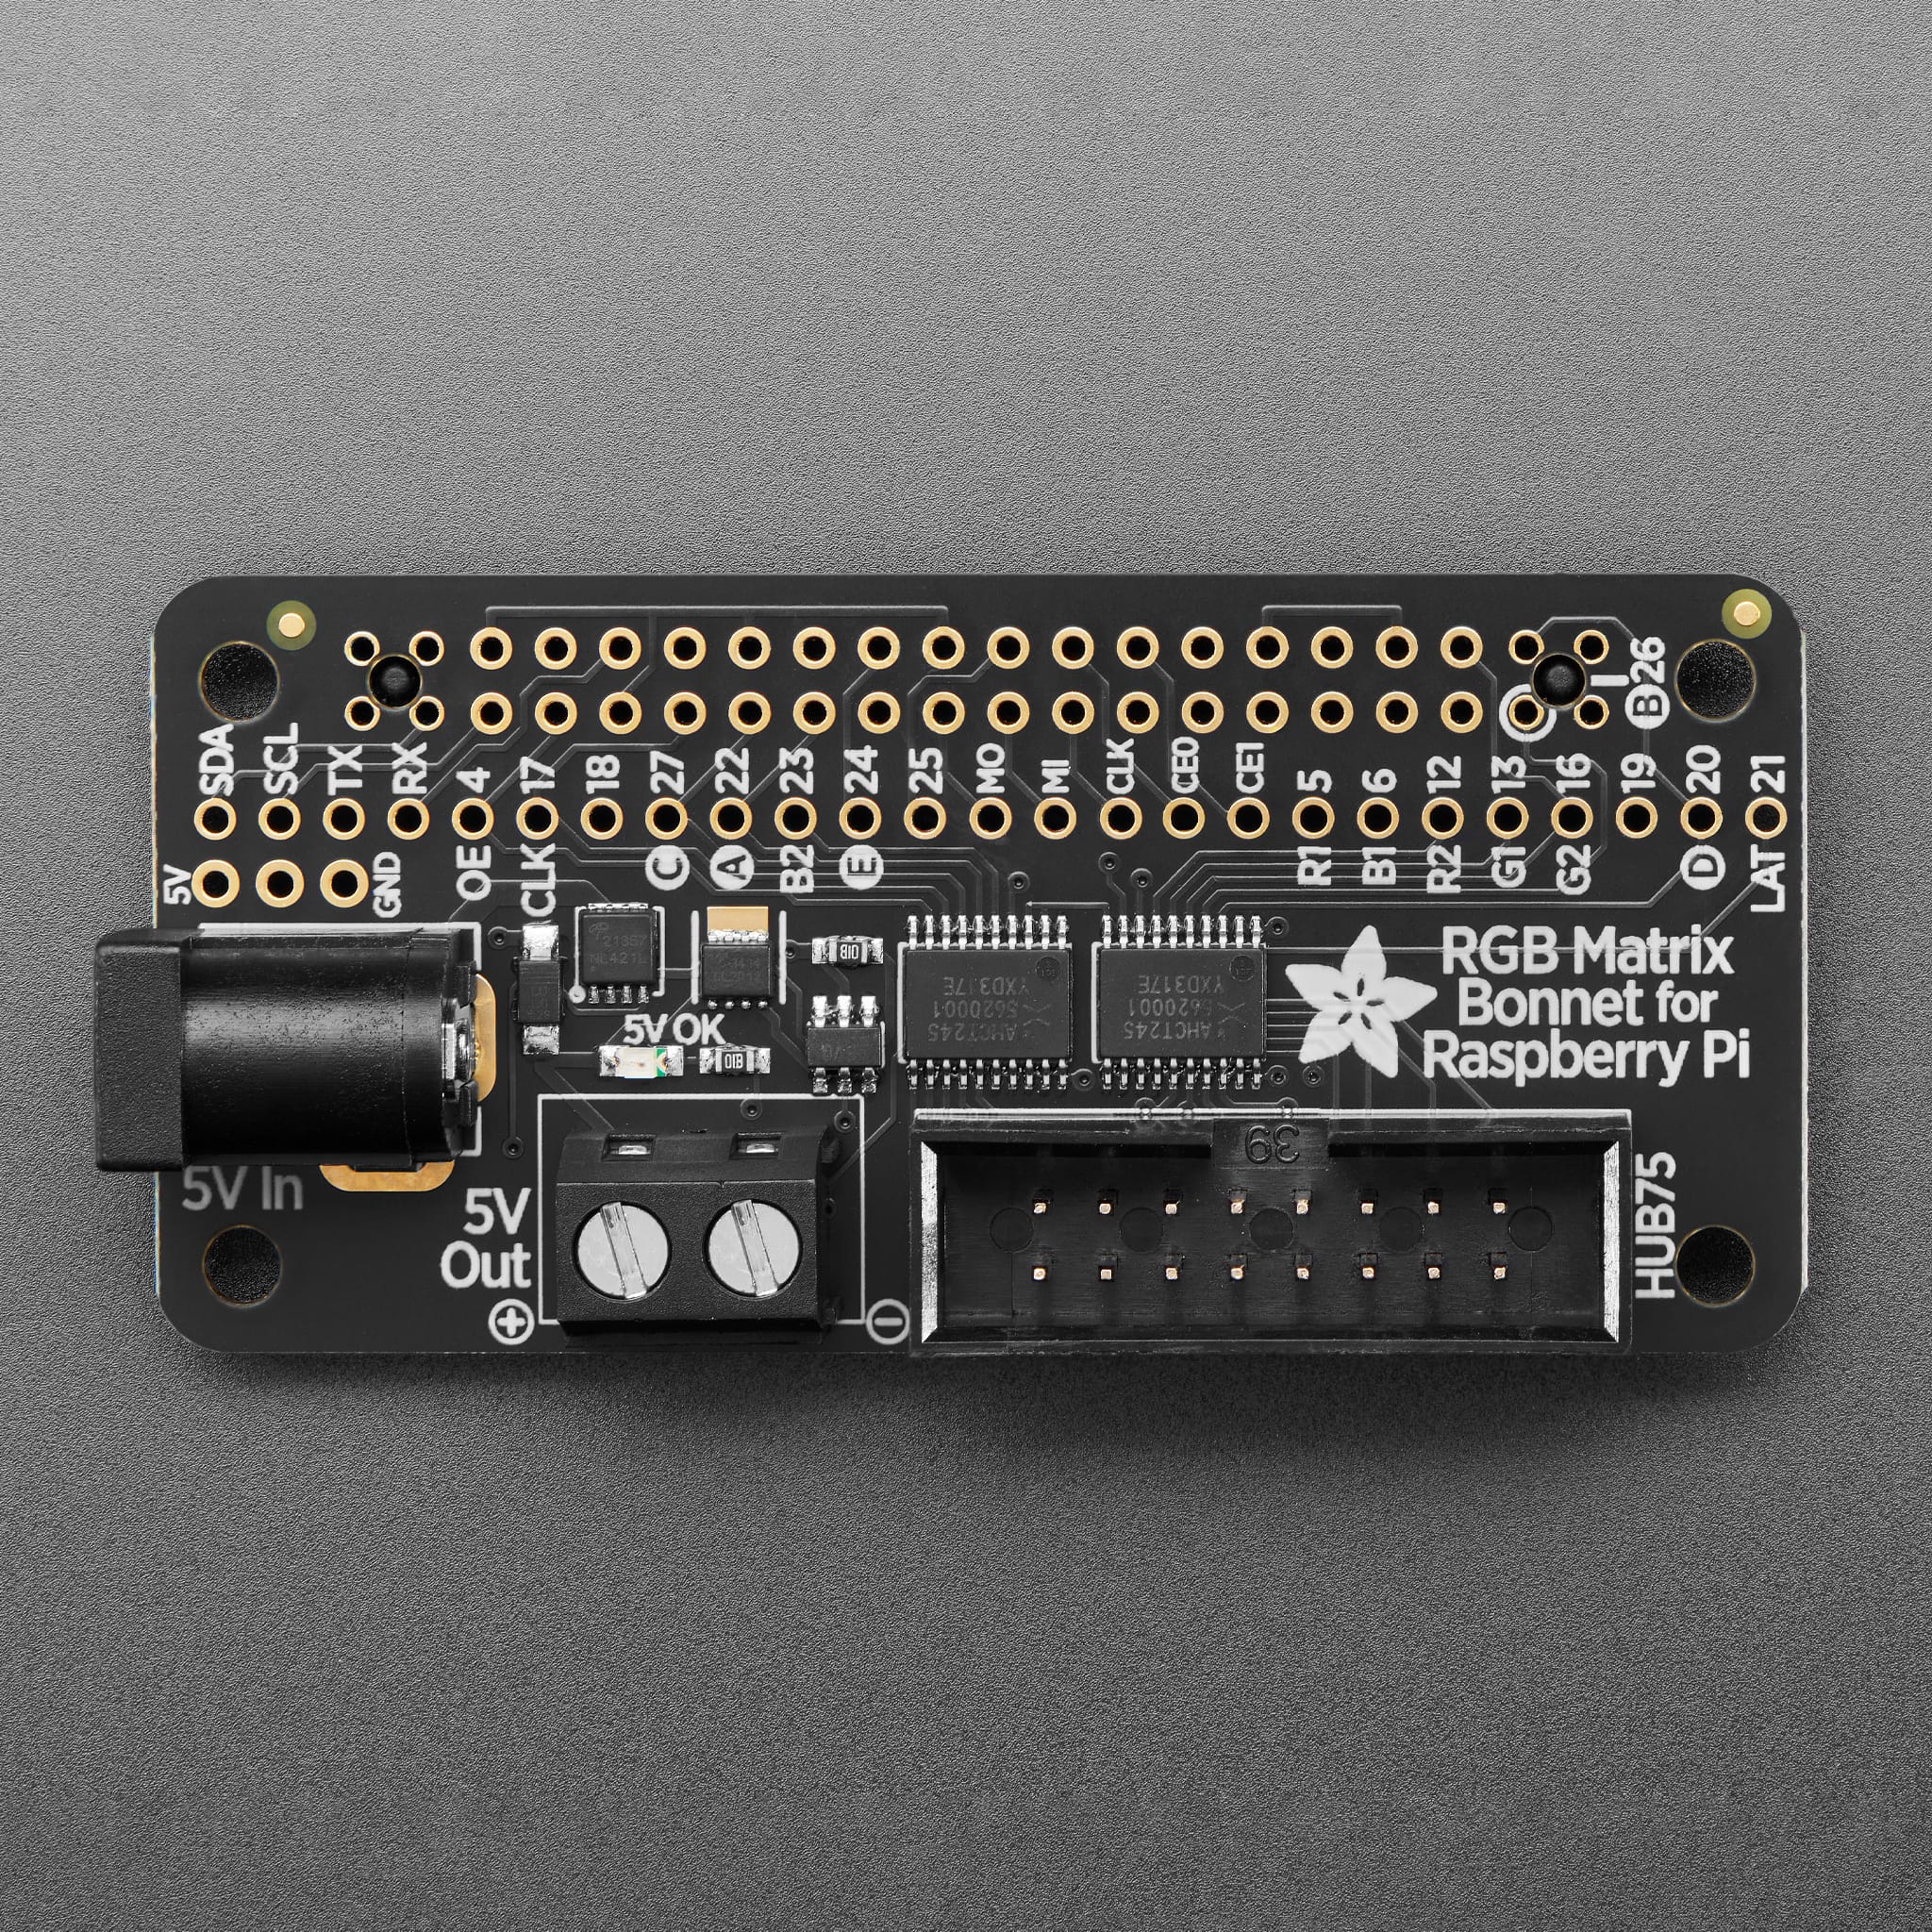
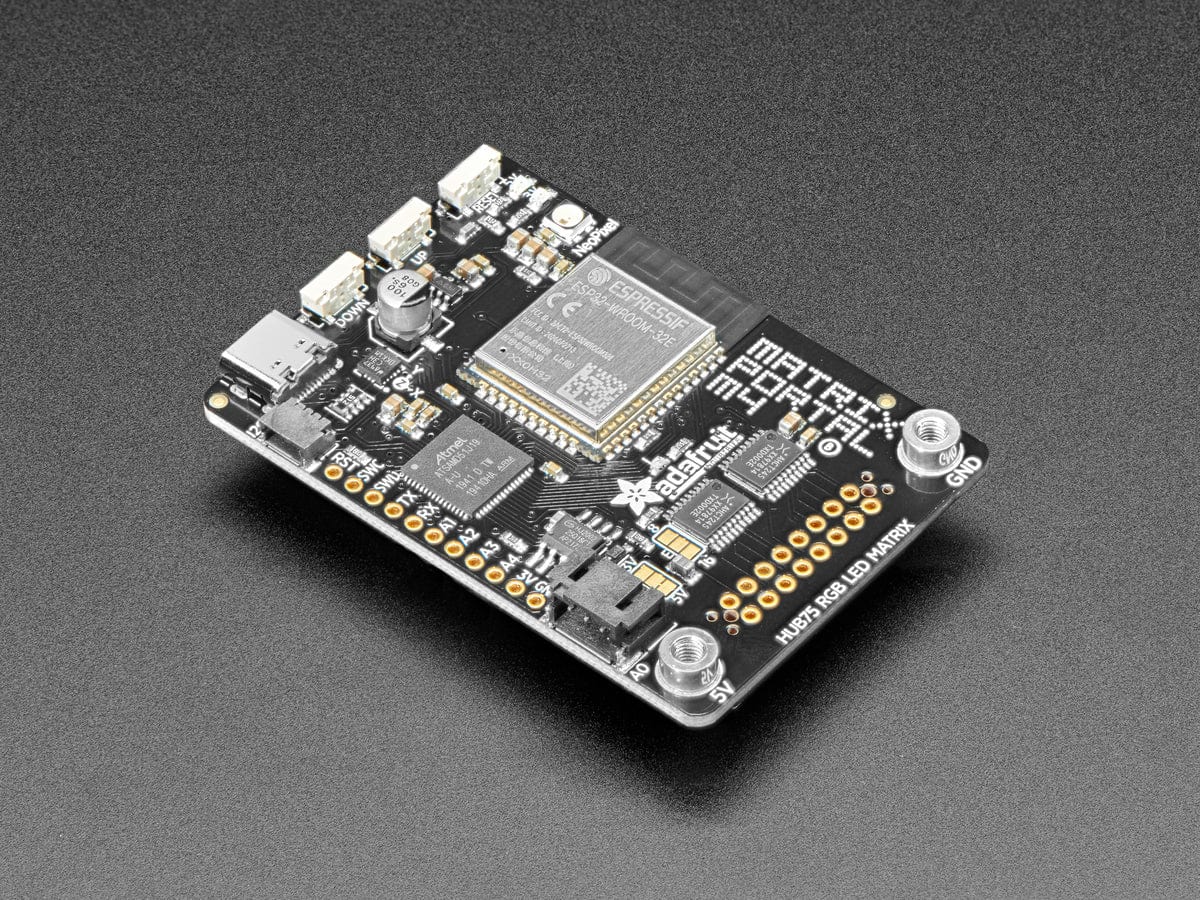
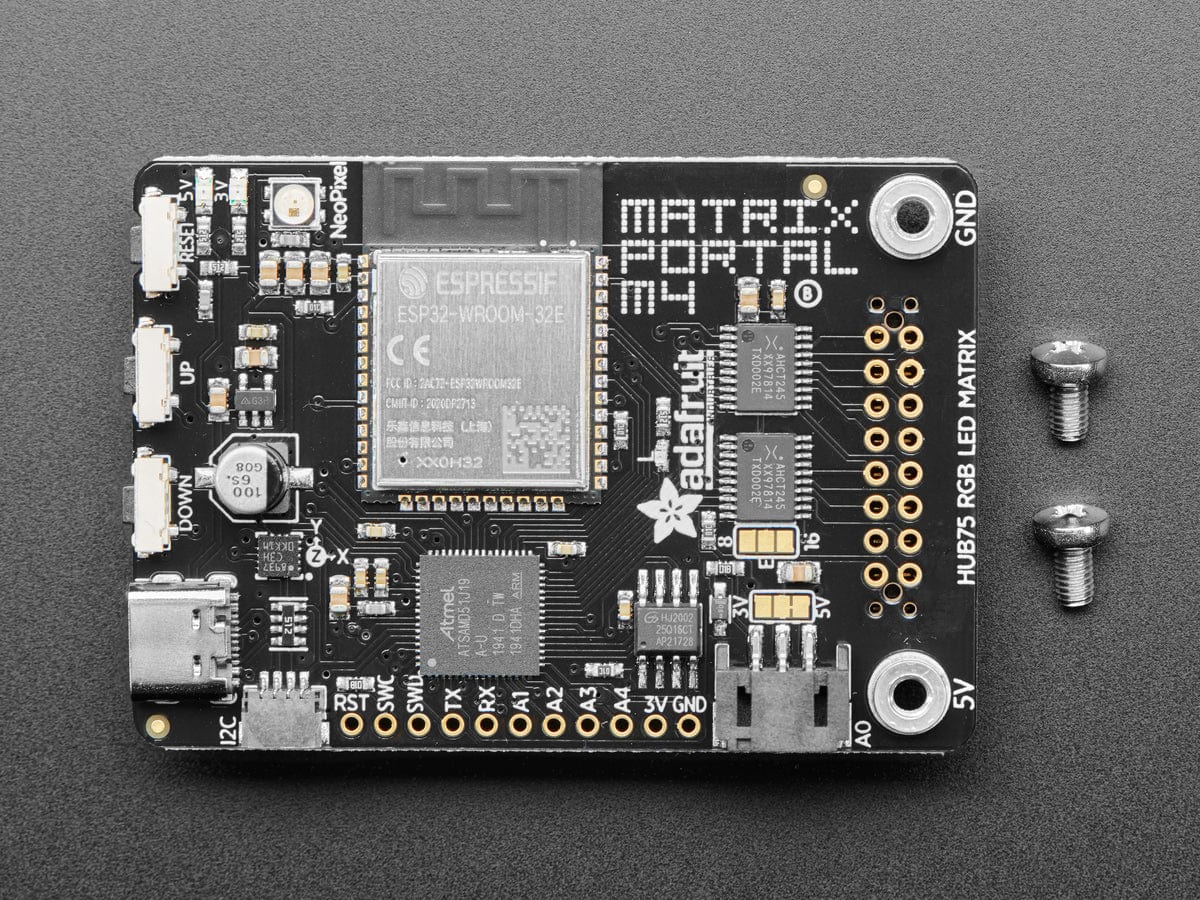
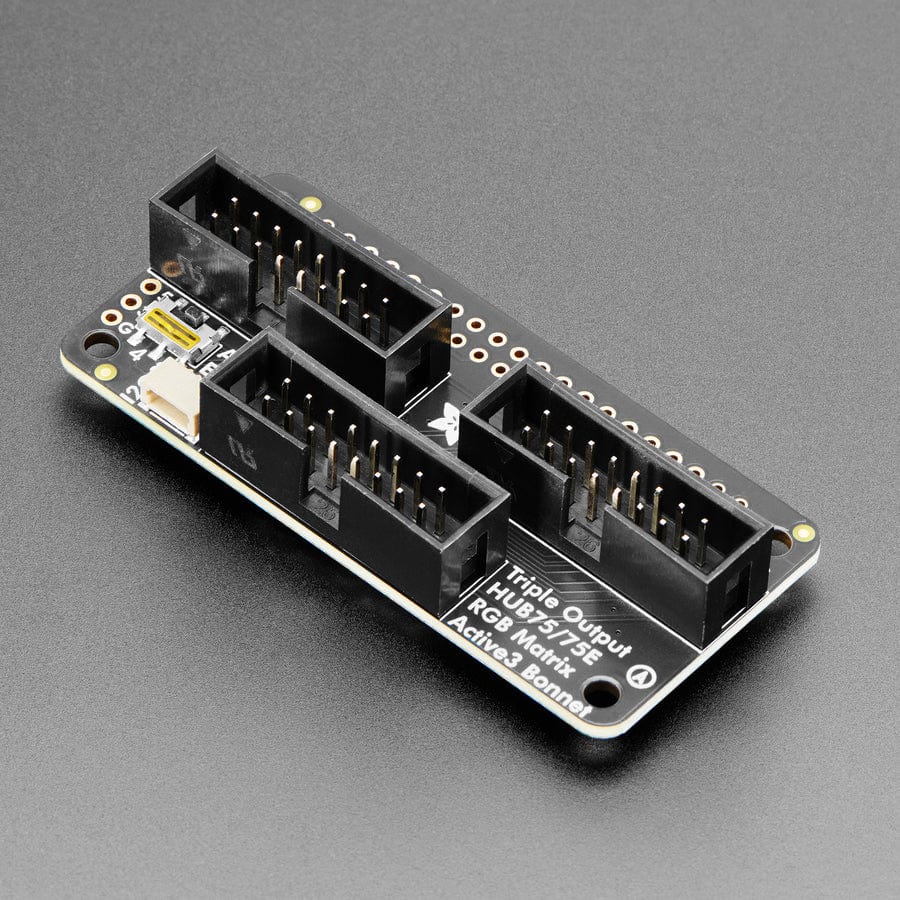
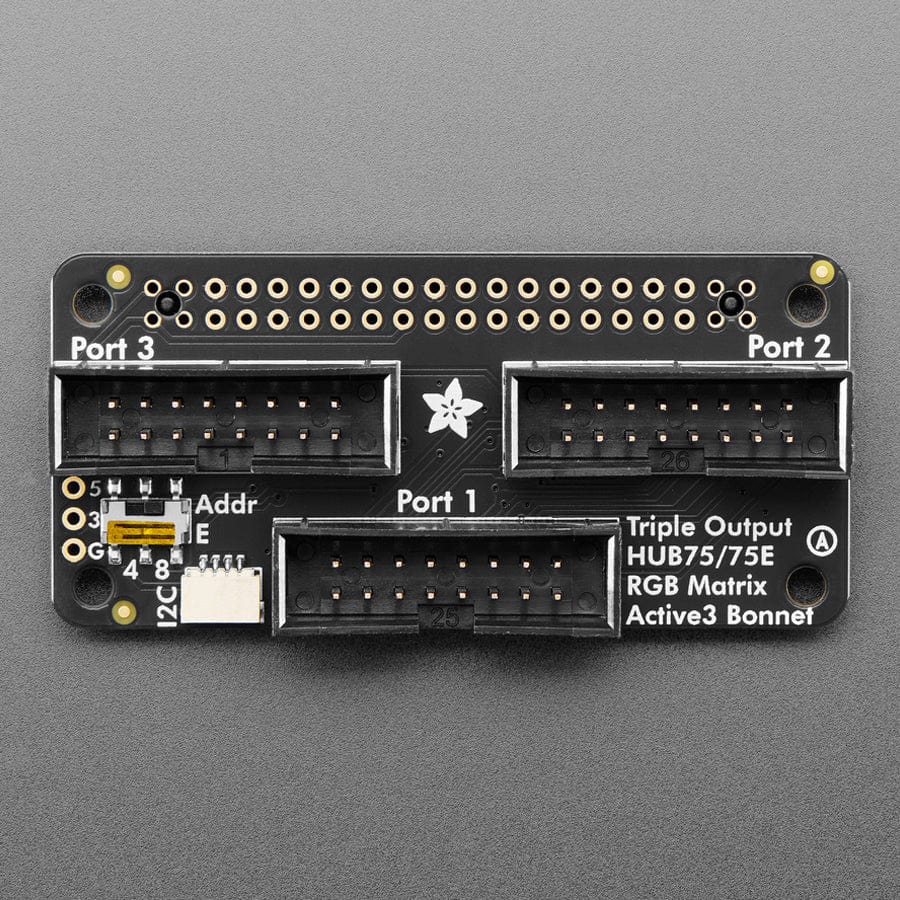
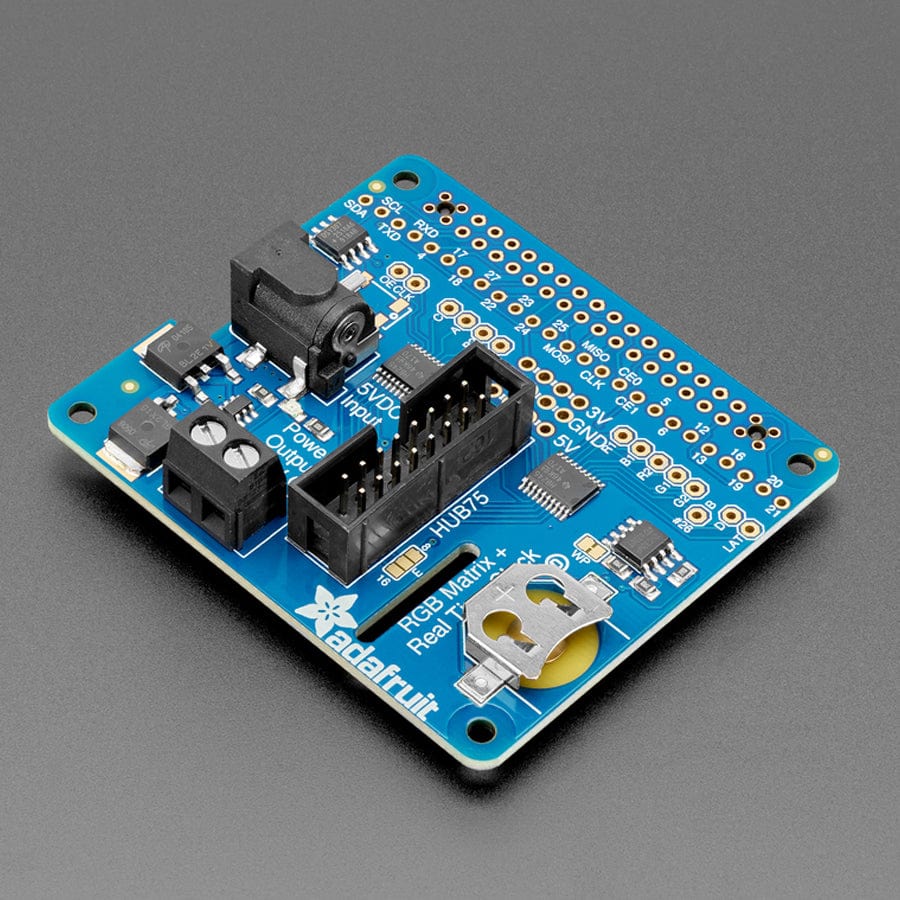
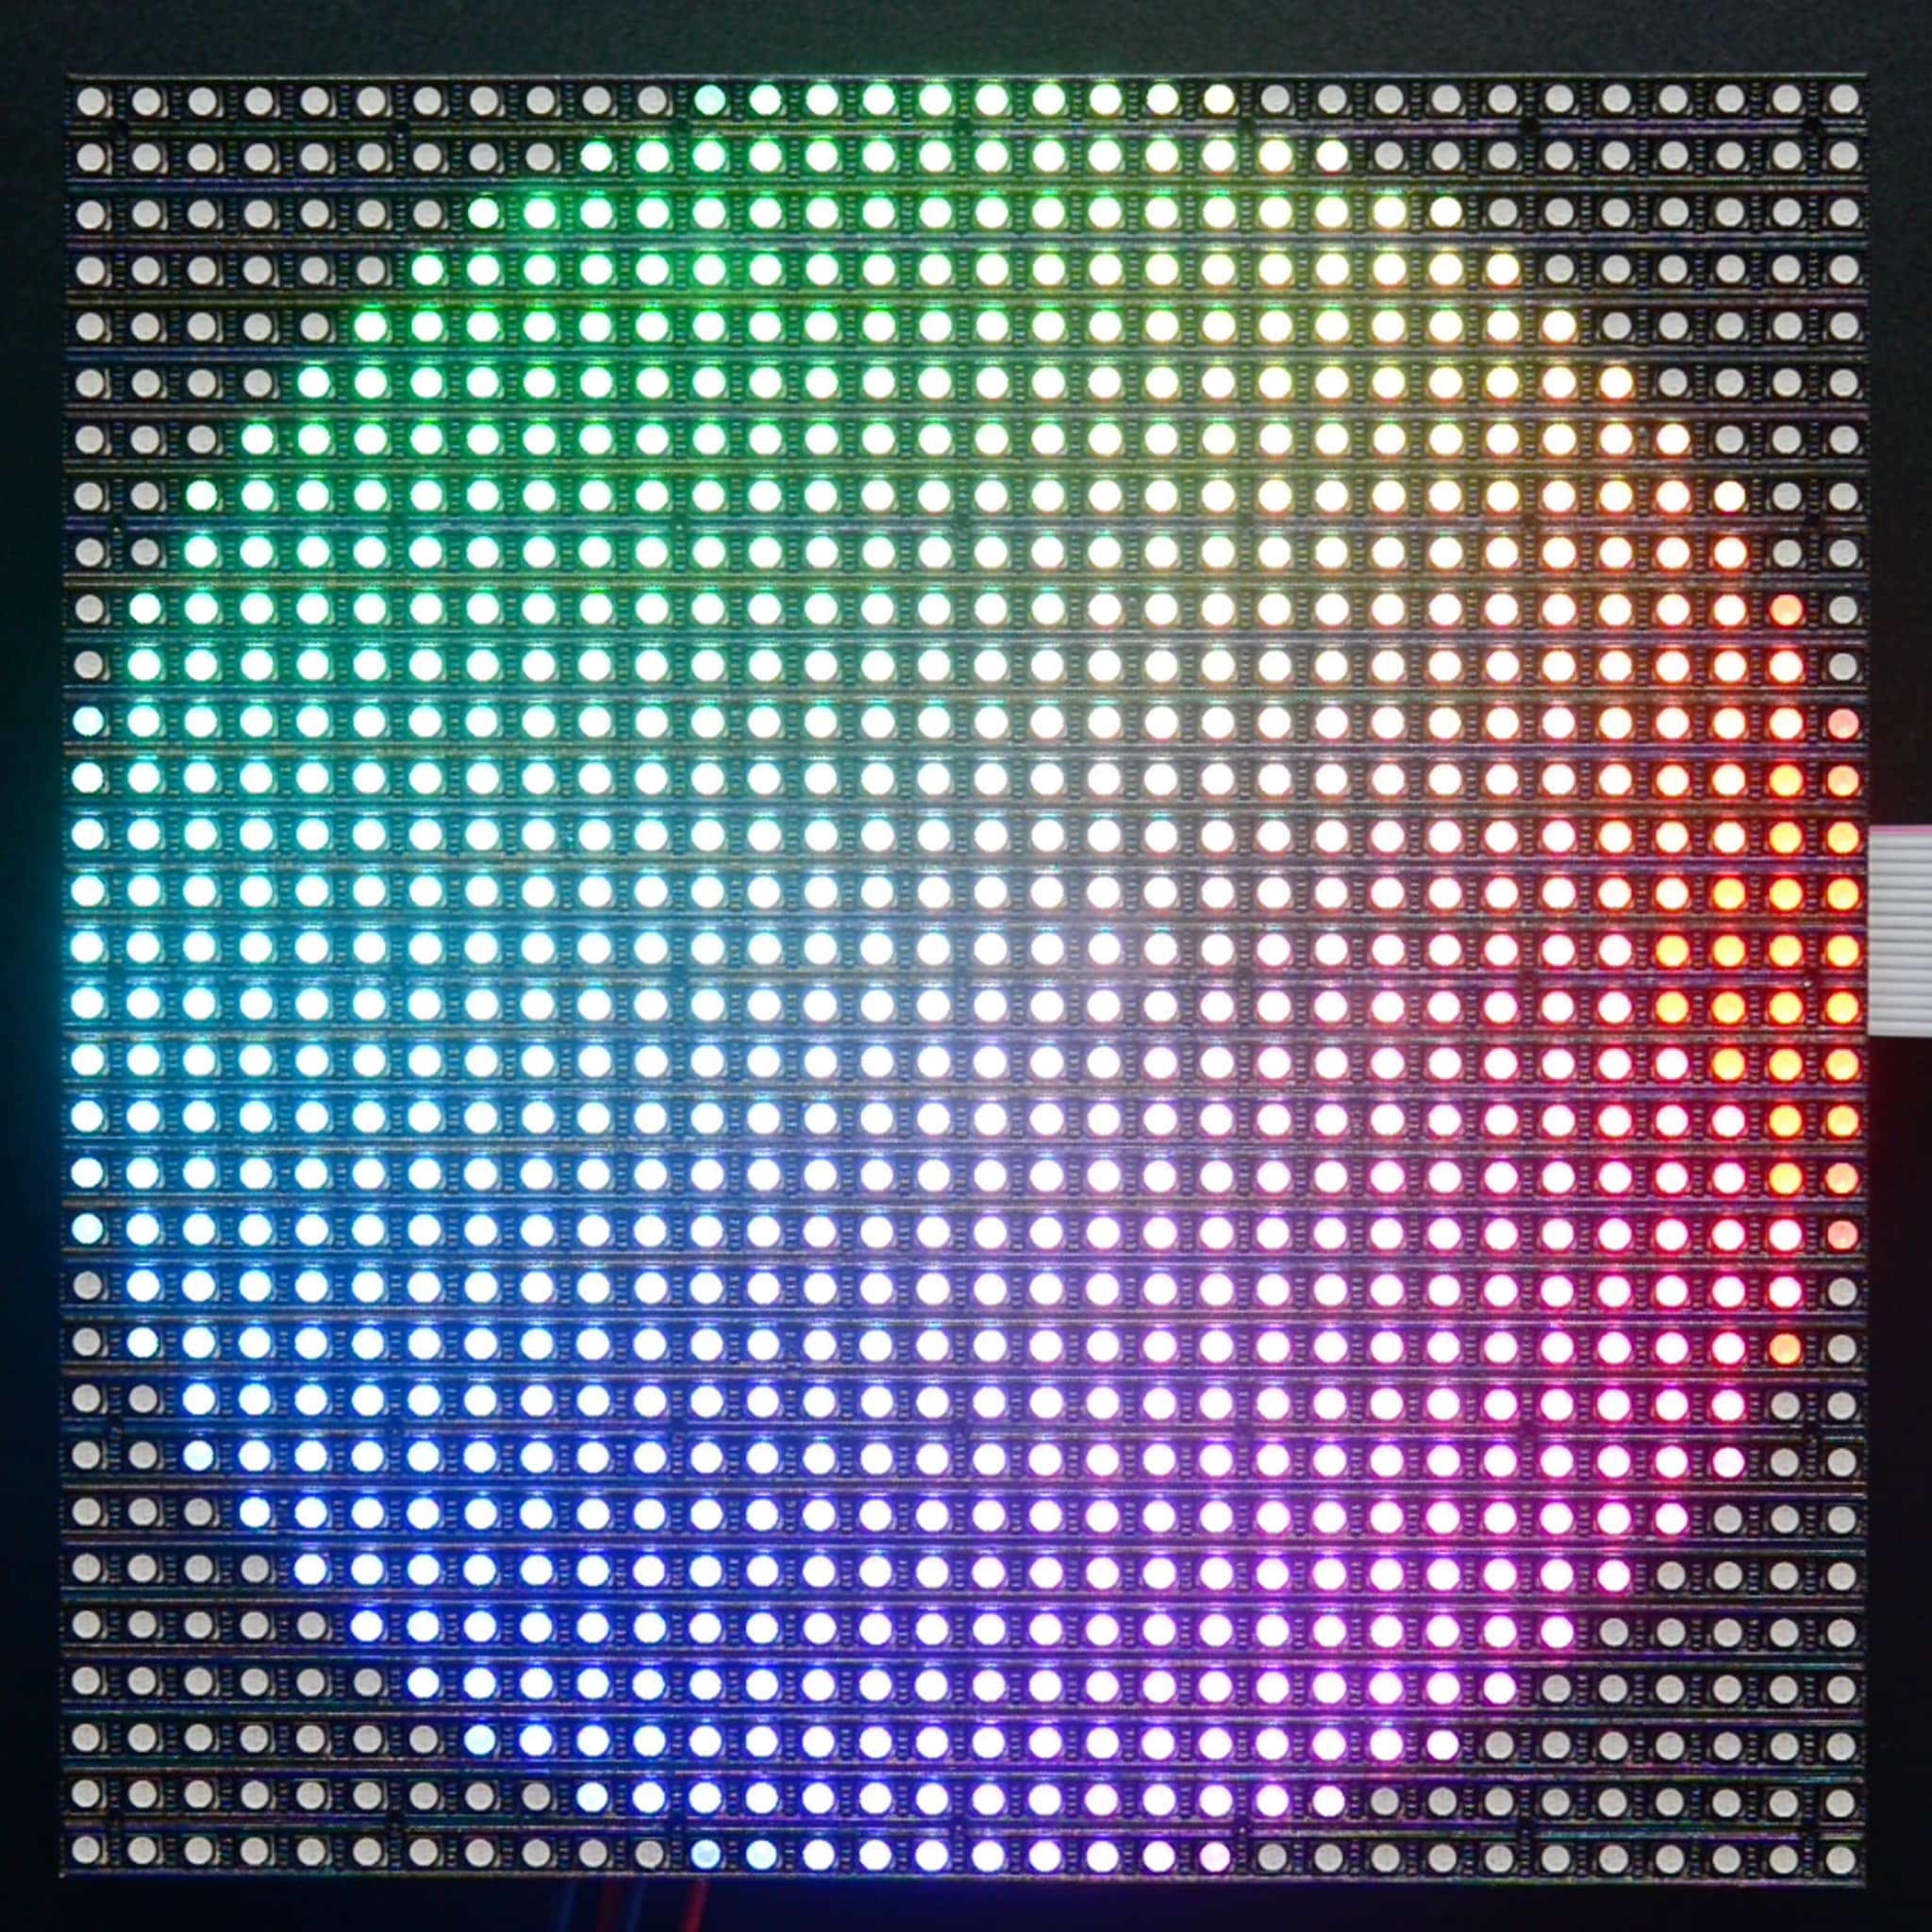
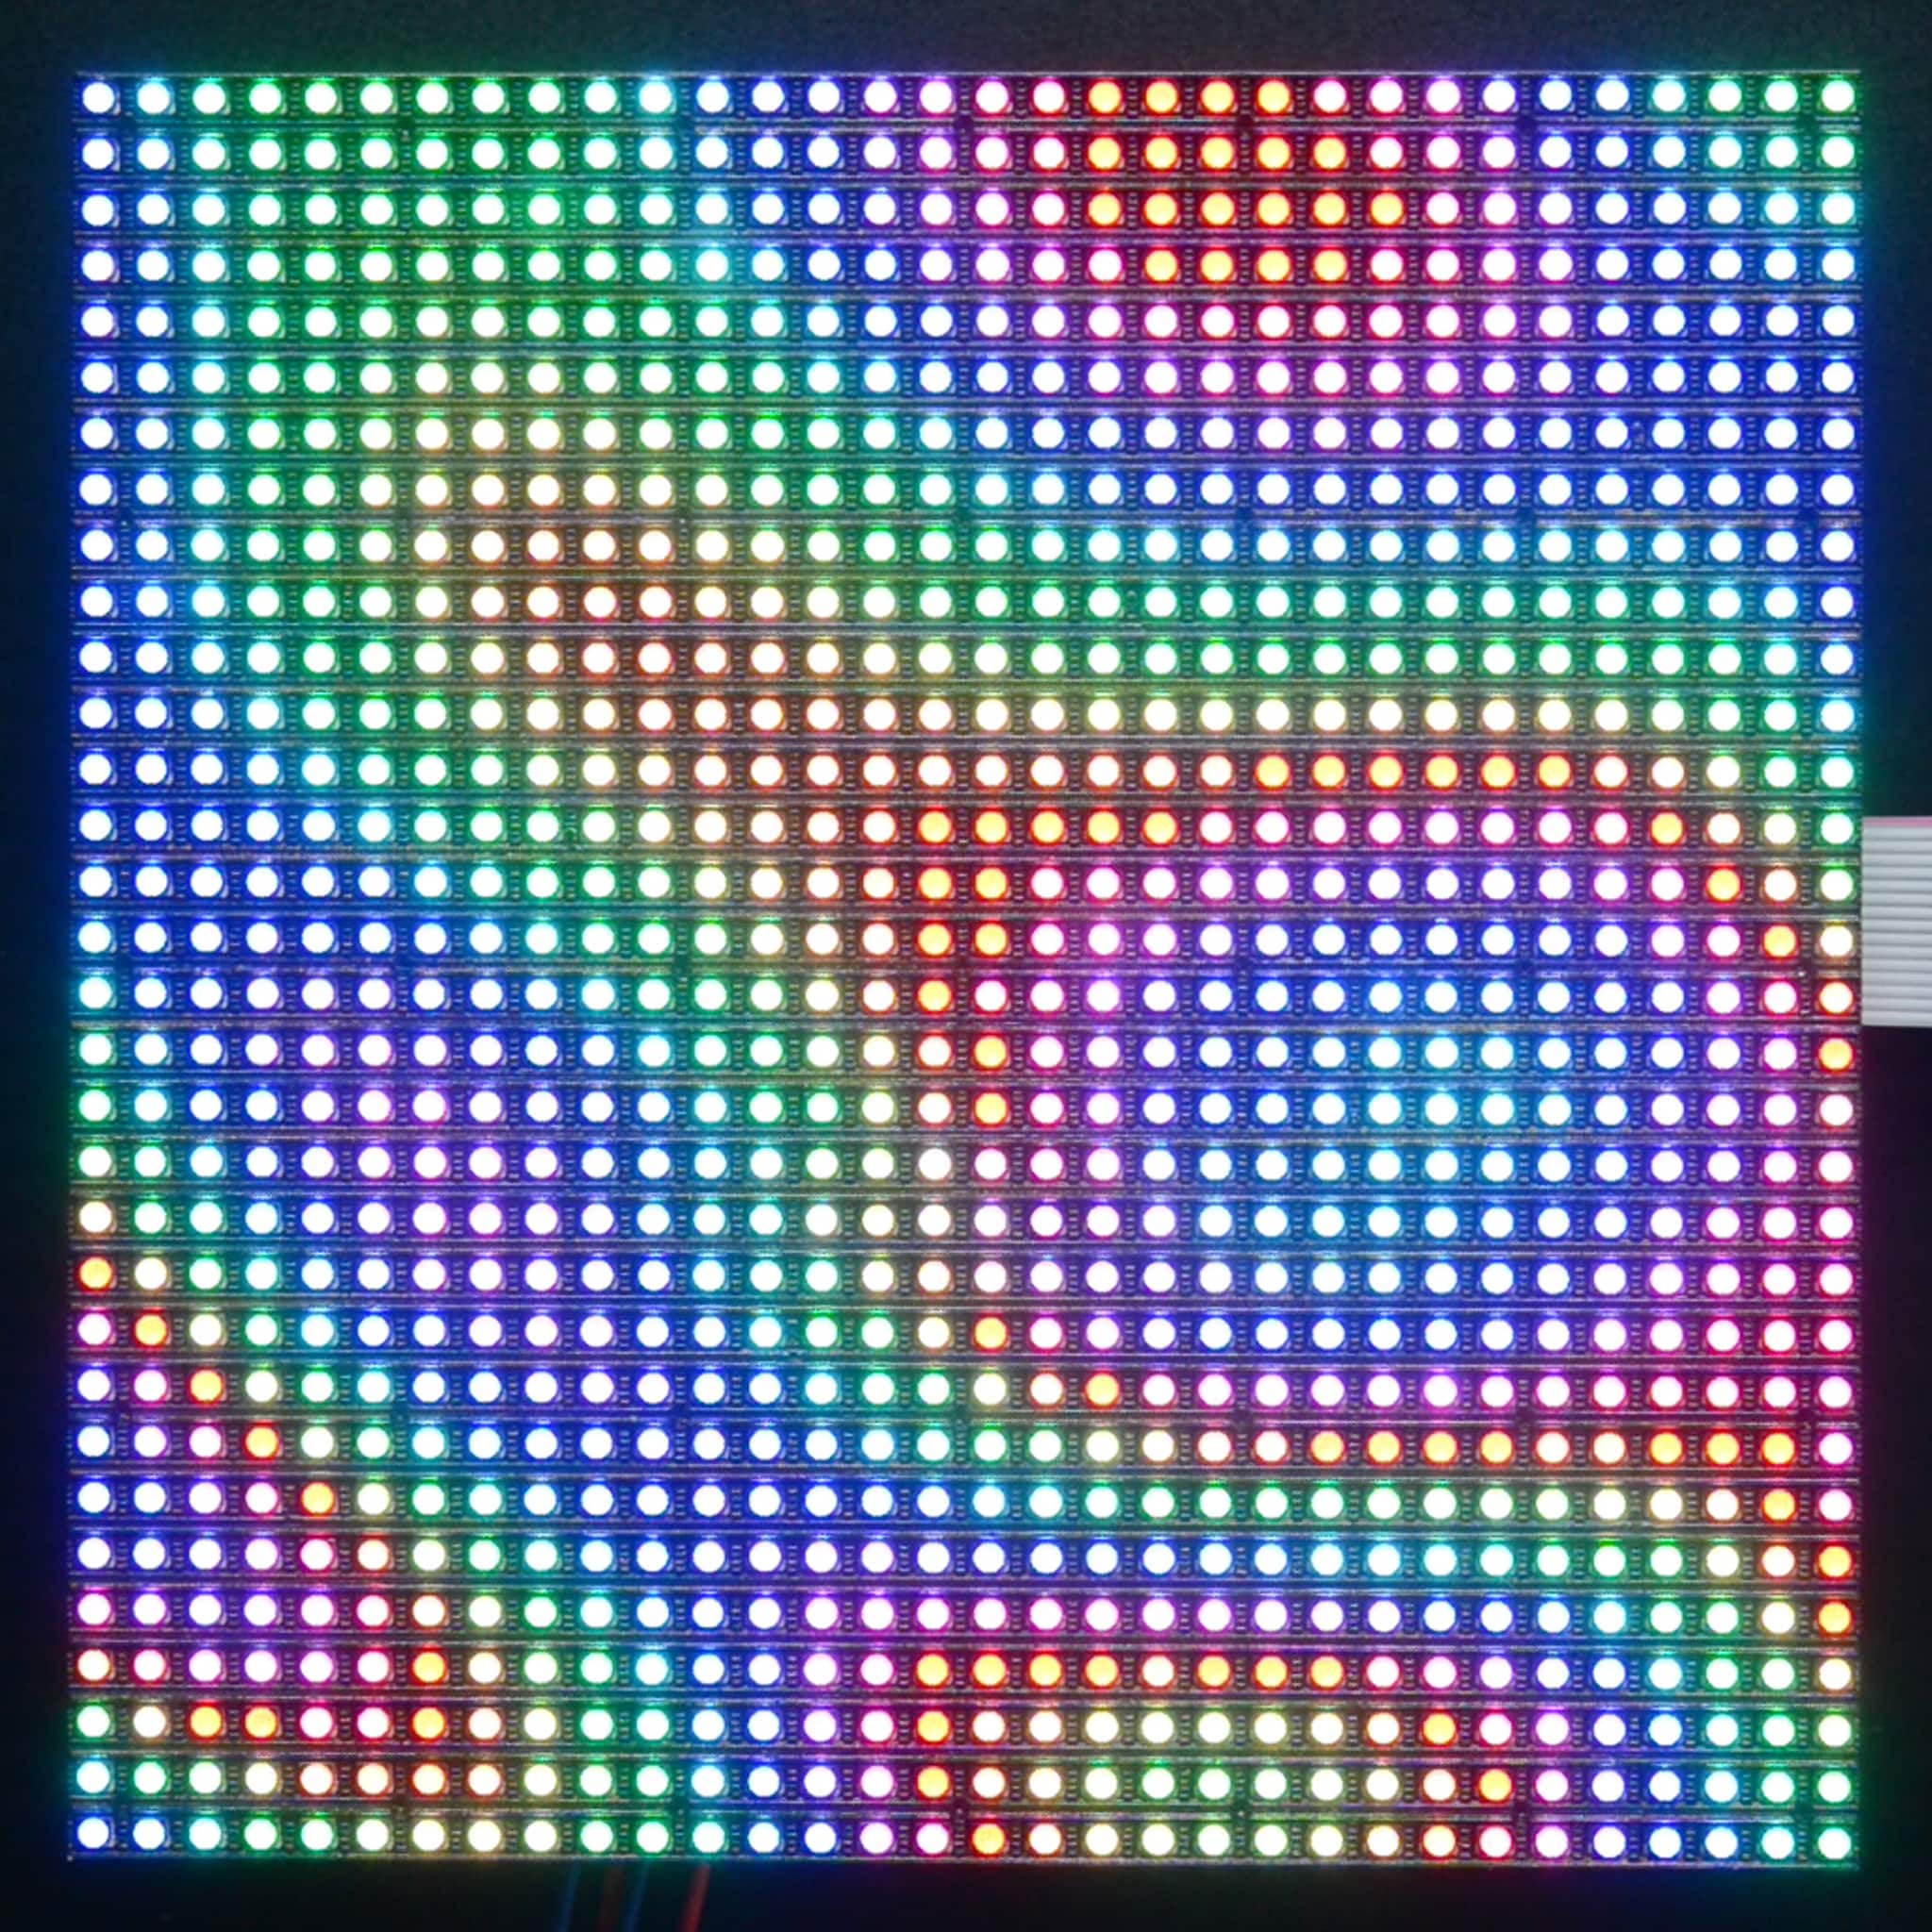
This 32x32 RGB LED Matrix Panel packs 1024 bright RGB LEDs into a compact 5mm grid, with a wide 160° viewing angle and the option to chain multiple panels for larger displays.
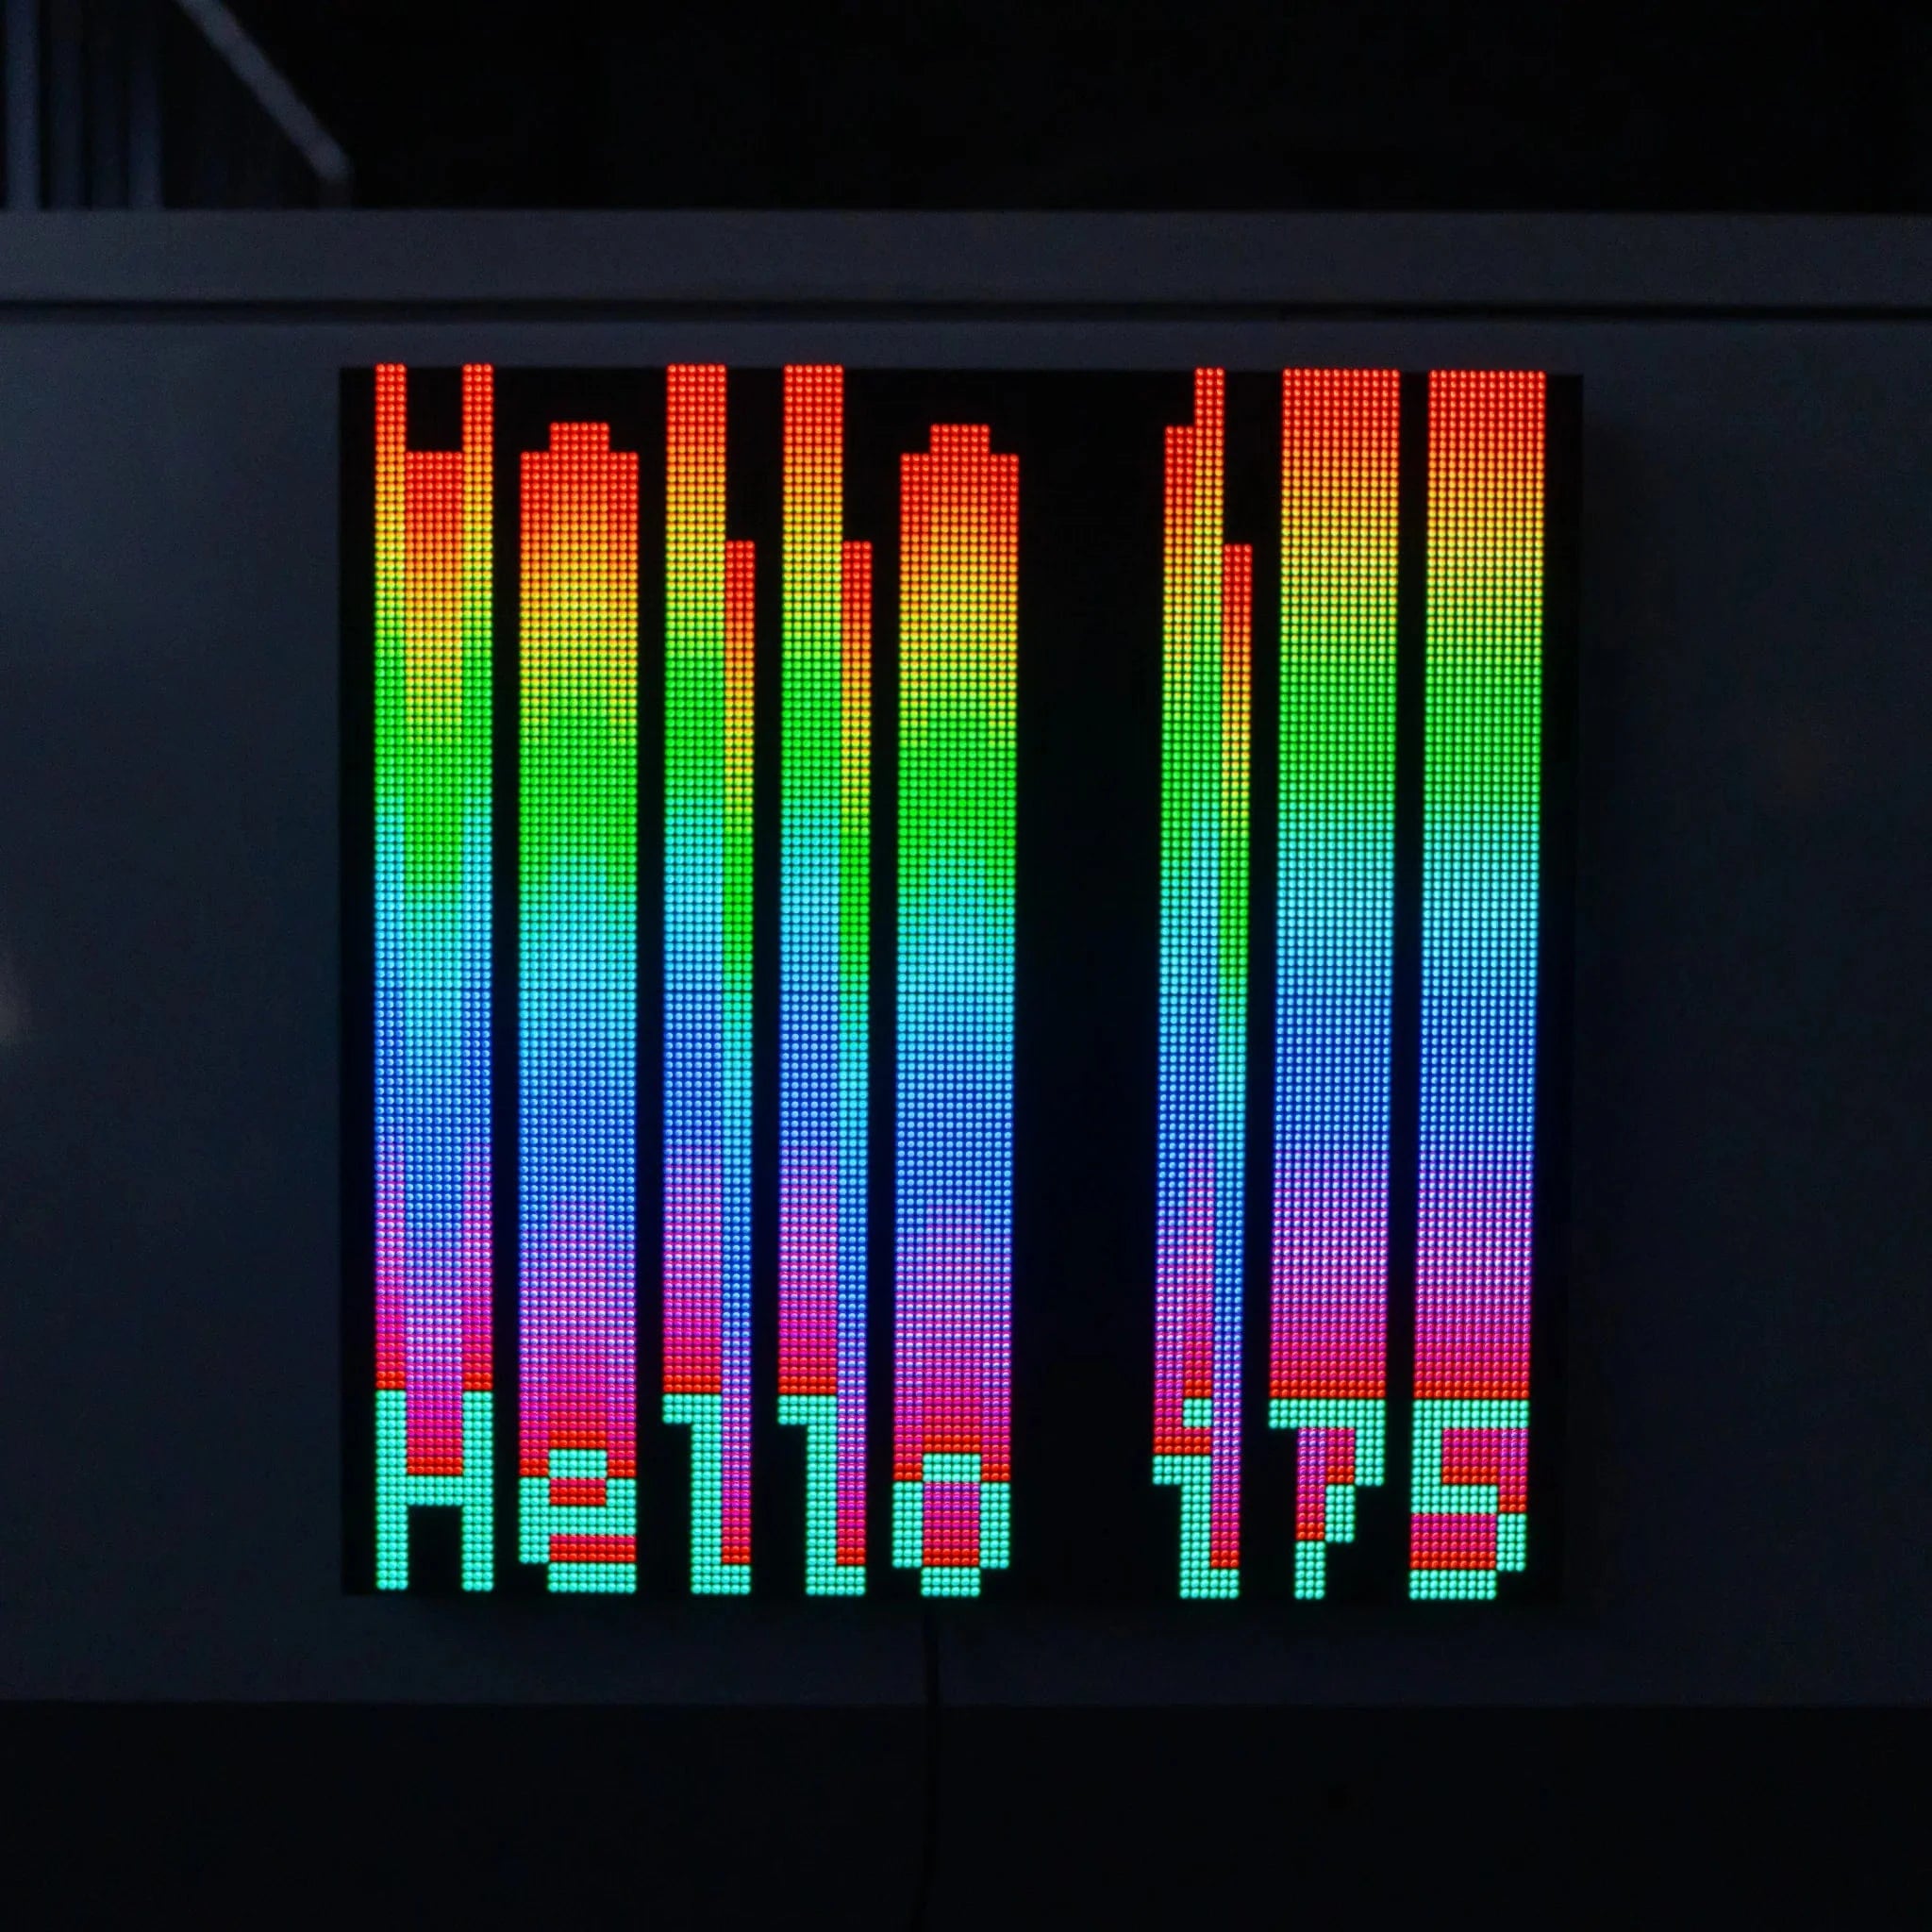
Bring a little bit of Times Square into your home with this sweet 32 x 32 square RGB LED matrix panel.
These panels are normally used to make video walls, in New York you see them on the sides of busses and bus stops, to display animations or short video clips. We thought they looked really cool so we picked up a few boxes of them from a factory.
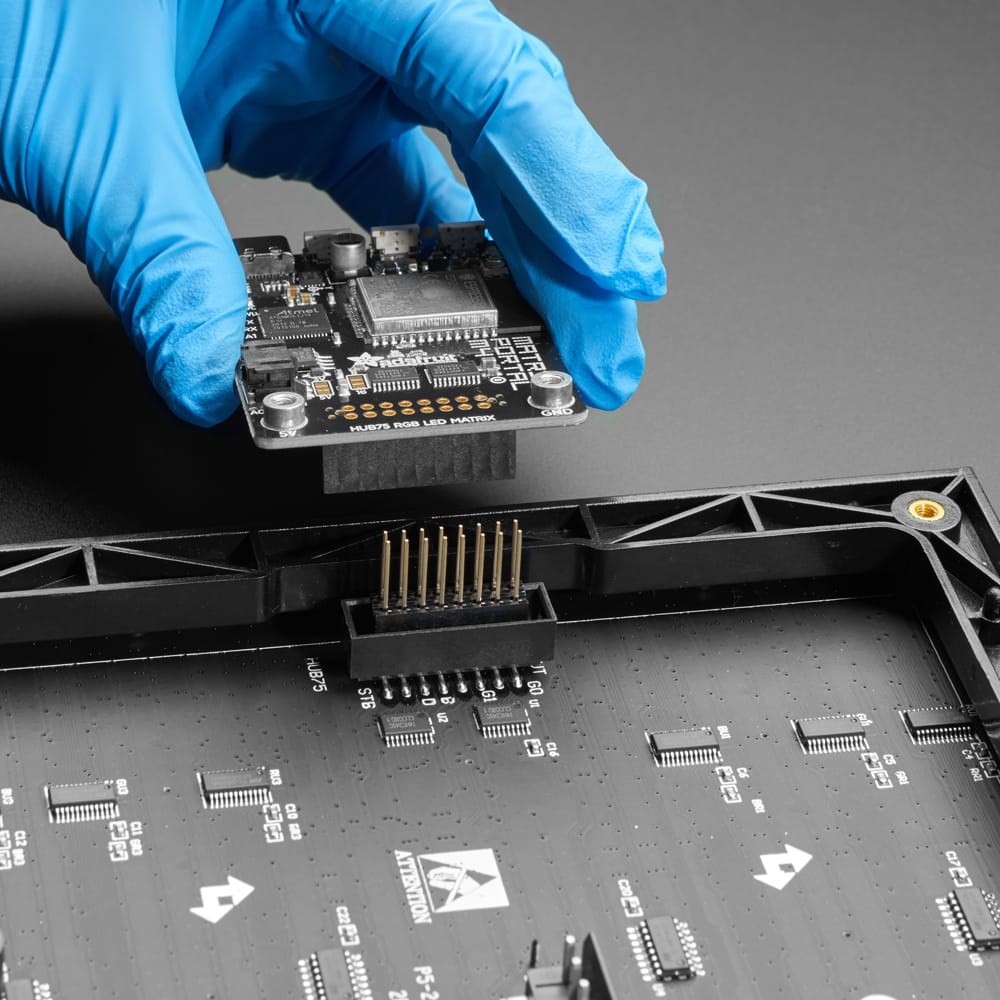
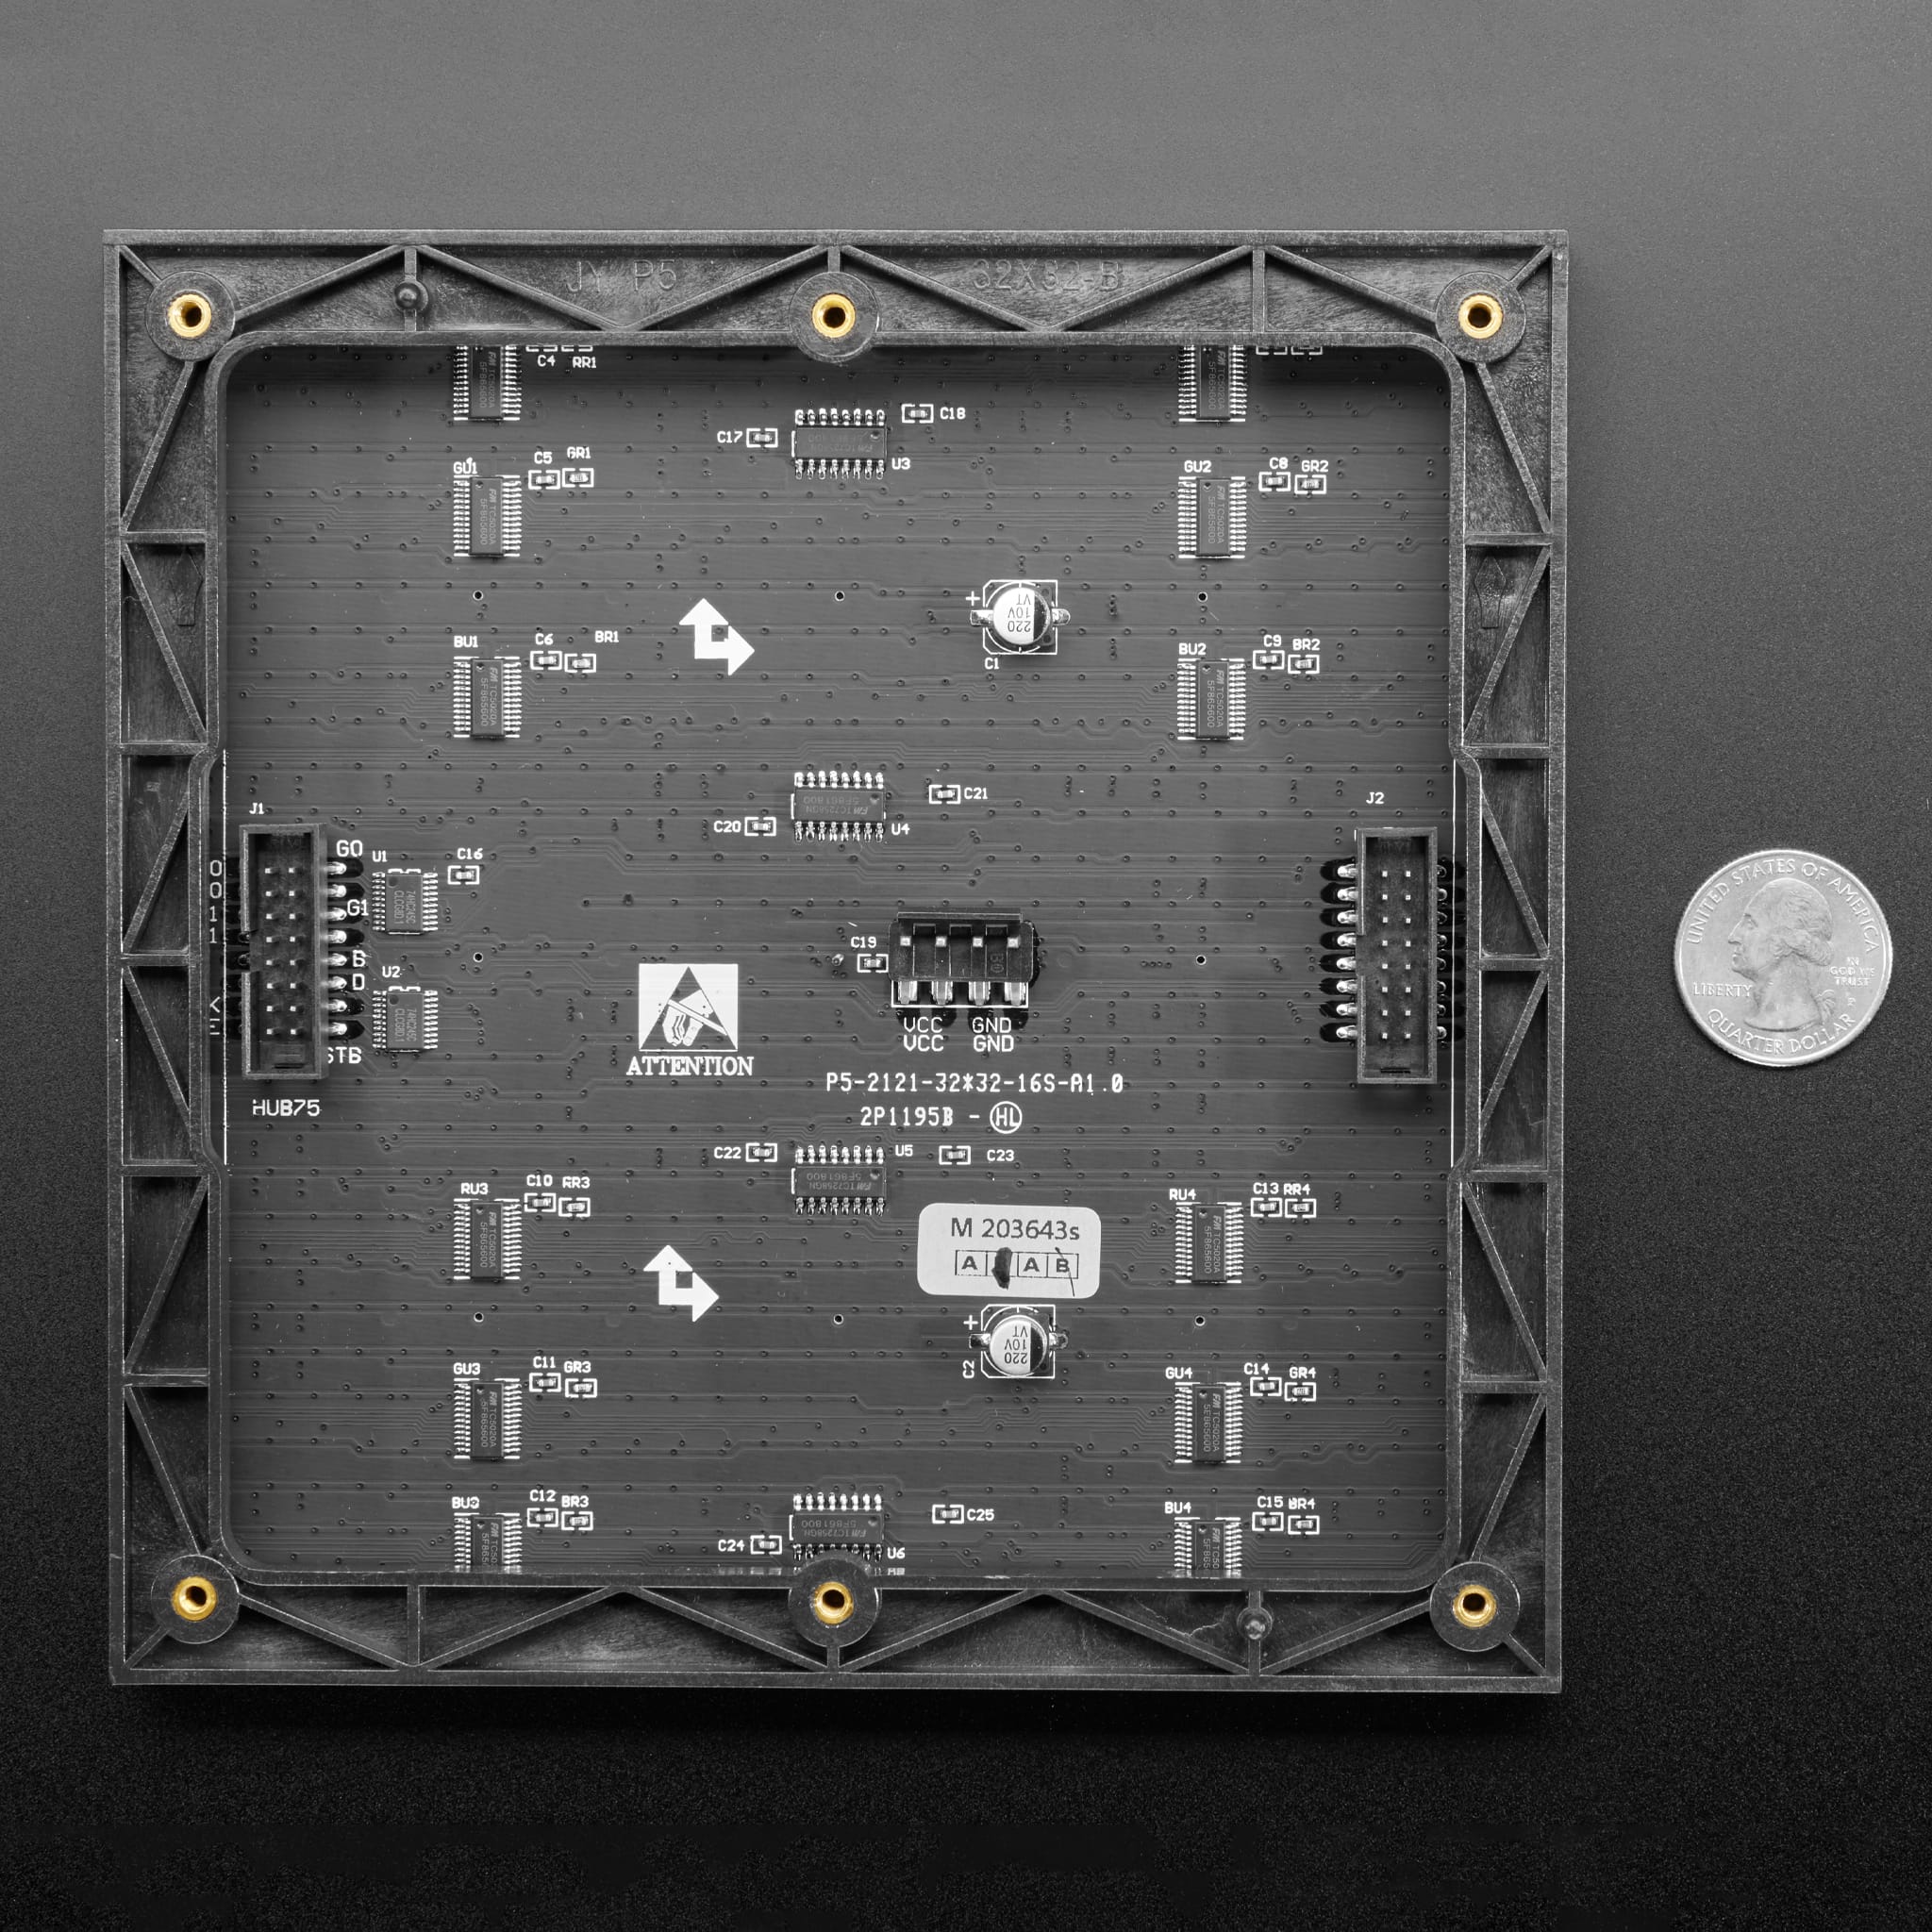
These matrices have 1024 bright RGB LEDs arranged in a 32x32 grid on the front. On the back there is a PCB with two IDC connectors (one input, one output: in theory you can chain these together) and 12 16-bit latches that allow you to drive the display with a 1:16 scan rate.
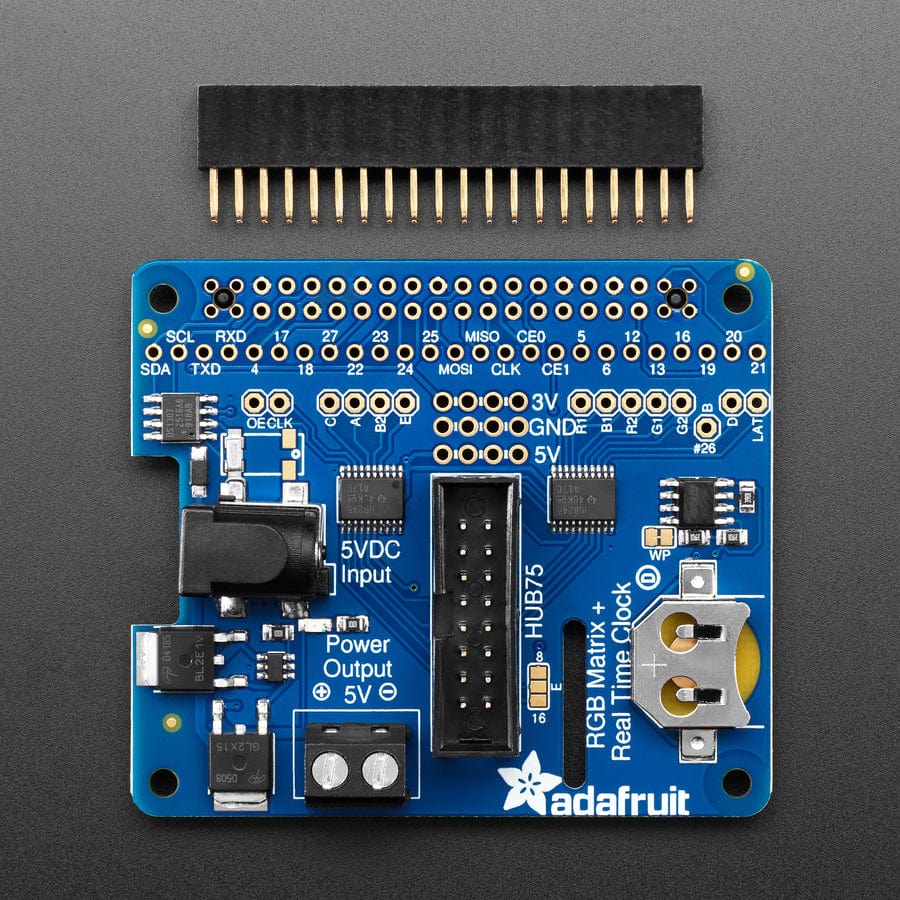
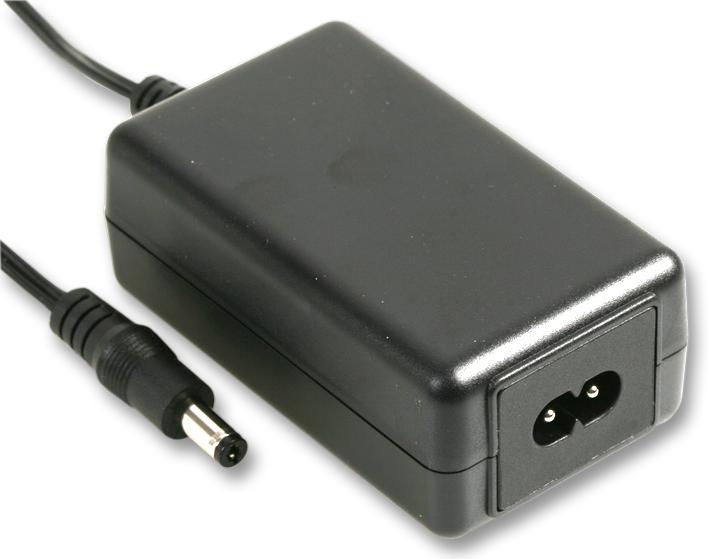
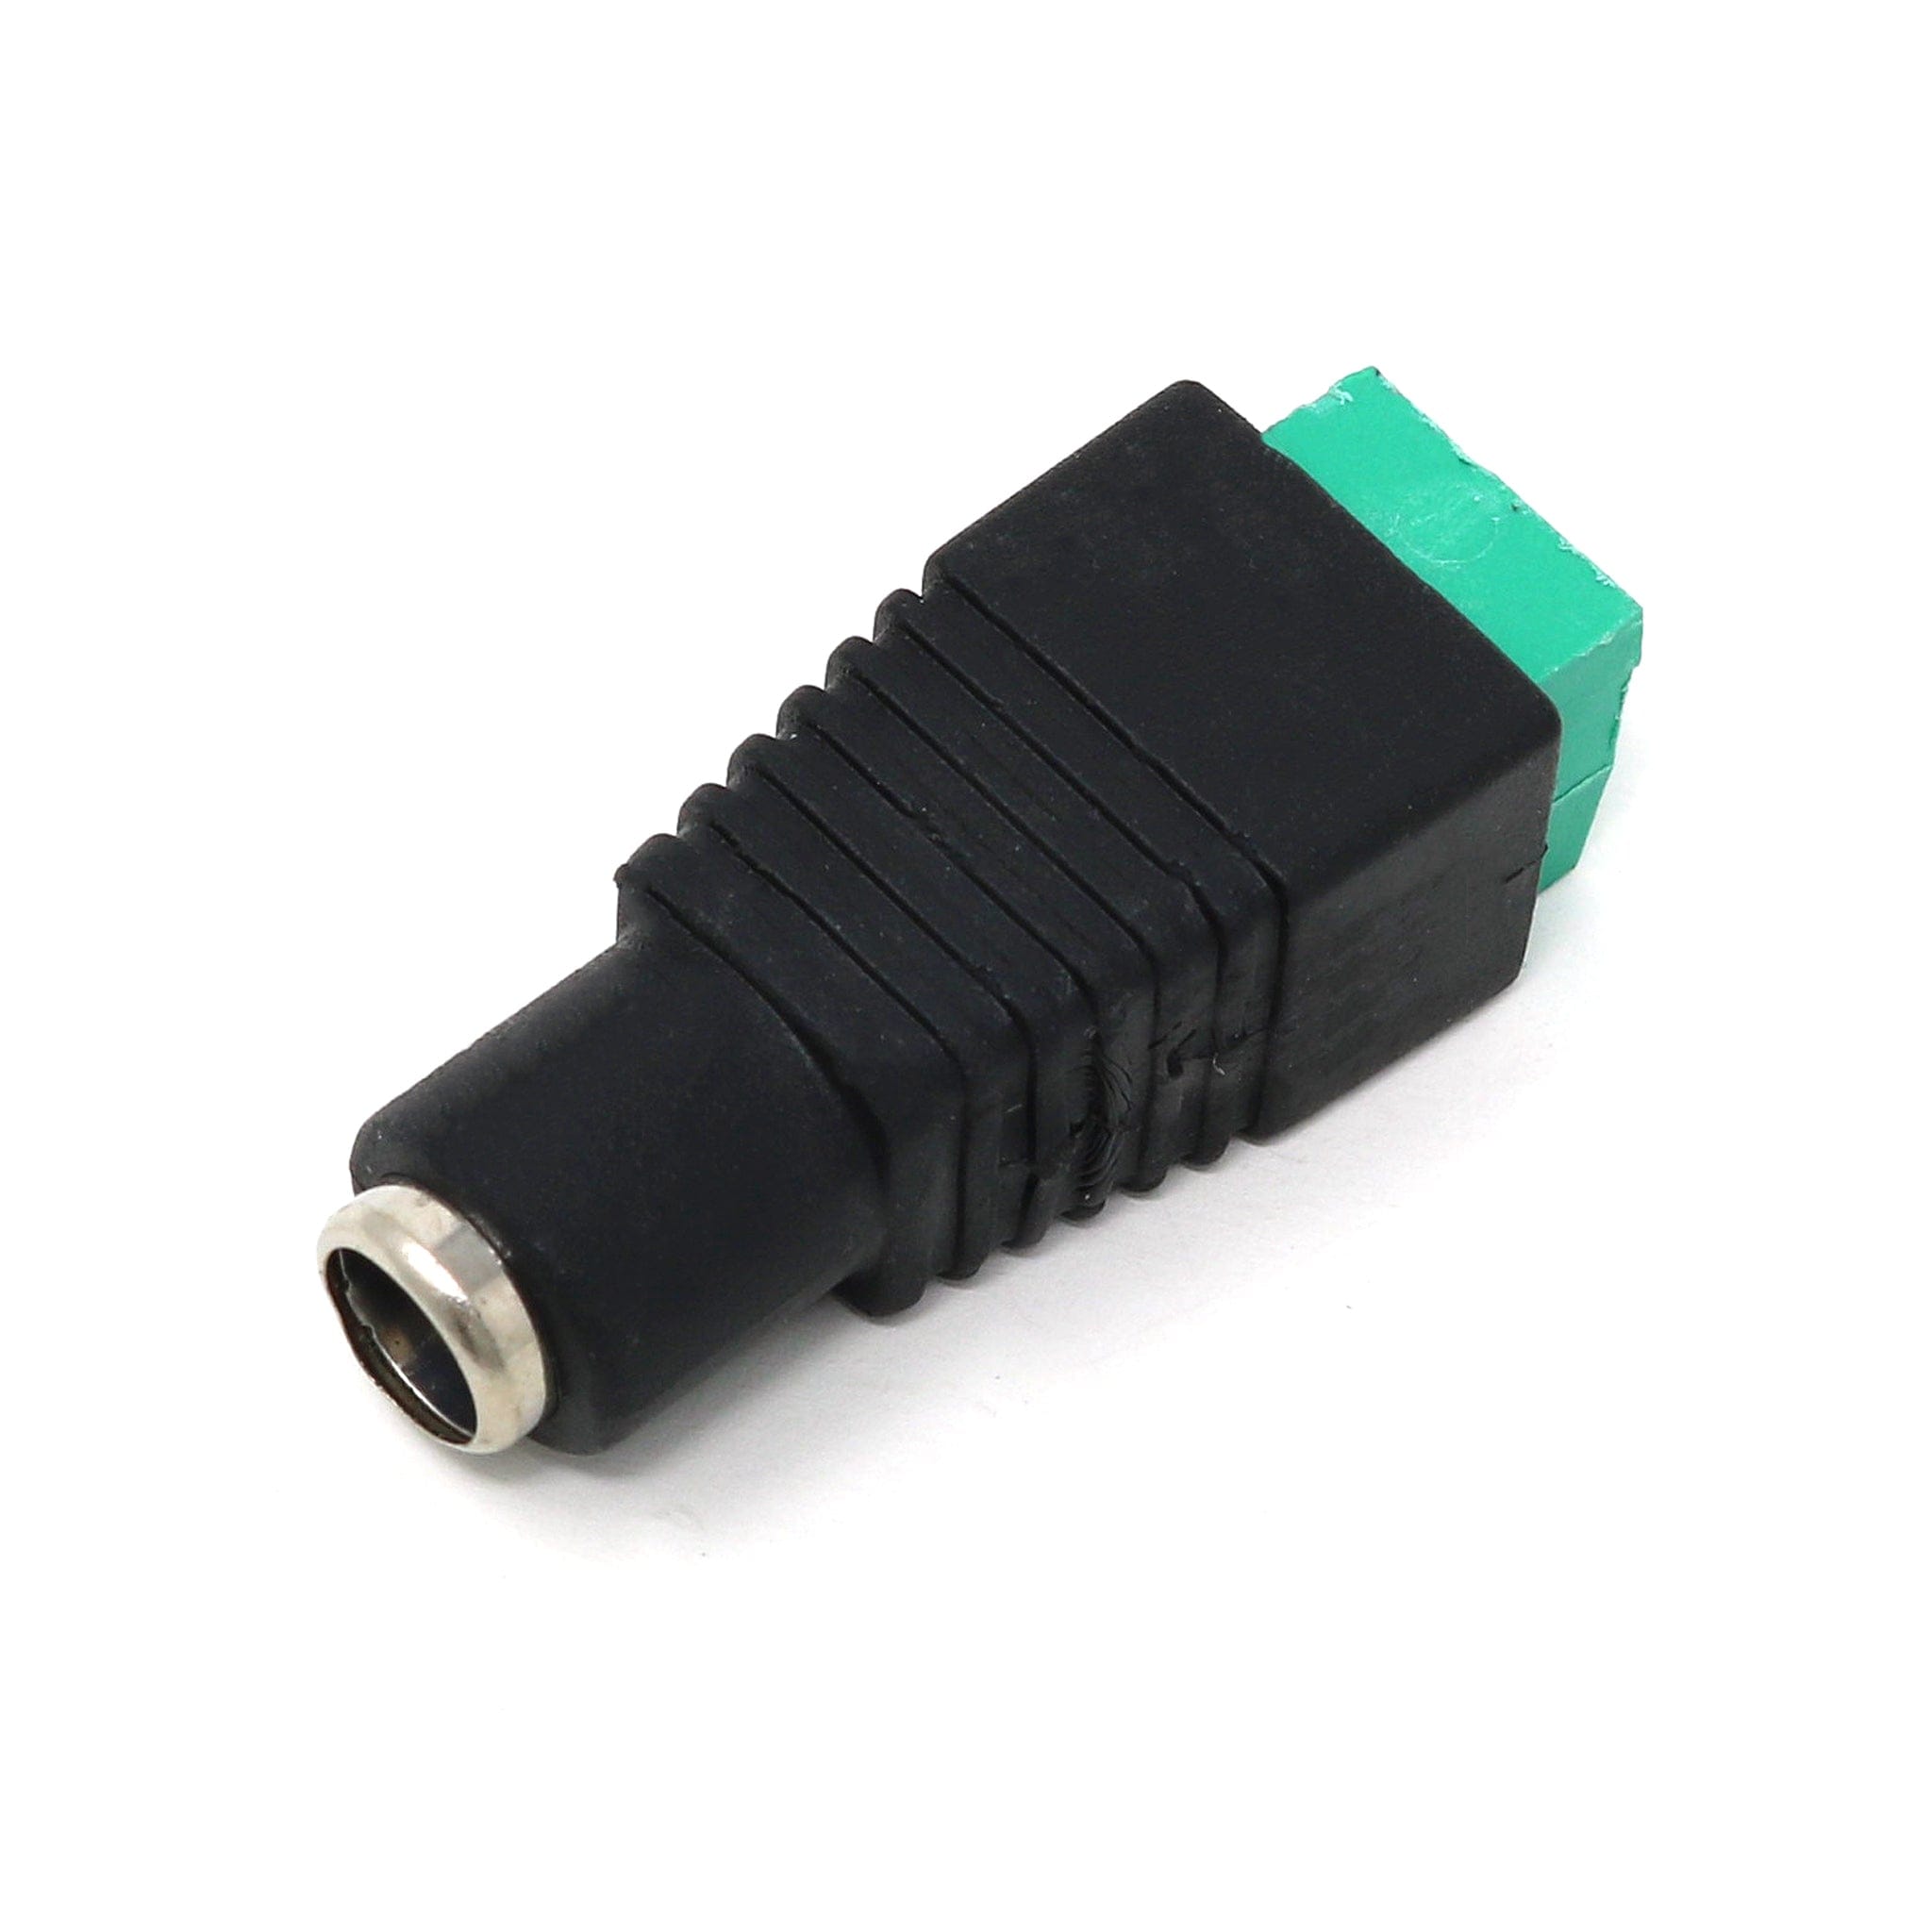
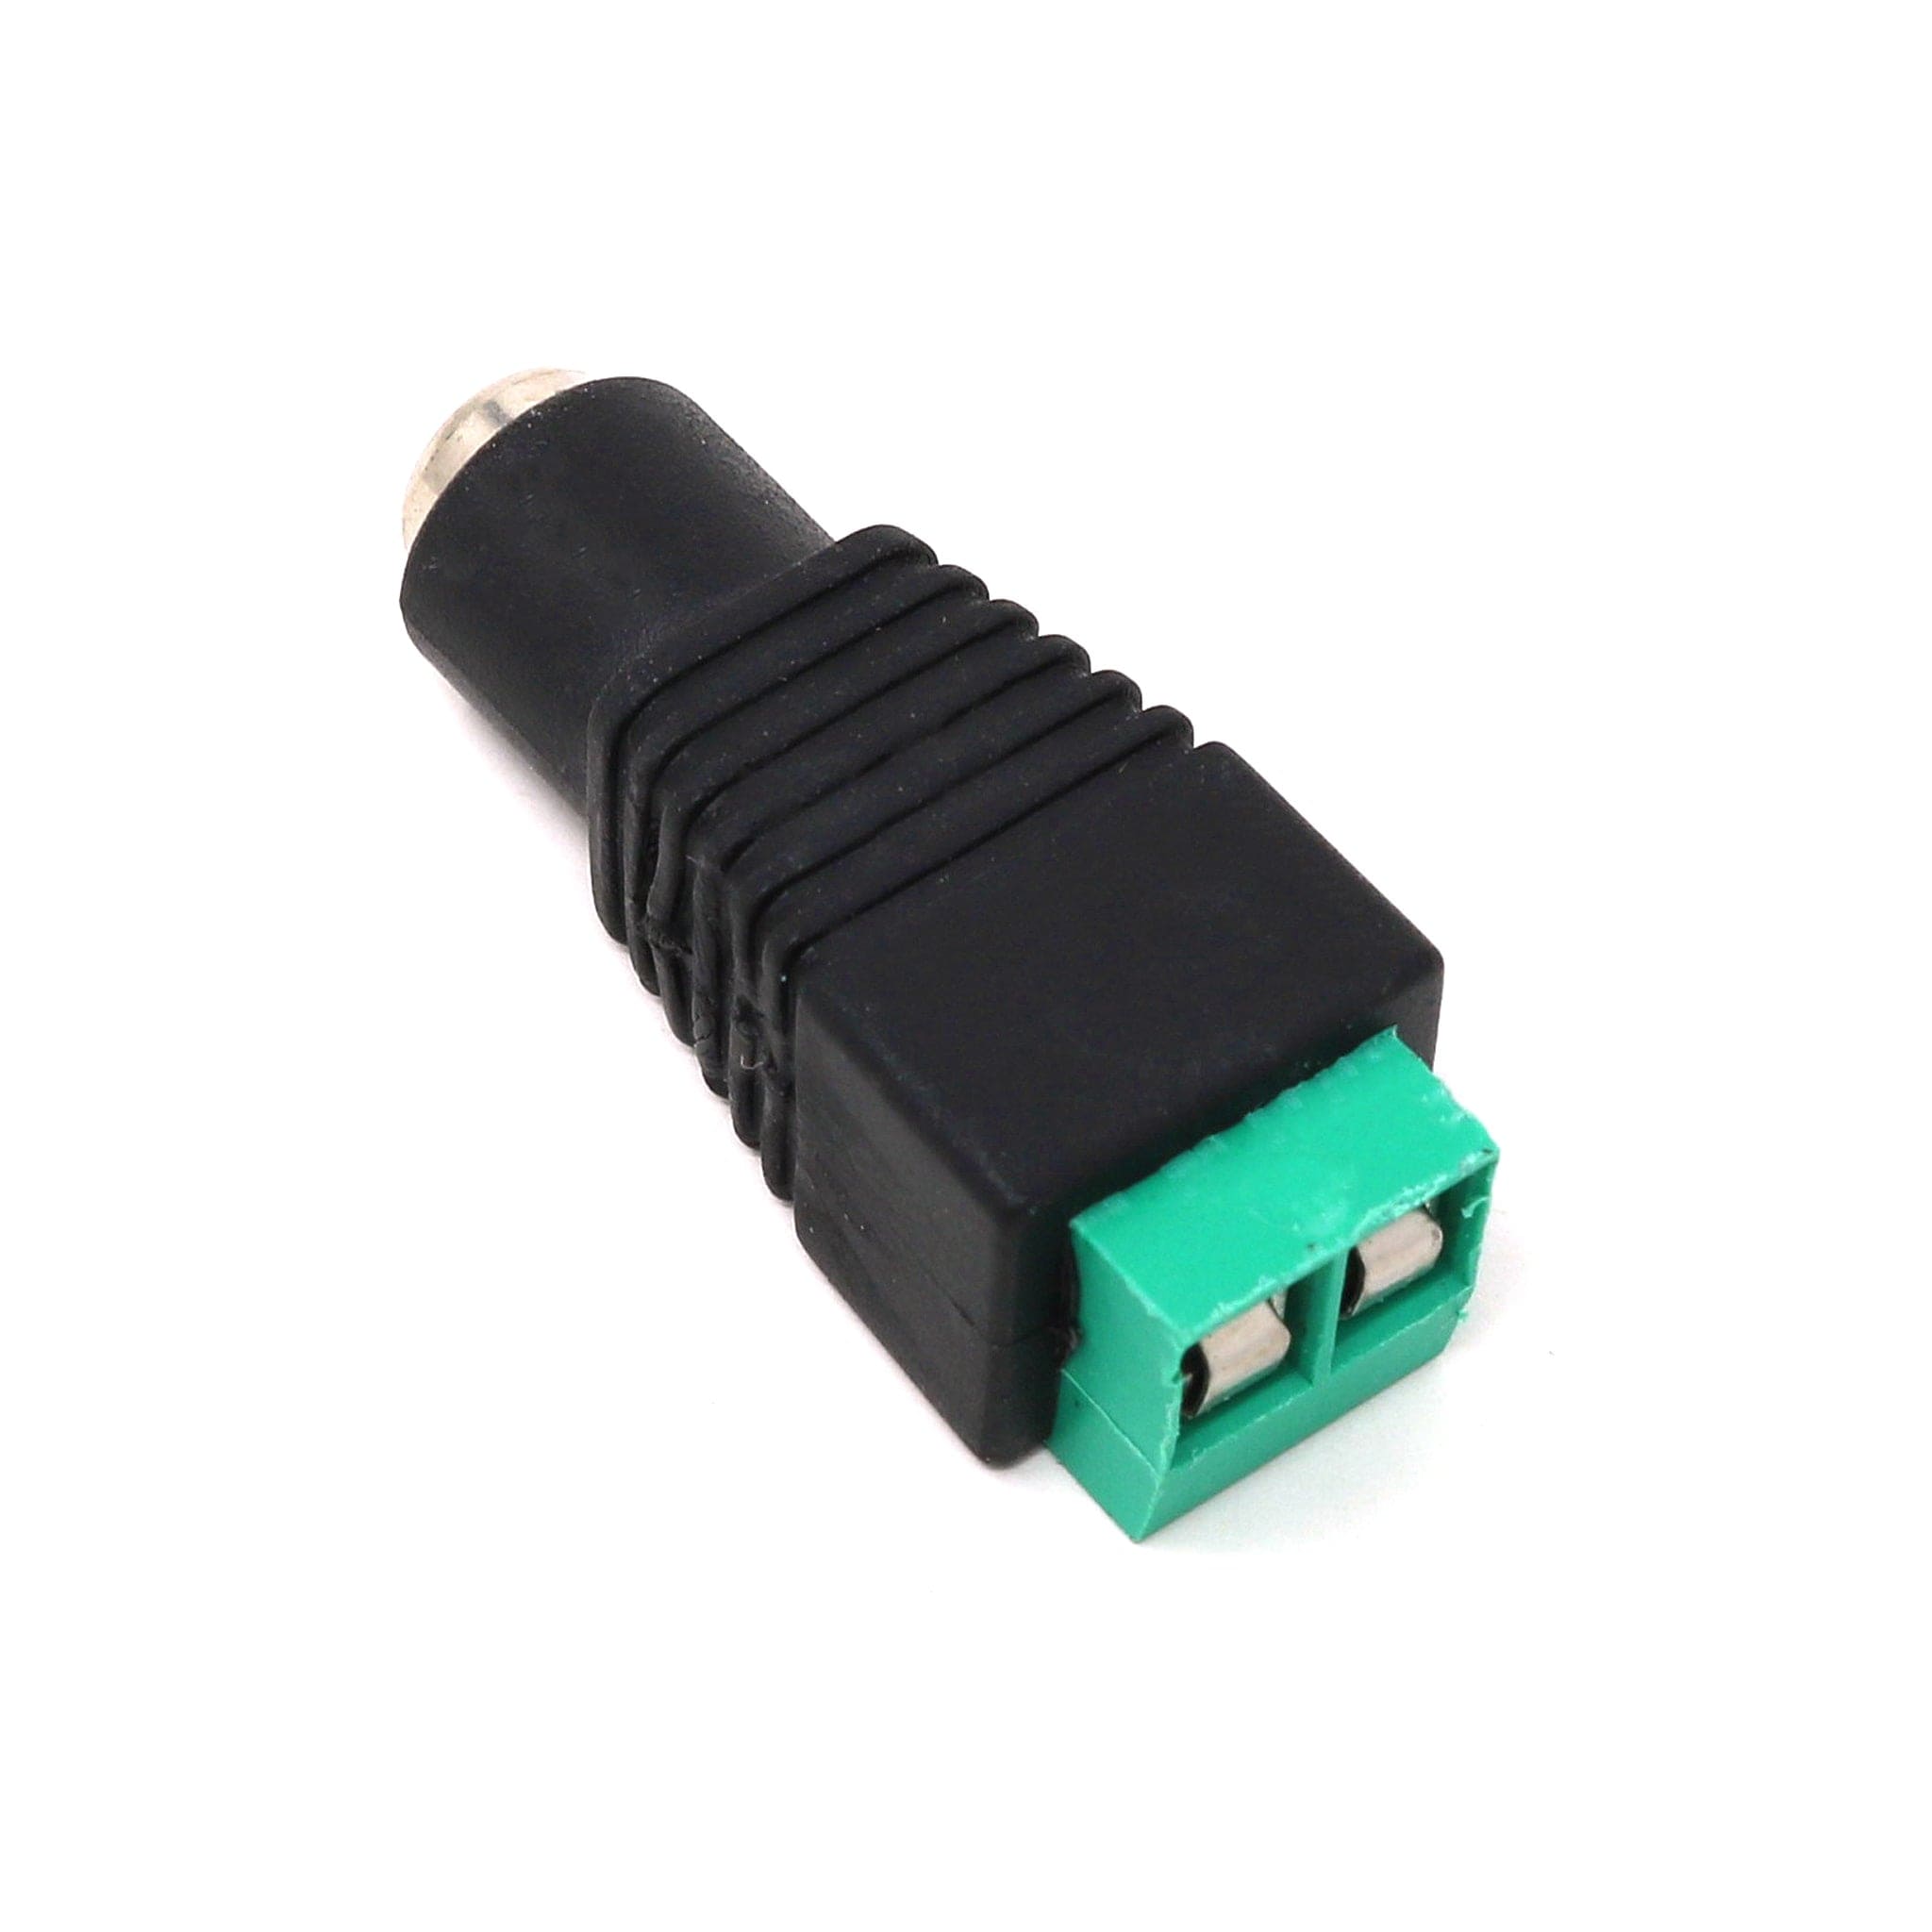
These panels require 13 digital pins (6 bit data, 7 bit control) and a good 5V supply, up to 4A per panel. We suggest our 4A regulated 5V adapter and then connecting a 2.1mm jack.
Comes with:
Keep in mind that these displays were designed to be driven by FPGAs or other high speed processors: they do not have built in PWM control of any kind. Instead, you're supposed to redraw the screen over and over to 'manually' PWM the whole thing.
You'll need about 1600 bytes of RAM to buffer the 12-bit colour image. You cannot use this size panel with an Arduino UNO (ATmega328) or ATmega32u4 - you need a chip with more RAM! These displays are technically 'chainable' - connect one output to the next input - as long as you have the RAM and CPU to handle it
This display does best with a high speed, high RAM microcontroller like a SAMD21, SAMD51, ESP32, etc. 8-bit micros are going to struggle if they work at all. The good news is that the display is pre-white balanced with nice uniformity so if you turn on all the LEDs it's not a particularly tinted white.
There's a lot of LEDs! You may need up to 4A per panel. We suggest our 4A regulated 5V adapter and then connecting a 2.1mm jack. Please check out our tutorials for more details!
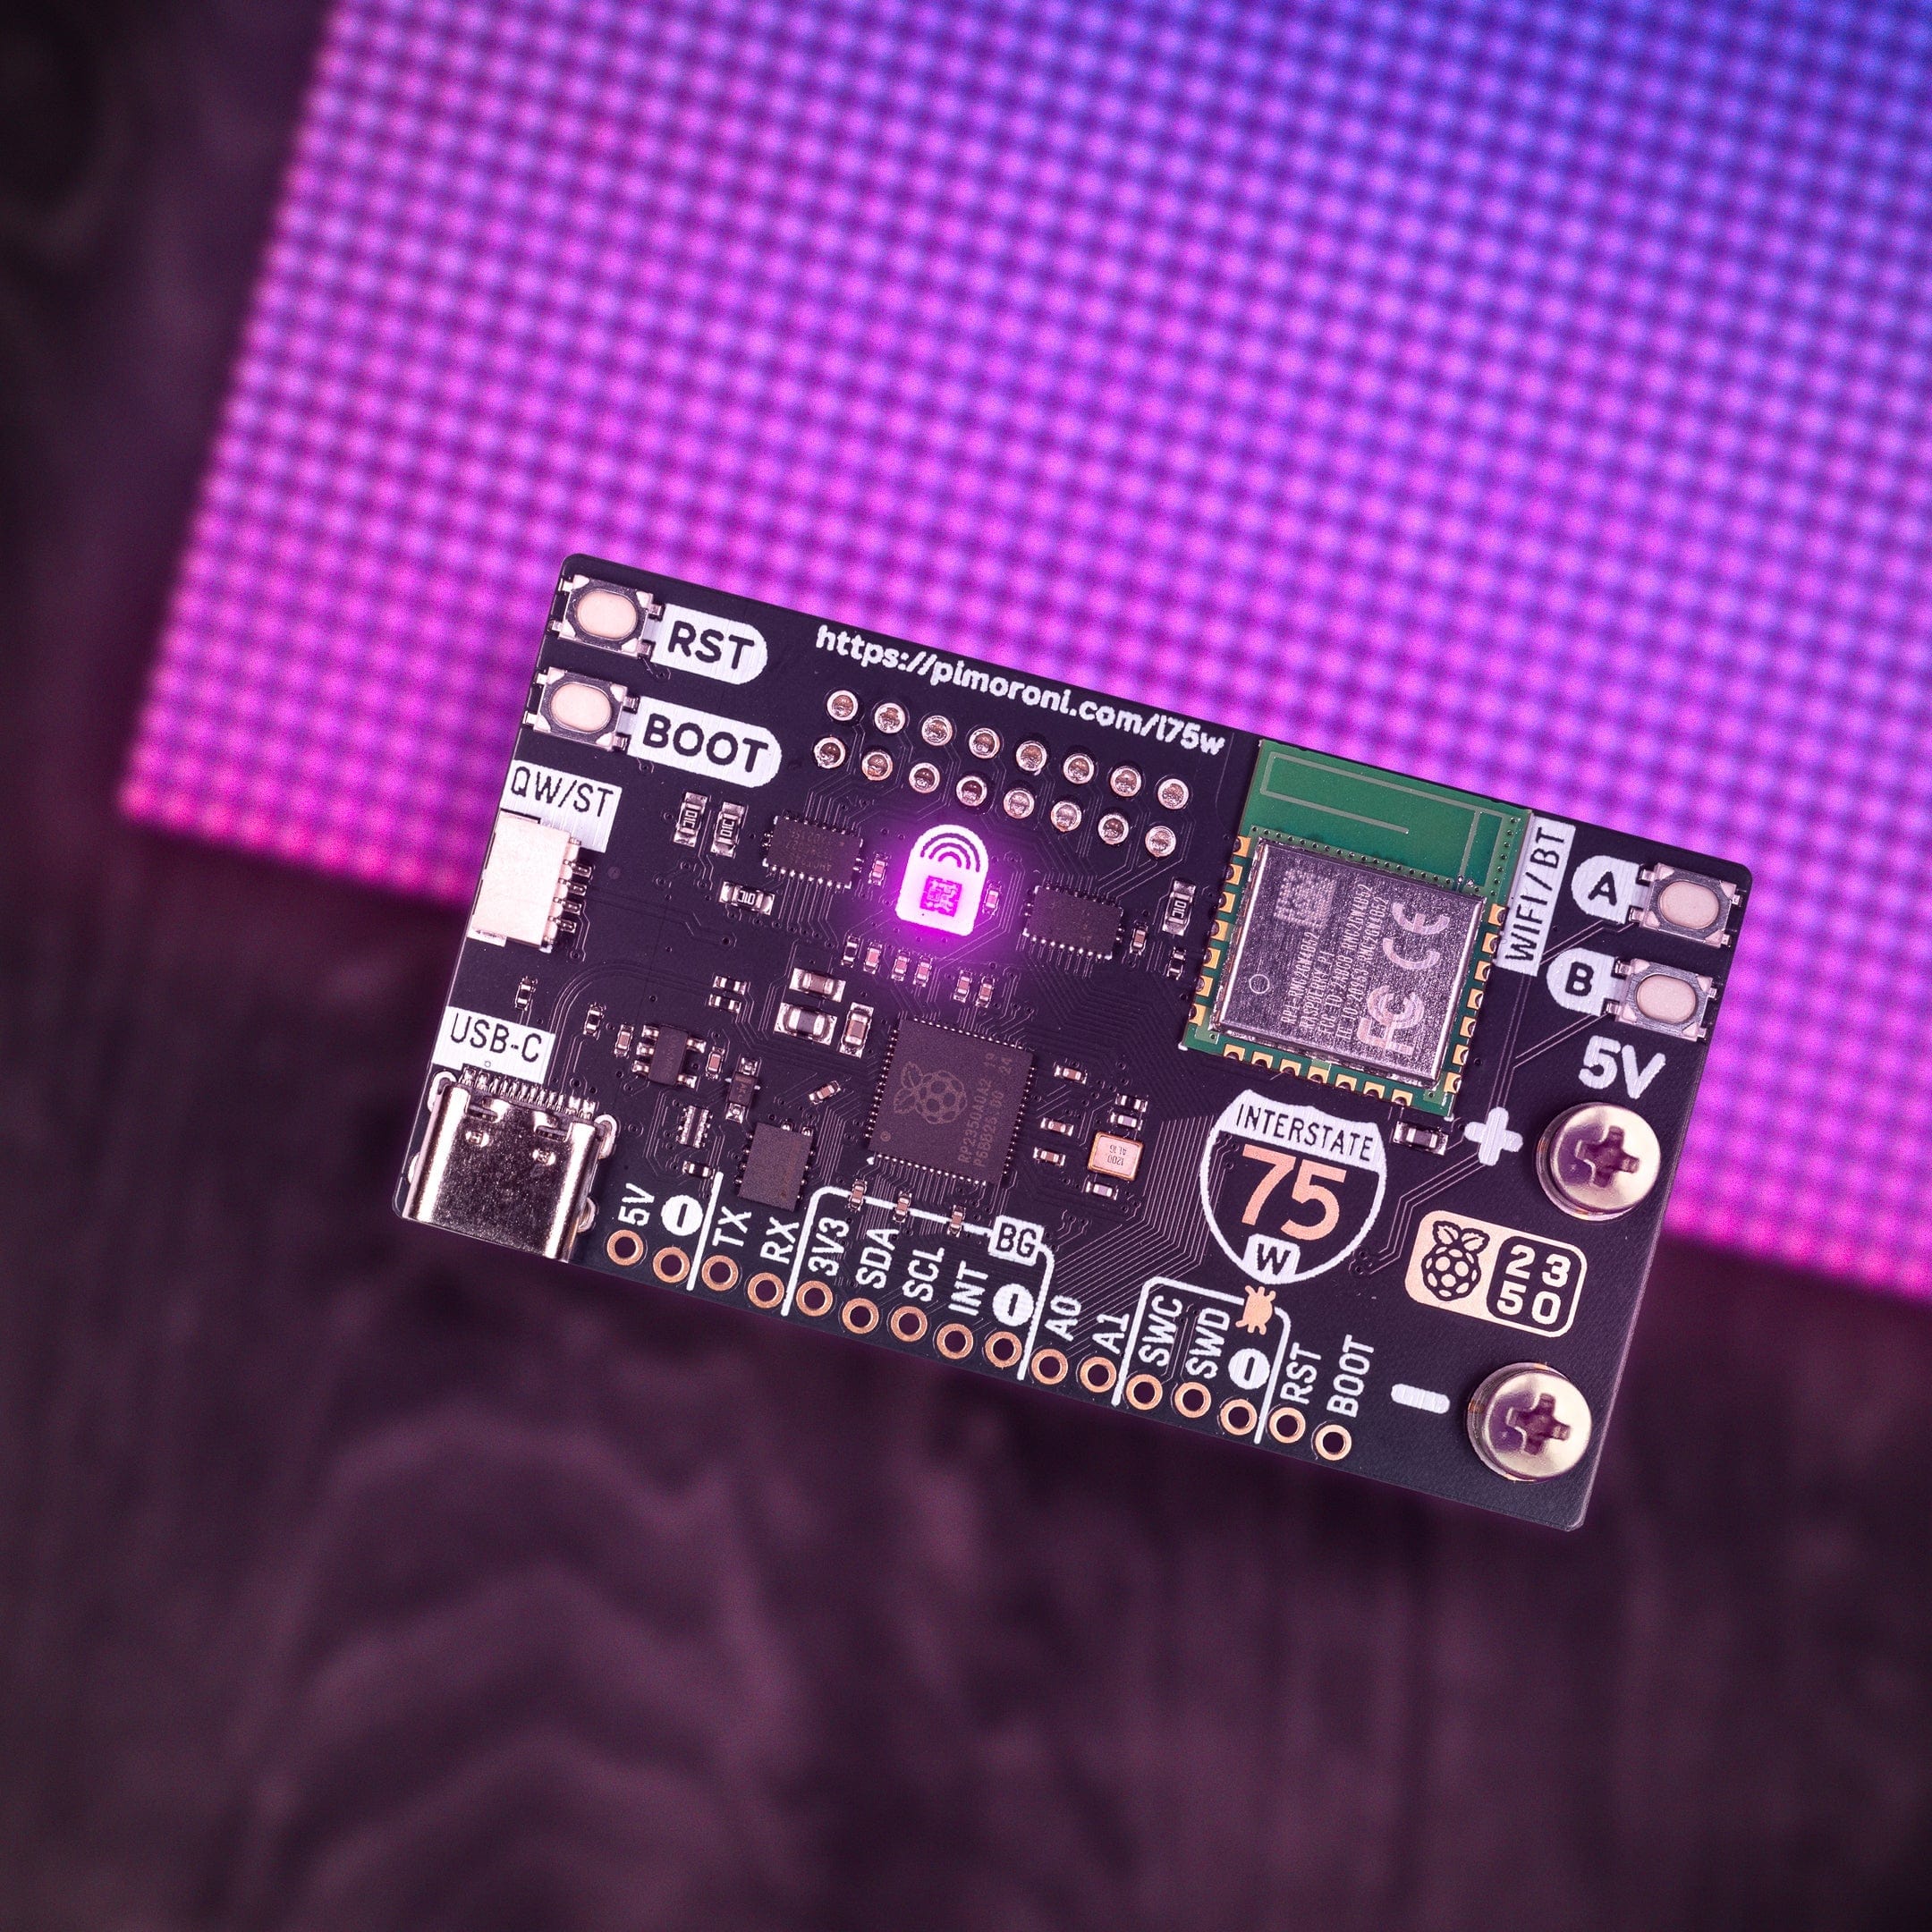
These displays require 13 GPIO pins to control. You may have to use consecutive or special pins depending on the driver firmware. We'll be honest: folks who try to wire directly are usually not successful, its easy to get confused and misconnect. For that reason we strongly recommend a ready-to-go board or adapter that makes wiring as easy as plugging in the cables and powering with 5V
There is also a great Protomatter library that works in Arduino and CircuitPython for quick usage of many chained matrices.
Please note: These panels are remainder stock from factories that make huge light boards. For that reason, the look and size might vary from batch to batch, even though the basic operation, codebase and tutorial is the same.
As of August 11, 2020 - We no longer include Magnetic Feet with this product
Your payment information is processed securely. We do not store credit card details nor have access to your credit card information.