Interstate 75
Price:
Sale price
£15
Stock:
 Skip to content
Login / Signup
Cart
Your cart is empty
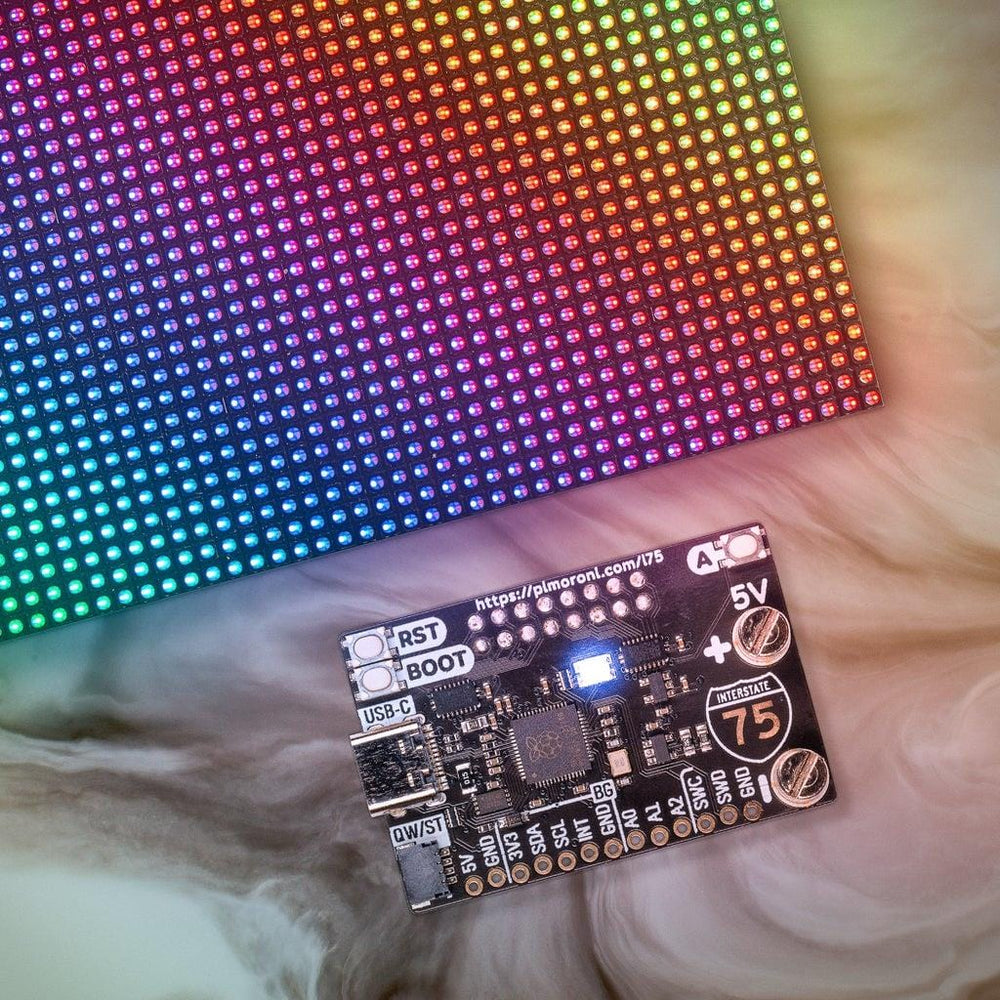

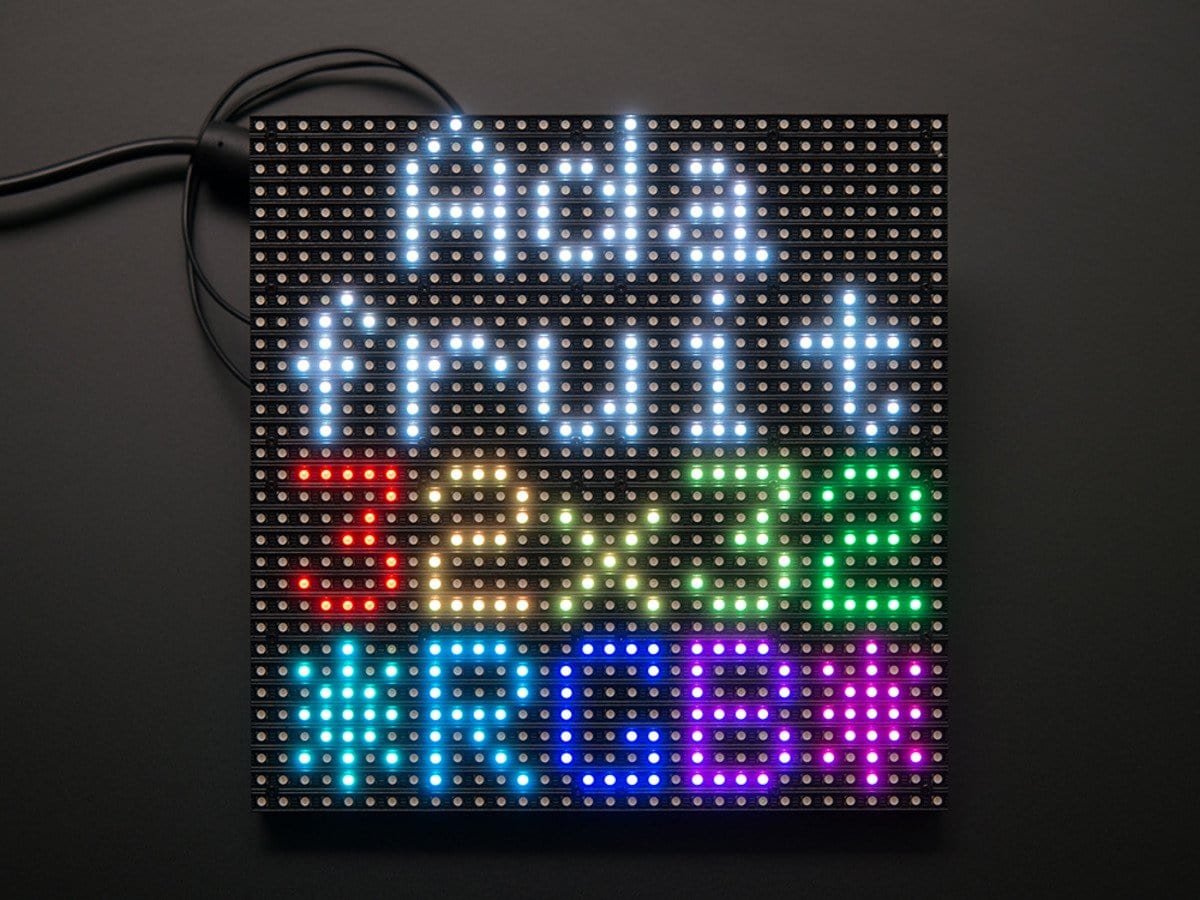
Enter the (LED) matrix with this all-in-one, USB-C powered controller for HUB75 panels.
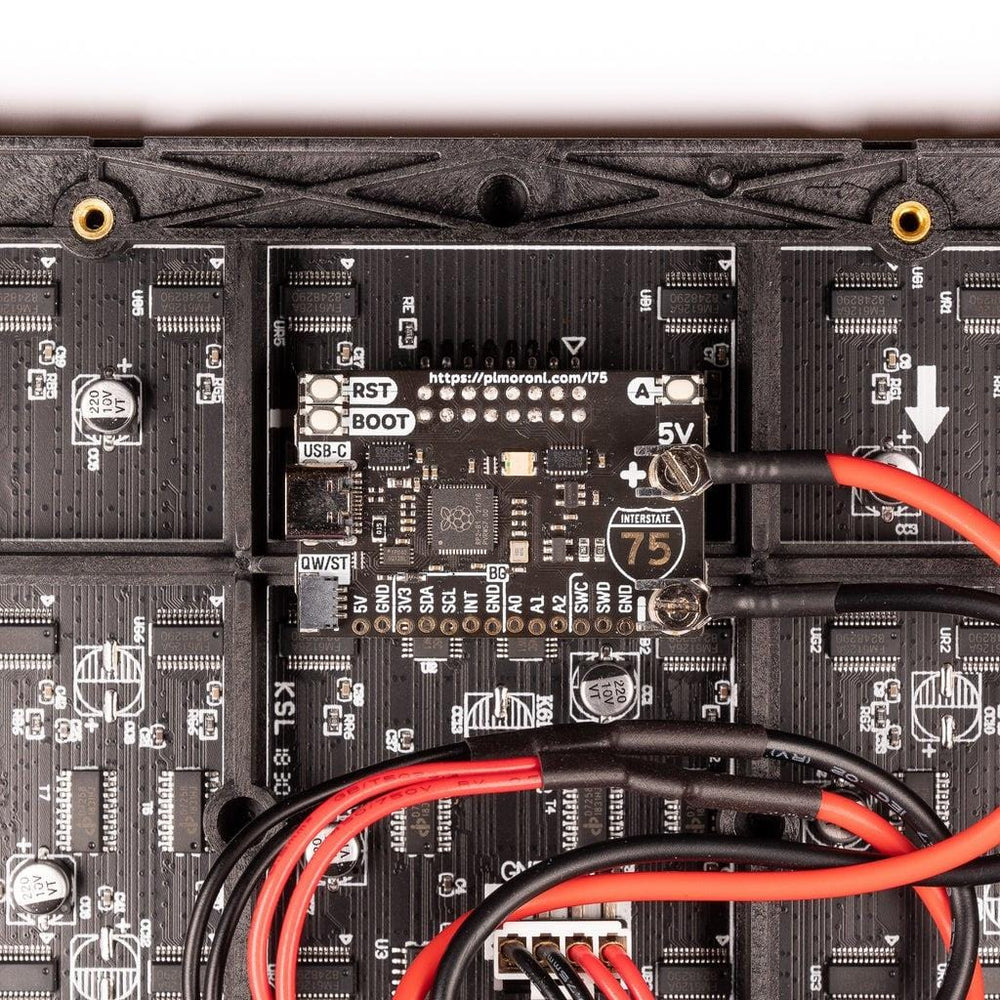
Interstate 75 is an RP2040-based driver board for HUB75-style LED matrices. It's designed to plug neatly into the back of a LED panel, and provides a quick and easy way to whip up some scrolling signage or an eye-catching LED display for sensor outputs.
Interstate 2040 is powered and programmable by USB-C. USB-C is capable of providing up to 3A of power which should be enough to power a single 64x64 (or smaller) panel, assuming you're not planning anything too eye-bleedingly bright. If you need more power than that (so you can chain multiple panels together, perhaps?) you can inject it into the screw terminals instead. There's also two useful buttons, a reset button and an onboard RGB LED.
We've also popped a QW/ST connector on there, to make it super easy to plug in Qwiic or STEMMA QT breakouts.
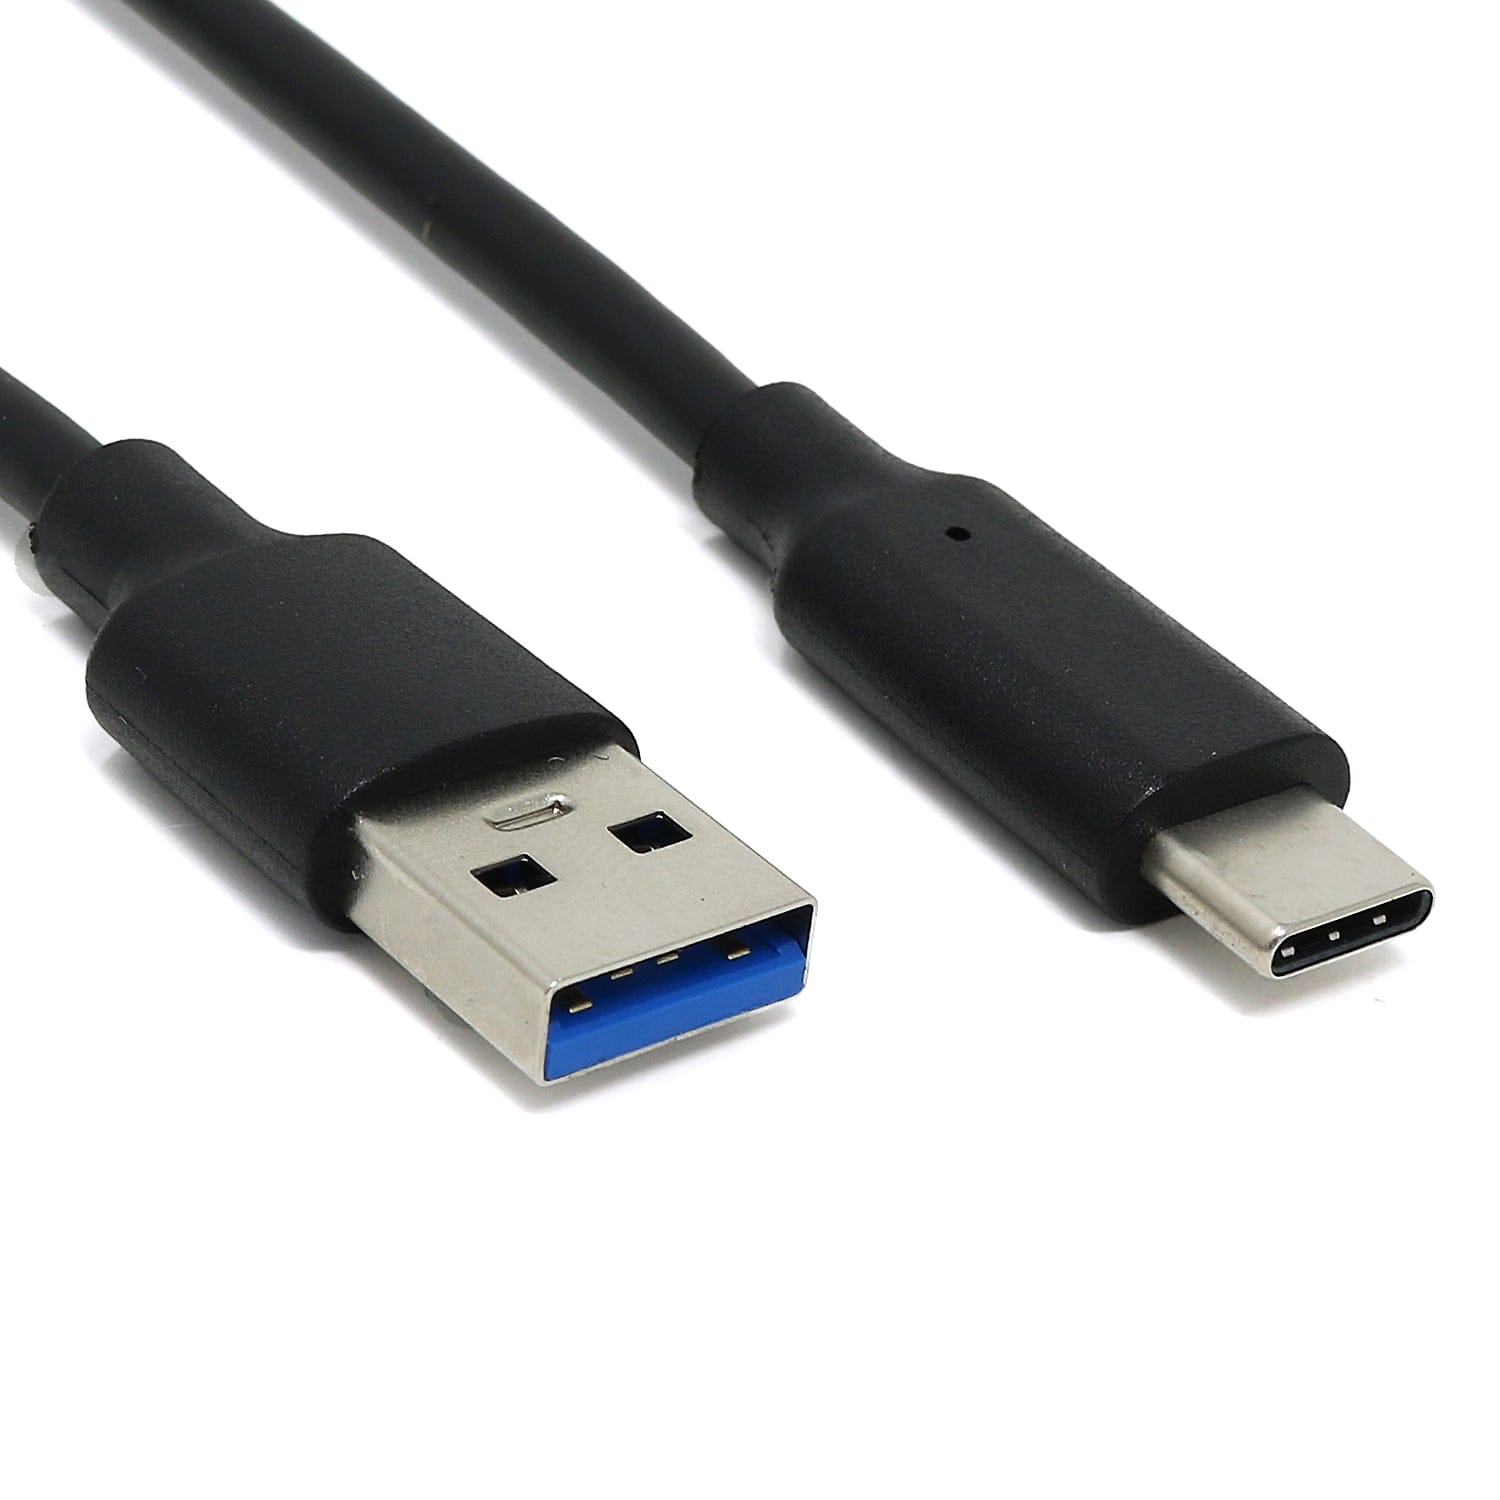
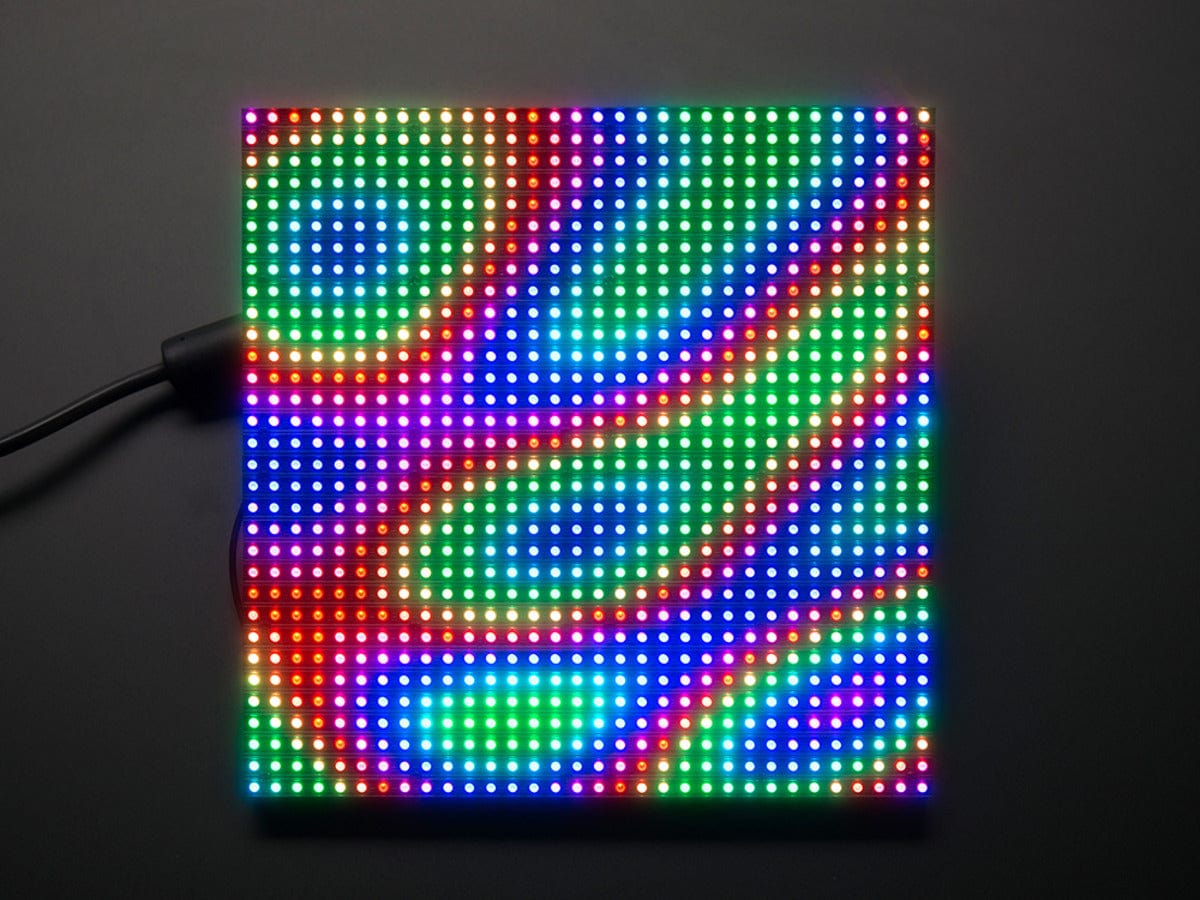
LED matrix panels and cables are sold separately
Because it's a RP2040 board, Interstate 75 is firmware agnostic! You can program it with C/C++, MicroPython or CircuitPython.
Our C++/MicroPython libraries contain some spiffy HUB75 drivers that use RP2040's PIO state machines and DMA to minimise CPU usage and maximise luscious, 10-bit gamma-corrected colour depth.
You'll get best performance using C++, but if you're a beginner we'd recommend using our batteries included MicroPython build for ease of getting started.
You can also use CircuitPython on your Interstate 75! Because CircuitPython drivers are designed to work on a bunch of different microcontrollers you won't get the fancy RP2040-architecture specific tweaks that you'll find in our library, but you will get access to Adafruit's mighty DisplayIO library which makes it super easy to display all sorts of different kinds of text, draw shapes and display images.
Please note that some less-common varieties of 64x64 panels, like ones that use the FM6126A chip, are not currently supported in CircuitPython.
If your breakout has a QW/ST connector on board, you can plug it straight in with a JST-SH to JST-SH cable, or you can easily connect any of our I2C Breakout Garden breakouts with a JST-SH to JST-SH cable coupled with a Qw/ST to Breakout Garden adaptor.
You can find a list of which breakouts are currently compatible with our C++/MicroPython build in the most recent release notes.
We've also broken out a bunch of useful I2C pins, analog pins and debug pins along the side of the board so you can solder things like breakouts or analog potentiometers directly to them.
Your payment information is processed securely. We do not store credit card details nor have access to your credit card information.


