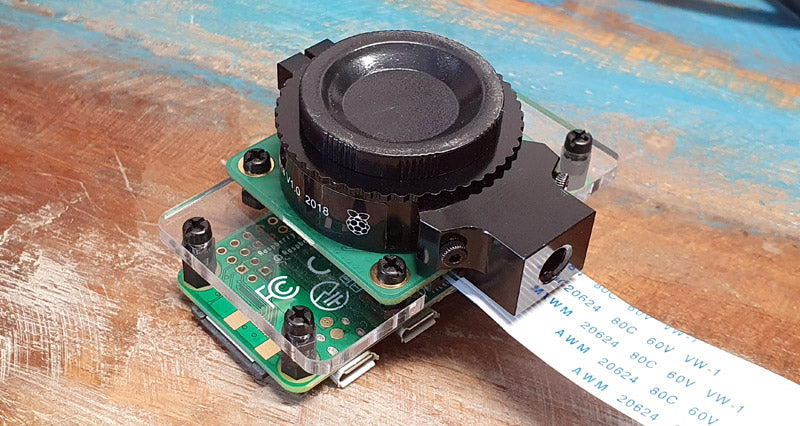
Zero Mounting Plate for High Quality Camera Assembly Guide
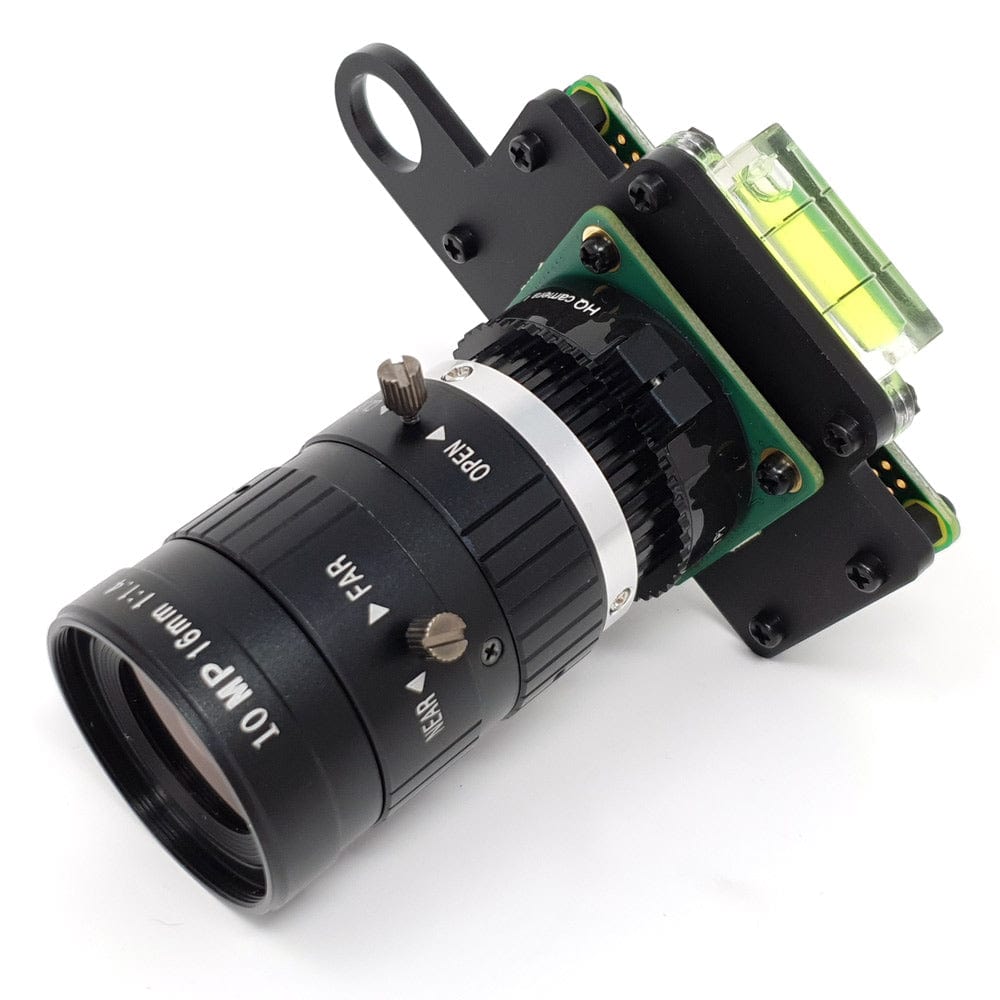
How to assemble our Mounting Plate for High Quality Camera!
Note: These instructions are the same are for all versions of our mounting plate - the screws and standoffs all work the same way, just in slightly different positions depending on which Pi you're using.
Bill of Materials
- Zero Mounting Plate for High Quality Camera
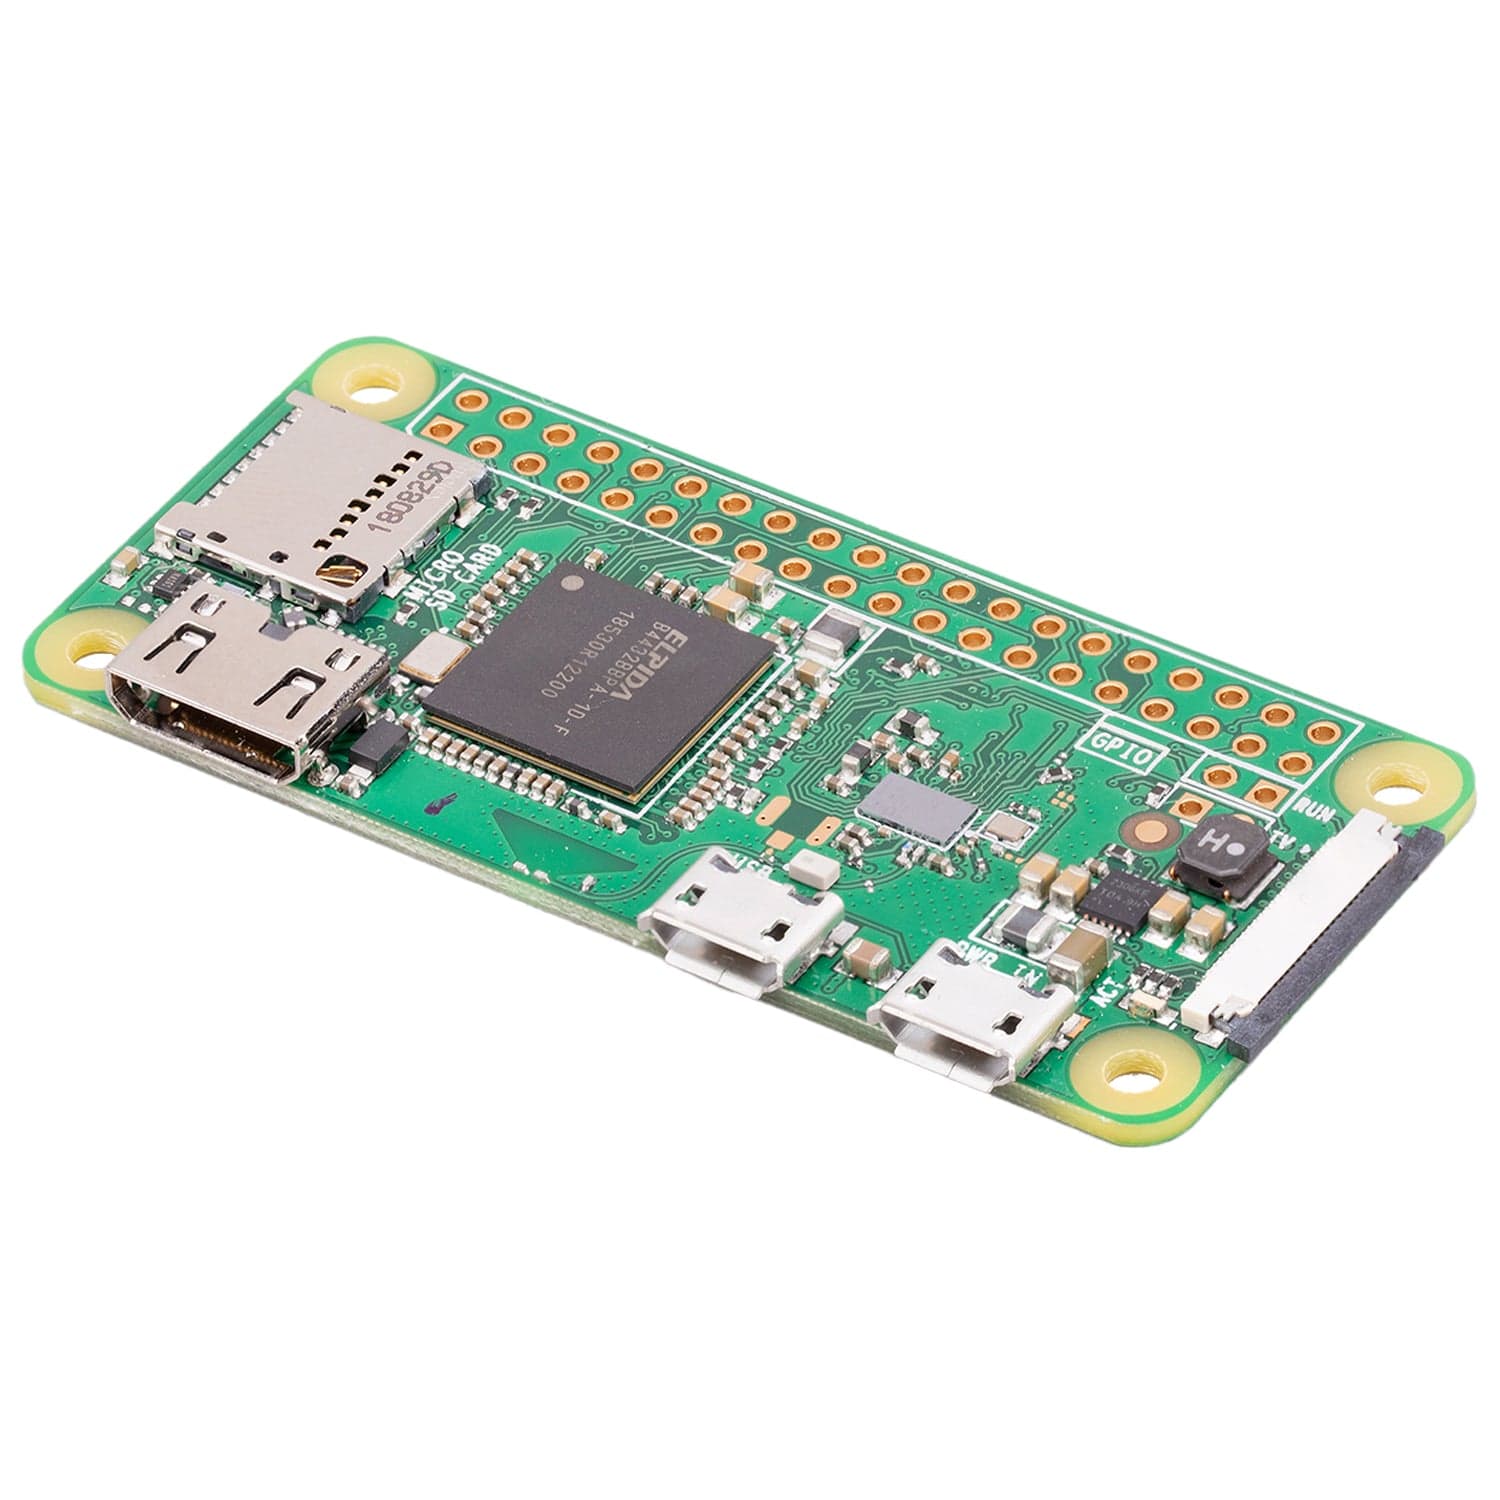
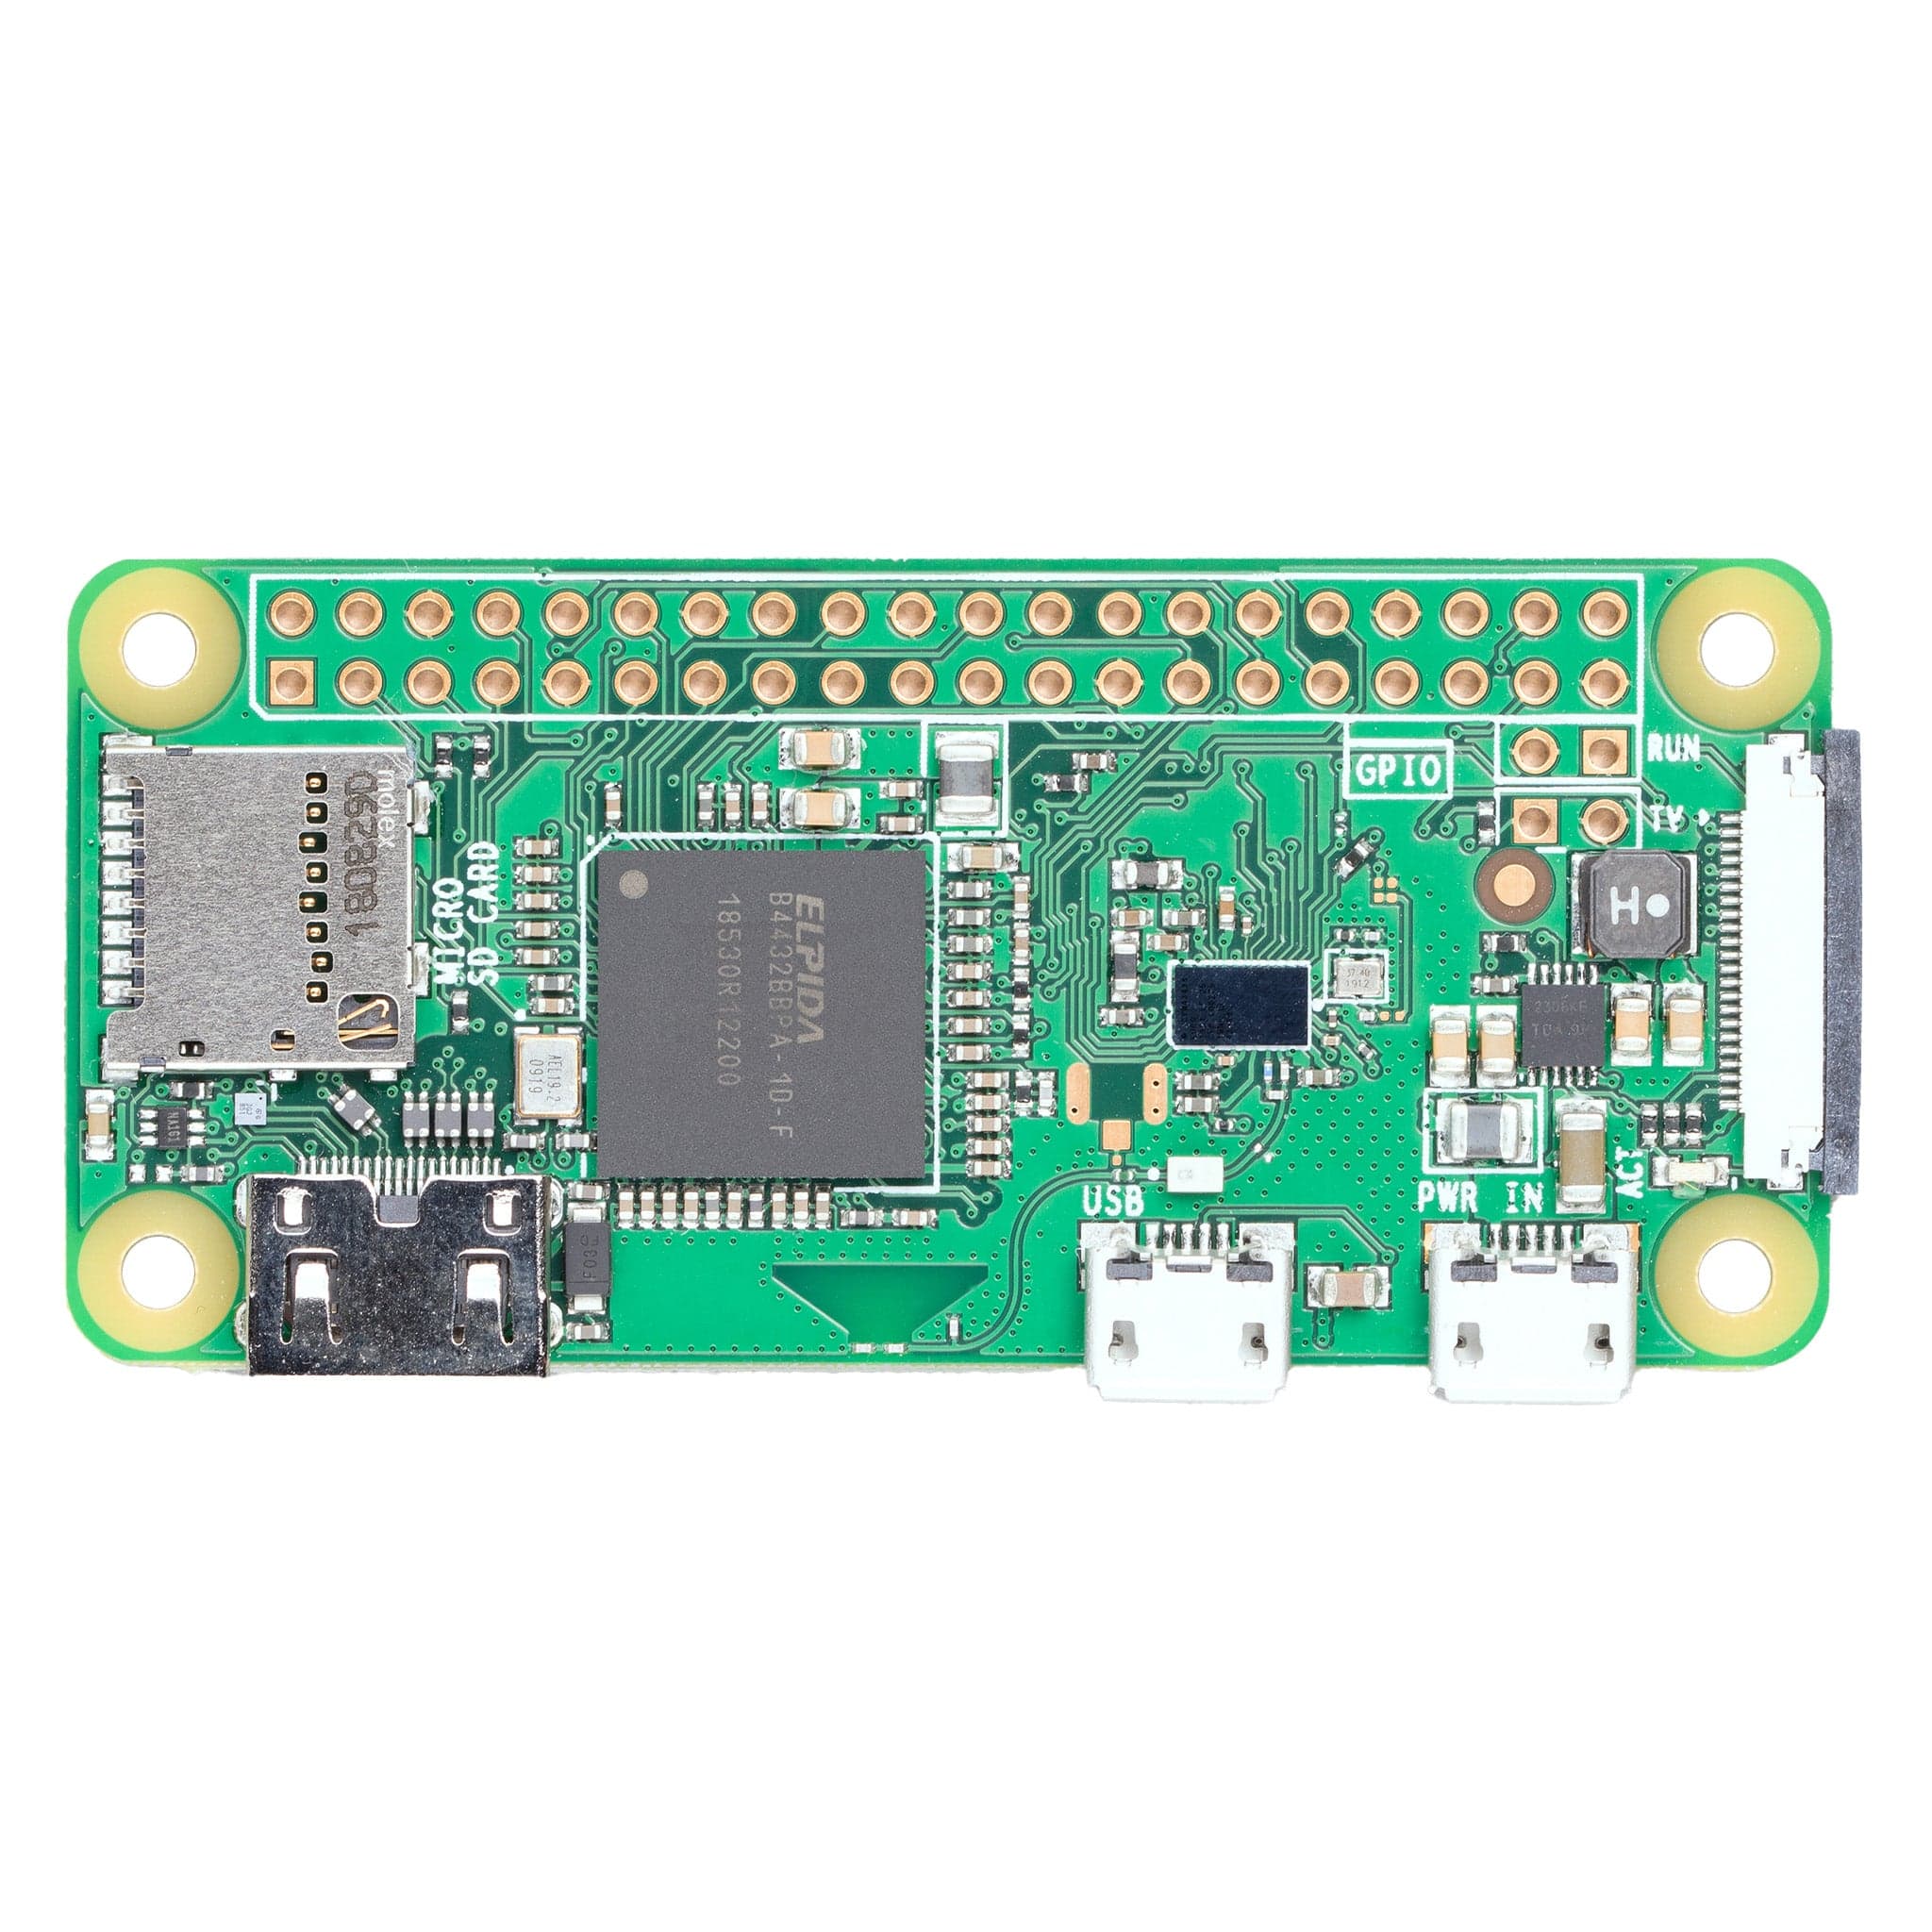
- Raspberry Pi Zero
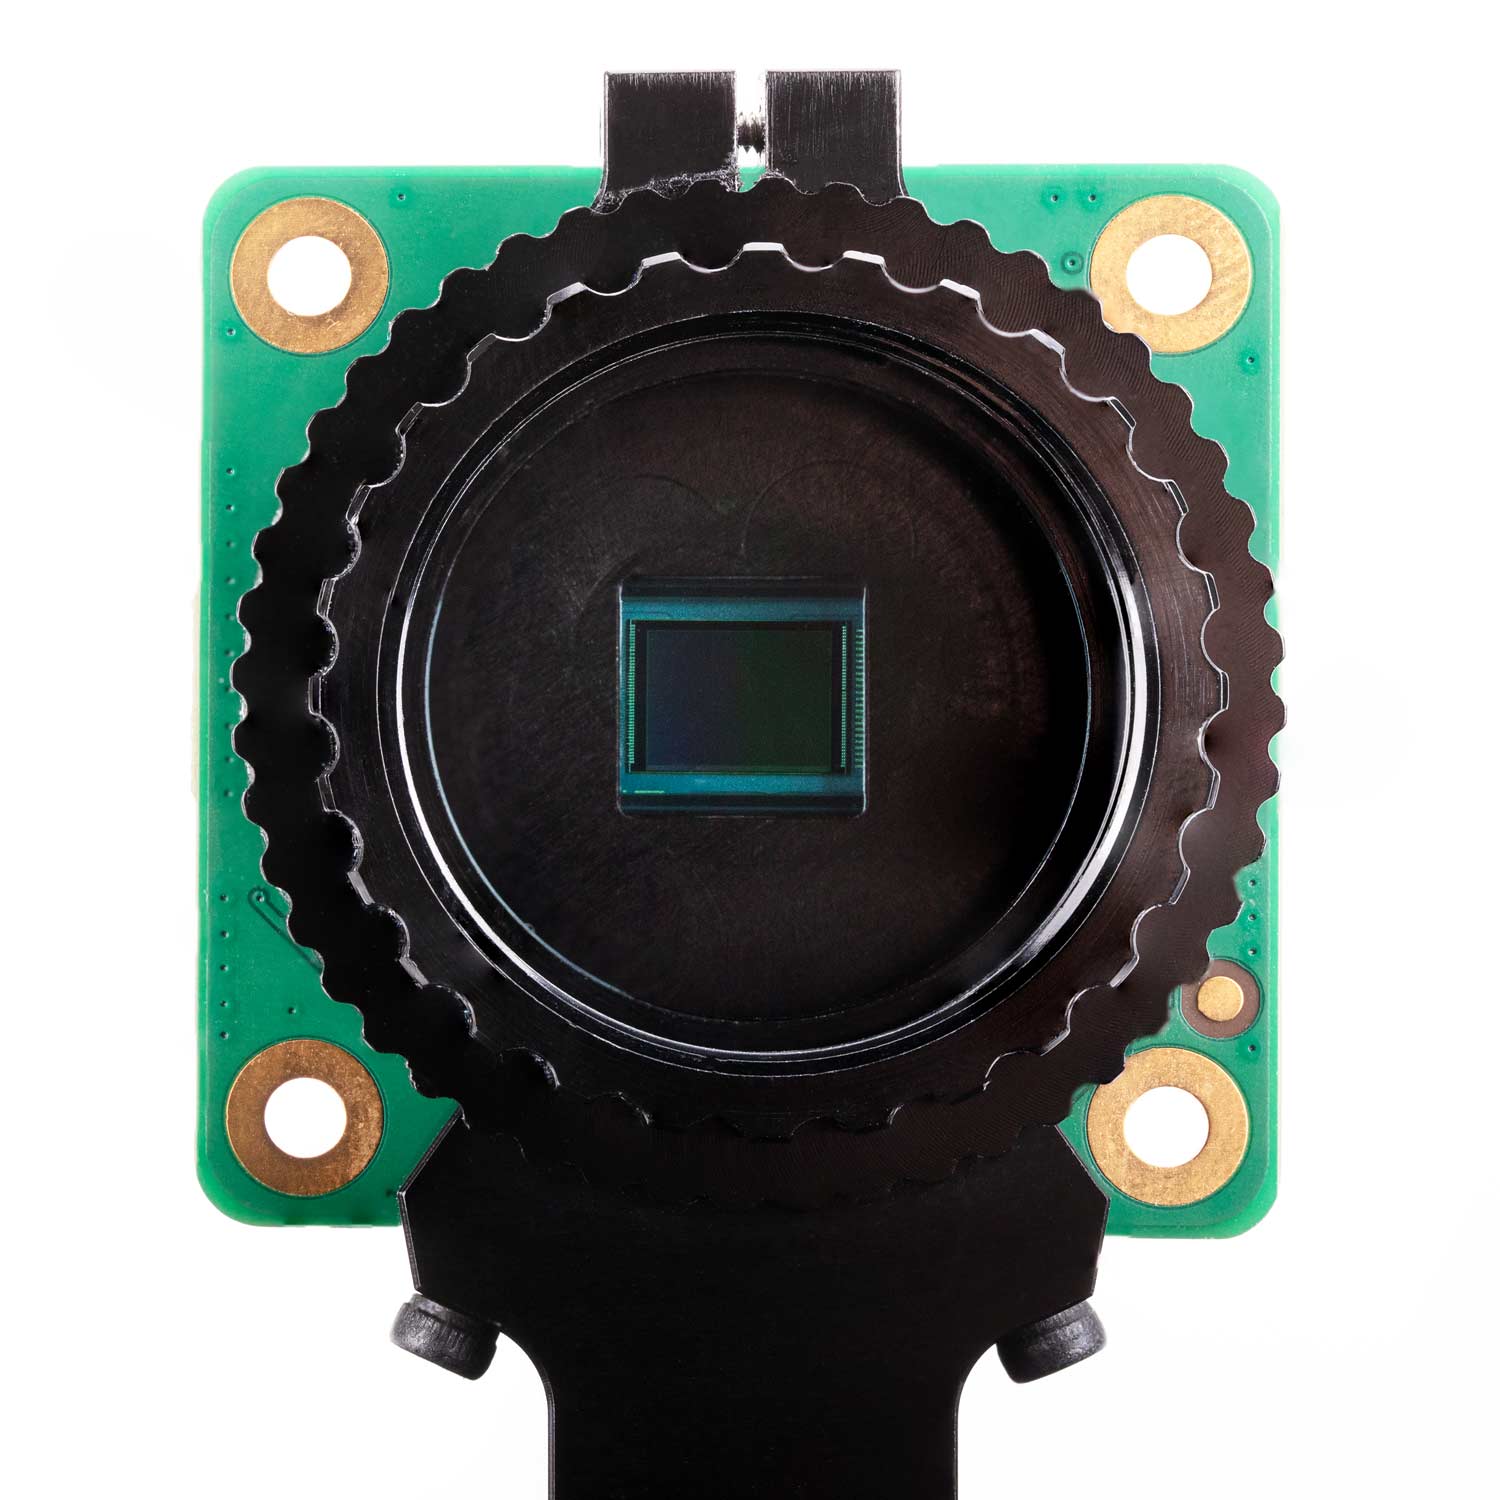
- Raspberry Pi High Quality Camera Module
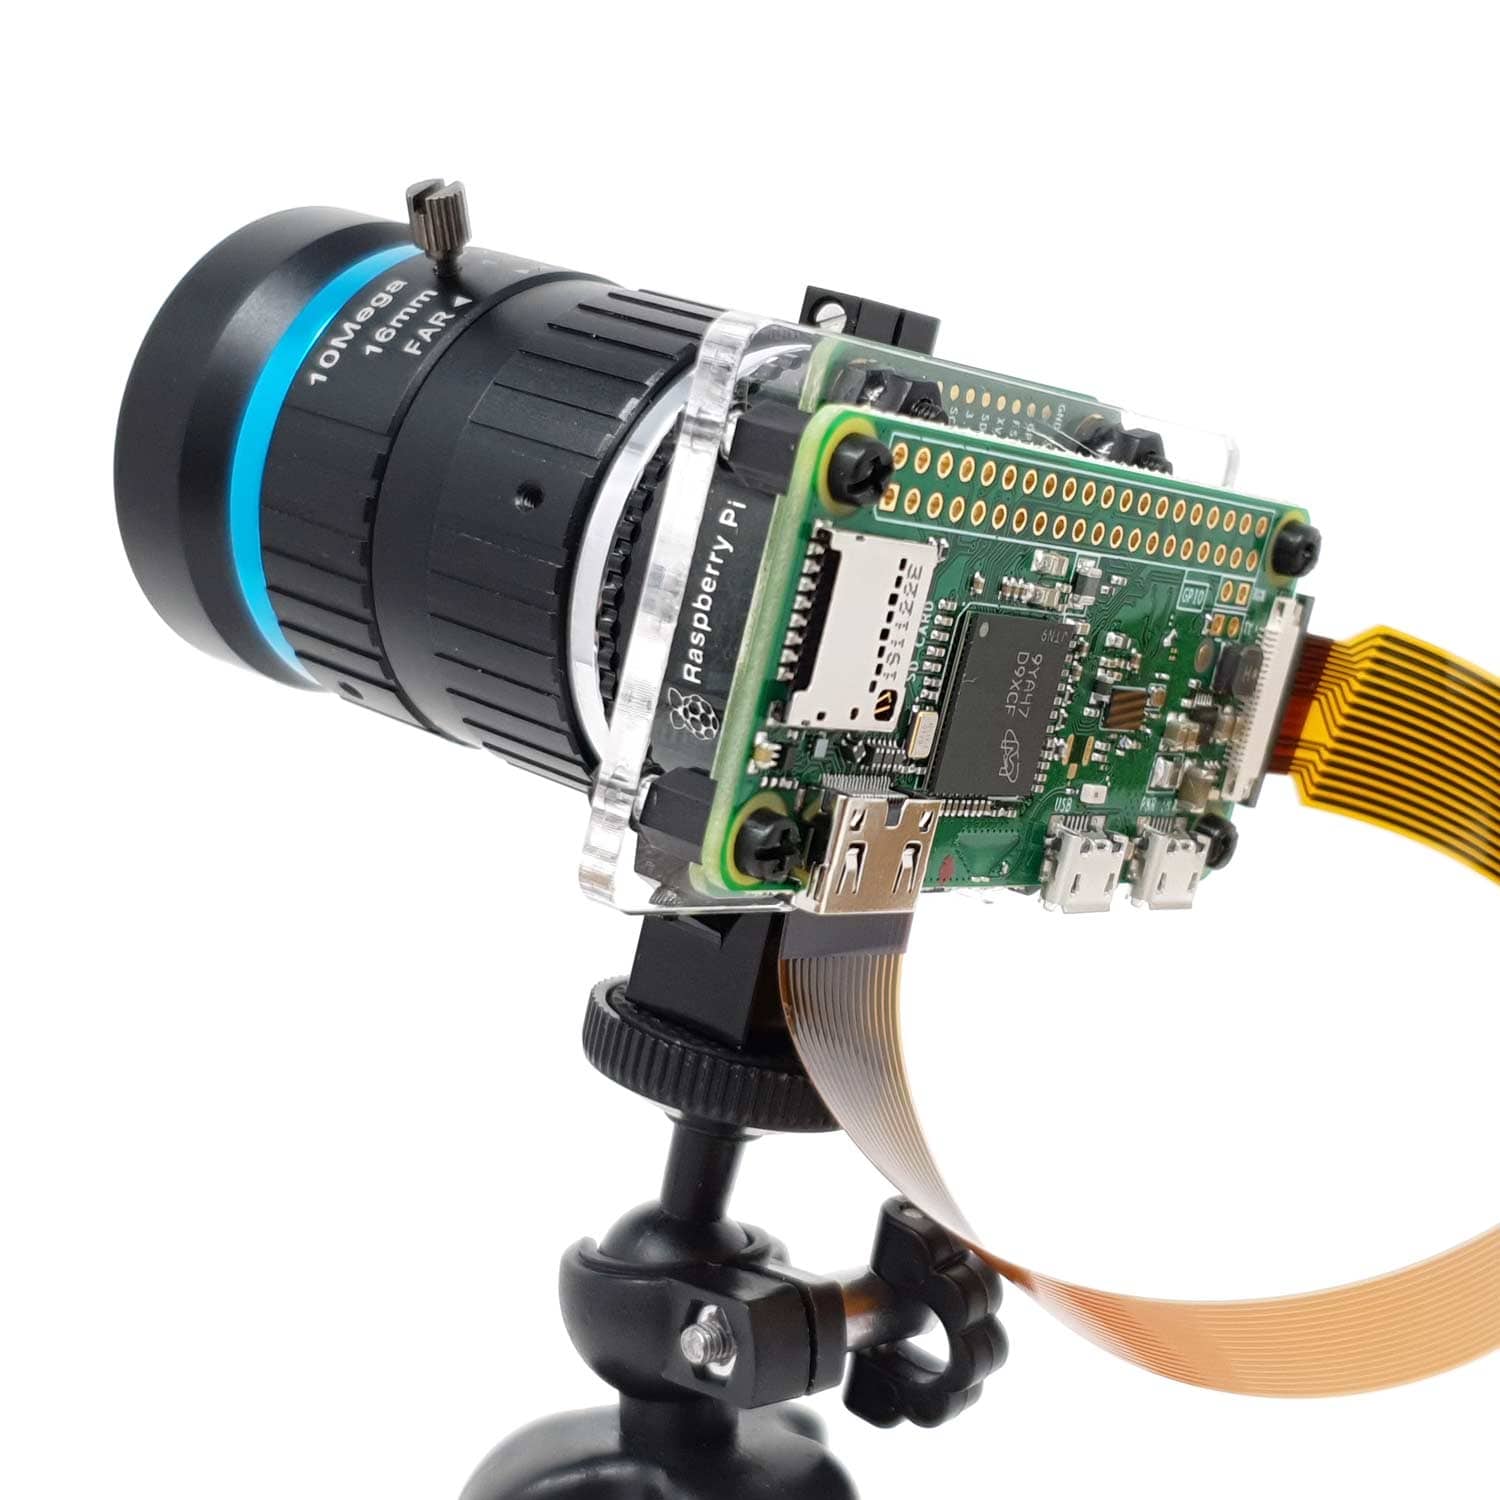
- Raspberry Pi Zero Camera Adapter (we forgot to swap our ribbon cable for the PiZero version in our photos below... Make sure you don't forget too!)
1. The laser-cut parts of the case are protected by an adhesive film which needs to be removed before assembly (this is *very* therapeutic), simply peel it off

2. Let's get the fiddly bit out of the way! Secure the 10mm M2.5 screws to the camera PCB using the provided nuts. These nuts will act as stand-offs, protecting the components on the PCB from getting damaged.
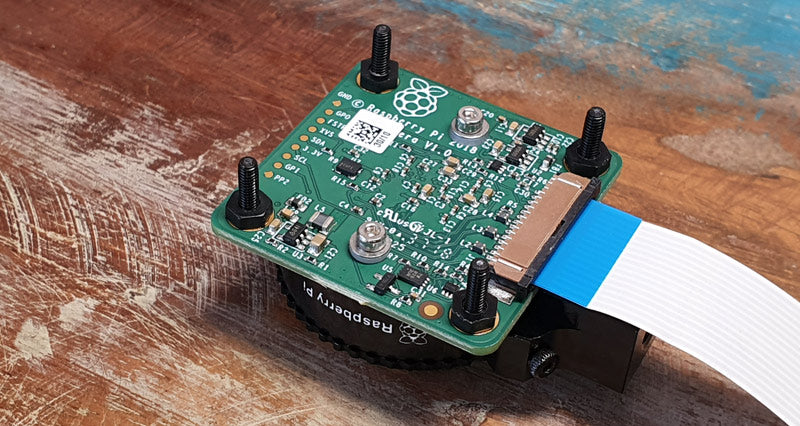
3. Secure the Raspberry Pi camera to the mounting plate with the remaining nuts.

4. Using the smaller 5mm black screws, attach the stand-offs to the rear of the mounting plate
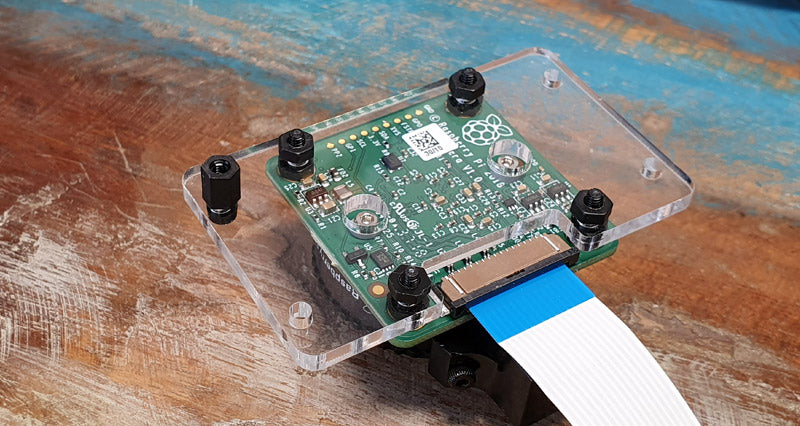
5. Drop your Raspberry Pi Zero on top and secure into place with the remaining 5mm screws.

6. Viola! Case complete!

NOTE: Acrylic is a hard and stiff plastic which is sensitive to stress concentrations and shares a certain level of fragility with glass. Acrylic can scratch easily and should be cleaned with a mild solution of dish detergent and warm water (only once you've removed the Raspberry Pi/Camera!). Never use cleaners unsuitable for acrylic. Never use a dry, abrasive cloth.

5 comments
Paul S
Eureka!
then I saw James’ suggestion about using standoffs! I can report it works for the Global Shutter camera – although I only had M2 ones, so now want to get M2.5 for a more secure fit.
Eureka!
then I saw James’ suggestion about using standoffs! I can report it works for the Global Shutter camera – although I only had M2 ones, so now want to get M2.5 for a more secure fit.
Paul S
Somewhat disappointing that this doesn’t work with the Global Shutter camera :(
Somewhat disappointing that this doesn’t work with the Global Shutter camera :(
The Pi Hut
@Xavier De Donder – Sorry about this, please ping us a quick message via support.thepihut.com and we’ll help with that
@Xavier De Donder – Sorry about this, please ping us a quick message via support.thepihut.com and we’ll help with that
Xavier De Donder
I received the mounting plate without any standoffs (just 4 long screws + 8 short screws + 8 nuts) so I can’t mount the Raspberry Pi. Quality check before shipping please !
I received the mounting plate without any standoffs (just 4 long screws + 8 short screws + 8 nuts) so I can’t mount the Raspberry Pi. Quality check before shipping please !
james boardman
suggestion:
Replace 10 mm screws for camera attachment with M2.5 nylon standoff male/female 6 mm.
Camera can now be assembled with screws instead of nuts, making it easy to transfer the camera to another PI.
suggestion:
Replace 10 mm screws for camera attachment with M2.5 nylon standoff male/female 6 mm.
Camera can now be assembled with screws instead of nuts, making it easy to transfer the camera to another PI.