
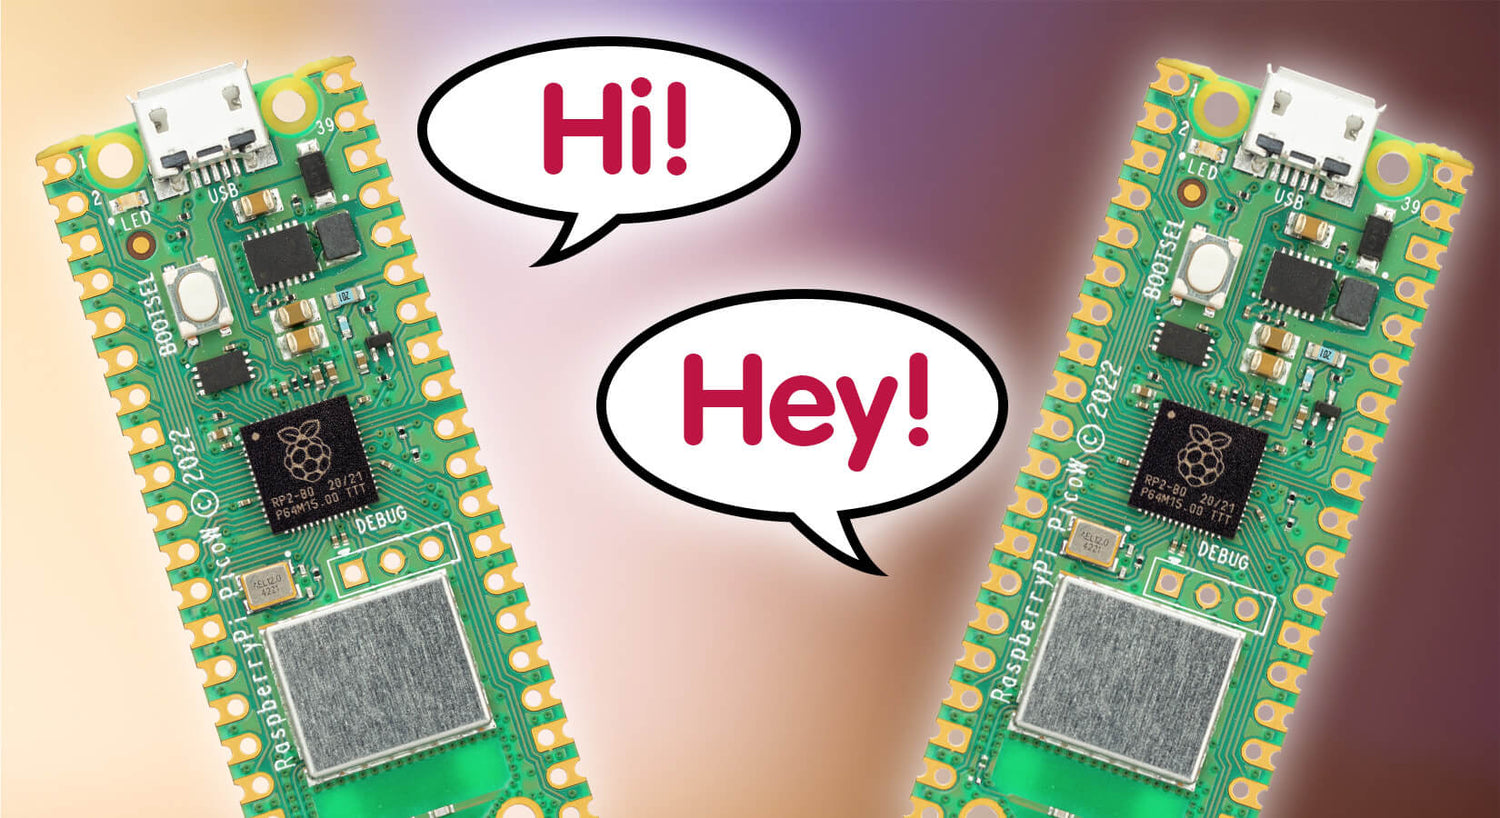
Wireless Communication Between Two Raspberry Pi Pico W Boards
In this tutorial we are going to make one Raspberry Pi Pico W send random RGB (red, green, blue) values to another Pico W board! This is a very simple project to introduce WiFi communication with MicroPython and could form a basis for a wide variety of projects.
The project connects both Pico W boards to your home WiFi network with one acting as a server and the other as a client.
Tony came up with this tutorial after tinkering with his Pico W boards soon after the launch of the new wireless Pico, and we couldn't help think "...the computers are talking to each other...how long before SkyNet!".
A quick note - this probably isn't the ideal first project if you haven't used a Pico before. For a little warm up and introduction, Raspberry Pi have a great Getting Started Guide here, or the Get started with MicroPython on Raspberry Pi Pico book is a good option too!
What you'll need
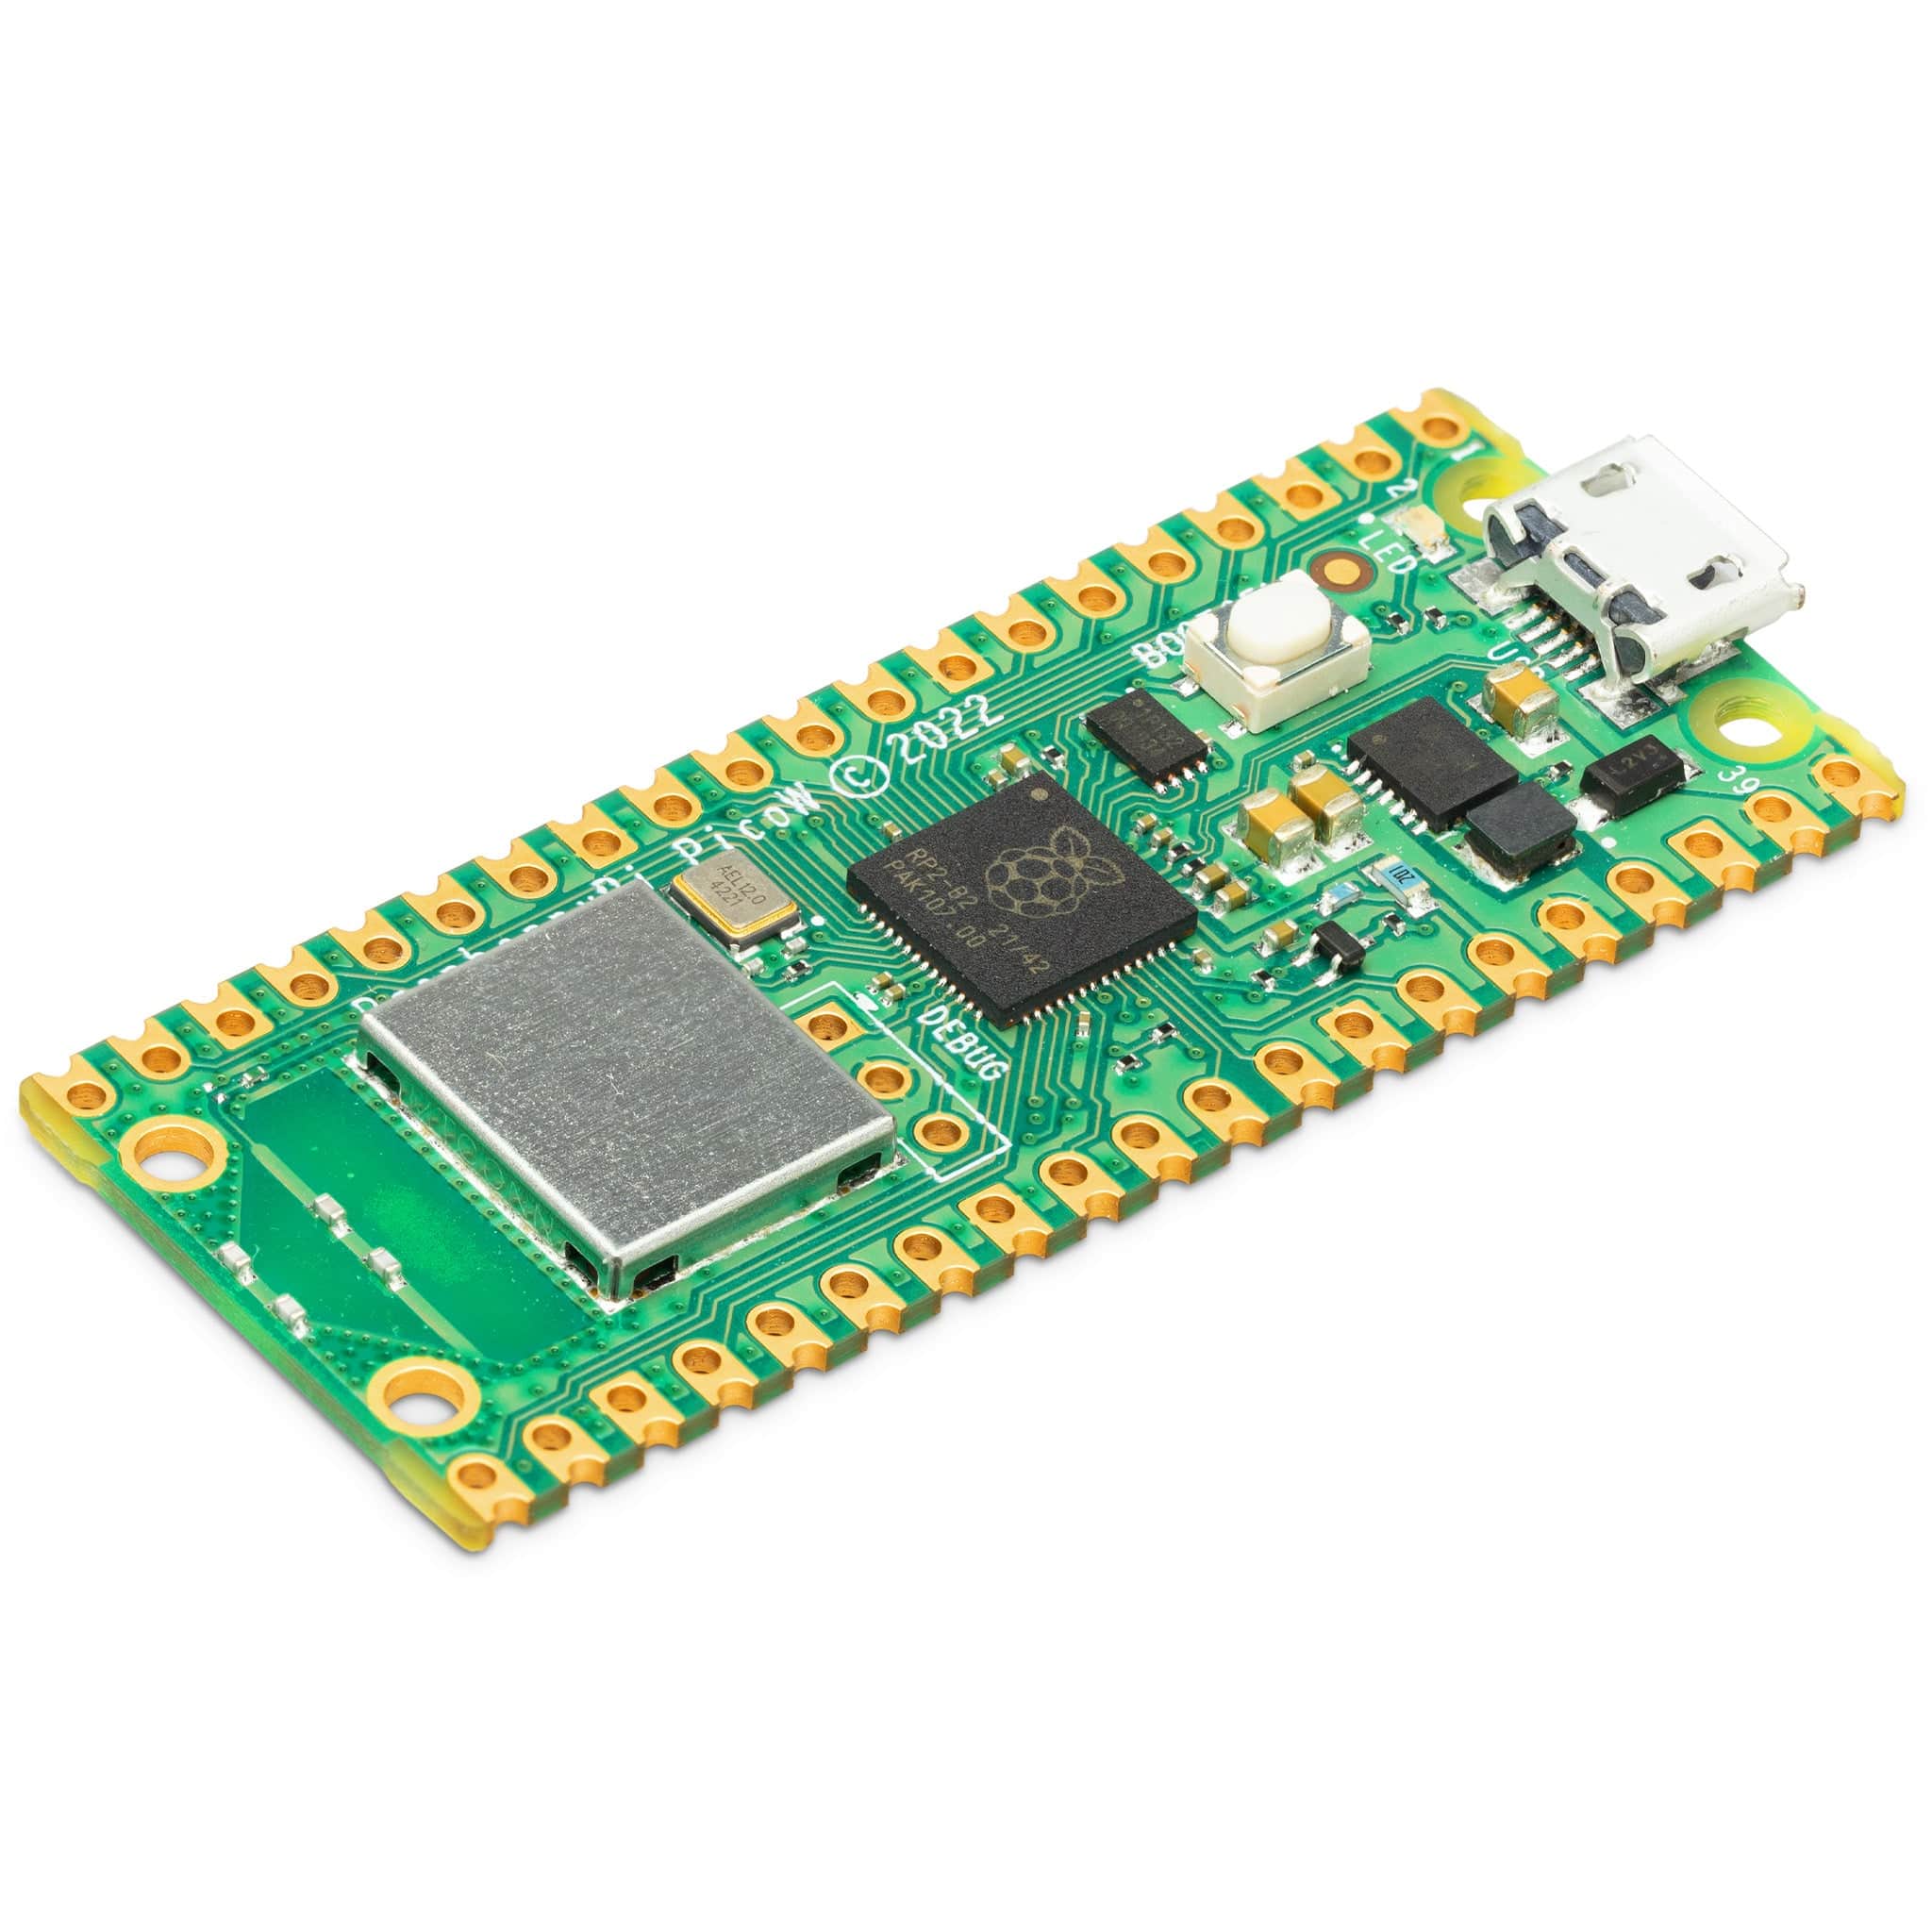
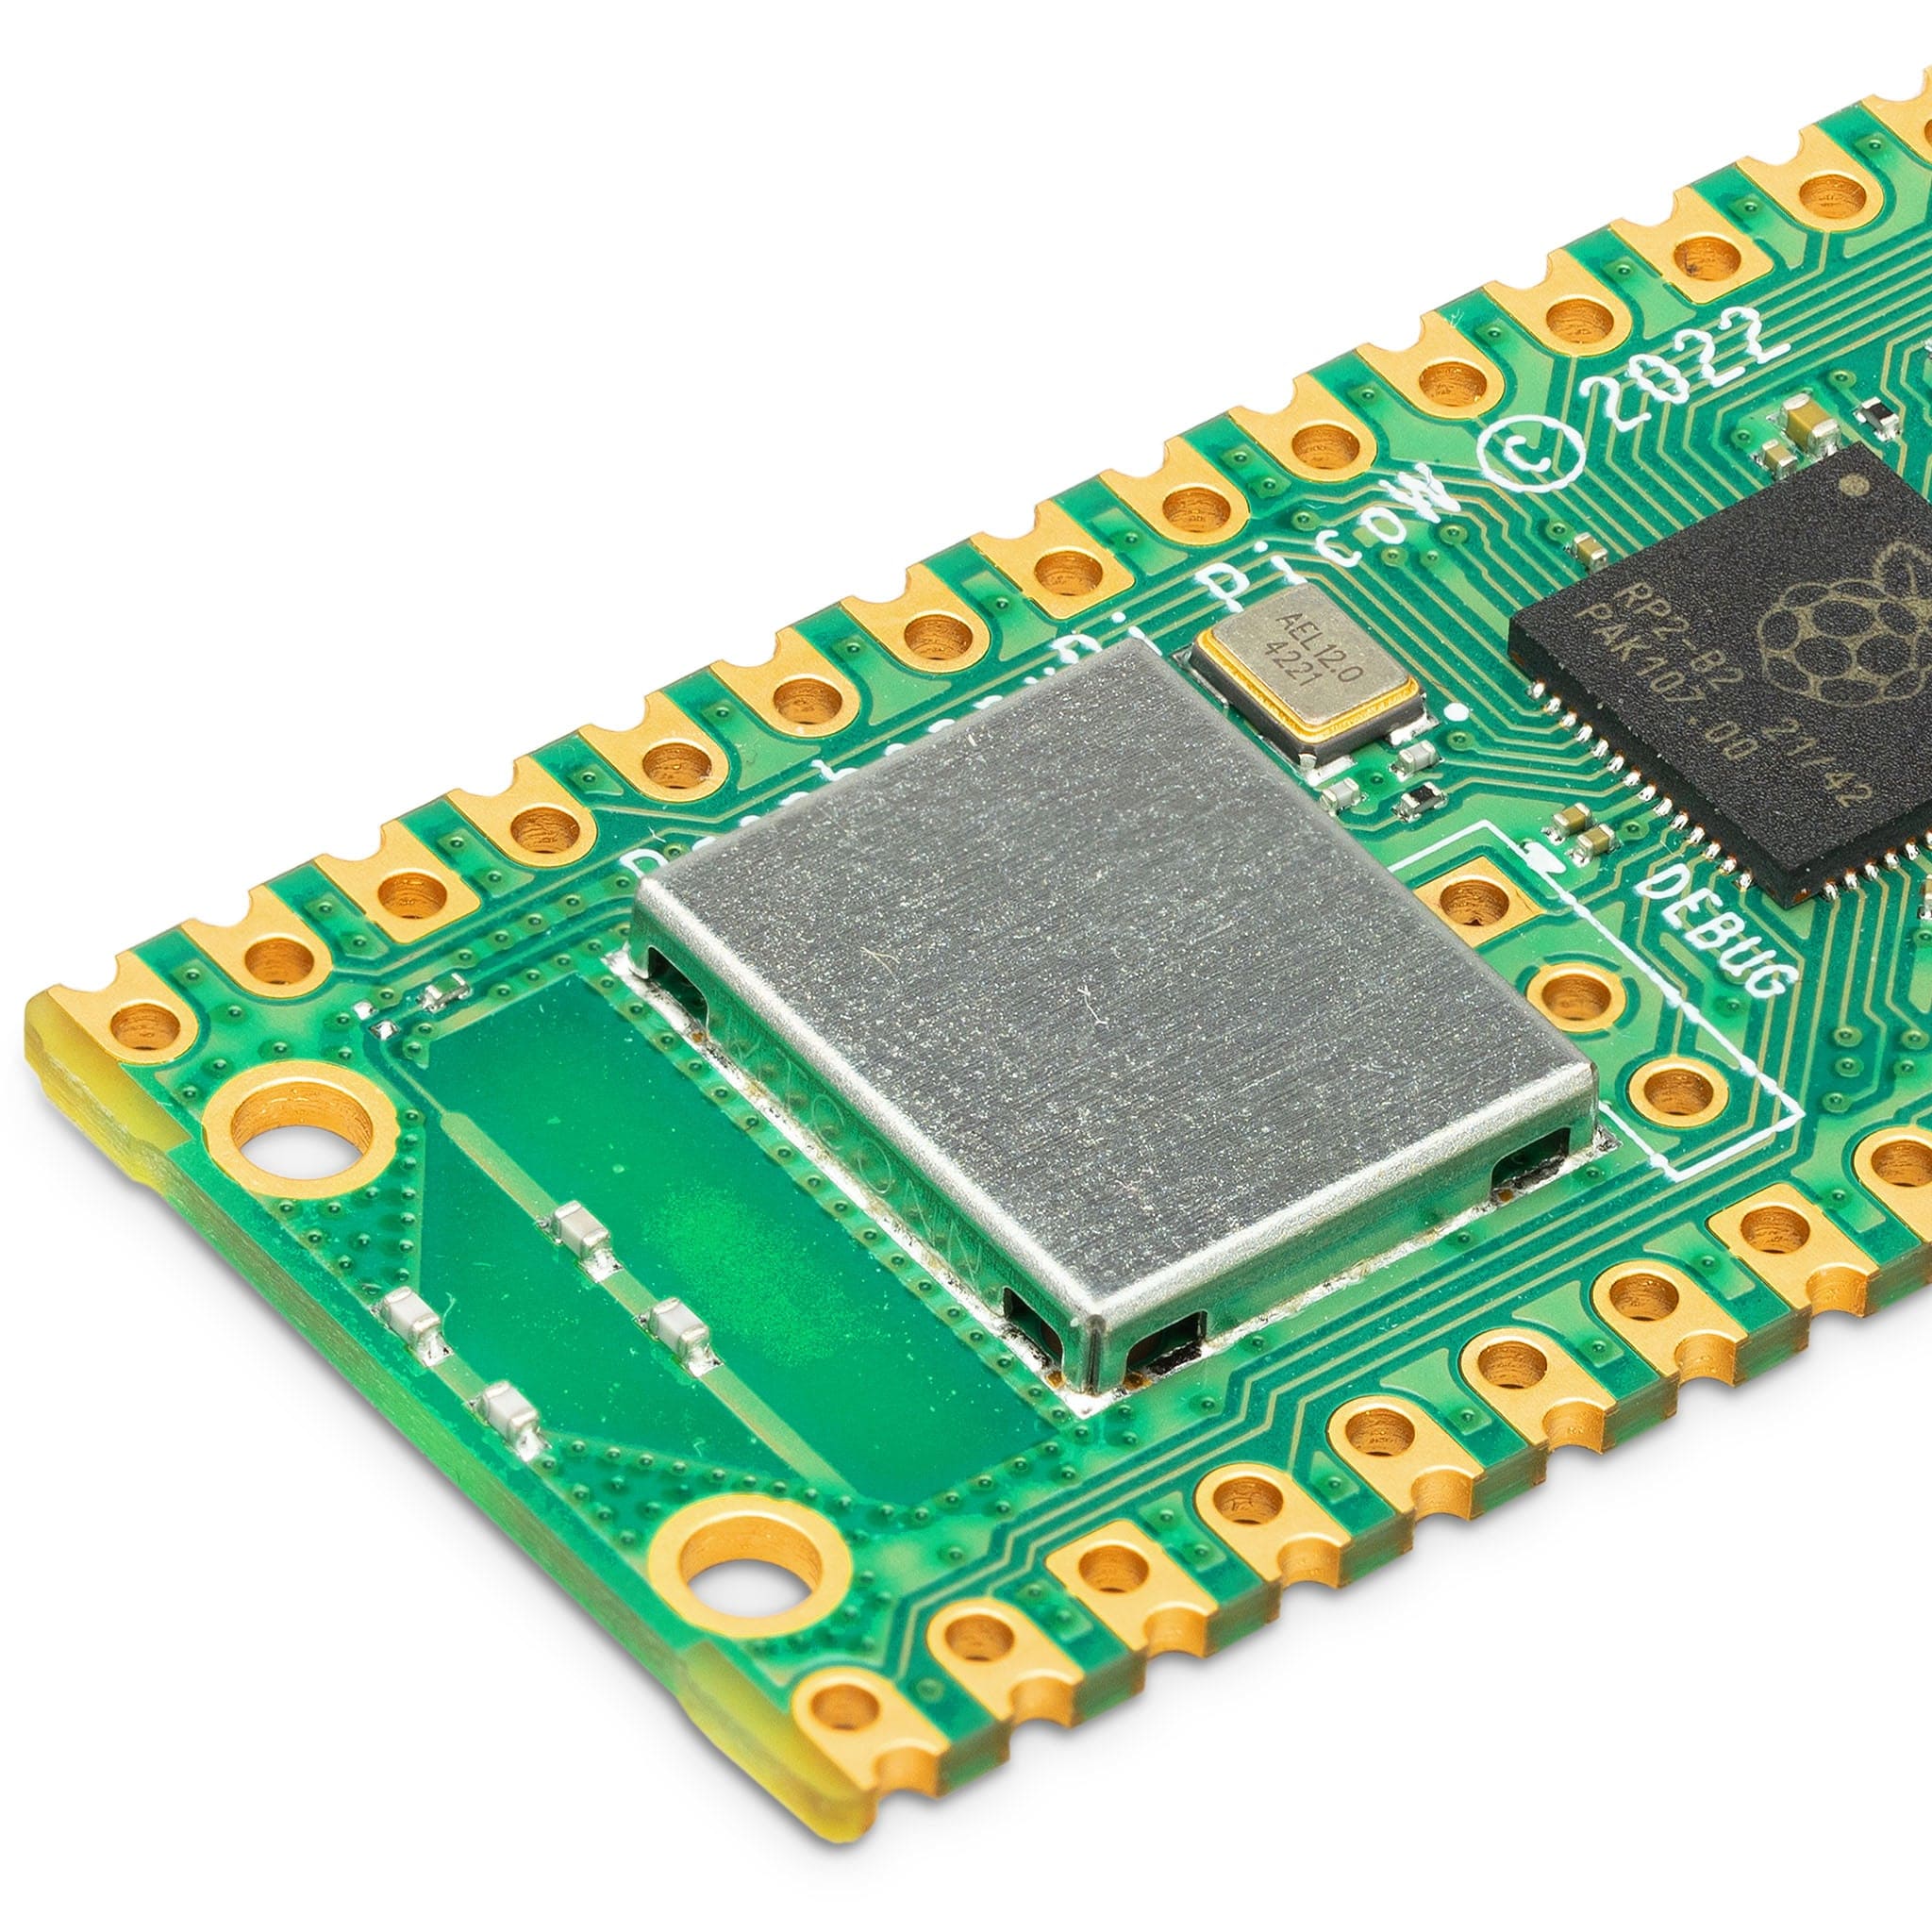
- 2 x Raspberry Pi Pico W boards
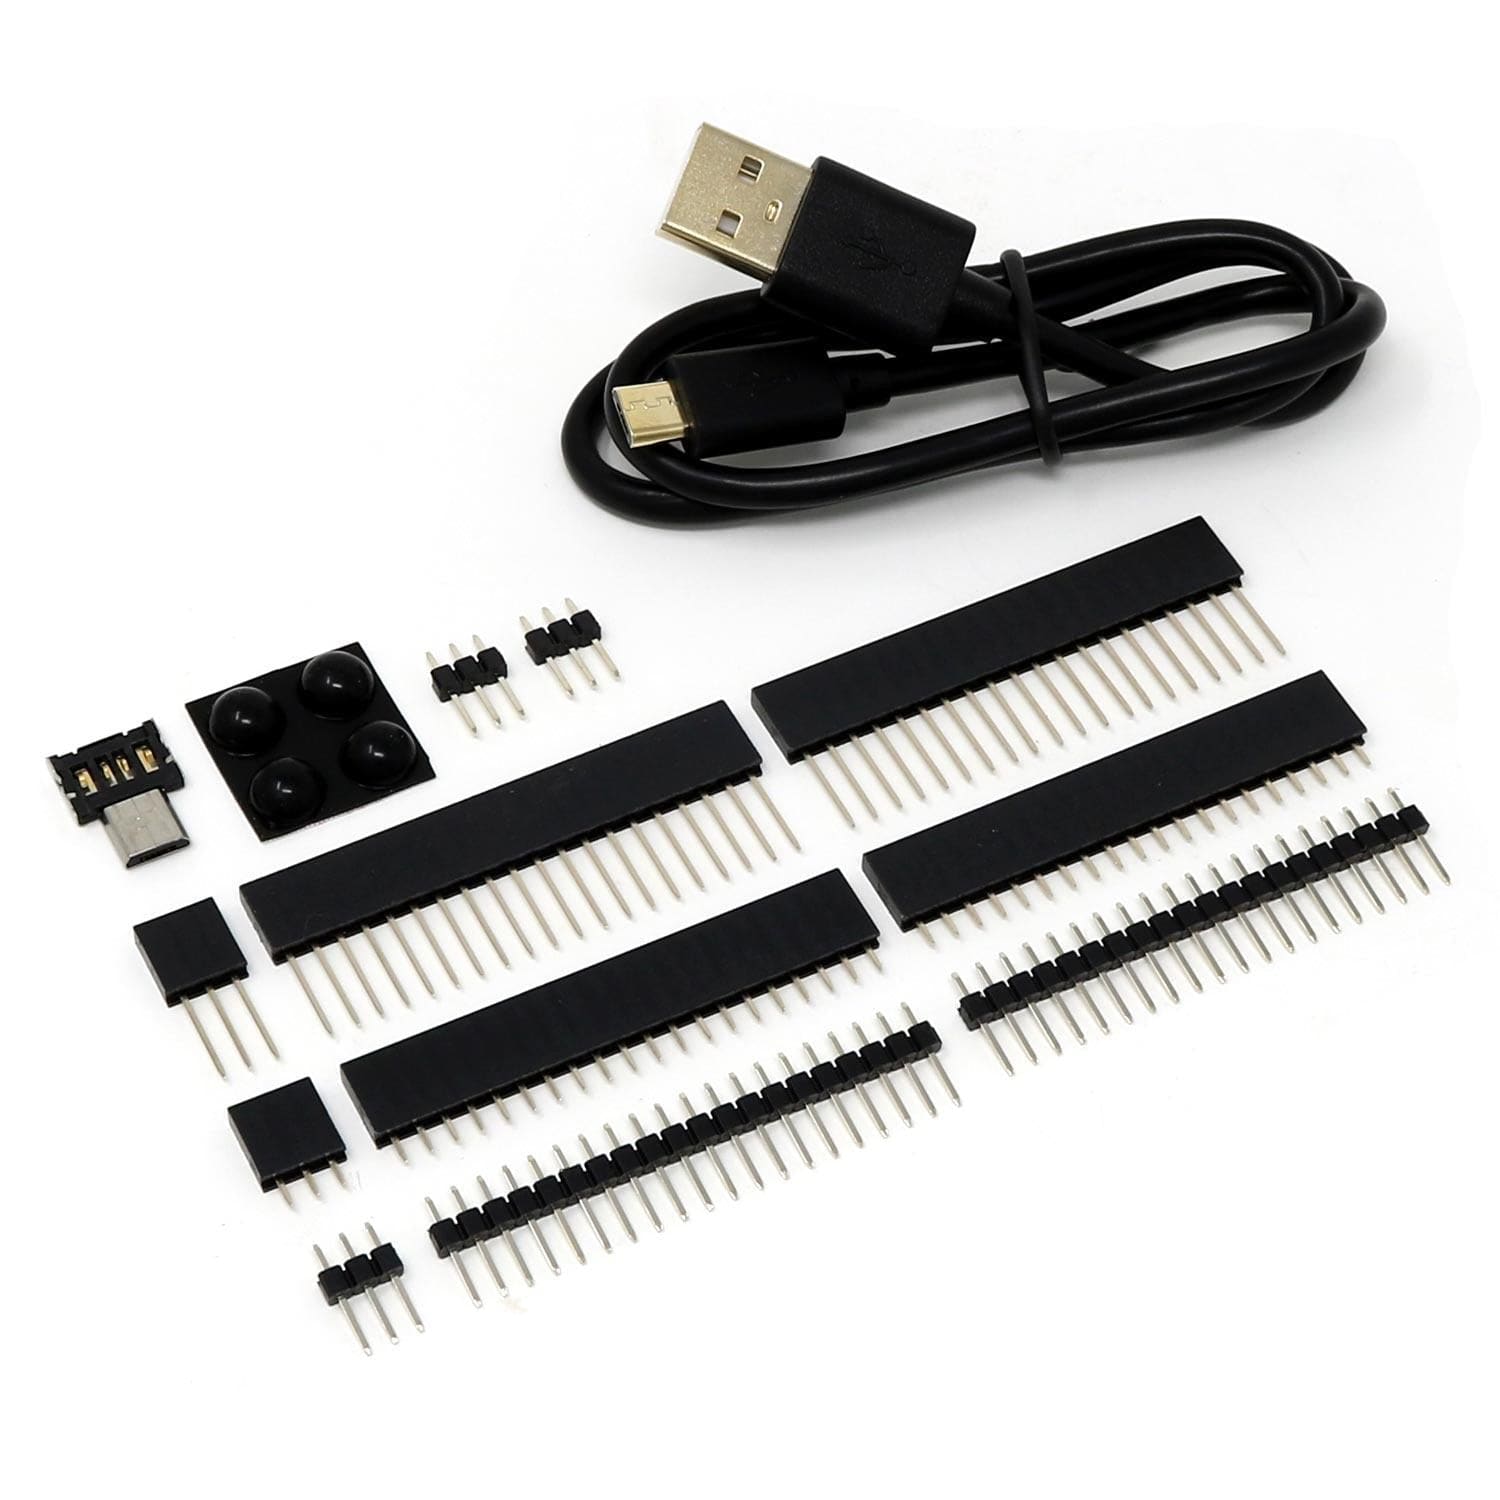
- 2x USB to Micro-USB Cables
- Thonny Editor installed on your PC
- Your WiFi network name (SSID) and password
The proposed system
In a nutshell
- Both Pico W boards connect to your WiFi network
- Pico W #1 runs a little web server that receives requests and sends replies to Pico W #2
- Pico W #2 continually sends requests to Pico W #1's web server, and receives replies back from it
How does it work?
Both Pico boards are given your WiFi network's SSID and password. We set up a very simple web server on the first Pico W which waits for requests from the second Pico W. For simplicity we do not decode the requests but treat them all in the same way. We just generate three values, between 0 and 255 inclusive, to represent the red, green and blue components of a colour.
The first Pico packs them into a string, separated by commas, and sends that as the reply to the second Pico W. The program prints out its local address once it has connected to our network. We need to note this address as it is used by the second Pico W to request data..
The second Pico W repeatedly sends requests to the web server and receives back the data string, which is then unpacked into the three colour values and displayed.
For security we save the SSID and password in a separate library file so that it is not visible in the program.
Setup
1. Install the Pico W UF2 File
First you'll need to make sure you have the latest Raspberry Pi MicroPython UF2 file (the Pico W specific version) on both of your Pico boards. The UF2 files are available here.
To install this to your Pico, hold down the BOOTSEL button while plugging the board into a USB port. Your Pico should then show as a mass storage device (like a drive), then just drag over the UF2 file. This will install the firmware on to your board. Once complete the Pico will automatically reset and be ready for use.
For now, disconnect both boards and read on.
2. Prepare Thonny
To make things a little easier, we can configure Thonny to allow you to open two Thonny Windows (instances) at the same time, enabling you to have a separate Thonny window for each Pico.
To do this, open up Thonny and head to Tools > Options > General and untick 'Allow only single Thonny instance'. Now restart Thonny and connect both of your Pico W boards. Select Run > Select Interpreter and choose the first available COM port.
 Next, open a second Thonny instance (just open the program again from your usual menu). Follow the same process and select the other COM port.
You're now running two Thonny windows, one for each Pico W!
3. Install PyStone Lowmem
We now have to install some packages to both boards.
First, the micropython-pystone_lowmem package. In Thonny navigate to Tools > Manage Packages and search for micropython-pystone_lowmem.
Click on the top result as shown below and install it.
Then we need to install urequests with the same method as above (ignore any warning):

Now in Thonny's REPL (Read Evaluate Print Loop) window, try the following at the prompt (you'll need to save it first, which it will prompt you to do):
import pystone_lowmem
pystone_lowmem.main()
You should see something like this:

4. Create the Secret library
Create a new program window in both Thonny windows and copy the following lines:
ssid = 'SSID'
password = 'PASSWORD'
Insert your own WiFi network values between the single quotes and save the program in both boards calling it secret.py
Creating the Web Server (Pico #1)
This program sets up a simple web server (on Pico #1) which generates RGB values and sends them when requested.
Copy the code below to a new Thonny window on your first Pico W board, then save it as server.py.
# Webserver to send RGB data
# Tony Goodhew 5 July 2022
import network
import socket
import time
from machine import Pin, ADC
from secret import ssid,password
import random
wlan = network.WLAN(network.STA_IF)
wlan.active(True)
wlan.connect(ssid, password)

# Wait for connect or fail
max_wait = 10
while max_wait > 0:
    if wlan.status() < 0 or wlan.status() >= 3:
        break
    max_wait -= 1
    print('waiting for connection...')
    time.sleep(1)

# Handle connection error
if wlan.status() != 3:
    raise RuntimeError('network connection failed')
else:
    print('connected')
    status = wlan.ifconfig()
    print( 'ip = ' + status[0] )

# Open socket
addr = socket.getaddrinfo('0.0.0.0', 80)[0][-1]

s = socket.socket()
s.bind(addr)
s.listen(1)

print('listening on', addr)

# Listen for connections
while True:
    try:
        cl, addr = s.accept()
        print('client connected from', addr)
        request = cl.recv(1024)
        print(request)
        # Do not unpack request
        # We reply to any request the same way
        # Generate 3 values to send back
        r = random.randint(0,255)
        g = random.randint(0,255)
        b = random.randint(0,255)
        # Join to make a simple string with commas as separators
        rgb = str(r) + "," + str(g) + ","+str(b)

        response = rgb # This is what we send in reply

        cl.send(response)
        print("Sent:" + rgb)
        cl.close()

    except OSError as e:
        cl.close()
        print('connection closed')
Now run the program in Thonny and it will show you it's IP address. Make a note of this then move over to Pico #2 to configure the Client program.

Creating the Client Program (Pico #2)
This client program requests data from the web server, unpacks it into the three component parts and prints them.
Copy the code below to a new Thonny window on your second Pico W board, but before saving it, update the IP address with the IP from your Pico #1 server. Look for the line below and change it to reflect the correct IP address:
ai = socket.getaddrinfo("192.168.1.27", 80) # Address of Web Server
Once updated, save it as client.py on the Pico.
# Program to read RGB values from a local Pico Web Server
# Tony Goodhew 5th July 2022
# Connect to network
import network
import time
from secret import ssid, password
import socket

wlan = network.WLAN(network.STA_IF)
wlan.active(True)
wlan.connect(ssid, password)
while not wlan.isconnected() and wlan.status() >= 0:
    print("Waiting to connect:")
    time.sleep(1)

# Should be connected and have an IP address
wlan.status() # 3 == success
wlan.ifconfig()
print(wlan.ifconfig())

while True:
    ai = socket.getaddrinfo("192.168.0.15", 80) # Address of Web Server
    addr = ai[0][-1]

    # Create a socket and make a HTTP request
    s = socket.socket() # Open socket
    s.connect(addr)
    s.send(b"GET Data") # Send request
    ss=str(s.recv(512)) # Store reply
    # Print what we received
    print(ss)
    # Split into RGB components
    l = len(ss)
    ss = ss[2:l-1]     # Strip to essentials
    p = ss.find(",")   # Find first comma
    r = int(ss[0:p])   # Extract RED value
    ss = ss[p+1:]      # Remove red part
    p = ss.find(",")   # Find comma separator
    g = int(ss[0:p])   # Extract GREEN value
    b = int(ss[p+1:])  # Extract BLUE value
    print(r,g,b)       # Print RGB values
    print()
    # Set RGB LED here
    s.close()          # Close socket
    time.sleep(0.2)    # wait
Run the project!
Your server on Pico #1 should already be running, so now run the client file on your Pico #2 board.
You should see output similar to the example below on your Client Pico, with RGB values provided one after the other:

We started these scripts manually, but as an example, you could save the web server program to the first Pico W calling it main.py so that it executes on power up.
Things to try
- Put 3 potentiometers on the Web Server to supply the data
- Control 3 LEDS or an RGB LED with the data received by the client
- Send a sensor data (temperature and humidity for example) from the server to the client
- Move the Picos apart to see how far the WiFi connection is effective
If you enjoyed this tutorial and make something cool based on the instructions here, show us on Twitter!
About the Author
This article was written by Tony Goodhew. Tony is a retired teacher of computing who starting writing code back in 1968 when it was called programming - he started with FORTRAN IV on an IBM 1130! An active Raspberry Pi community member, his main interests now are coding in MicroPython, travelling and photography.


12 comments
Kevin
Hello,
I am very new to all this. Can another Pico W be added to this setup where I can send individual data to each?
Thanks
Hello,
I am very new to all this. Can another Pico W be added to this setup where I can send individual data to each?
Thanks
Don Pearson
I am trying to run the exact same thing that you documented! I can start the server pico-w (via Thonny) and it connects to my router. Then I start my client pico and it connects to my router also. My problem is that the server and client fail to connect 95% of the time. Yes, I have the server’s IP in the client code, and both are using port 80. I wonder if you are seeing the same behavior? When it works, all works fine, but my problem is that this client.connect and server.accept may times don’t sync up. The nice thing about testing this is that all we need are 2 bare pico-w and a router, plus your code for testing. PS – I have the latest version of micropython installed on both pico-w.
I am trying to run the exact same thing that you documented! I can start the server pico-w (via Thonny) and it connects to my router. Then I start my client pico and it connects to my router also. My problem is that the server and client fail to connect 95% of the time. Yes, I have the server’s IP in the client code, and both are using port 80. I wonder if you are seeing the same behavior? When it works, all works fine, but my problem is that this client.connect and server.accept may times don’t sync up. The nice thing about testing this is that all we need are 2 bare pico-w and a router, plus your code for testing. PS – I have the latest version of micropython installed on both pico-w.
John
Tony
“May 5, 2023 at 3:51 pm
Jo
The Pico Ws need to be on the same network as they do not talk to each other directly but via the WiFi hub. We have to wait until they are both connected.
Once Bluetooth is available on Pico Ws the devices will be able to talk without any network”
Any updates on this?
I would be interested in a system where a Pico sends data through bluetooth to an other Pico.
Br,
John
john
Thanks for this. I am now sending data across wifi. But what I would like to do is I have non contact sensors for my water tank in my van measuring the tank levels and showing leds status using pico w. I would like to duplicate this in the cab so I can have a second Pico W with leds in there too. I have tried to find a way when the led on Pico one is lit, it sends a command to pico two to light the corresponding led. Is this even possible. Ive done lots of googling but ll I can find is controlling LEDS from a website which isnt what I was looking for. I saw your comment about using potentiometers on the server to trigger leds on the client but I couldnt get it to work properly. A simple tutorial would really help.
Thanks for helping an old guy newbie to pico. :)
Chak
Hi Tony.
I was wondering if it was possible to send the data with one Pico W acting as a soft access point while the other one is a station. This way there won’t be a need for a WIFI router.
Thanks
Hi Tony.
I was wondering if it was possible to send the data with one Pico W acting as a soft access point while the other one is a station. This way there won’t be a need for a WIFI router.
Thanks
Tony
Jo
The Pico Ws need to be on the same network as they do not talk to each other directly but via the WiFi hub. We have to wait until they are both connected.
Once Bluetooth is available on Pico Ws the devices will be able to talk without any network.
Jo
The Pico Ws need to be on the same network as they do not talk to each other directly but via the WiFi hub. We have to wait until they are both connected.
Once Bluetooth is available on Pico Ws the devices will be able to talk without any network.
The Pi Hut
@Nate – did you install the packages in the first steps?
@Nate – did you install the packages in the first steps?
Jo
Hello I hope you are doing well, I was wondering if there is a way to do this exact thing however with both Pico W’s being on different networks? I am still a student and im trying to learn the basics on networking, so after reading your article I thought I would ask.
Thank you in advanced
Hello I hope you are doing well, I was wondering if there is a way to do this exact thing however with both Pico W’s being on different networks? I am still a student and im trying to learn the basics on networking, so after reading your article I thought I would ask.
Thank you in advanced
nate
I got to running server.py, then I got the following error:
>>> %Run -c $EDITOR_CONTENT
Traceback (most recent call last):
File “”, line 3, in
ImportError: no module named ‘network’
>>>
I got to running server.py, then I got the following error:
>>> %Run -c $EDITOR_CONTENT
Traceback (most recent call last):
File “”, line 3, in
ImportError: no module named ‘network’
>>>
Laura
how would we go about this if we wanted to send sensory data to the client?
how would we go about this if we wanted to send sensory data to the client?
Andrew
Is there any way of coping with a change of server ip address by the local router (on reset for example)
Is there any way of coping with a change of server ip address by the local router (on reset for example)
Bruce Blake
Tony,
I like your project. It looks like something I may want to build on.
Why not put the server IP address in the client’s secrets.py file?
Server = “192.168.1.27”
Is there a reason a Pico W can’t be a server and a client?
Pull time or weather as a client and then serve a pretty web page.
Bruce
Tony,
I like your project. It looks like something I may want to build on.
Why not put the server IP address in the client’s secrets.py file?
Server = “192.168.1.27”
Is there a reason a Pico W can’t be a server and a client?
Pull time or weather as a client and then serve a pretty web page.
Bruce