

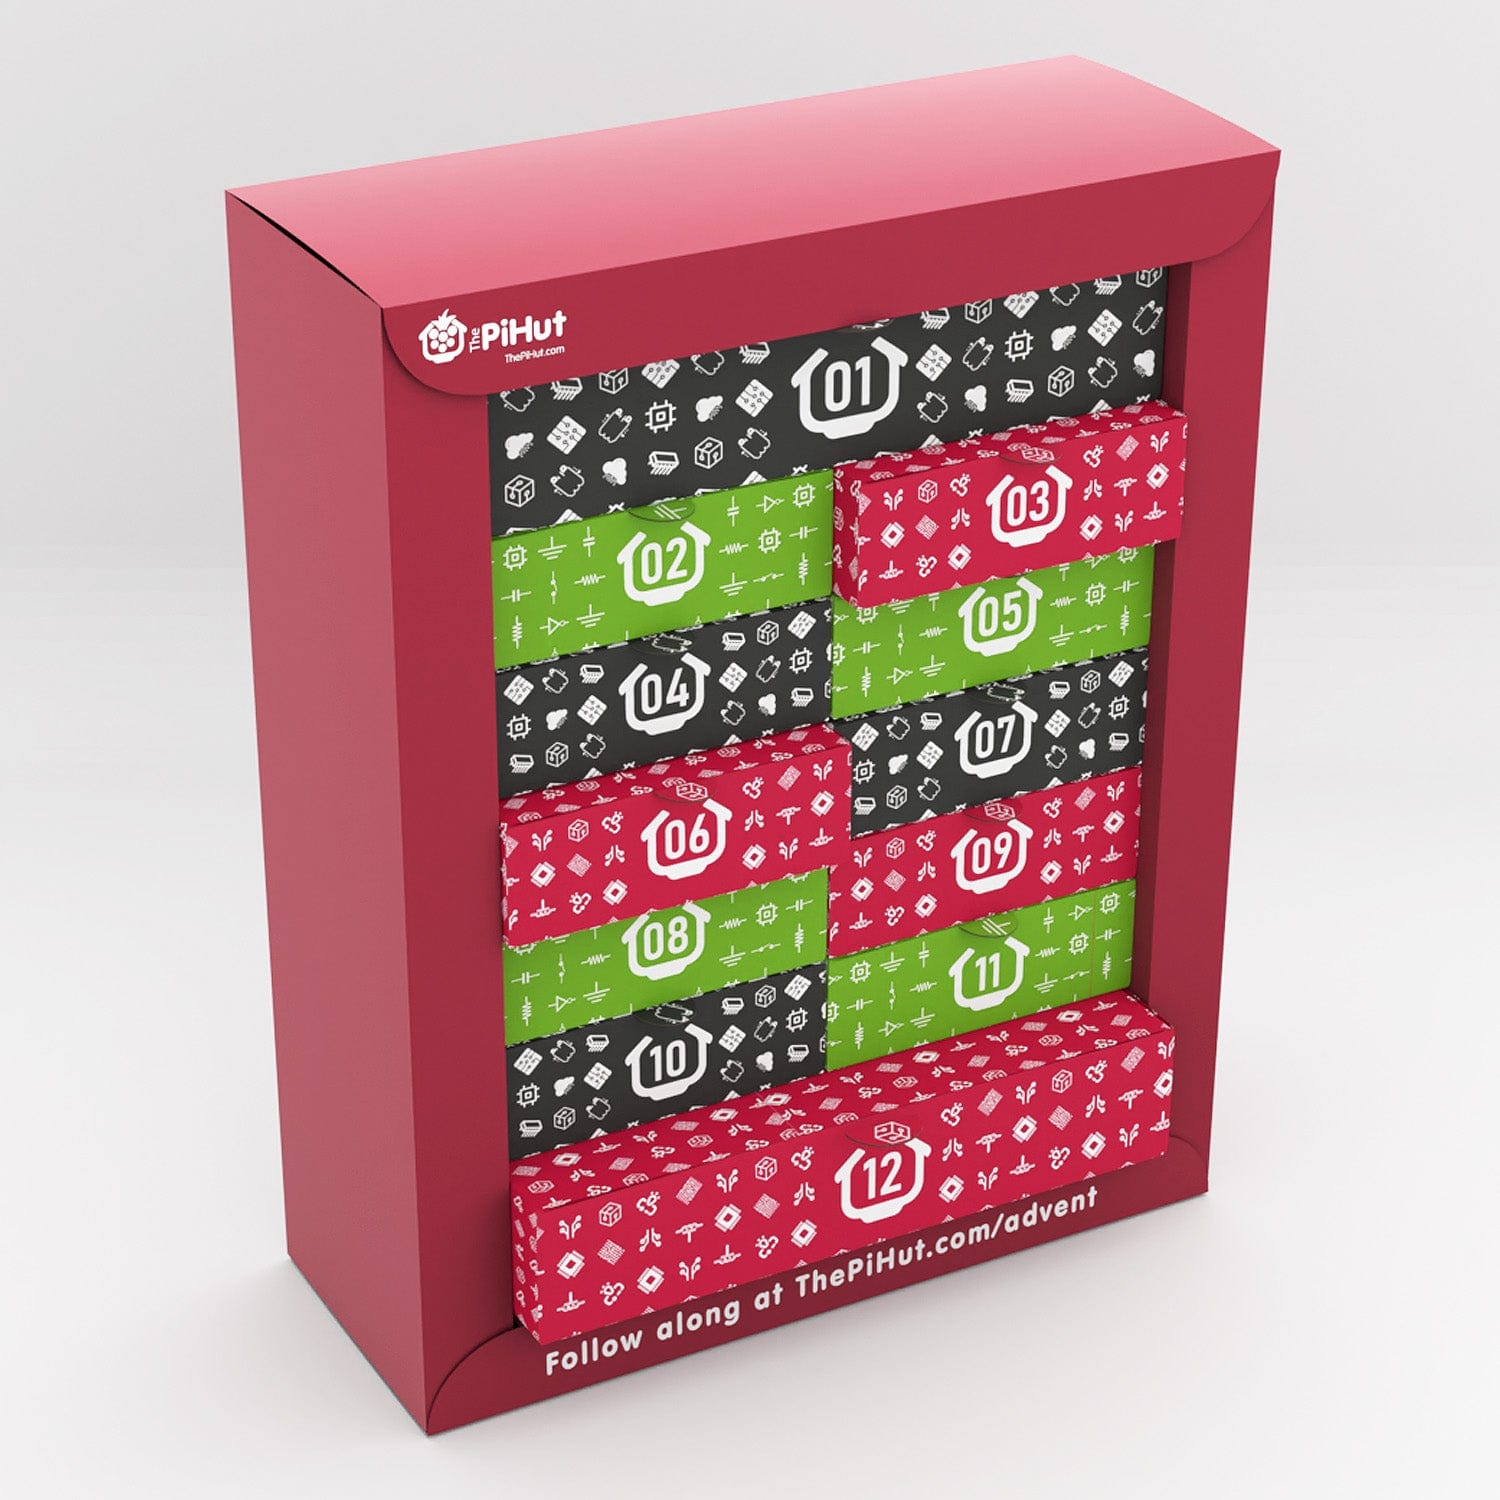
Maker Advent Calendar Day #1: Getting Started!
Welcome to the first day of your 12 Projects of Codemas Advent Calendar. Excited? We are too!
This twelve-day advent calendar will teach you how to code with MicroPython using a Raspberry Pi Pico, using software along with a selection of fun, popular components along the way. We’re going to use code to make hardware interact with the real world!
Each day we’ll show you how to use the fun things you find in each box, explaining what they are, what they do, how to construct the circuit and then how to code them with MicroPython using simple methods.
The best bit – once you’ve completed the 12 projects of Codemas, you’ll have a Raspberry Pi Pico along with a great stash of components, with the knowledge and confidence to make your own projects with them!
Day #1: Getting Started
You’ll have already noticed that the first box is larger than most of the others. This is to give you everything you need to build the foundations for the fun projects you’ll be making over the next 12 days.
Box #1 Contents
In this box you will find:
- 1x Raspberry Pi Pico H (with headers pre-soldered)
- 1x 1m Micro-USB cable
- 1x 400-point solderless breadboard

Today’s Project
Today we’re going to get you set up and familiar with the Raspberry Pi Pico, including installing the software required to program the board as well a running a couple of very easy projects to get to grips with MicroPython.
Introducing the Raspberry Pi Pico
The Raspberry Pi Pico is a powerful, flexible microcontroller board from, you guessed it, Raspberry Pi - the same folks who brought us the Raspberry Pi 5 and Raspberry Pi Zero.
The Raspberry Pi Pico is a different kind of Raspberry Pi, though - it's a microcontroller board, not a microcomputer. The brain of the Pico is the RP2040 microcontroller chip, the little black square in the middle.
Whereas you might use a Raspberry Pi 4 (which has an operating system) to play games, write stories and browse the web, the Raspberry Pi Pico is designed for physical computing projects where it can control components such as LEDs, buttons, sensors, motors and even other microcontrollers.
The board has lots of pins around it called GPIO (General Purpose Input Output) pins, which allow you to connect all sorts of components to make projects. These are controlled by code that you write. A map of the Pico's pins is available here - don't worry too much about the different pins and labels just yet, we'll be covering this over the next twelve days.
The Pico can use many different programming languages; however, the most popular is MicroPython, which is what we'll be using over the next 12 days.
The board has a Micro-USB port, which gives it power and allows it to communicate with our computer for programming. There's a lot more to this little board, but we'll keep to the basics for now.

Software Setup
We’re going to install software called Thonny, which will allow us to program the Pico with MicroPython.
MicroPython is a smaller, more efficient version of the Python 3 programming language, designed to be used with microcontroller boards such as the Raspberry Pi Pico. If you've programmed with Python previously, MicroPython will feel very familiar - but don't worry - we're going to guide you every step of the way over the next 12 days.
Thonny is a Python IDE. An IDE is an Integrated Development Environment. IDEs help us to write code by giving us lots of helpful features to avoid errors, make our code more readable and provide lots of other benefits.
So, let's get Thonny! Head over to https://thonny.org/ and look for this little box:

If you hover over the system you’re using (we’re using Windows in this example), you should see some options, with a recommended option based on the system you’re using. For us, using a 64-bit version of Windows, it’s recommending the 64-bit version (the version number may be different; this is fine). Your system may be different, so it’s best to just go with the version the website recommends:

Download the correct version for your computer, then open the file to start the installation.
Thonny installs like most programs, and will ask you to accept the license agreement and confirm where to install it. We kept all the options as default, and it took just under a minute to install.
Once installed, select ‘Finish’ and then open the program. In Windows 10/11 you can select the Windows Start button and just type in ‘Thonny’. The program should open and look like the example below:

Install MicroPython on the Raspberry Pi Pico
We now need to install the MicroPython firmware on the Raspberry Pi Pico. This gives the Pico the basic software it needs to run MicroPython code that we'll send to it later.
Important Note: A handful of customers are experiencing an issue when using the method we have suggested below (SSL errors and other unfestive nasties). Give it a try, but if you have trouble installing MicroPython on your Pico, try the other method here instead. Thanks to everyone who let us know about this issue.
Plug the Pico into the breadboard (the end where the number 1 is), then plug the Micro-USB cable into the Pico. Your Pico should be fully inserted so that you can't see any of the metal legs/pins. The black plastic on the underside of the Pico should sit flush with the top of the Breadboard. Apply strong pressure evenly at both ends:

Now locate the little button on top of your Pico. This is the ‘BOOTSEL’ button, which, when held in whilst connecting the cable, allows us to install different firmware to the Pico.

Hold down that button whilst plugging in the USB cable into your computer’s USB port at the same time. You may see it pop up as a new device on your computer, but just ignore that for now.
In Thonny, at the bottom-right-hand corner, you’ll see something like 'MicroPython (Raspberry Pi Pico)' and a COM port, like the example below (this may vary, but it doesn’t matter at this stage). Click on this and you’ll see a few options. Select ‘Install MicroPython…’

You’ll now be presented with some options in a new dialogue box. Use the same options as per the screenshot below, selecting the RPI-RP2 target volume, RP2 MicroPython family, Raspberry Pi Pico / Pico H variant, and whatever the latest version is available (at the time of writing, it was 1.26.1):

Select ‘Install’ and you’ll see a small progress bar whilst it installs. Once complete, select ‘Close’.
Setting up Thonny
Thonny can be used with a range of development boards, so we need to tell Thonny that we are using a Raspberry Pi Pico.
From the top menu, select ‘Run’ then ‘Configure interpreter’:

Now just make sure that ‘MicroPython (Raspberry Pi Pico)' is selected in the first drop-down box, select the available device in the ‘Port’ drop-down, then select ‘OK’.
Tip: If you see multiple options in the Port drop-down box, it just means you have other devices connected to your computer. If you’re not sure which one is the Pico, make a note of what COM ports are showing, disconnect the Pico from the USB port, close the Thonny options box, then try again. Whichever one is now missing was the Pico, so connect it again and select that device next time (it’s a lot easier than disconnecting everything else!). As of September 2025, our Pico shows as Board CDC @ COM9 (but that last number will be different for everyone).
You should now see a ‘Raspberry Pi Pico’ panel on the left side of Thonny, and information in the bottom-right 'Shell' panel.
Tip: If you don't see your Pico on the left, try selecting 'View' from the top navigation bar and selecting 'Files'.

That’s the setup out of the way, we’re ready to code!
Activity 1: Your First Program - Print
Let’s make a very simple program and run it on your Pico.
We’ll tell the Pico to ‘print’ some words (known as a 'string' of text). These words/strings are then 'printed' to the Shell window. The print function is something you’ll use a LOT when programming. It’s a useful tool to see what’s happening with a program, what part of a program is running and can help when debugging projects.
In the top panel (which should be called <untitled> at the moment as we haven't saved it yet), copy/paste or enter the following line and then select the green run icon (it looks like a ‘Play’ button) from the menu.
print("This is my Pico talking")
You should now see the following in the Shell window:

You did it! Your first program!
A few things to note:
- Print text strings always sit within inverted commas, within brackets
- Letter case is very important with MicroPython and other code languages. Our print is always 'print' and never 'Print'.
Now try changing the text in between the inverted commas - you can write anything you want…“This calendar is going to be awesome” or “I don’t like pineapple on pizza”…or even the famous "Hello, World!".
You can even add multiple print lines one after the other - give it a try!

Activity 2: Light the Onboard LED
We now know where to write code in Thonny and how to run a program. We'll be doing a lot more of that over the coming days, so for now let's jump straight into a bit of blinky!
The Pico comes with a little LED onboard, which is attached to one of the Pico’s RP2040 pins, GPIO25. This pin isn't one of the physical pins available around the edge of the board.
We can tell our program to turn this pin on and off whenever we like, which is a nice, easy first hardware project and can be handy as an indicator for your own projects later on. This is the beginning of getting your code to control physical things!

Inputs and outputs
Our GPIO pins (the green ones from the pin map) can be set as inputs or outputs. We use inputs when we want something to send signals/voltage into the Pico, like a button or a sensor, and we use outputs when we want the Pico to send signals/voltage out to something else, like LEDs or buzzers.
We’re going to use an output here, which will send voltage to the onboard LED to light it up.
Imports
Take a glance at the first line of the example code below. When we write code in Thonny, a lot of the time we need to add imports at the start.
Imports bring in code from other places (called 'modules' or 'classes' - but let's not get bogged down with that for now) that we need to make our program work. Usually, these are from built-in modules.
To use the GPIO pins, we always need to import Pin.
The Code
Take another look at the example below. So, what is it doing?
- The first line imports ‘Pin’ from the 'machine' module on the first line, which simply allows us to use the GPIO pins.
- The second line is setting up one of the pins to allow us to use it in our code. This sets up GPIO25 with the name ‘onboardLED’. We use Pin.OUT at the end there to tell MicroPython to set this pin as an output.
- The third line then finally sets that pin value to ‘1’, which is HIGH (on). 1 is always used for HIGH (on) and 0 is used for LOW (off).
from machine import Pin
onboardLED = Pin(25, Pin.OUT)
onboardLED.value(1)
Copy that code to your top-right panel, then hit the run button. The LED should light up – hooray – you’ve controlled your first physical component!
Now try changing the 1 to a 0 - run the code again and it should turn the LED off. You can also try adding a print line at the bottom to show a message at the same time.
Day #1 Complete!
Well done, fellow maker, today you have:
- Become an owner of your very own microcontroller!
- Learnt about the Raspberry Pi Pico
- Set up your Raspberry Pi Pico with Thonny
- Created your first program
- Learnt about the print function
- Controlled a physical component with code
Now, get some rest and a good night’s sleep, for tomorrow we will continue the fun with day #2 (no spoilers here, and no peeking until the morning!).
We used Fritzing to create the breadboard wiring diagram images for this page.

74 comments
Geraint Davies
I had a couple of issues I had to get around so I thought I’d share:
1. (NOT SOLVED) Pico Board failed to mount on Macbook Pro
Firstly I tried this on a Macbook Pro, but this only has USB-C ports. I have a USB-A-to-USB-C adapter, but when I plugged it in (holding down the BOOTSEL button) a drive window briefly popped up and disappeared but I couldn’t see the drive in Finder.
One check is to go to the System Report and look at devices under USB. I could see it there, so the laptop was aware of it, but it hadn’t fully mounted.
The reason this was an issue was that when I went to install MicroPython, I couldn’t select a Target volume from the dropdown – it was empty.
The problem is possibly the adapter, but I couldn’t find any way around this and moved to a Windows laptop.
2. SOLVED: Target volume dropdown was also empty on Windows
I then tried on a (work) Windows laptop. I initially had the same experience here, and in System settings, I could see the board under “Problem device”. However, this is normal – the board was still showing up as a drive in File Explorer and the issue was actually with how I was running Thonny.
Thonny needed to be run as Administrator, and then I could see the options in the screenshot for this guide (to Install MicroPython) and the D: drive appeared under Target Volume.
Jane C
Had serious trouble getting the Pico into the breadboard – it says apply strong pressure but it felt like i was going to break the pico
managed it in the end, hopefully with no damage
so far so good for day 1
Had serious trouble getting the Pico into the breadboard – it says apply strong pressure but it felt like i was going to break the pico
managed it in the end, hopefully with no damage
so far so good for day 1
Scott
We had some issues with the initial downloads for Linux… but got in some expert help from a family member and it’s all working now! It was disappointing not to be able to complete step 1 by ourselves but we have now completed day 1 and are happy about that!
We had some issues with the initial downloads for Linux… but got in some expert help from a family member and it’s all working now! It was disappointing not to be able to complete step 1 by ourselves but we have now completed day 1 and are happy about that!
Michael Bernardi
I initially tried to use my Raspberry Pi 5 as the host computer but the instructions were incompatible and I was unable to get it working. I swapped to a mini pc with Windows 11 and all worked fine. Just finished Day 1, looking forward to the rest of the Calendar.
I initially tried to use my Raspberry Pi 5 as the host computer but the instructions were incompatible and I was unable to get it working. I swapped to a mini pc with Windows 11 and all worked fine. Just finished Day 1, looking forward to the rest of the Calendar.
Peter
Great kit, love the 1st day, can’t wait until tomorrow. Thank-you.
Some sample code to make the LED flash on and off. Looks like others have had the same idea from the comments below, but sharing anyway.
from machine import Pin
import time
onboardLED = Pin(25, Pin.OUT)
value = 0
for i in range(10):
value = value ^ 1
print(value)
onboardLED.value(value)
time.sleep(1)
Paul Connelly
The Advent calendar kit arrived. I placed it pride and joy on the side cabinet. Went out doing chores! Came back to a very disgruntled nephew demanding to know why the new PiHut advent calendar had no chocolates in it. Indeed, I can confirm that, there were no chocolates among the contents of the calendar, which were strewn all over the floor. I calmly replied “Sibling of mines child – until December 1st, Father Christmas will not load up the chocolate into the boxes! You are thieving and being obnoxious too early!” ( Ok maybe some of that was with my inside voice). Fortunately the child was on loan from the sibling for the day and I have now reconstituted my GLORIOUS PiHUT ADVENT CALENDAR ( bit of tape and all parts in the correct box I believe, thanks to the excellent web site. AWESOME JOB PiHUT.
The Advent calendar kit arrived. I placed it pride and joy on the side cabinet. Went out doing chores! Came back to a very disgruntled nephew demanding to know why the new PiHut advent calendar had no chocolates in it. Indeed, I can confirm that, there were no chocolates among the contents of the calendar, which were strewn all over the floor. I calmly replied “Sibling of mines child – until December 1st, Father Christmas will not load up the chocolate into the boxes! You are thieving and being obnoxious too early!” ( Ok maybe some of that was with my inside voice). Fortunately the child was on loan from the sibling for the day and I have now reconstituted my GLORIOUS PiHUT ADVENT CALENDAR ( bit of tape and all parts in the correct box I believe, thanks to the excellent web site. AWESOME JOB PiHUT.
Zebulon
@Kevin Harris would you be able to share your combined document with all tutorials in Word/PDF version ? It would be convenient to practice “offline”. Thank you so much and to the PiHut team for this great “bootstrap” experience with the Pi coding world.
@Kevin Harris would you be able to share your combined document with all tutorials in Word/PDF version ? It would be convenient to practice “offline”. Thank you so much and to the PiHut team for this great “bootstrap” experience with the Pi coding world.
Rob Keller
During port selection setup on my laptop(Lenovo T470), the Pico showed up as Board CDC
During port selection setup on my laptop(Lenovo T470), the Pico showed up as Board CDC
Kevin Harris
I created a combined tutorial with Word (and a pdf) version with links Im happy to share. Code snippets all look good!
I created a combined tutorial with Word (and a pdf) version with links Im happy to share. Code snippets all look good!
The Pi Hut
@tinker2much – Great suggestion, we’ll consider that for next year
@Linzi Spiegelhalter – We looked at creating PDFs but some of the code examples just wouldn’t format nicely on the page in a readable way without using tiny fonts. We’ll look at it again on the next calendar, but it’s tricky to get it right.
tinker2much
Suggestion: add instructions for those using a Raspberry Pi to connect to the Pico (in my case it’s a Pi 5). Thonny’s already installed, etc.
Suggestion: add instructions for those using a Raspberry Pi to connect to the Pico (in my case it’s a Pi 5). Thonny’s already installed, etc.
Linzi Spiegelhalter
Having enjoyed these projects myself last year, I have now purchased the same for my Great Nephew.
I get that the instructions etc need to be online for quick access, however it would be really helpful if you could generate a suitable pdf of the content for those of us that like to pen notes and check off progress.
Last time I did a mega cut and paste exercise, but lost the will after the first 5 boxes,.
PS I believe Santa is bringing me the new calendar this year!
Geoff
At seventy plus who would have thought that I’d be writing code, day four found how to copy and paste, bad move you only learn by fiscally writing each line of code, all started because I want to program servos
At seventy plus who would have thought that I’d be writing code, day four found how to copy and paste, bad move you only learn by fiscally writing each line of code, all started because I want to program servos
phil wood
i asked a question about thonny on chromebook linux not seeing pico to install firmware. but it was never published. i solved this by installing pico firmware on my linux laptop thonny. i then plugged it into chromebook and thonny found port and connected straight away. if any one else is having chromebook linux thonny issues. my grandson can now do the projects on his chromebook
i asked a question about thonny on chromebook linux not seeing pico to install firmware. but it was never published. i solved this by installing pico firmware on my linux laptop thonny. i then plugged it into chromebook and thonny found port and connected straight away. if any one else is having chromebook linux thonny issues. my grandson can now do the projects on his chromebook
Loïc Rosset
What a great idea :)
No needs to use Thonny in fact. VisualStudioCode (VSC) with module/extension MicroPico is far enough.
That is really more professionnal and flexible way to proceed, the Terminal bottom tab shows results and allow interaction as well with computer keyboard if needed.
More ideas:
Interaction with keyboard: file: welcome.py# Ask for the user’s first name
first_name = input("Please enter your first name: ") Display a greeting message
print(f"Hello, nice to meet you, {first_name}!") Flashing: file: flash.py
#
from machine import Pin
import time Setup
onboardLED = Pin(25, Pin.OUT)
def flash_led(times, delay=0.5):
Main programfor _ in range(times):
onboardLED.value(1)
time.sleep(delay)
onboardLED.value(0)
time.sleep(delay)
while True:
try:
number = int(input("Enter a number: “))
flash_led(number,0.1)
except ValueError:
print(”Please enter a valid integer.")
Adam
For those who are struggling with the “SSL Certificate expired” issue one way to resolve this issue is to install the lets encrypt certificates as described at https://github.com/thonny/thonny/issues/1986 from https://letsencrypt.org/certs/lets-encrypt-r3.der hope this helps.
For those who are struggling with the “SSL Certificate expired” issue one way to resolve this issue is to install the lets encrypt certificates as described at https://github.com/thonny/thonny/issues/1986 from https://letsencrypt.org/certs/lets-encrypt-r3.der hope this helps.
Sara
Hello, I cannot find Raspberry Pi Pico / Pico H in the Thonny view for installing MicroPython.
Hello, I cannot find Raspberry Pi Pico / Pico H in the Thonny view for installing MicroPython.
Z
this was so fun !!
this was so fun !!
Jen
I was having what might be a similar issue to Dom, also with a macbook air: after I’d tried to install micropython, via either route, the RP1-RP2 device would disappear from the finder window, and I’d get the warning that it hadn’t ejected properly. When I went to ‘configure interpreter’, there was no port beginning ‘USB…’. All this made me think I hadn’t installed micropython properly and/or the Pico was no longer connected.
So, in case it helps others:
- the port I needed was ‘Board in FS mode @ /dev/cu.usbmodem1101’
- if this port isn’t showing, it may be that the Pico is still in BOOTSEL mode (i.e. if, like me, you disconnected it after getting the ejection warning and reconnected it holding down the BOOTSEL button) – if so, just disconnect it and reconnect, but without holding down the BOOTSEL button. You won’t see it in the finder window, but that seems to be ok, and you should now see the port you need when you reopen ‘configure interpreter’.
Once I’d connected to this port, everything else went smoothly (so micropython had probably installed on the first go after all) and I was ridiculously happy to light up my LED!!
The Pi Hut
@Allan Poe – We looked at creating PDFs previously, but getting the code examples to format in a ‘nice’ way (especially the longer ones) proved a little tricky. You may be able to print the web pages, but you might need to tinker with page layouts and margins to get something readable.
@Allan Poe – We looked at creating PDFs previously, but getting the code examples to format in a ‘nice’ way (especially the longer ones) proved a little tricky. You may be able to print the web pages, but you might need to tinker with page layouts and margins to get something readable.
The Pi Hut
@Dom – Have you tried the alternative method mentioned/linked above? Some Mac users have found that they need to do it this way:
– Hold down the BOOTSEL button whilst plugging the Pico’s cable into your Mac
– The RPI-RP2 storage device will appear
– Download the latest EF2 image from https://www.raspberrypi.com/documentation/microcontrollers/micropython.html#drag-and-drop-micropython
– Drag the downloaded UF2 file over to the RPI-RP2 device (it will suddenly disappear, and ignore any ejection warnings)
Allan Poe
Is it possible to get a printout of the instructions without giving away how many days there will be?
Is it possible to get a printout of the instructions without giving away how many days there will be?
dom
Hey, I’m stuck on step “Install MicroPython on the Raspberry Pi Pico”. I’ve got a Macbook air M1 (with just USB-C ports, so had to use an adapter). When I plug in pico nothing is happening on the screen, nor no new option show in Thonny. I tried all 2 USB-C ports, and a different laptop (also macbook) but it’s the same, any advise? The adapter works alright, as I connect USB drive all the time through it.
Hey, I’m stuck on step “Install MicroPython on the Raspberry Pi Pico”. I’ve got a Macbook air M1 (with just USB-C ports, so had to use an adapter). When I plug in pico nothing is happening on the screen, nor no new option show in Thonny. I tried all 2 USB-C ports, and a different laptop (also macbook) but it’s the same, any advise? The adapter works alright, as I connect USB drive all the time through it.
Dennis
Please leave these instructions online. I’ve got grandkids dragging their feet on this one.
Please leave these instructions online. I’ve got grandkids dragging their feet on this one.
Emily
I got this in December but am only just finding time to start playing with things. Really clear instructions, I have successfully completed Day 1. Such a relief to find these instructions still online!
I got this in December but am only just finding time to start playing with things. Really clear instructions, I have successfully completed Day 1. Such a relief to find these instructions still online!
The Pi Hut
@Keith A few other customers had this issue. If you scroll up, we’ve added a little section about how to install MicroPython on the Pico a different way, which links here: https://www.raspberrypi.com/documentation/microcontrollers/micropython.html#drag-and-drop-micropython
@Keith A few other customers had this issue. If you scroll up, we’ve added a little section about how to install MicroPython on the Pico a different way, which links here: https://www.raspberrypi.com/documentation/microcontrollers/micropython.html#drag-and-drop-micropython
Keith Lomax
I followed the instructions. When I got to installing the micro python variant, it said:
raise URLError(err)urllib.error.URLError: <urlopen error [SSL: CERTIFICATE_VERIFY_FAILED] certificate verify failed: certificate has expired (_ssl.c:997)>
There was no option to bypass this error???
I followed the instructions. When I got to installing the micro python variant, it said:
raise URLError(err)urllib.error.URLError: <urlopen error [SSL: CERTIFICATE_VERIFY_FAILED] certificate verify failed: certificate has expired (_ssl.c:997)>
There was no option to bypass this error???
Paul Kent
Hi,
We’ve had a bit of fun working out our own implementation of SOS in morse code , but run in to a problem (see the end)
import machine
import time
led = machine.Pin(“LED”,machine.Pin.OUT)
def off(t):
led.off() time.sleep(t)def on(t):
led.on() time.sleep(t)def short():
off(0.3)
on(0.3)
off(0)
def long():
off(0.3)
on(0.6)
off(0)
short()
short()
short()
long()
long()
long()
short()
short()
short()
led.off()
But we’ve run in to some issues where, when the pico is not given an instruction for a short while (a minute or two) it creates an error.
PermissionError(13, ‘a device attached to the system is not functioning.’ None, 31)
If you have a serial connection from a another program , then disconnect it there first .
Process ended with exit code 1.
Enda
Finally got it working on Ubuntu & Thonny ! It seems using Ubuntu is life on hard mode. Dial out was an issue, so watch for the error messages .
Finally got it working on Ubuntu & Thonny ! It seems using Ubuntu is life on hard mode. Dial out was an issue, so watch for the error messages .
Ruth
Is this guide available as a PDF? I find it easier to follow instructions on paper than scrolling on a screen (but obviously using the screen to click on links etc)
Is this guide available as a PDF? I find it easier to follow instructions on paper than scrolling on a screen (but obviously using the screen to click on links etc)
DAR
Yeah I had to use the drag python onto the pico, but every time I unplug the pico the python program is no longer there and I have to drag the python installer onto the pico again, is this normal?
Yeah I had to use the drag python onto the pico, but every time I unplug the pico the python program is no longer there and I have to drag the python installer onto the pico again, is this normal?
The Pi Hut
@Helen Sounds like it’s not running the code on the Pico (or the Pico is no longer attached or recognised). When you run the code, it should ask if you want to run it on the computer or the Pico, you need to select the Pico. Might be best to go back through the setup steps making sure the Pico (and COM port) are showing and selected, then try again.
@Helen Sounds like it’s not running the code on the Pico (or the Pico is no longer attached or recognised). When you run the code, it should ask if you want to run it on the computer or the Pico, you need to select the Pico. Might be best to go back through the setup steps making sure the Pico (and COM port) are showing and selected, then try again.
Helen
I’m on day 1 and Activity 1 was fine, but when I run activity 2 (LED) I get an error message saying
ModuleNotFoundError: No module named ‘machine’
I’m on day 1 and Activity 1 was fine, but when I run activity 2 (LED) I get an error message saying
ModuleNotFoundError: No module named ‘machine’
The Pi Hut
@James Bayliss-Smith – It looks like you’re trying to run the code on your Mac rather than the Pico (Thonny should give you the option when you click to run the code). The machine module wouldn’t work unless you run it on your Pico, so this might explain why you see that error. Try disconnecting and re-connecting the Pico, check it’s showing as connected in Thonny with a COM port (some other mac users gave some tips on that in the comments) then try again.
@James Bayliss-Smith – It looks like you’re trying to run the code on your Mac rather than the Pico (Thonny should give you the option when you click to run the code). The machine module wouldn’t work unless you run it on your Pico, so this might explain why you see that error. Try disconnecting and re-connecting the Pico, check it’s showing as connected in Thonny with a COM port (some other mac users gave some tips on that in the comments) then try again.
James Bayliss-Smith
Hi there,
got this calendar for my daughter. We got almost all the way on day 1 but are getting an error when we try to run the last bit of code. Any ideas? Thanks. We’re on macOS Big Sur 11.7
>>> %Run -c $EDITOR_CONTENT
Traceback (most recent call last):
File “”, line 1, in
ModuleNotFoundError: No module named ‘machine’
Nick Woodruffe
look good so far. Thanks for the kit.
Day 1 on a loop….
from machine import Pin
import time
true = 1
onboardLED = Pin(25, Pin.OUT)
while true:
onboardLED.value(1)
time.sleep(1)
onboardLED.value(0)
time.sleep(1)
look good so far. Thanks for the kit.
Day 1 on a loop….
from machine import Pin
import time
true = 1
onboardLED = Pin(25, Pin.OUT)
while true:
onboardLED.value(1)
time.sleep(1)
onboardLED.value(0)
time.sleep(1)
Stacy
Nice little project, im folowing this course as well as the one being done in C++ via OldSkhoolCoders streams via Twitch https://www.twitch.tv/videos/1669495599
Nice little project, im folowing this course as well as the one being done in C++ via OldSkhoolCoders streams via Twitch https://www.twitch.tv/videos/1669495599
The Pi Hut
@Gill – You may need to go back to the step where you select the COM port and see if it’s showing under a different number this time (COM ports do that sometimes), then select that one instead. Also double-check the USB cable is connected to the Pico properly, and try other USB ports too. If still no joy, pop us a quick message via support.thepihut.com and we’ll help.
@Gill – You may need to go back to the step where you select the COM port and see if it’s showing under a different number this time (COM ports do that sometimes), then select that one instead. Also double-check the USB cable is connected to the Pico properly, and try other USB ports too. If still no joy, pop us a quick message via support.thepihut.com and we’ll help.
Gill
We managed to complete day 1 with no problems. Day 2 we cannot complete – have the error “Unable to connect to COM3: port not found” so we cannot run the code in Thonny. Help please! Thank you.
We managed to complete day 1 with no problems. Day 2 we cannot complete – have the error “Unable to connect to COM3: port not found” so we cannot run the code in Thonny. Help please! Thank you.
giles
@Steve – re using the speaker for morse code – I can’t believe I didn’t think of that! Do you know how to do a Pull Request on Github? It would be great to get some collaborators on the pico-xmas repo :-)
@Bazza, the VSCode integration is pretty sweet, I’ve added a few more trouble shooting tips at the top of the README https://github.com/gilesknap/pico-xmas
Leanne Borland
This advent calendar is an ingenious idea PiHut! As a 40 year old mother of two boys, I’m loving the opportunity to learn something new and techy with my kids this year, and the sense of achievement from lighting that little LED is way greater than you could imagine. Looking forward to the other days :-)
This advent calendar is an ingenious idea PiHut! As a 40 year old mother of two boys, I’m loving the opportunity to learn something new and techy with my kids this year, and the sense of achievement from lighting that little LED is way greater than you could imagine. Looking forward to the other days :-)
Dmitry
Very pleased so far with the clear instructions. They do anticipate the issues a complete novice like myself would find. Tried both a Windows PC and the Pi 400, both worked well. Proof that even in your 50s you can still enjoy learning something new! Great all good.
Thank you PHut!
Very pleased so far with the clear instructions. They do anticipate the issues a complete novice like myself would find. Tried both a Windows PC and the Pi 400, both worked well. Proof that even in your 50s you can still enjoy learning something new! Great all good.
Thank you PHut!
PaulH
Package waiting by my front door when I got home today (Delivered Saturday so thanks for that)
Windows 11 user here — I found that I needed to do everything from the bottom right of the IDE window.
If you go into ‘configure interpreter’ and select the ‘general’ tab — you can change the UI to regular and then you get a normal set of menus across the top fo the window – which may make following the tutorials easier.
In any case – Day 1 accomplished – LED on, LED off.
The Pi Hut
@Darren Hill – The online tutorials will be online forever, but we’ll look at creating some PDFs to attach to each day for printing. It’s a nice idea :)
@Darren Hill – The online tutorials will be online forever, but we’ll look at creating some PDFs to attach to each day for printing. It’s a nice idea :)
Darren Hill
Are these instructions going to be available for download in pdf format? Either daily or as a complete set at the end?
Got my calendar but probably won’t have time to do much with it until after Christmas, and it would be nice to have everything to hand. Also to keep for the future to help pass on the content to the kids so they can have a play too without having to keep referring back to the website.
Bazza
@giles
Nice one.
Just got my calendar delivered today. I use VS code all day at work and will be having a go as setting up to connect to the Pico later.
@giles
Nice one.
Just got my calendar delivered today. I use VS code all day at work and will be having a go as setting up to connect to the Pico later.
The Pi Hut
@Steve …you’ll just have to wait and see ;) #NoPeeping
@Steve …you’ll just have to wait and see ;) #NoPeeping
Paula
from machine import Pin
import time
onboardLED = Pin(25, Pin.OUT)
for x in range (1,10):
print(x)
if (x % 2) == 0:
onboardLED.value(1)
else:
onboardLED.value(0)
time.sleep(1)
from machine import Pin
import time
onboardLED = Pin(25, Pin.OUT)
for x in range (1,10):
print(x)
if (x % 2) == 0:
onboardLED.value(1)
else:
onboardLED.value(0)
time.sleep(1)
Steve
@giles, nice idea on the Morse Code and thanks for sharing the code on GitHub, here’s hoping we get a little buzzer or speaker in one of the days to expand on it :)
@giles, nice idea on the Morse Code and thanks for sharing the code on GitHub, here’s hoping we get a little buzzer or speaker in one of the days to expand on it :)
Richard Lees
Really enjoying this! I’ve been buying bits Pi-raphernalia for 18 months but have been too timid to take the plunge and have ago. This has been a revelation. What a great way to introduce making. Thank you.
Really enjoying this! I’ve been buying bits Pi-raphernalia for 18 months but have been too timid to take the plunge and have ago. This has been a revelation. What a great way to introduce making. Thank you.