
How to Stream Digital TV with the Raspberry Pi TV HAT
This guide will steer you through the process of assembling, installing, configuring and operating the Raspberry Pi TV HAT. We’ve been exploring the HAT here at The Pi Hut since we took delivery of stock, which has helped us produce this handy guide.
Our guide is based around a simple Tvheadend setup, however there are a lot of advanced settings that can be tweaked and customised within the software. We recommend the Tvheadend Wiki and forums for further information over and above the basic setup shown in this guide.
Contents:
- What is a Raspberry Pi TV HAT?
- Assembling the Raspberry Pi TV HAT
- Raspbian setup guide
- Kodi (LibreELEC) setup guide
What is a Raspberry Pi TV HAT?
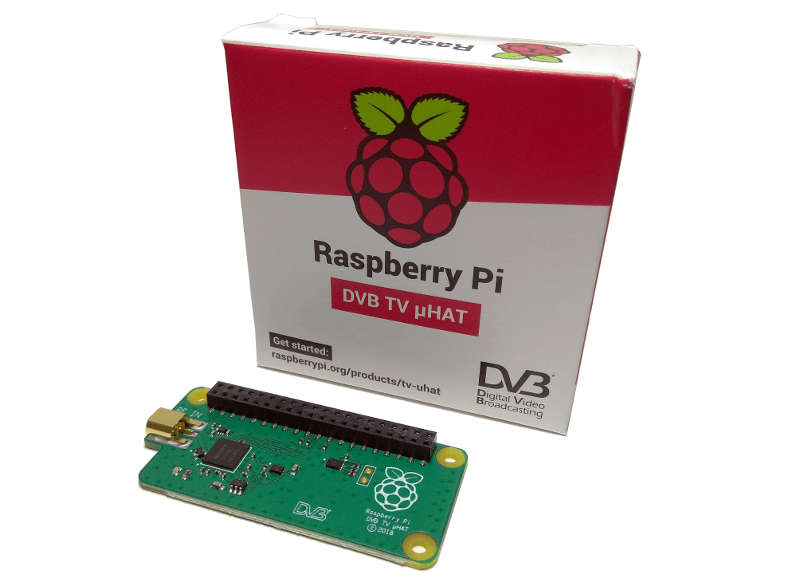
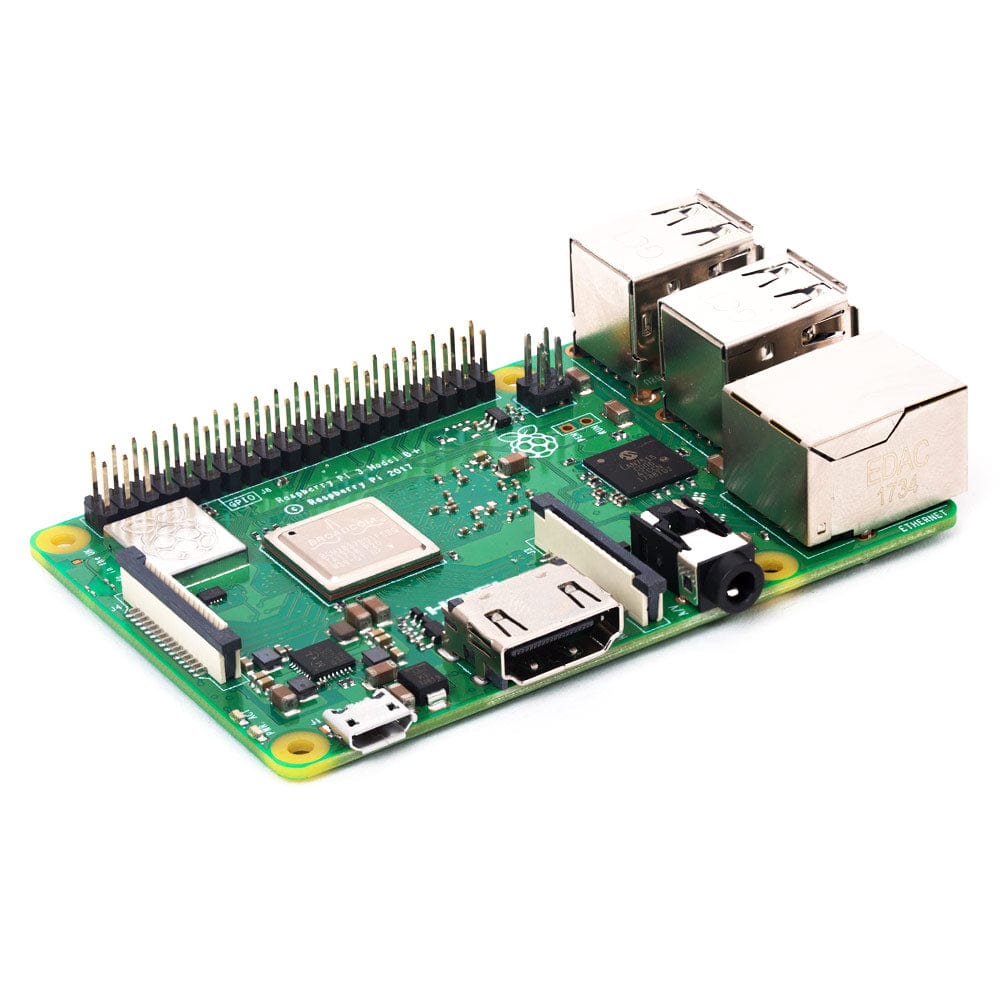
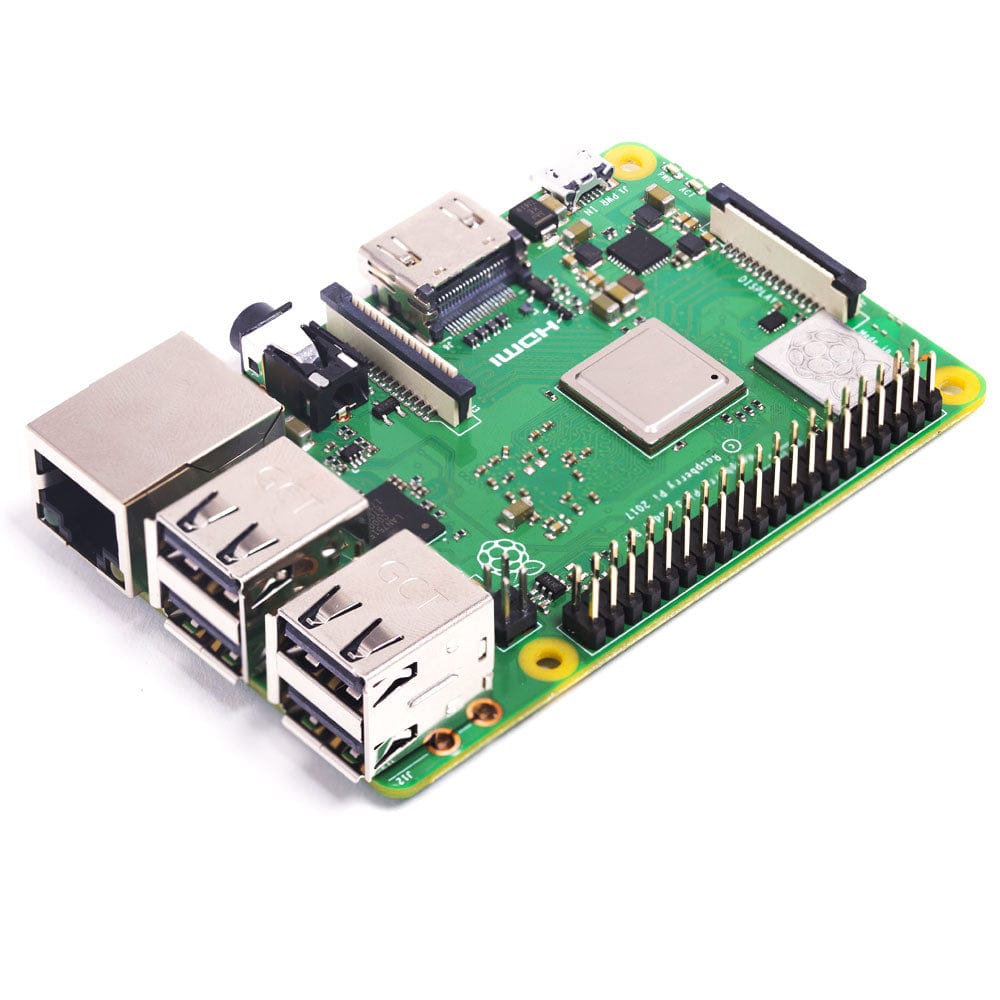
The Raspberry Pi TV HAT is a DVB-T2 Digital TV receiver add on for the Raspberry Pi, compatible with the Raspberry Pi Zero and Rasperry Pi 3B+.


DVB-T/T2 is an abbreviation of ‘Digital Video Broadcasting — Terrestrial’ – the Digital TV (Freeview) that your TV picks up at home via your aerial.
The Raspberry Pi TV HAT allows Raspberry Pi users to view, record and serve digital TV and radio (including HD channels) using software such as Tvheadend. The Raspberry Pi can then act as a server for other devices on the network to watch and record digital TV – including PCs, tablets, smartphones (via apps), media centres and more.


With the ability to add IPTV networks and record programmes, it makes the Raspberry Pi a powerful component as part of a networked home entertainment system.
The HAT features a Sony CXD2880 TV tuner supporting DVB-T and the second generation DVB-T2 TV standards.
We’ve put together this clear and easy to follow step-by-step guide to show you exactly how to assemble, install and configure the Raspberry Pi TV HAT.
Assembling the Raspberry Pi TV HAT
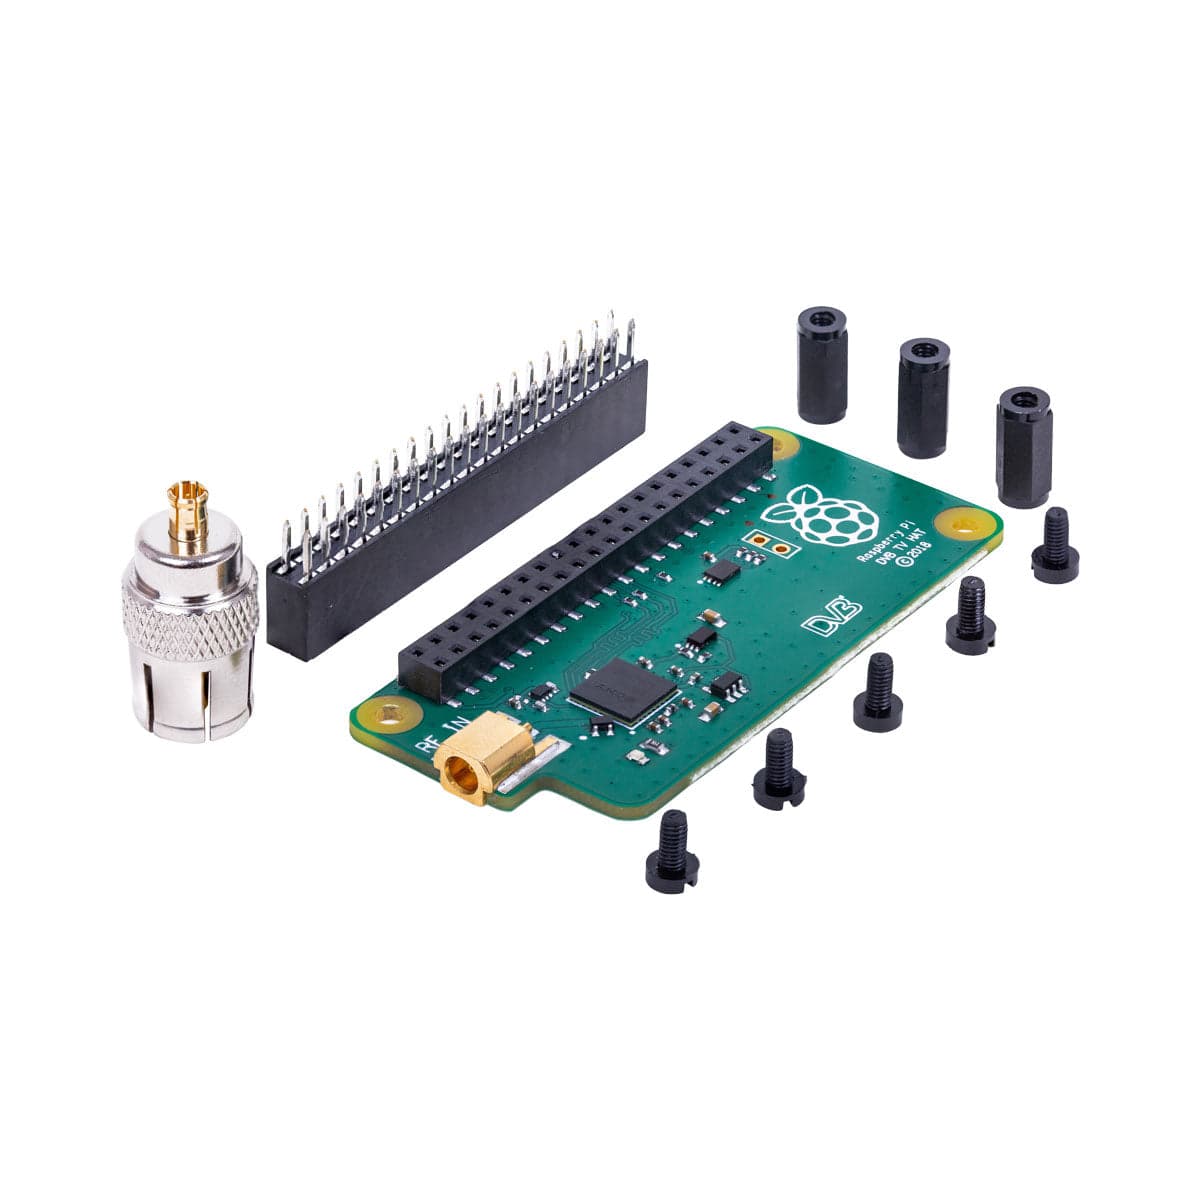
The Raspberry Pi TV HAT requires very minor assembly and no soldering.
First fit the 40-pin header on top of your Raspberry Pi’s existing GPIO header:

Then take the HAT and fit either 3 spacers and screws for using with the Raspberry Pi Zero, or 2 spacers and screws for a Model B:

Fit the HAT on to the Raspberry Pi’s GPIO pins and push down until there is no gap between plastic connectors.
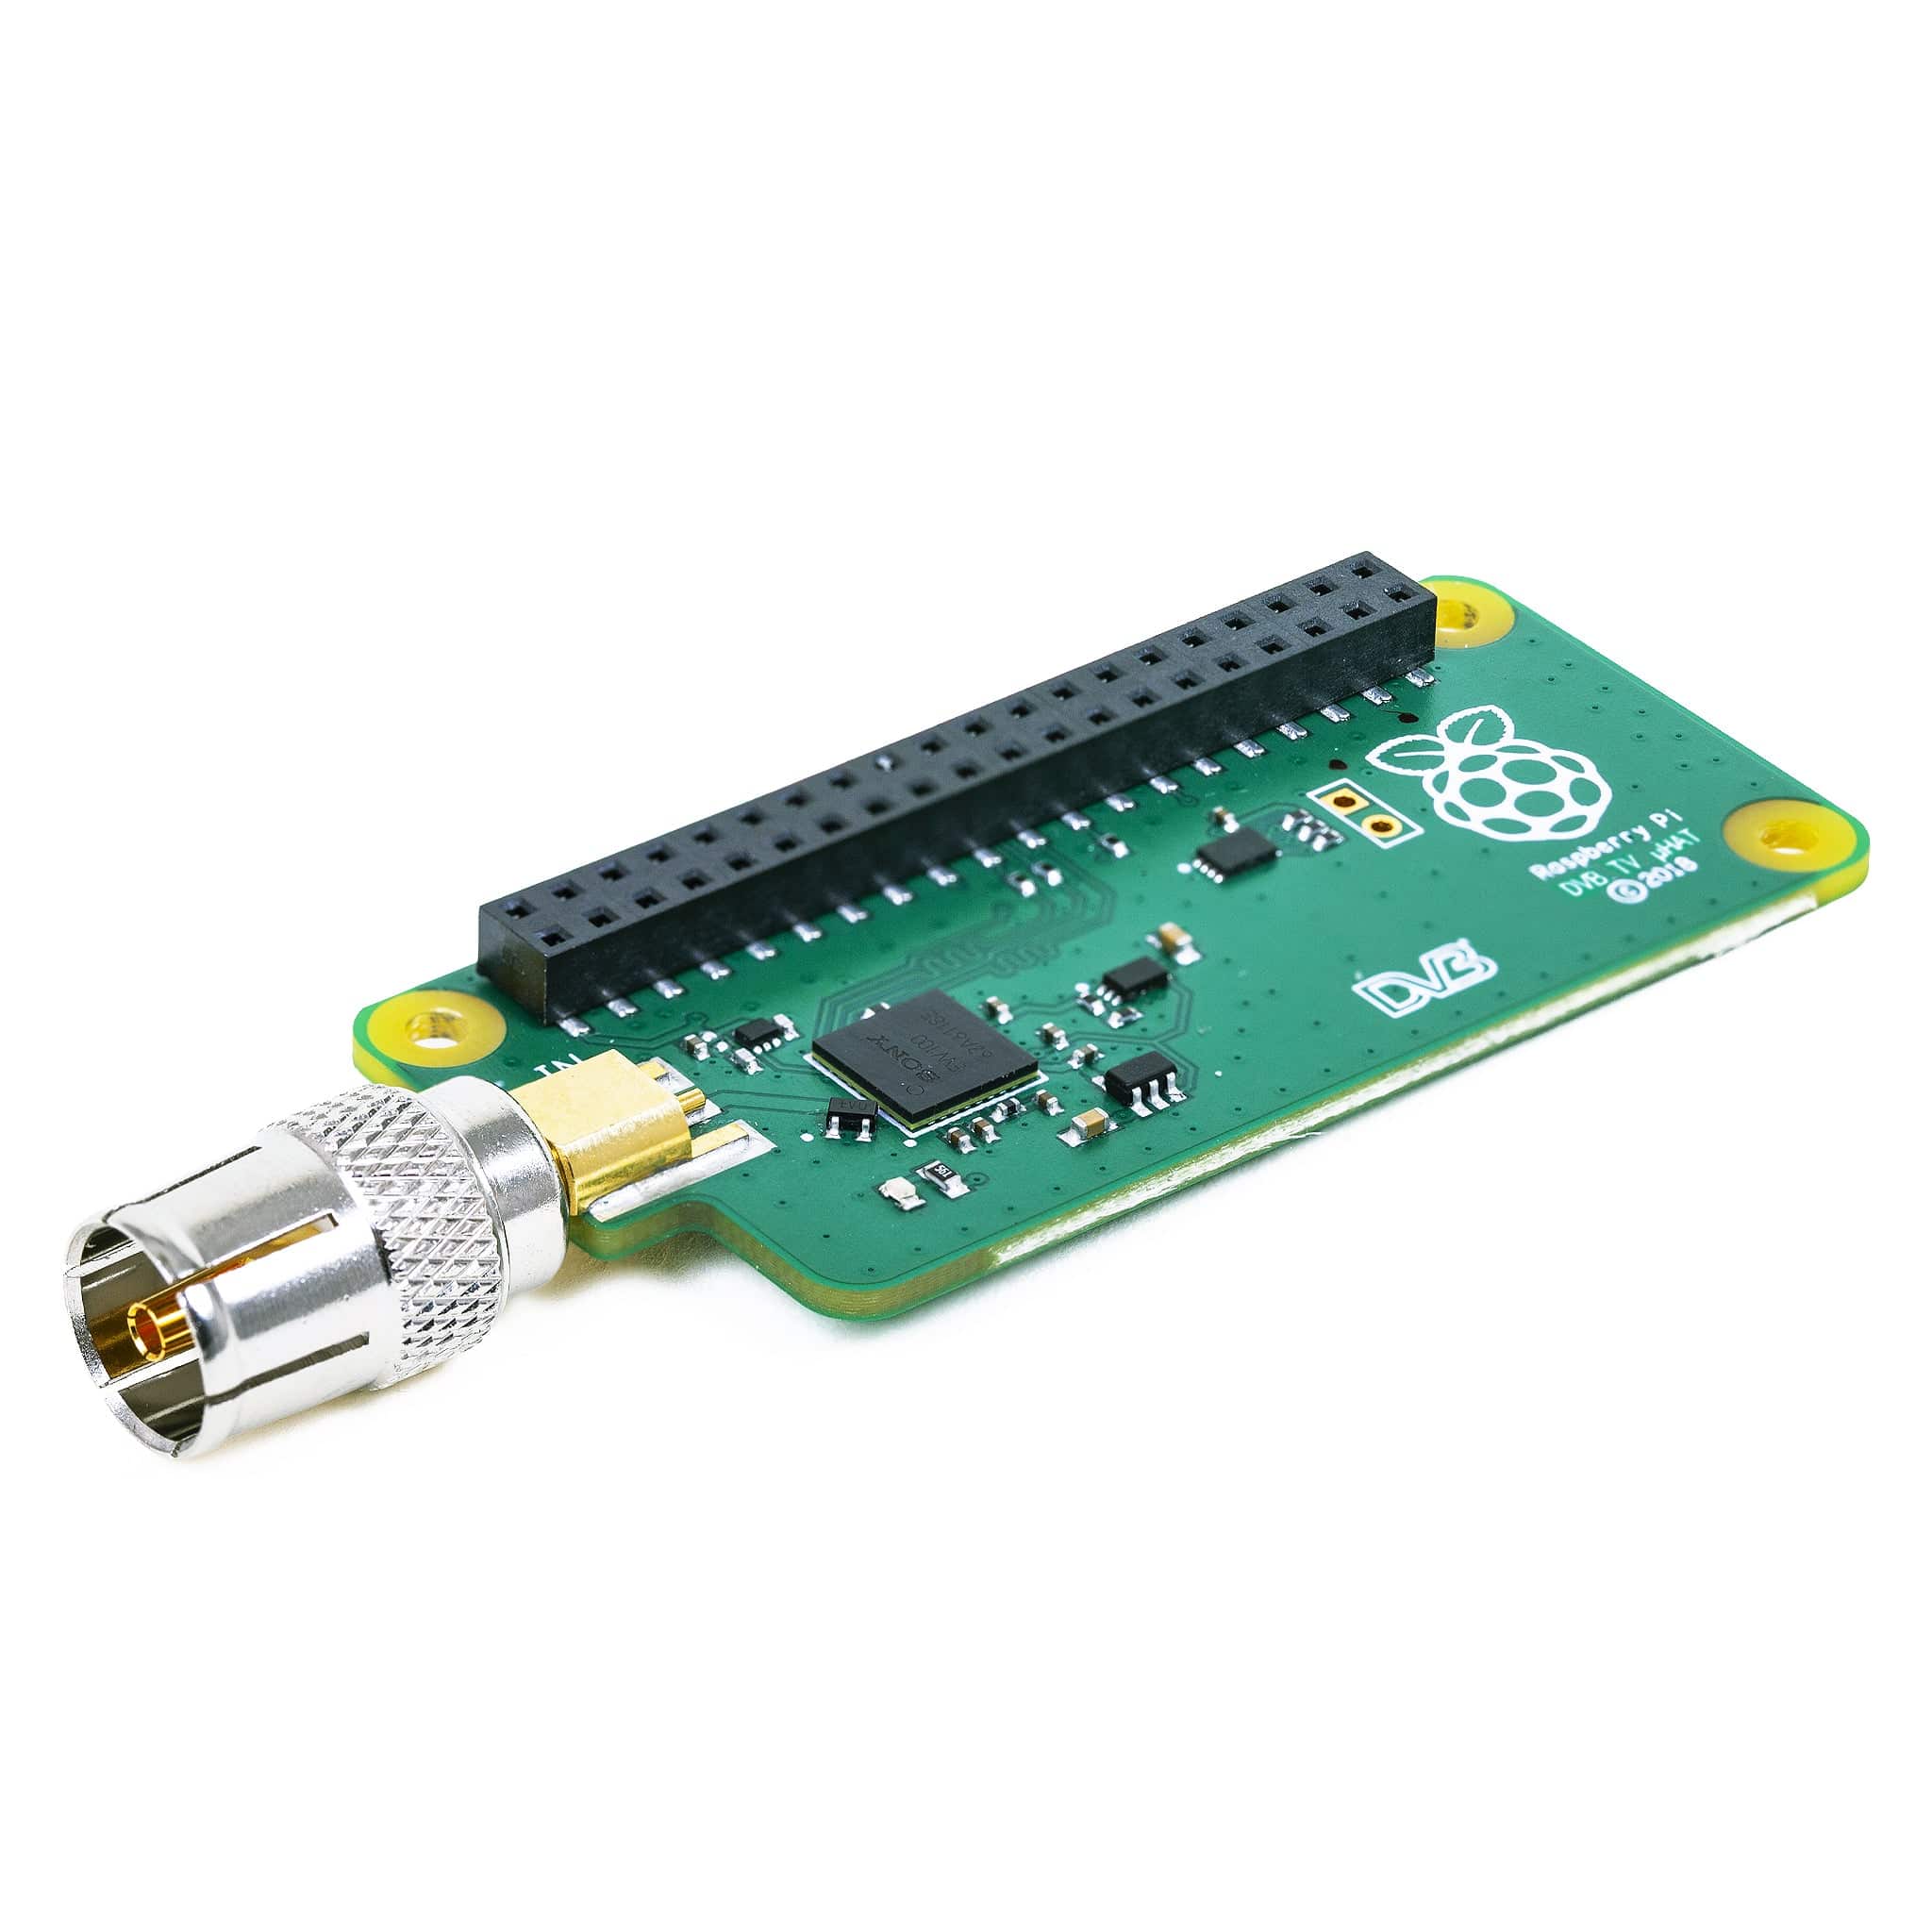
Fit screws to the other side of the spacers to secure the HAT to your Raspberry Pi, and then finally push the coaxial adapter into the coaxial socket:

Raspbian setup guide
This section will show you how to install, configure and operate the Raspberry Pi TV HAT with Raspbian.
Raspbian image setup
We recommend starting with a fresh Raspbian image before using the TV HAT.
*note* If you don't fancy installing Raspbian yourself, our pre-installed MicroSD cards come with the latest version of Raspbian ready to go.
Head over to the Raspberry Pi website and grab the latest version of ‘Raspbian Stretch with Desktop’, then write that image to your SD card and pop it into your Raspberry Pi.
Password change
An important first step – make sure you change your user password when you first boot up your Raspberry Pi.
The Desktop interface will prompt you to do this, as will a Terminal session.
If you don’t see the prompt just type the following command into a terminal window followed by enter, and follow the instructions:
passwd
Update Raspbian
As always, an update to your Raspbian image is always worthwhile. For this step, make sure your Raspberry Pi is connected to the internet.
In the terminal, type the following command followed by enter:
sudo apt-get update
Once this has finished, do the same with this command:
sudo apt-get upgrade
This may take up to 5-10 minutes.
Tvheadend installation
Now that Raspbian is up to date and ready to go, we can install Tvheadend.
Install Tvheadend
Enter the following command and press enter. When prompted, press ‘y’ to continue:
sudo apt-get install tvheadend

The Tvheadend installation will show you a configuration screen about halfway through the install.
Here you will need to enter a username and password for accessing your Tvheadend server.
Enter a username (make a note of it too), then use the arrow keys to select ‘Ok’, and press enter:

You’ll then be asked to do the same for the password:

The installer then shows you the address to access the server once installed. This should be http://raspberrypi.local:9981 but it’s worth checking.

Select Ok then press enter, and let the installer continue. After around 2 minutes it will complete the process.
Accessing Tvheadend
With Tvheadend installed, we can now access and configure the server.
Server access
You can access the Tvheadend server on any machine within your network simply by using the server URL in a browser.
For this guide, we will be using the Chromium browser in the Raspberry Pi itself.
Tip: Some devices might require the Pi’s full URL to access the server. If so, simply change the URL as shown below:
- Standard server URL: http://raspberrypi.local:9981
- IP address server URL (example): http://192.168.1.12:9981 (swap the highlighted IP address for your Raspberry Pi’s address)
The server will request the username and password you created during the Tvheadend install. Type those in and click ‘Log in’:

Tvheadend configuration
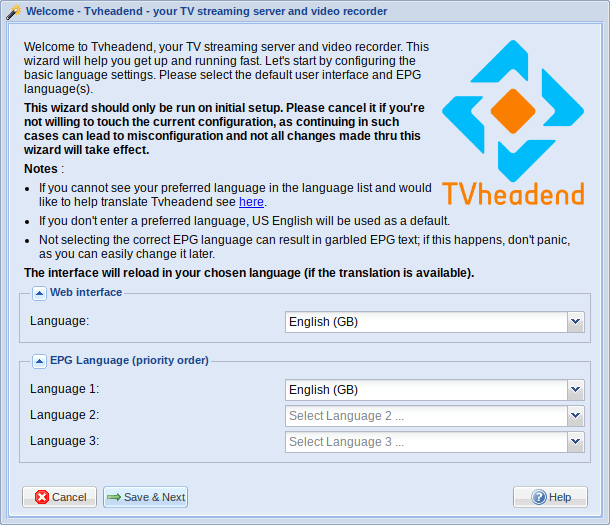
You will now be greeted with the Tvheadend server interface and a configuration wizard. Don’t let it overwhelm you, it’s simpler than it looks and most us won’t need to use many of the options here initially.
The first screen asks you to select the languages for the web interface and EPG (Electronic Programme Guide – the ‘TV guide’).
We’re in the UK so we’ve set both of these to ‘English GB)’. The screen may refresh after you click ‘Save & next’ (as it resets the language of the interface you’re using) – just select the button again to continue:
Next we’re asked to configure network access and the admin/user login details.
We’re going to allow all network access by leaving the ‘Allowed network’ field blank. We’re also going to bypass any logins by entering “*” in each of those fields:

The next screen configures the tuners.
Leave the IPTV fields blank. Under Network 2, the ‘Tuner’ should already be set to “Sony CDX2880 #0: DVB-T #0”
Select the ‘Network type’ as ‘DVB-T Network’:

We now have to set the ‘muxes’. What you’re essentially doing here is picking the digital TV transmitter closest to you (in terms of signal).
To find out which one to choose, go to https://www.freeview.co.uk/freeview-channel-checker and enter your post code and house number.
The website will recommend the best transmitter to use, however it’s worth clicking on the ‘Detailed transmitter view‘ link, as we found some to be stronger than the recommended option.
Once you’ve identified the best transmitter, find it in the ‘Pre-defined muxes’ drop-down list then press ‘Save & next’:

The scan will now commence. It will search for ‘muxes’ and the ‘services’ that are distributed via those muxes:
- MUX is short for Multiplex. It’s a technology that allows broadcasters to compress TV content so that several channels can be distributed using the same bandwidth that used to be required for a single analogue channel.
- A service is a TV channel. Multiple services can be transmitted on the same mux.
- Think of a mux as a train carriage, and the services as the passengers.
When the scan hits 100% you’ll be able to see how many muxes and services it’s picked up.
Tip: Don’t worry if you haven’t got many/any showing. We found that a reboot at the end of this wizard can occasionally help, however sometimes you’ll just simply be out of range of DTV signal. If you’re using an indoor aerial, try moving to another position and scanning again. The Status tab shows the signal strength to help find the ideal aerial position.

Next on the wizard is service mapping. This step maps the services that your scan discovered to channels.
Tick the three check boxes and click ‘Save & next’:

You’ll now see a final box confirming that you’ve completed the wizard. Click ‘Finish’ and the server will refresh:

At this stage we like to reboot the Raspberry Pi. In the terminal use the following command to restart your Raspberry Pi:
sudo reboot
Tvheadend setup
Once your Raspberry Pi has rebooted, navigate to the same URL as before to access your Tvheadend server:
http://raspberrypi.local:9981
The wizard completed the basic setup, however a few more steps are required to get things working properly.
Force a network scan
Using the tabs at the top of the screen, navigate to Configuration > DVB Inputs > Networks.
Your DVB-T network should be the only one listed. Select that network and click ‘Force new scan’. You should see the number of muxes and services change, however if your signal is very stable then this might remain the same:

Map services
After re-scanning for muxes and services, it’s worth manually mapping these services to channels again.
Navigate to Configuration > DVB Inputs > Services. A list of the available services will show.
Select Map Services > Map all services.

Leave the pop up box settings as is (unless you want to hide encrypted services i.e. pay per view style channels), then click ‘Map Services’.

A summary will show at the end confirming the number of services mapped/ignored.

Re-run the EPG grabber
The EPG grabber (Electronic Programme Guide Grabber) collects the ‘TV guide’ information that tells you what’s showing, on what channels and when.
We re-run this grabber to update the listings following our network scan.
Select Configuration > Channel/EPG > EPG Grabber, then click on ‘Re-run Internal EPG Grabbers’

That’s everything you need to do to get the Raspberry Pi TV HAT installed, configured and receiving channels.
Electronic Programme Guide (EPG)
With installation and configuration complete, we can now start watching channels.
Channel listing
Select to the Electronic Programme Guide tab to see a list of channels, programmes and related information:

Note: EPG updates can sometimes take a while to appear. If this happens, try going to another tab and returning to the EPG.
View programme information
You can click on a channel to view information about the current showing programme:

Watch a channel
To watch a channel, simply select the small TV icon at the left of the row:

Record a programme
A really nice feature is the ability to record programmes. This records a programme and creates a ‘.ts’ video file on your Raspberry Pi.
These files play perfectly on media players such as VLC, and of course can be converted to more common formats if required.
To record, simply click the ‘i’ icon next to a programme, and in the pop up box, select ‘Record programme’:

To view active or finished recordings, navigate to Digital Video Recorder > Upcoming/Current Recordings:
We moved a standard definition channel recording over to our PC to see how it played in VLC. The quality was good with no stuttering, and reported a resolution of 720×576 which is the same as a PAL Standard Definition DVD.

LibreELEC setup guide
This section will show you how to install, configure and operate the Raspberry Pi TV HAT with LibreELEC.
At the time of writing we’re using LibreELEC version 8.2.5.
LibreELEC image setup
We recommend starting with a fresh LibreELEC image to avoid any potential conflicts, however this step can be skipped if you’re an existing LibreELEC user (just make sure to test with a new image if you experience any issues).
*note* If you don't fancy installing LibreELEC yourself, our pre-installed MicroSD cards come with the latest version of LibreELEC ready to go.
Go to the LibreELEC download page and grab the latest installer for your PC’s operating system. In this example we’re using Windows 10:

Connect a micro-SD card to your PC, open the installer and under section 1 select your Raspberry Pi version.
The latest stable version of LibreELEC should be pre-populated for you. For us this was version 8.2.5.
Now in section 2 click the ‘download’ button. This will instruct the installer to download the image file to match the settings you chose:

Once the file has downloaded, check the correct drive letter is selected for your SD card, then click ‘Write’. Once complete, pop the SD card into your Raspberry Pi and power it up.

The usual start-up wizard will take you through a few steps, including a prompt to set up WiFi.
You’ll need either a wired or wireless connection for parts of the Tvheadend setup, so make sure your connection is working before continuing.

Tvheadend installation (part 1)
With your LibreELEC setup and ready, we can now install the first part of Tvheadend.
LibreELEC/KODI requires two separate add-ons to be installed, but not at the same time.
To install the first add-on, navigate to Add-ons > Install from repository > LibreELEC Add-ons > Services > TVHeadend 4.2.
Tip: the version number of the Tvheadend add-on may change

Press enter and the add-on information page will show – select the ‘Install’ button. A pop-up may ask which version you want to install – select the most recent:

Once that has installed, navigate to Settings > System Information > Settings to find your LibreELEC Raspberry Pi’s IP address.
Tip: setting a static IP address for your Raspberry Pi via your internet router will avoid any potential issues with IP changes

Accessing Tvheadend
Take the IP address of your LibreELEC Raspberry Pi and pop it into your computer’s web browser with port number 9981. Ours looked like this:
http://192.168.1.123:9981
Unlike the Raspbian install, no username or password should be requested for access.
Tvheadend configuration
The configuration of the Tvheadend server via your browser is exactly the same as the steps we described for Raspbian.
Head to that section of this guide to configure your Tvheadend server, then return to this section to complete the LibreELEC setup.
Tvheadend installation (part 2)
We now need to install the KODI PVR add-on for Tvheadend.
Navigate to Add-ons > Install from repository > Kodi Add-on repository > PVR clients > Tvheadend HTSP Client:

Press enter and the add-on information page will show – select the ‘Install’ button. A pop-up may ask which version you want to install – select the most recent:

Once installed, navigate to the add-on’s settings by selecting the Configure button.
Here you need to enter your Raspberry Pi’s IP address, then select ‘OK’:

Using Tvheadend in LibreELEC
Navigate back to the home screen and select the ‘TV’ in the left-hand menu.
TV Menu
You’ll see options for channels, guide, recordings and more:

Channels
The channels option shows you a list of available channels and the current programme (and progress):

Guide
The guide option is, as the name suggests, a TV guide of programmes for each channel:

Programme info & recording
Selecting a programme from the guide shows additional information and the option to record the show:

6 comments
The Pi Hut
@Jan – Yes, the Raspberry Pi TV HAT works with Raspberry Pi 5
@Martin Ward – You can only use one TV HAT at a time unfortunately.
@Jan – Yes, the Raspberry Pi TV HAT works with Raspberry Pi 5
@Martin Ward – You can only use one TV HAT at a time unfortunately.
Martin Ward
Can you stack two or more of these on a single pi to record from two or more muxes at the same time?
Can you stack two or more of these on a single pi to record from two or more muxes at the same time?
Jan
Hi, does it work with RPI5?
Hi, does it work with RPI5?
The Pi Hut
Steve – It will likely be more about the signal in your area. It can be used with a small set-top antenna, but if the signal in your area is weak, it won’t find much.
@8666 – See this comment here from a Raspberry Pi Engineer – https://forums.raspberrypi.com/viewtopic.php?p=1478553&sid=134f057e2cf93f03d1f11769d7fed867#p1478553. They say “The TV Hat does support receiving multiple channels from the same mux simultaneously.”
Steve
Is it powerful enough to work with a simple set top antennae, or does it need a full roof top type affair? (I’m assuming it can’t use the wireless internet).
Is it powerful enough to work with a simple set top antennae, or does it need a full roof top type affair? (I’m assuming it can’t use the wireless internet).
8666
How many channels can you watch at the same time? Is it possible to watch 3 different channels on 3 PCs with a single TV Hat?
How many channels can you watch at the same time? Is it possible to watch 3 different channels on 3 PCs with a single TV Hat?