Assembly Guide for the Aluminium Armour Dual-Fan Heatsink for Pi Zero
This guide will show you how to assemble the Aluminium Armour Dual-Fan Heatsink for Raspberry Pi Zero!
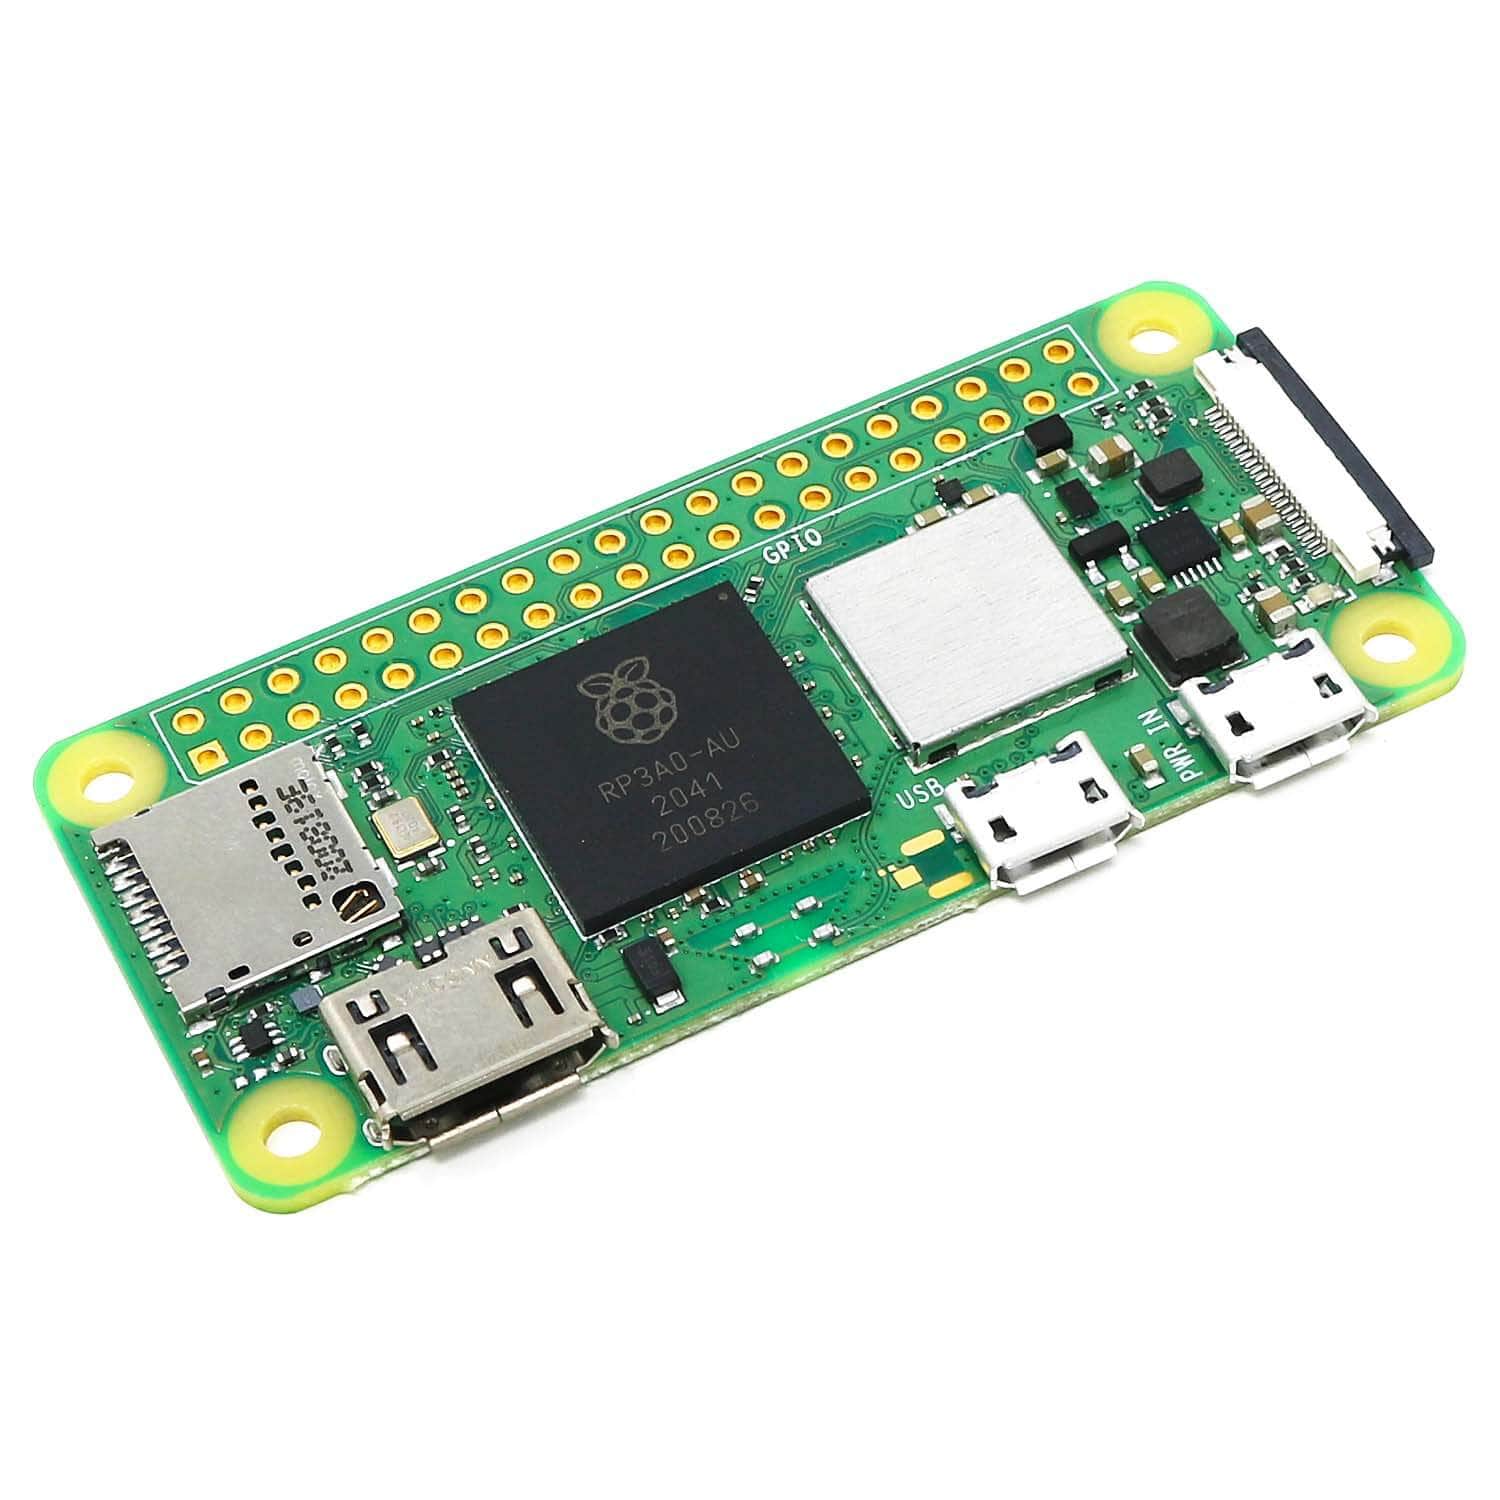
All you’ll need is a cross-head screwdriver and of course a Raspberry Pi Zero/2! (Due to a warehouse mistake, it comes with a flat-head screwdriver (oops!), but fret not! We managed to still put it all together with the included screwdriver.
Step One – Right, time to get everything out and organised!
Firstly, you’ll want to flip the heatsink over, where you’ll find a square box on the underside. Looking at the items you took out, you’ll see a similarly shaped blue item, this is the thermal pad:

Step Two – Peel off the protective layer on the thermal pad, and apply it to the black square on the underside of the heatsink. Now peel off the protective layer on the other side.
Now, let’s get that Zero covered! Flip the heatsink over to its original state, then place it on top of the Zero, ensuring the GPIO pins are still showing at the side:

Step Three - Hold the parts together, and turn them over to see the underside of the Zero, where you’ll see a hole in each corner to secure four of the smaller cross-head screws that came in the bag:

Step Four – Now, you may be a fan of the Zero itself, but not as much as this fan (excuse the poor joke)!
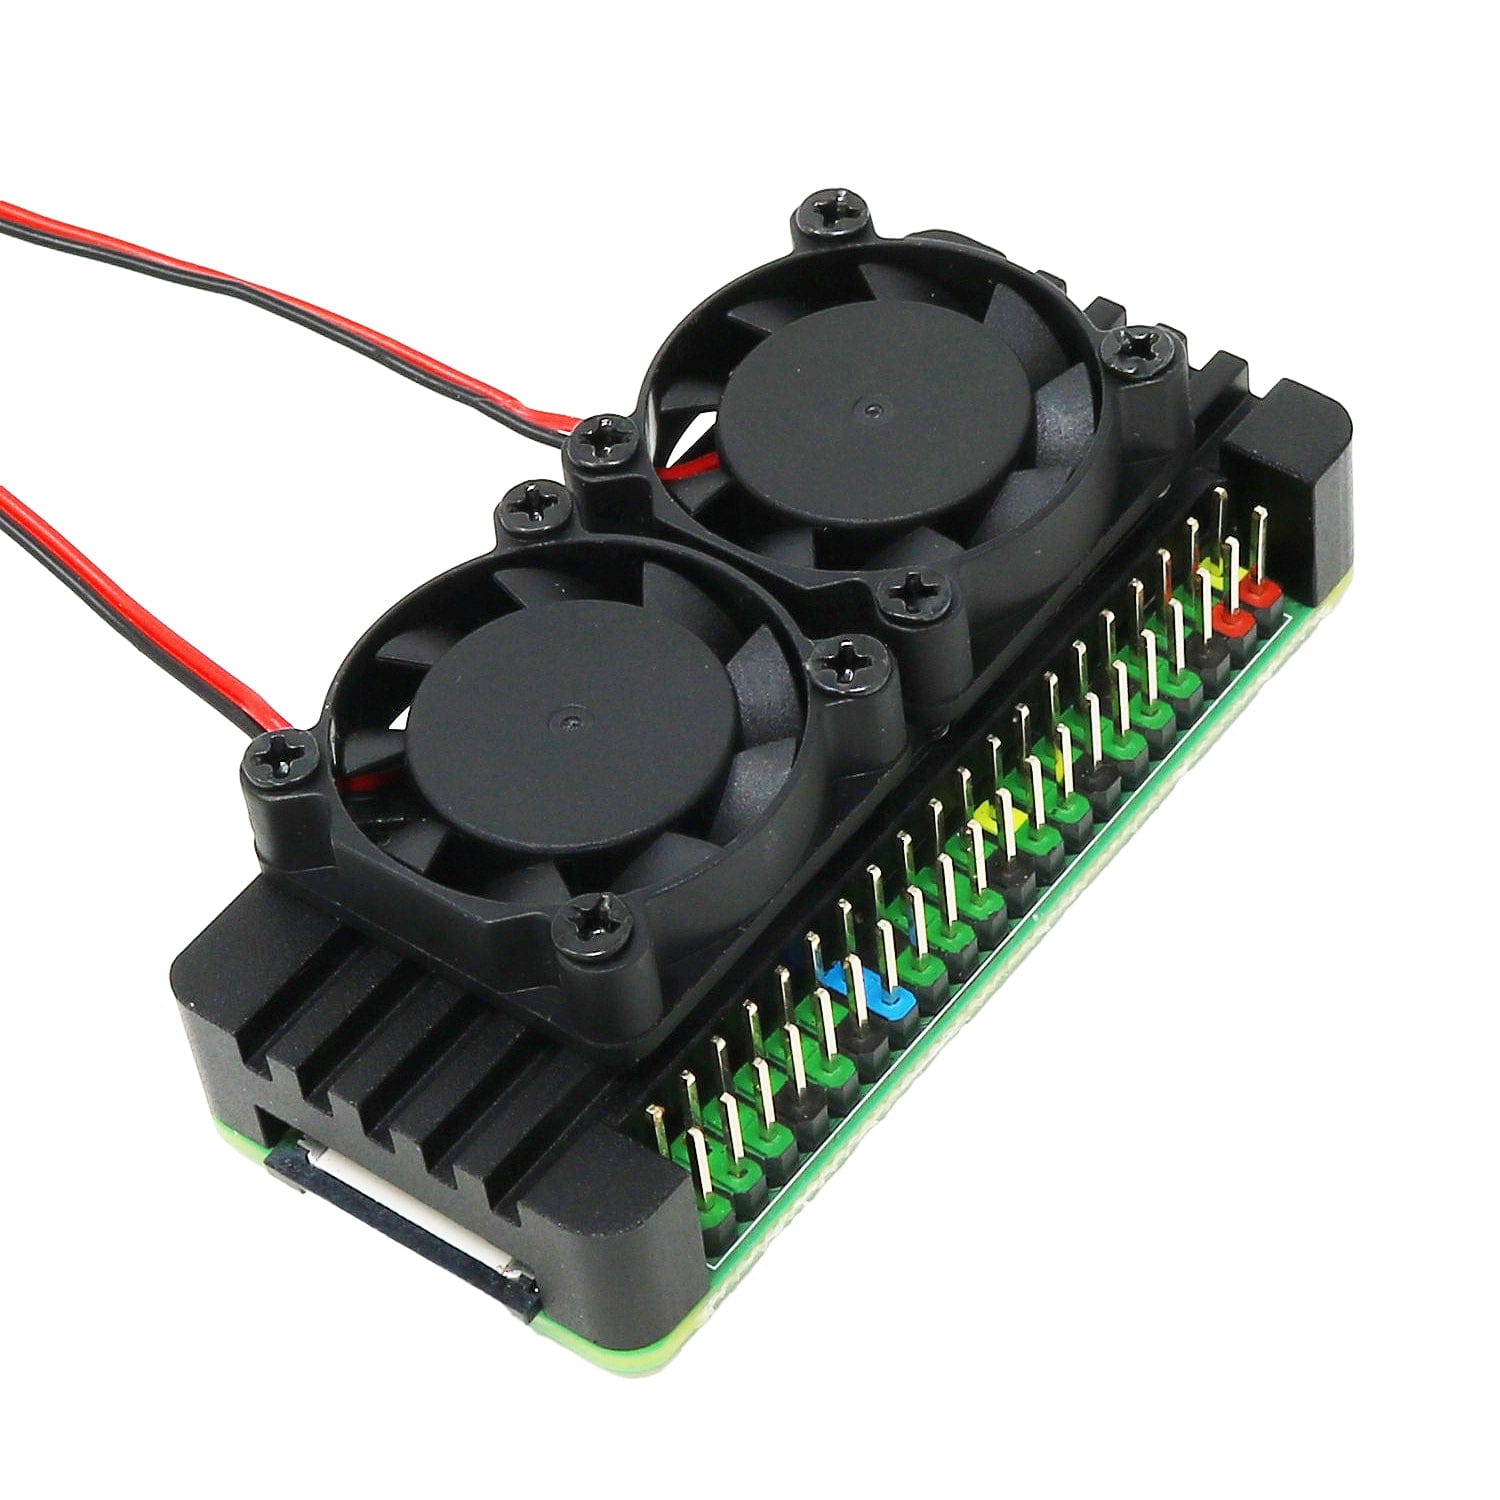
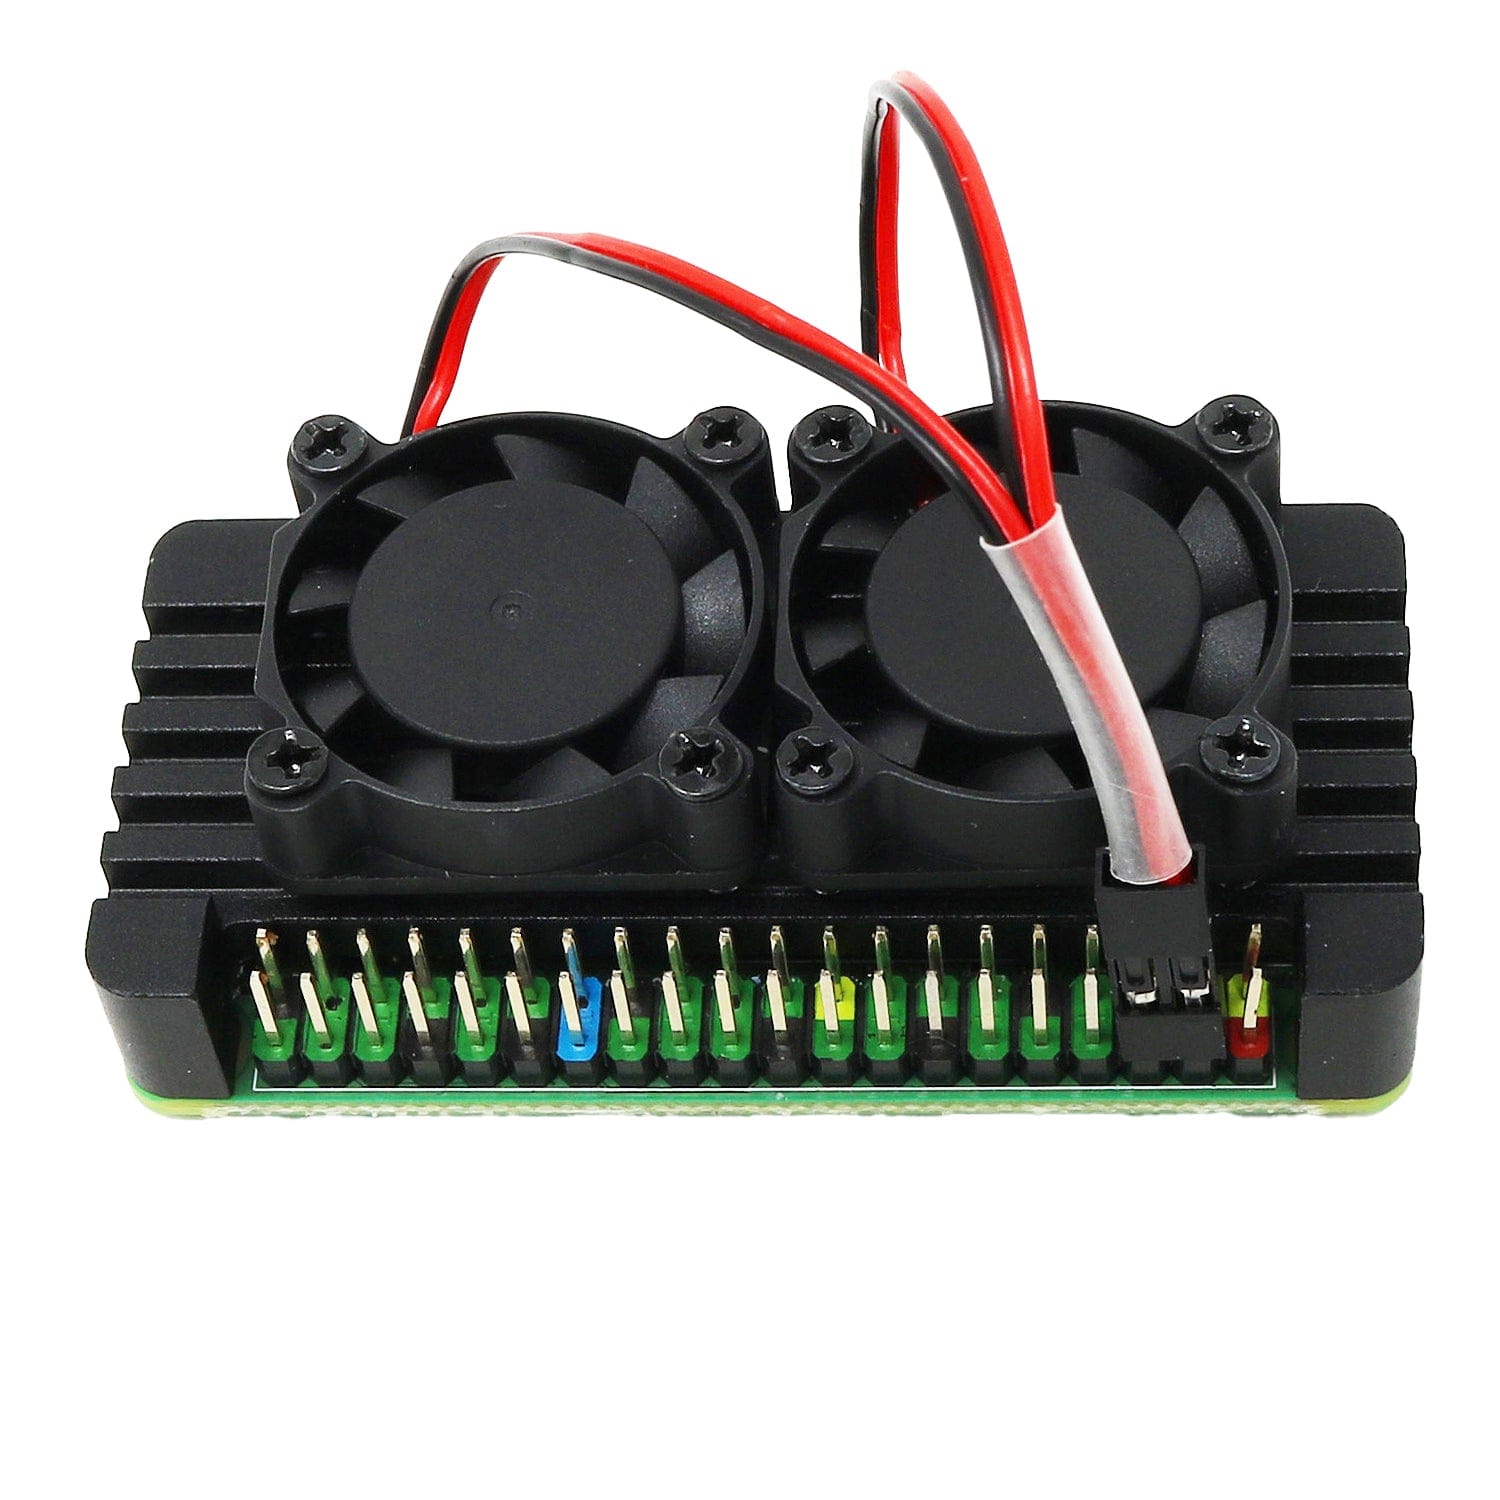
With the heatsink secured to the Zero, turn it back over to its original position, take the fans and place both of them on top of the heatsink, spreading them out so they match the holes:

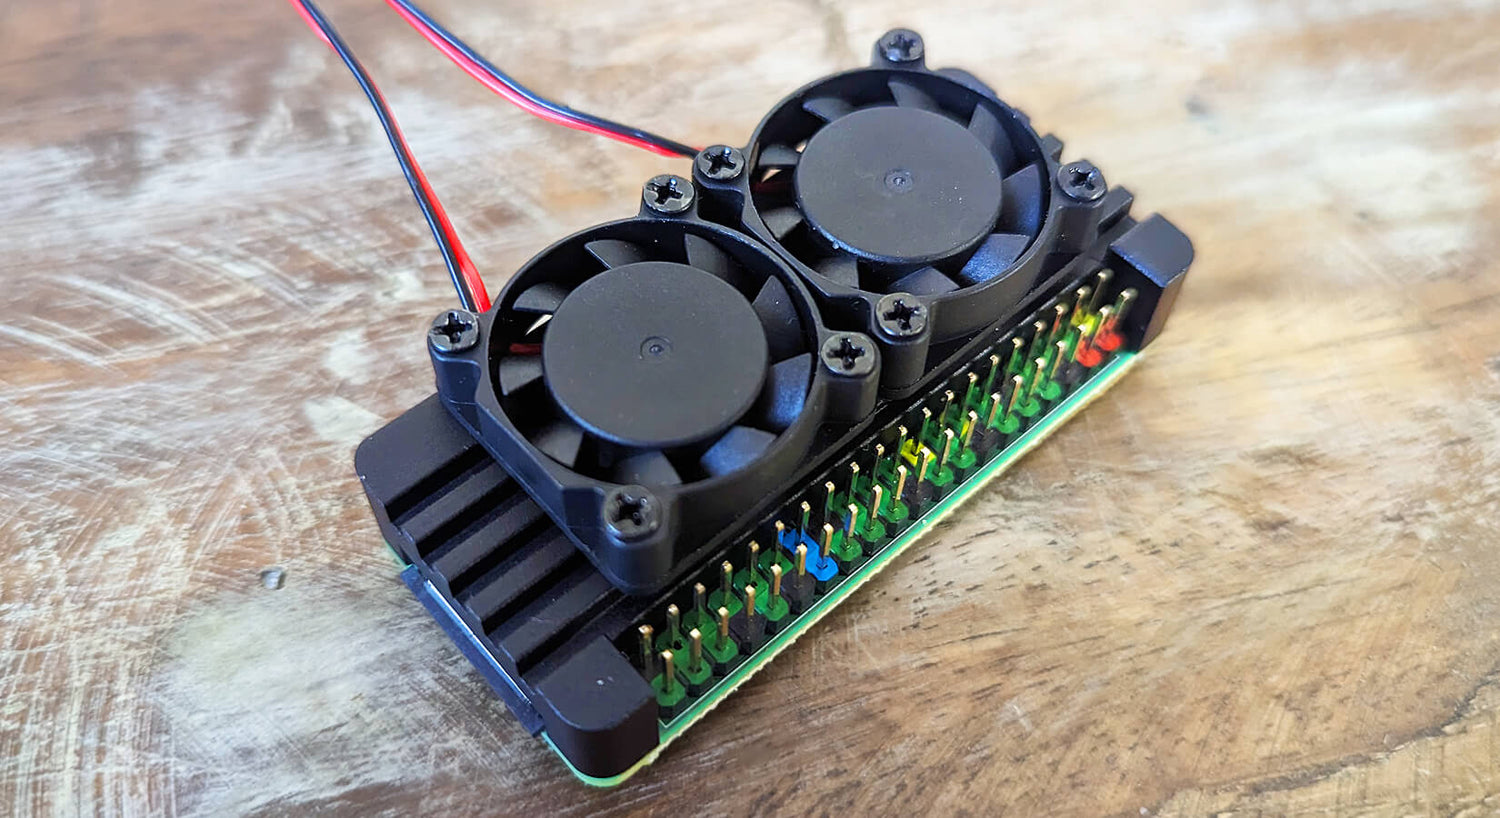
Step Five – Have the attached cable facing the opposite side of the GPIO pins, secure the fans to the heatsink with the eight longer screws, and you are all ready to go! Your Zero is covered and gets to stay cool at the same time.

Step Six - Time to fit the fan wire. The red wire needs to go to 5V (NOT a 3.3V GPIO pin) and the black wire needs to go to a ground (GND) pin.
We suggest using physical pins 4 (5V) and 6 (GND) as pictured below:

Bazinga! You're done!